foreword
Today I need to test an android app project packaged by uniapp, and I don’t have an android system tablet at hand, so I will study how to run an Android app on win11. This article will introduce you to run Android through the Windows 11 Android subsystem. app, after 2 hours of hard work, I finally successfully ran the Android app on win11.
以下所有的操作建议用用administrator帐户安装配置,我用普通帐户安装总是不成功,换成administrator就成功了,多化了一个多小时
1. What is the Windows 11 Android subsystem?
Windows 11 Android Subsystem(Windows Subsystem for Android), referred to as WSA, is a function tailored by Microsoft for WIndows 11, which can run Android applications directly in Windows. Although it is still in the testing stage, everyone can already experience it. How to install and use this Android subsystem that can run Android applications under Windows? Let's install and experience it together.
2. Requirements for installing the Windows 11 Android subsystem
- Make sure the Windows 11 version is 22000.xxx or higher.
- Hardware must support and enable BIOS/UEFI virtualization
- Make sure the Microsoft Store version is 22110.1402.6.0 or higher, and click the "Get Updates" button to upgrade its version.
- The Android subsystem will allocate 4G memory by default, and it is recommended to use a computer with 16G memory or more
3. Install Windows virtualization support
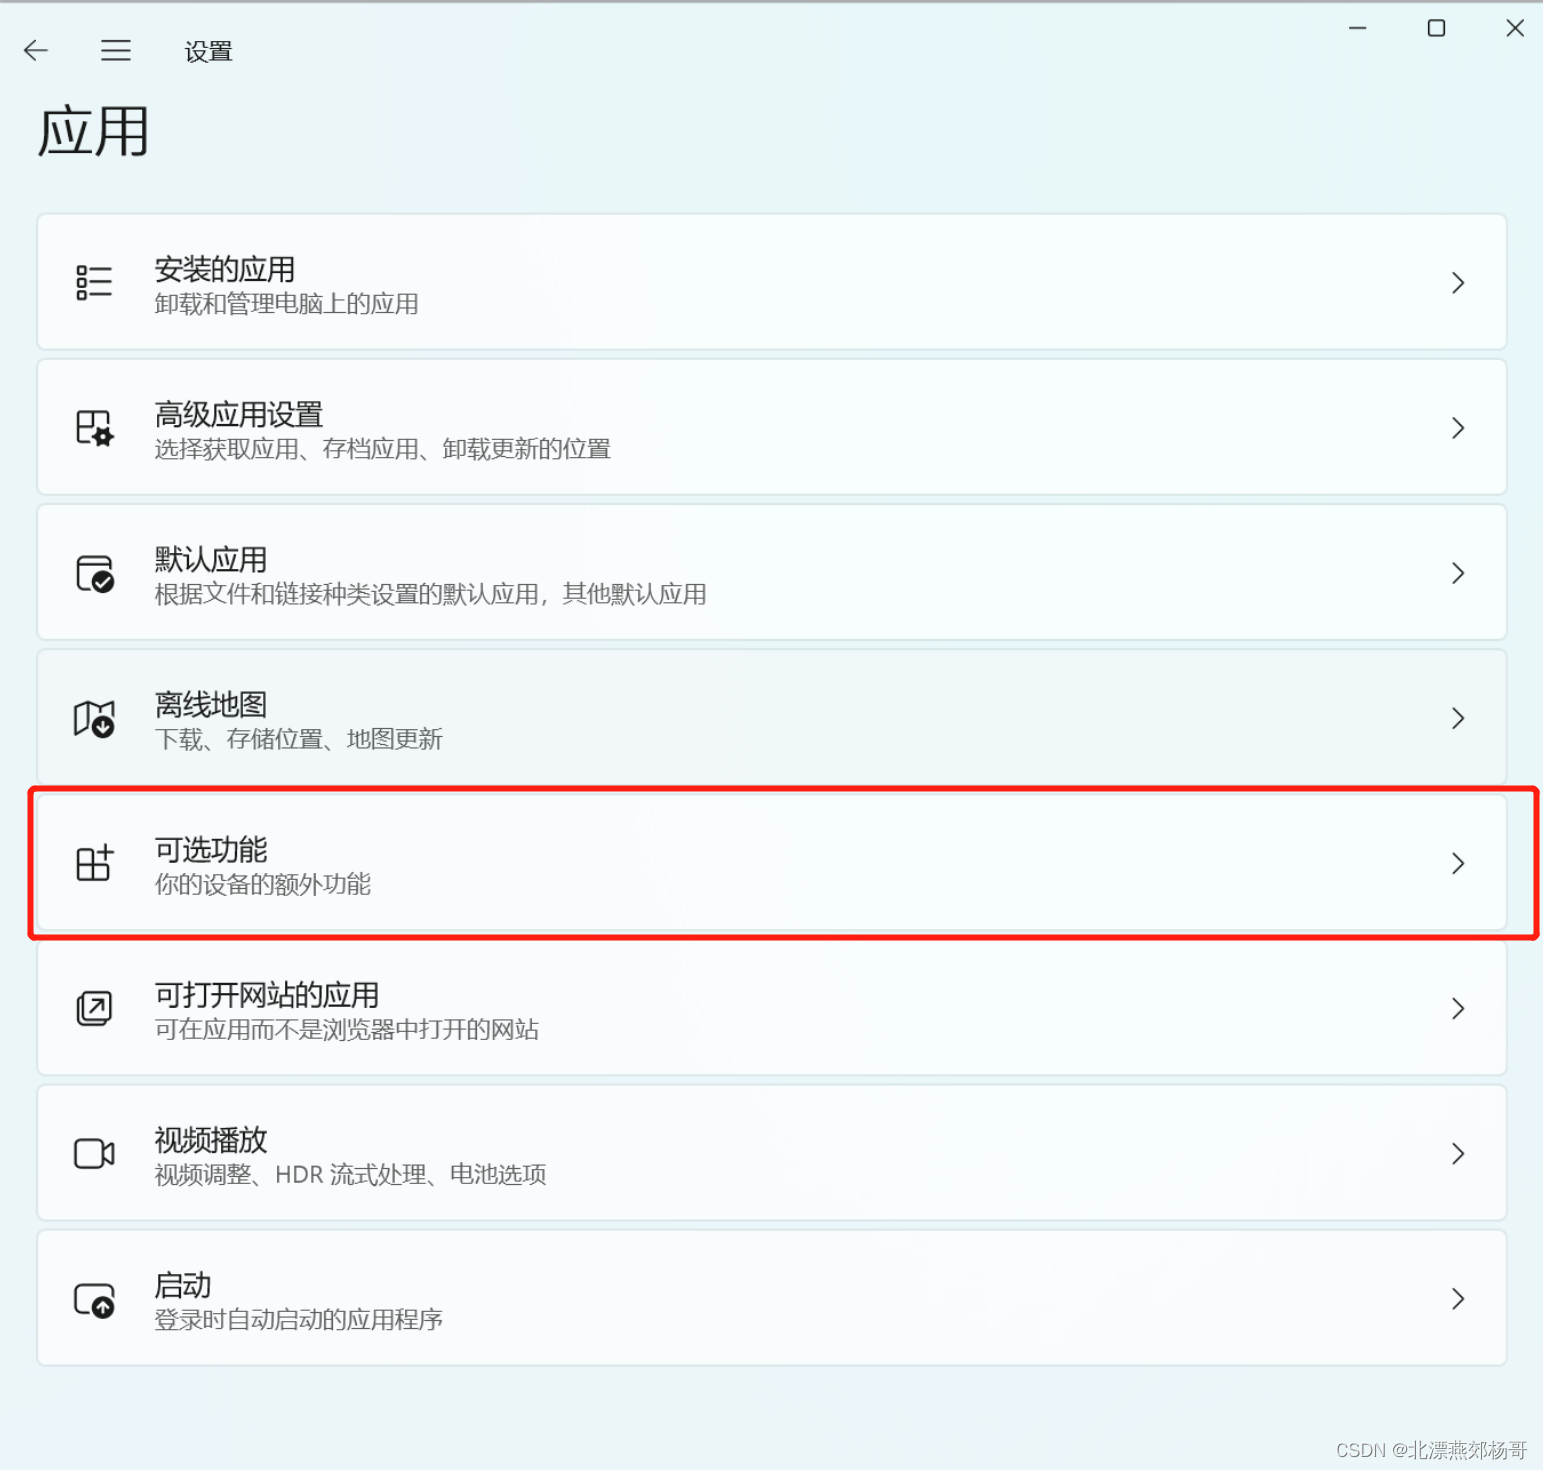
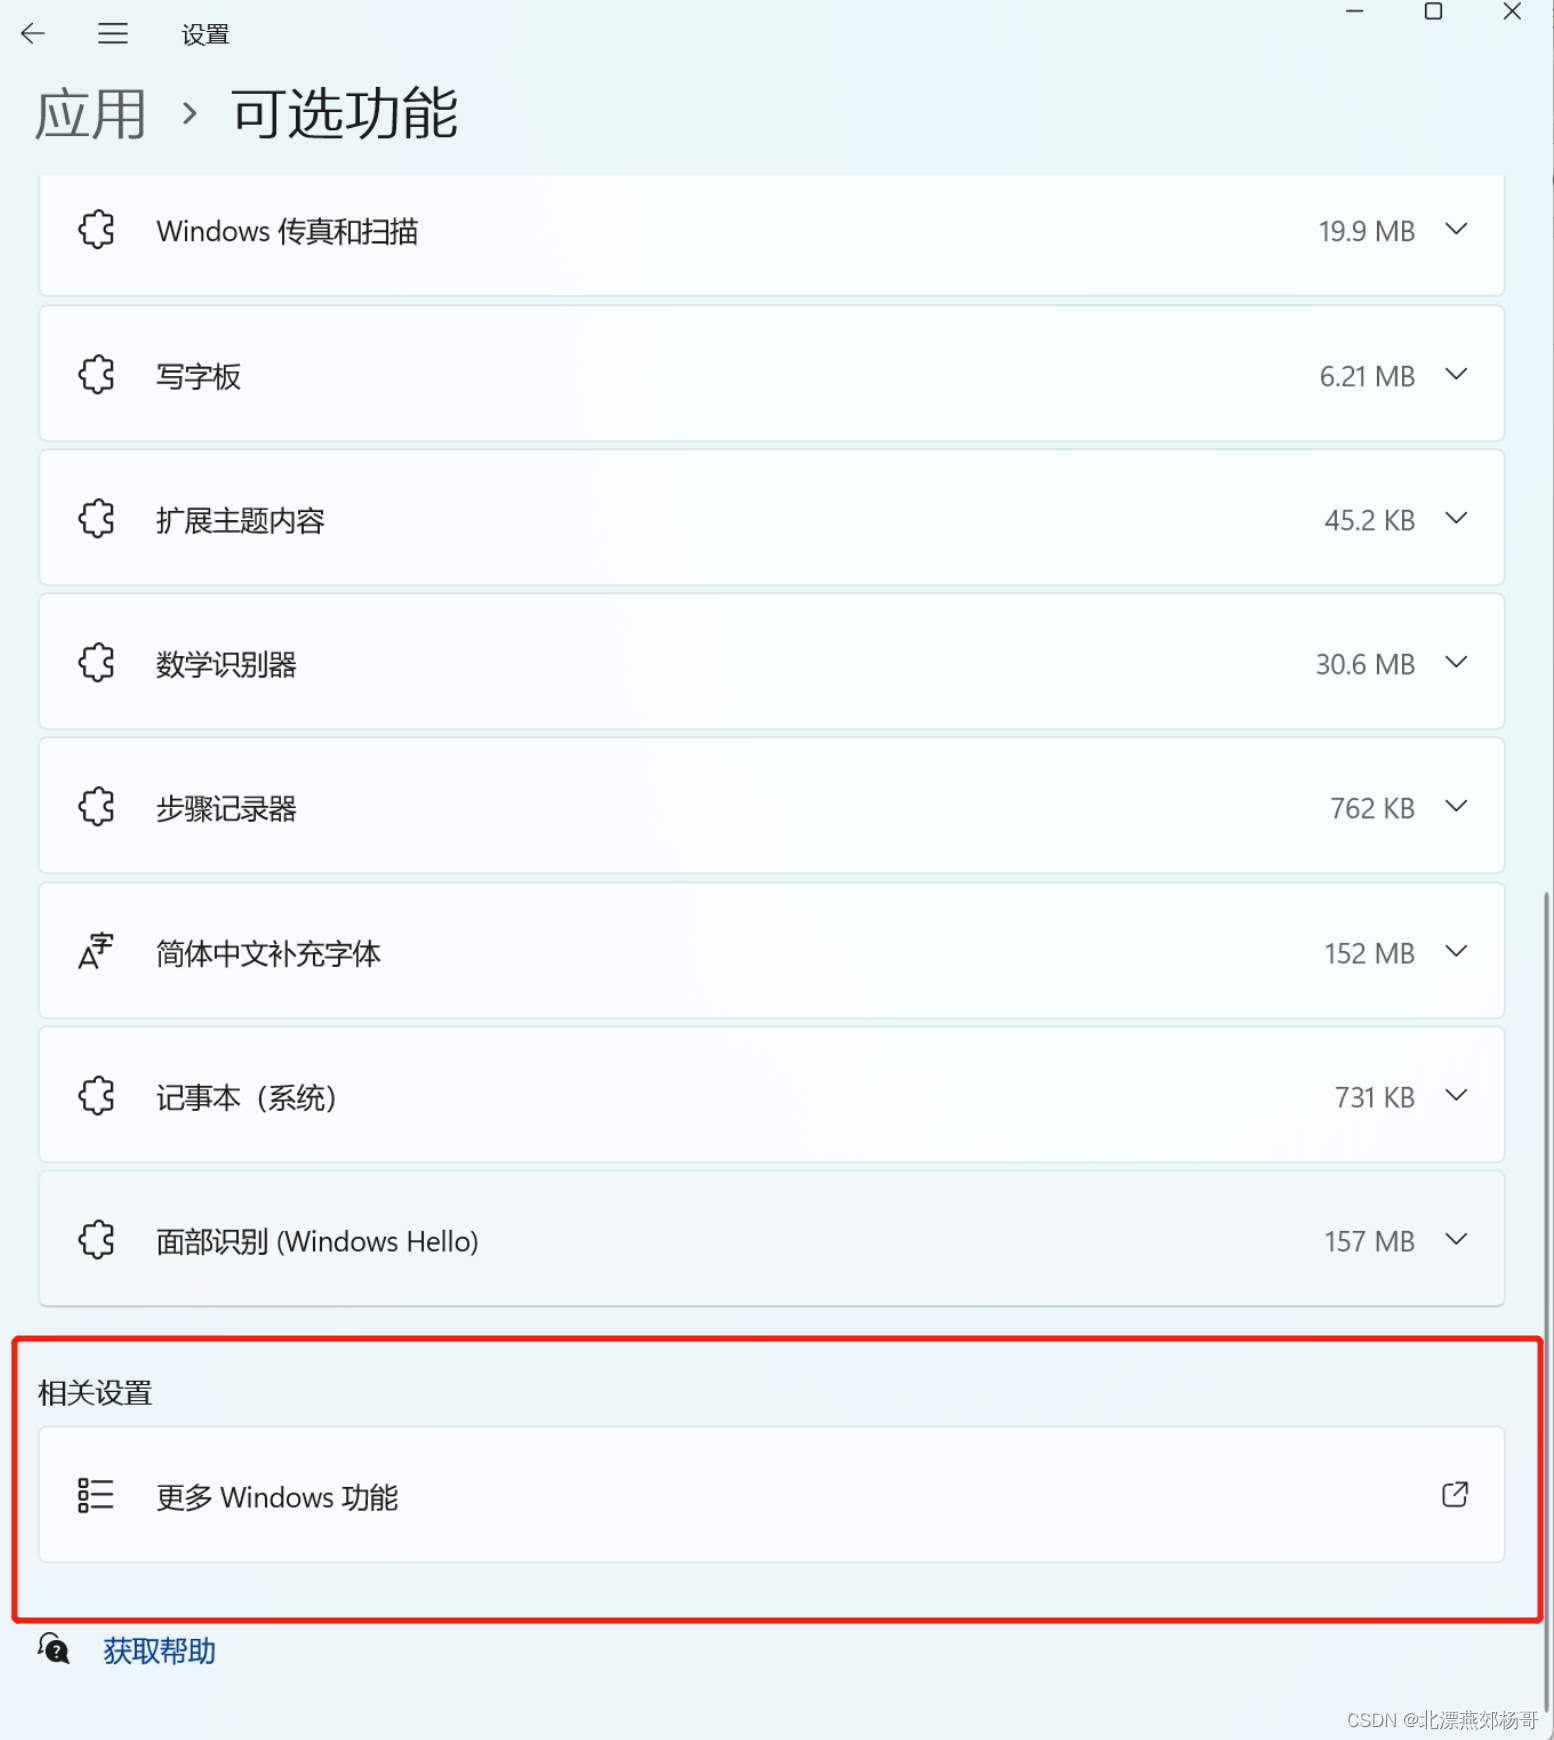
Go to Settings → Applications → Optional Features → More Windows Features, find and check the two options "Hyper-V" and "Virtual Machine Platform", after the installation is complete, you will be prompted to restart the system. If Hyper-V cannot be found through the above
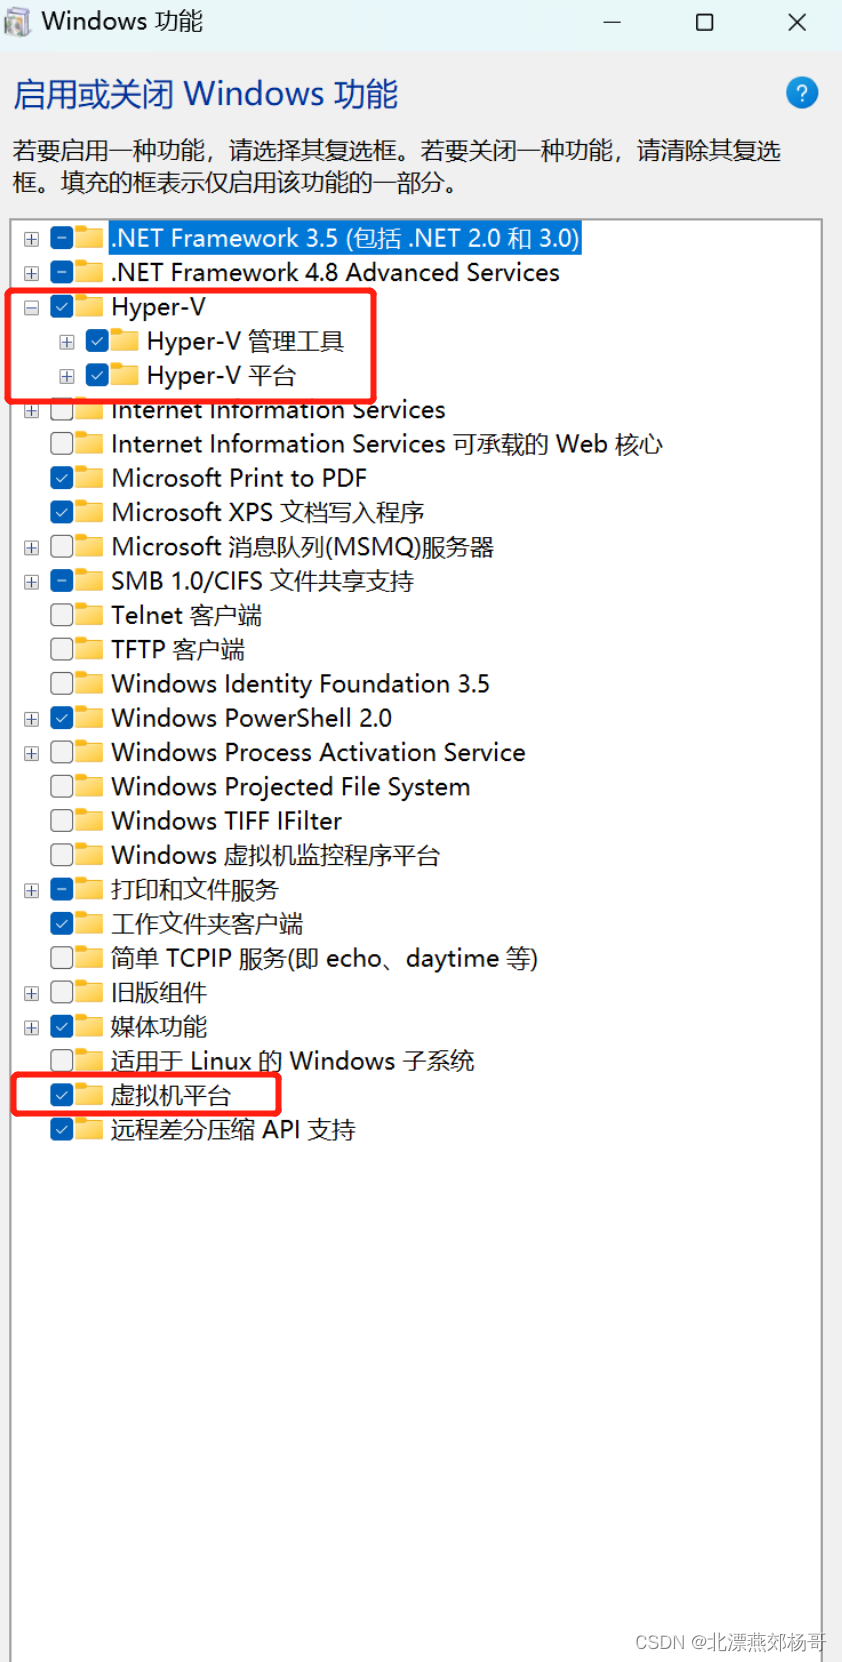
steps Components, you can install the Hyper-V components separately in the following way. Unfortunately, my notebook comes with the home version. Install it manually and manually separate the Hyper-V components:
1. First, we right-click on the blank space on the desktop and choose to create a new "text document"
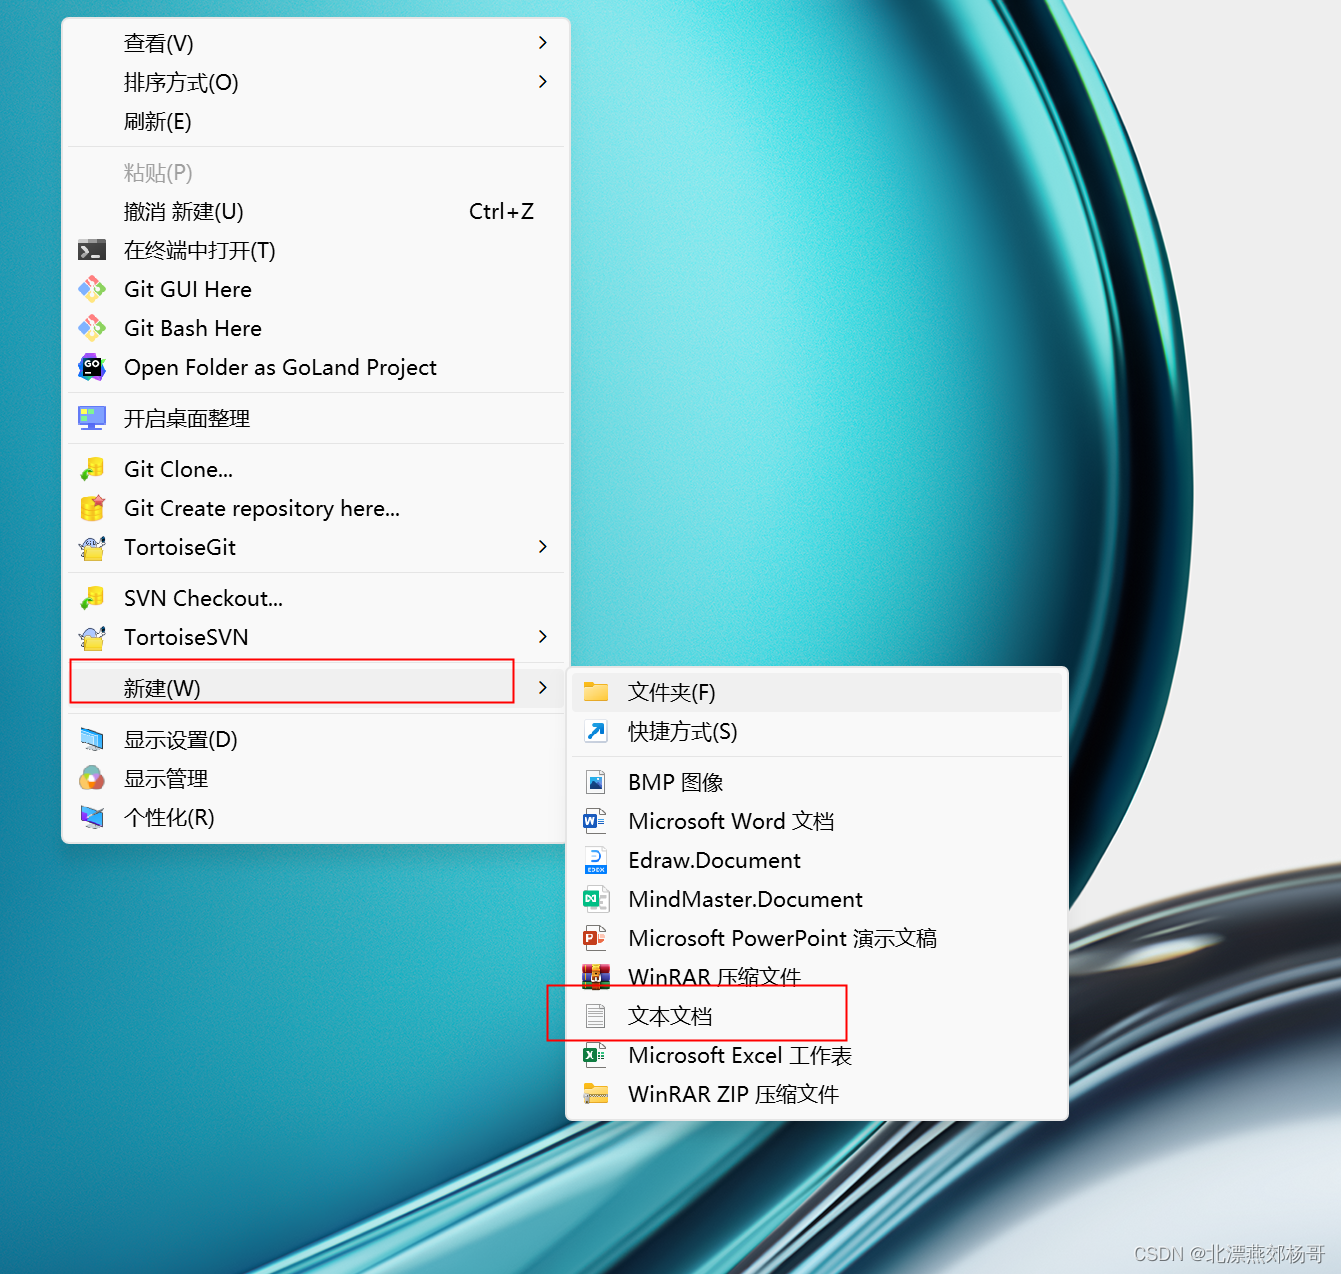
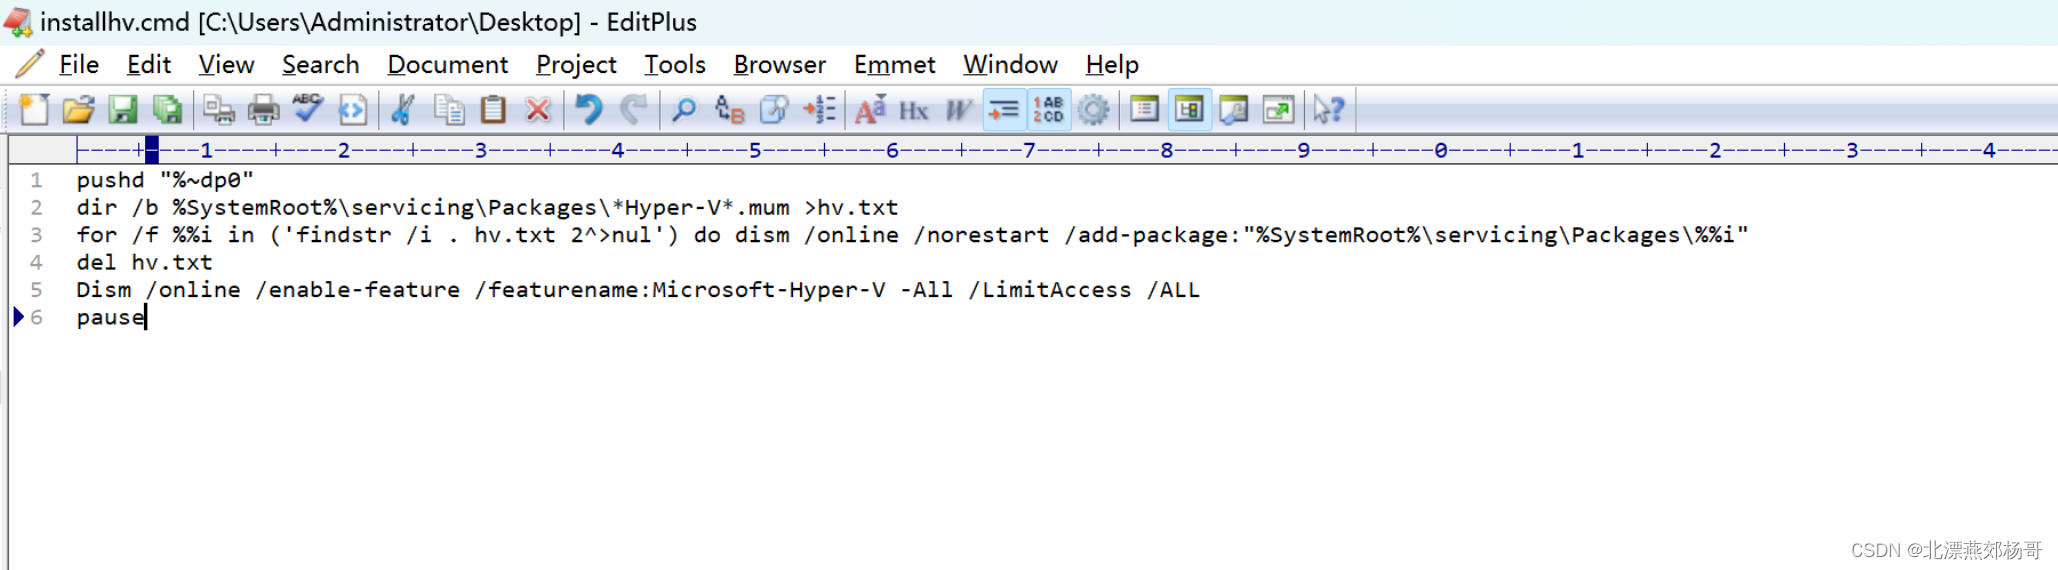
2. Then enter the following command in it and save it.
pushd "%~dp0"
dir /b %SystemRoot%\servicing\Packages\*Hyper-V*.mum >hv.txt
for /f %%i in ('findstr /i . hv.txt 2^>nul') do dism /online /norestart /add-package:"%SystemRoot%\servicing\Packages\%%i"
del hv.txt
Dism /online /enable-feature /featurename:Microsoft-Hyper-V -All /LimitAccess /ALL
pause
3. After saving, rename the text document and change the suffix to ".cmd"
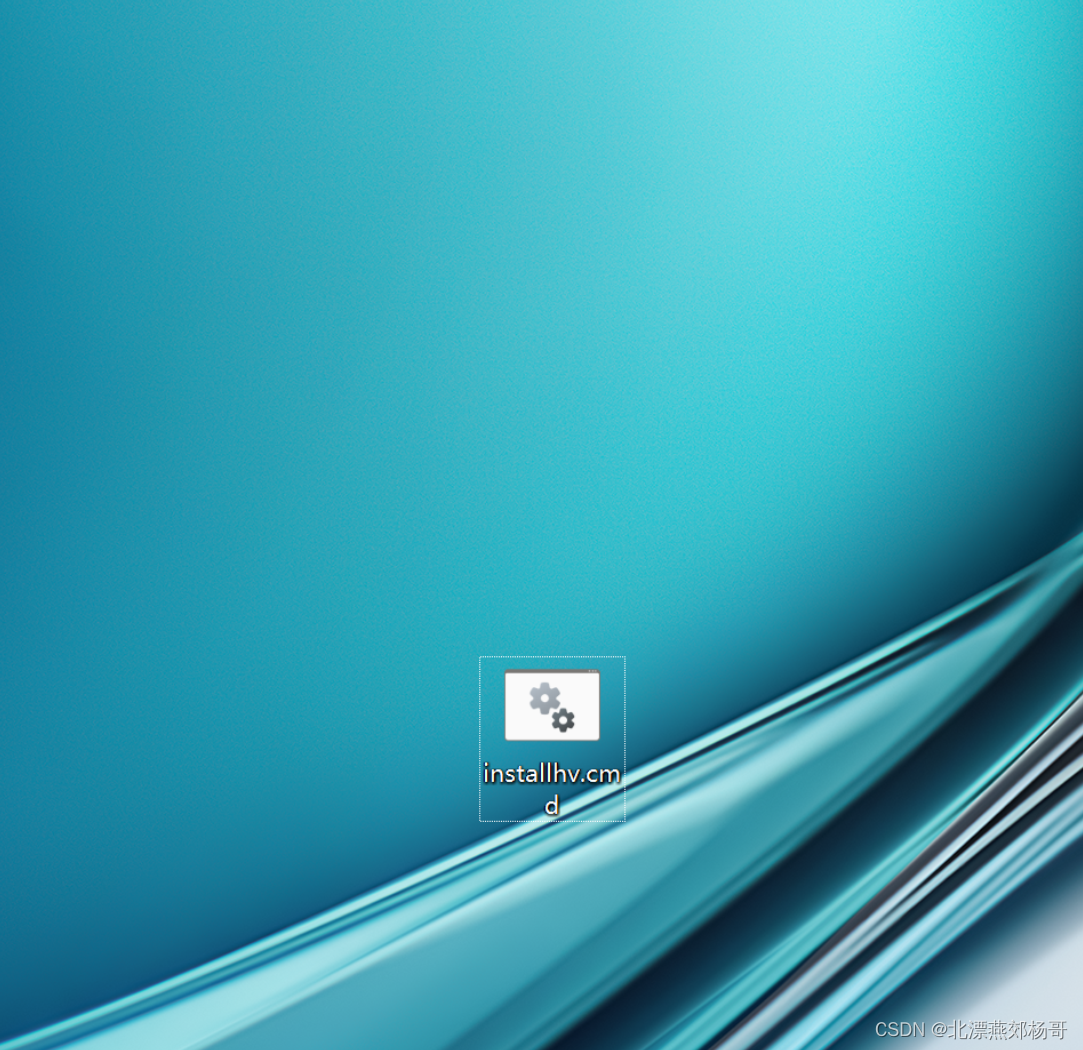
4. Then we only need to double-click to run the file to enable hyper-v.
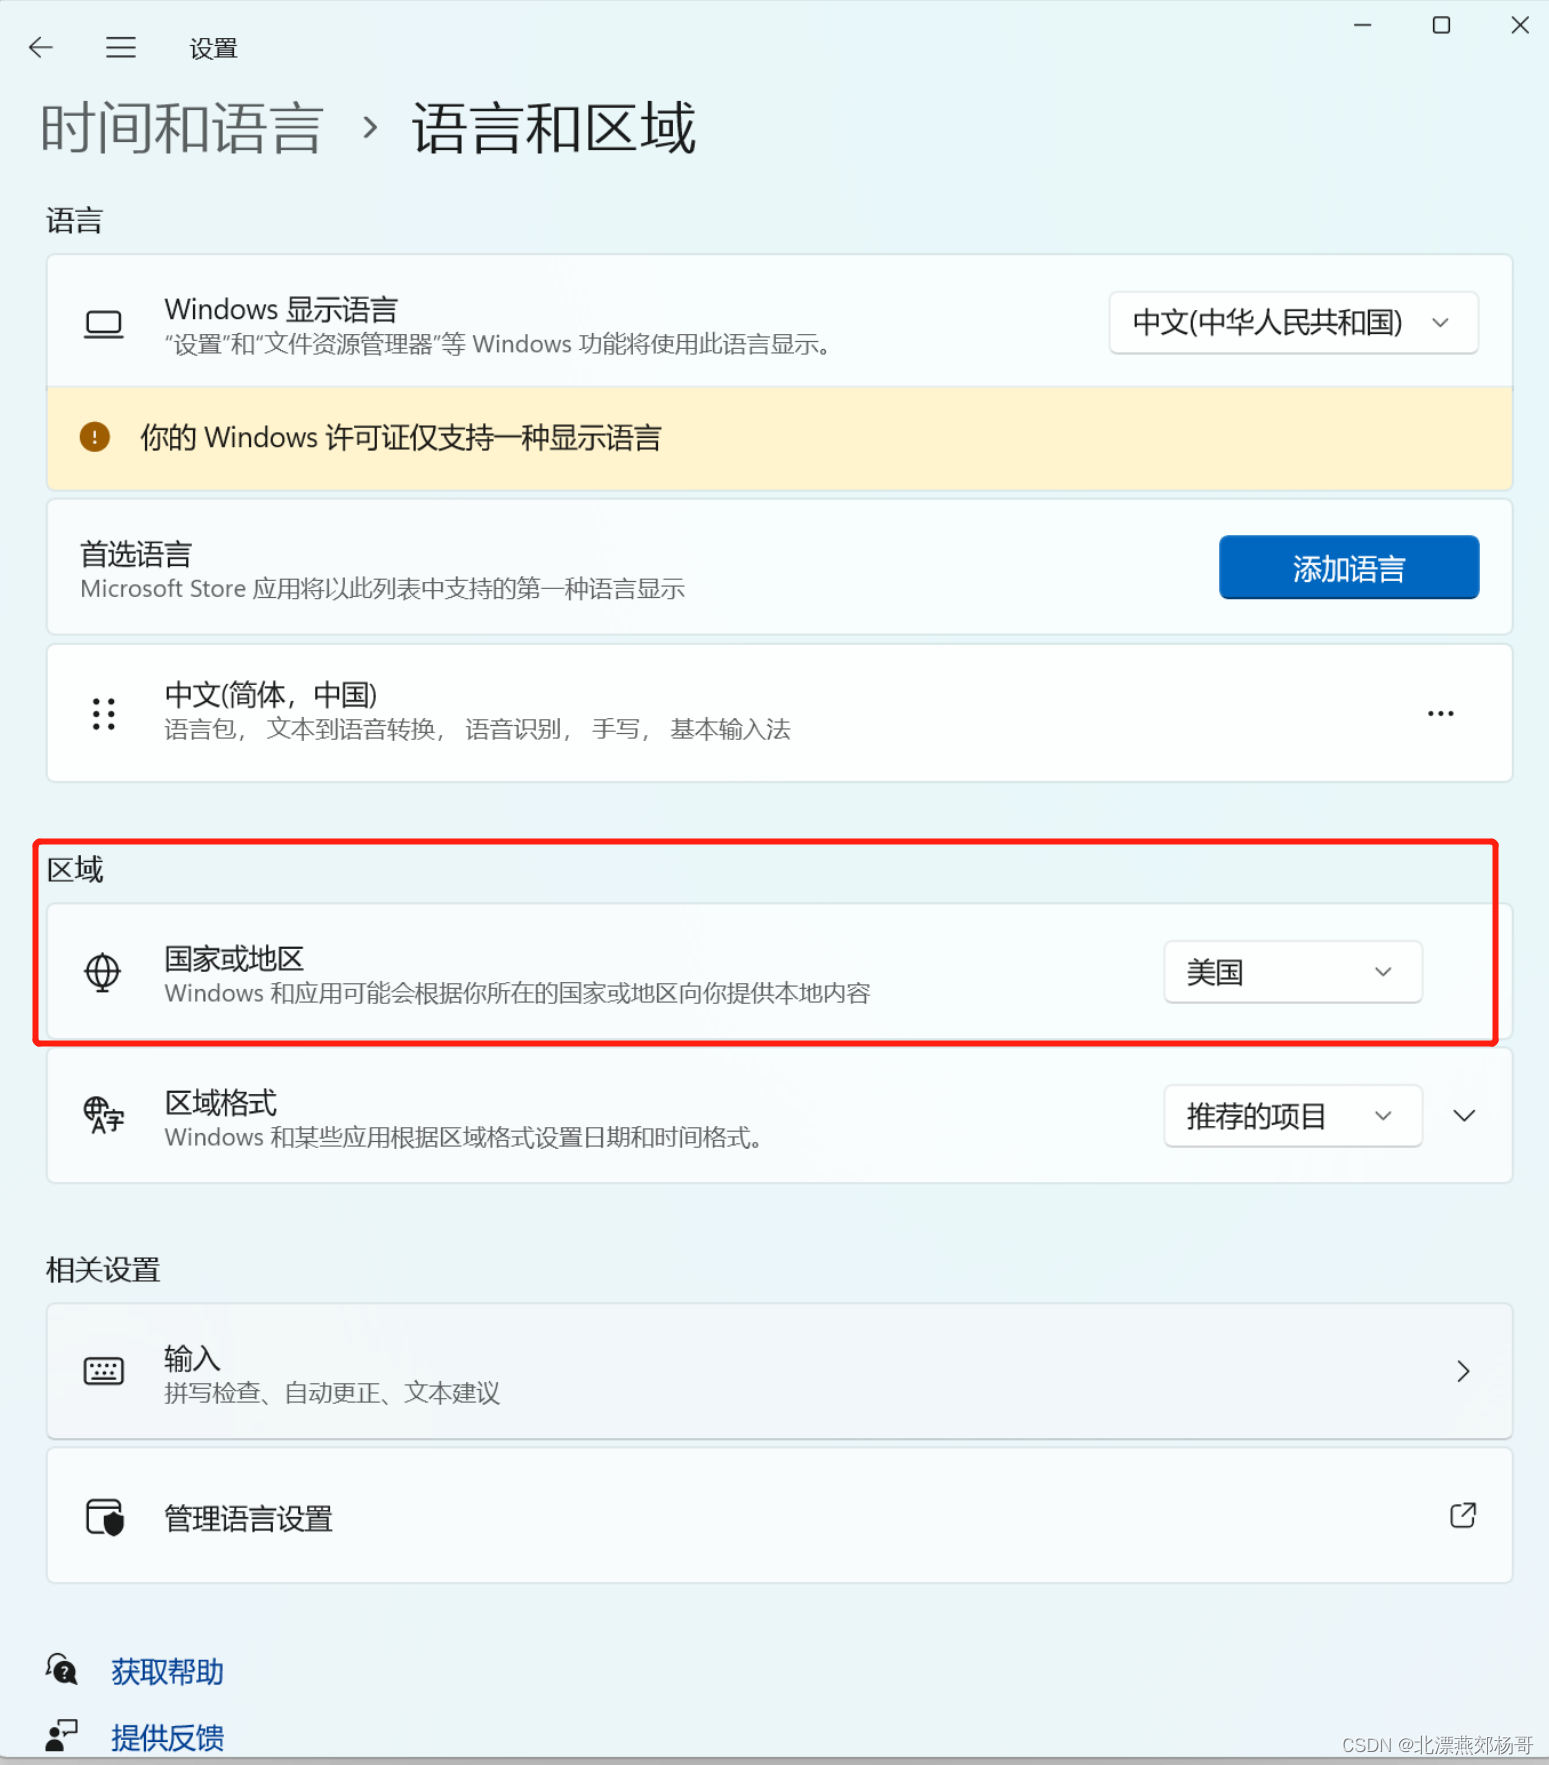
4. Modify the positioning
- Click the Start icon on the taskbar, and in a pinned app, click Settings.
- In the Settings window, click Time and Language on the left, and Date and Time on the right (time zone, automatic clock setting, calendar display).
- Click Language and Region (Language Packs, Regional Formats) under Related Links.
- Select Region - Country or Region, targeting the United States.
- After completing the above operations, the region has been successfully switched to the United States.
5. Download and install the official version of Win11 to install the Android subsystem method tutorial (offline package installation)
If you are using the official version of Windows 11 and do not want to switch to the beta version or modify the system area, you can use the "Download WSA Offline Installation Package" method to install and deploy the Android subsystem, which can directly bypass the region and beta version restrictions. version to complete the installation.
The application offline installation package of the WSA Android subsystem is extracted from the Microsoft Store in Windows and can be installed through the command line.
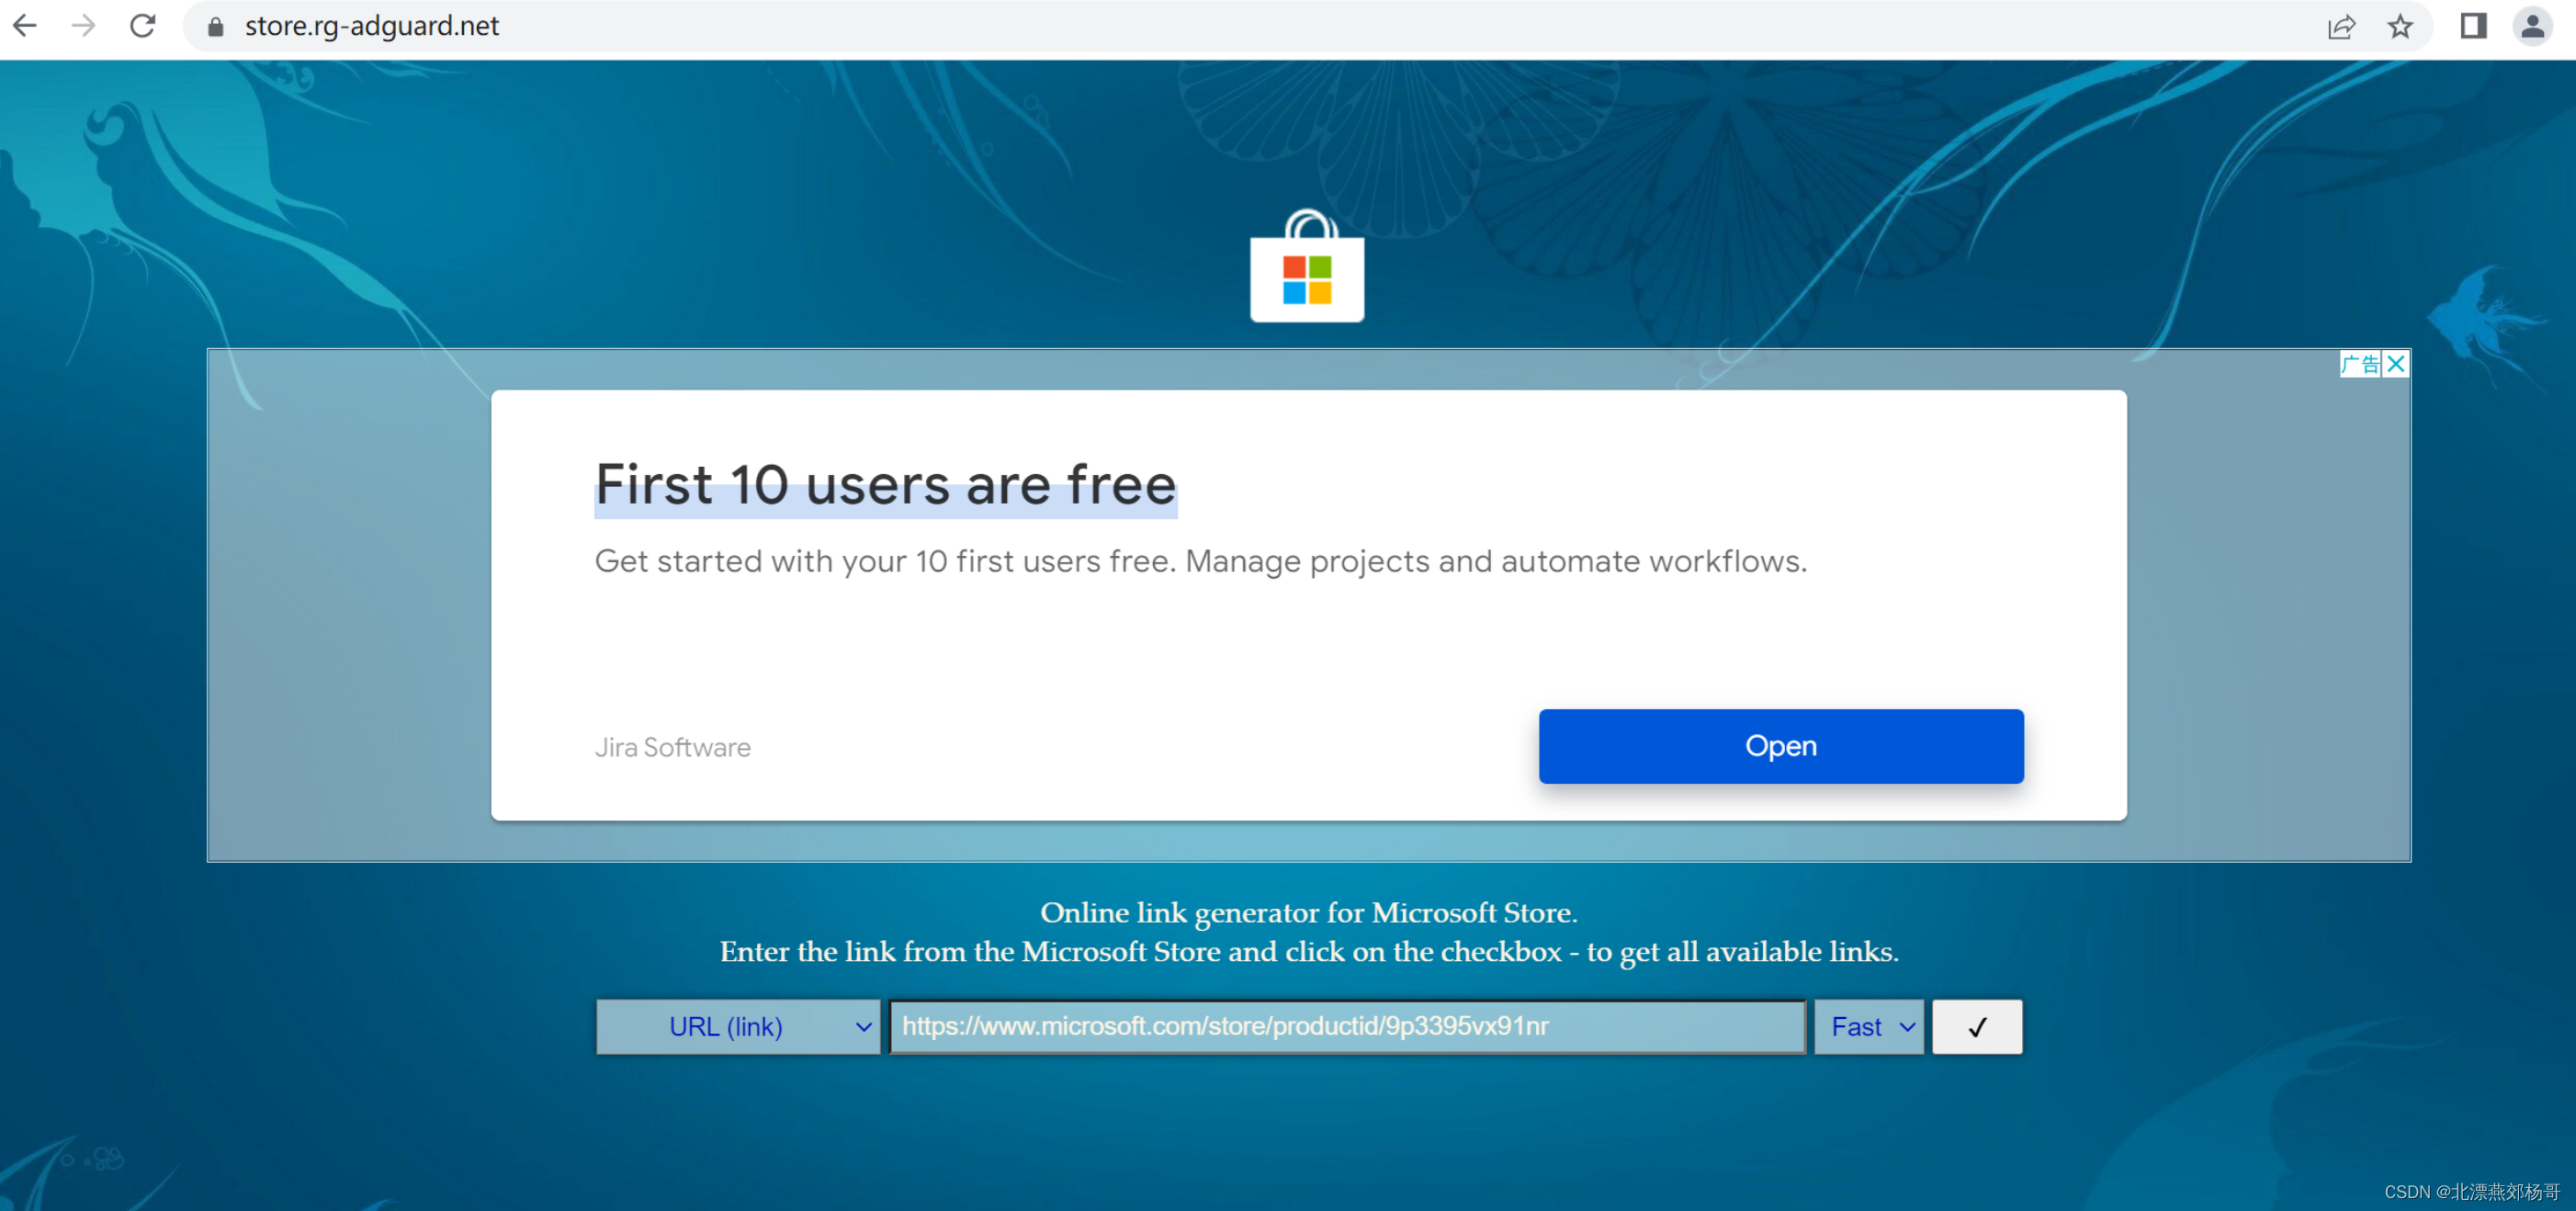
Open the store.rg-adguard.net website
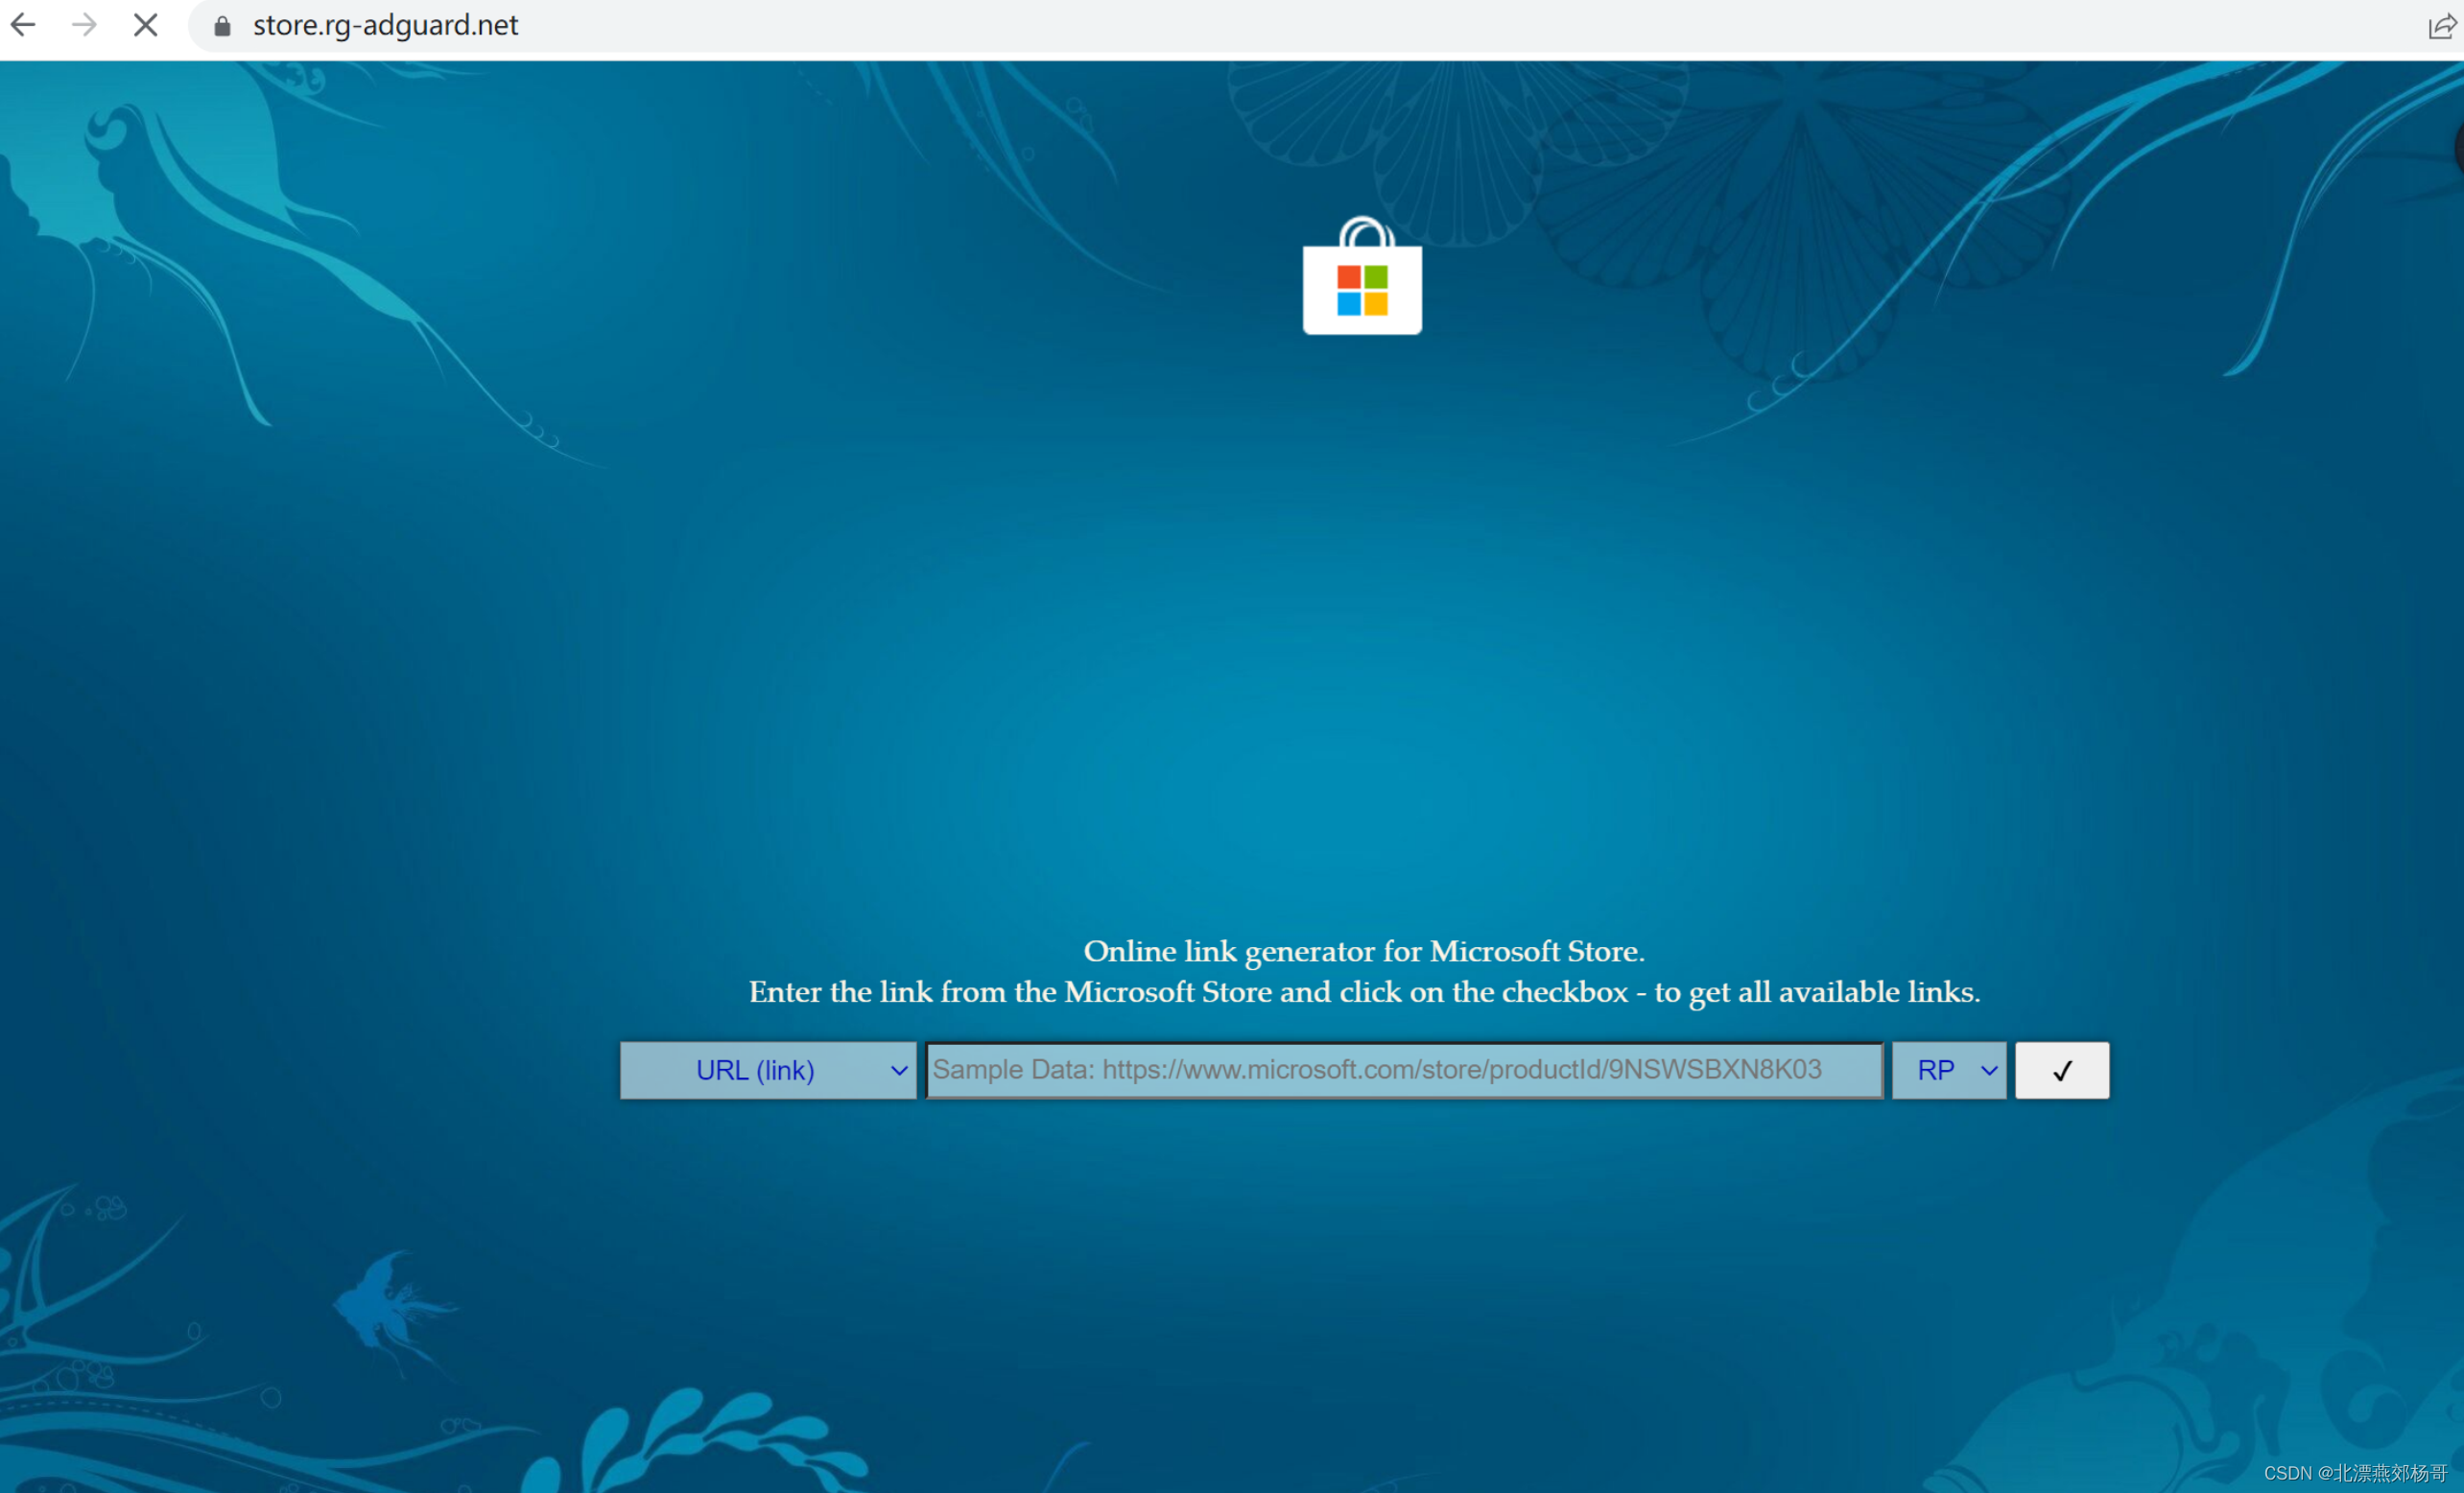
enter
www.microsoft.com/store/productid/9p3395vx91nr
Add https:// before the URL, select Fast, and click the checkmark
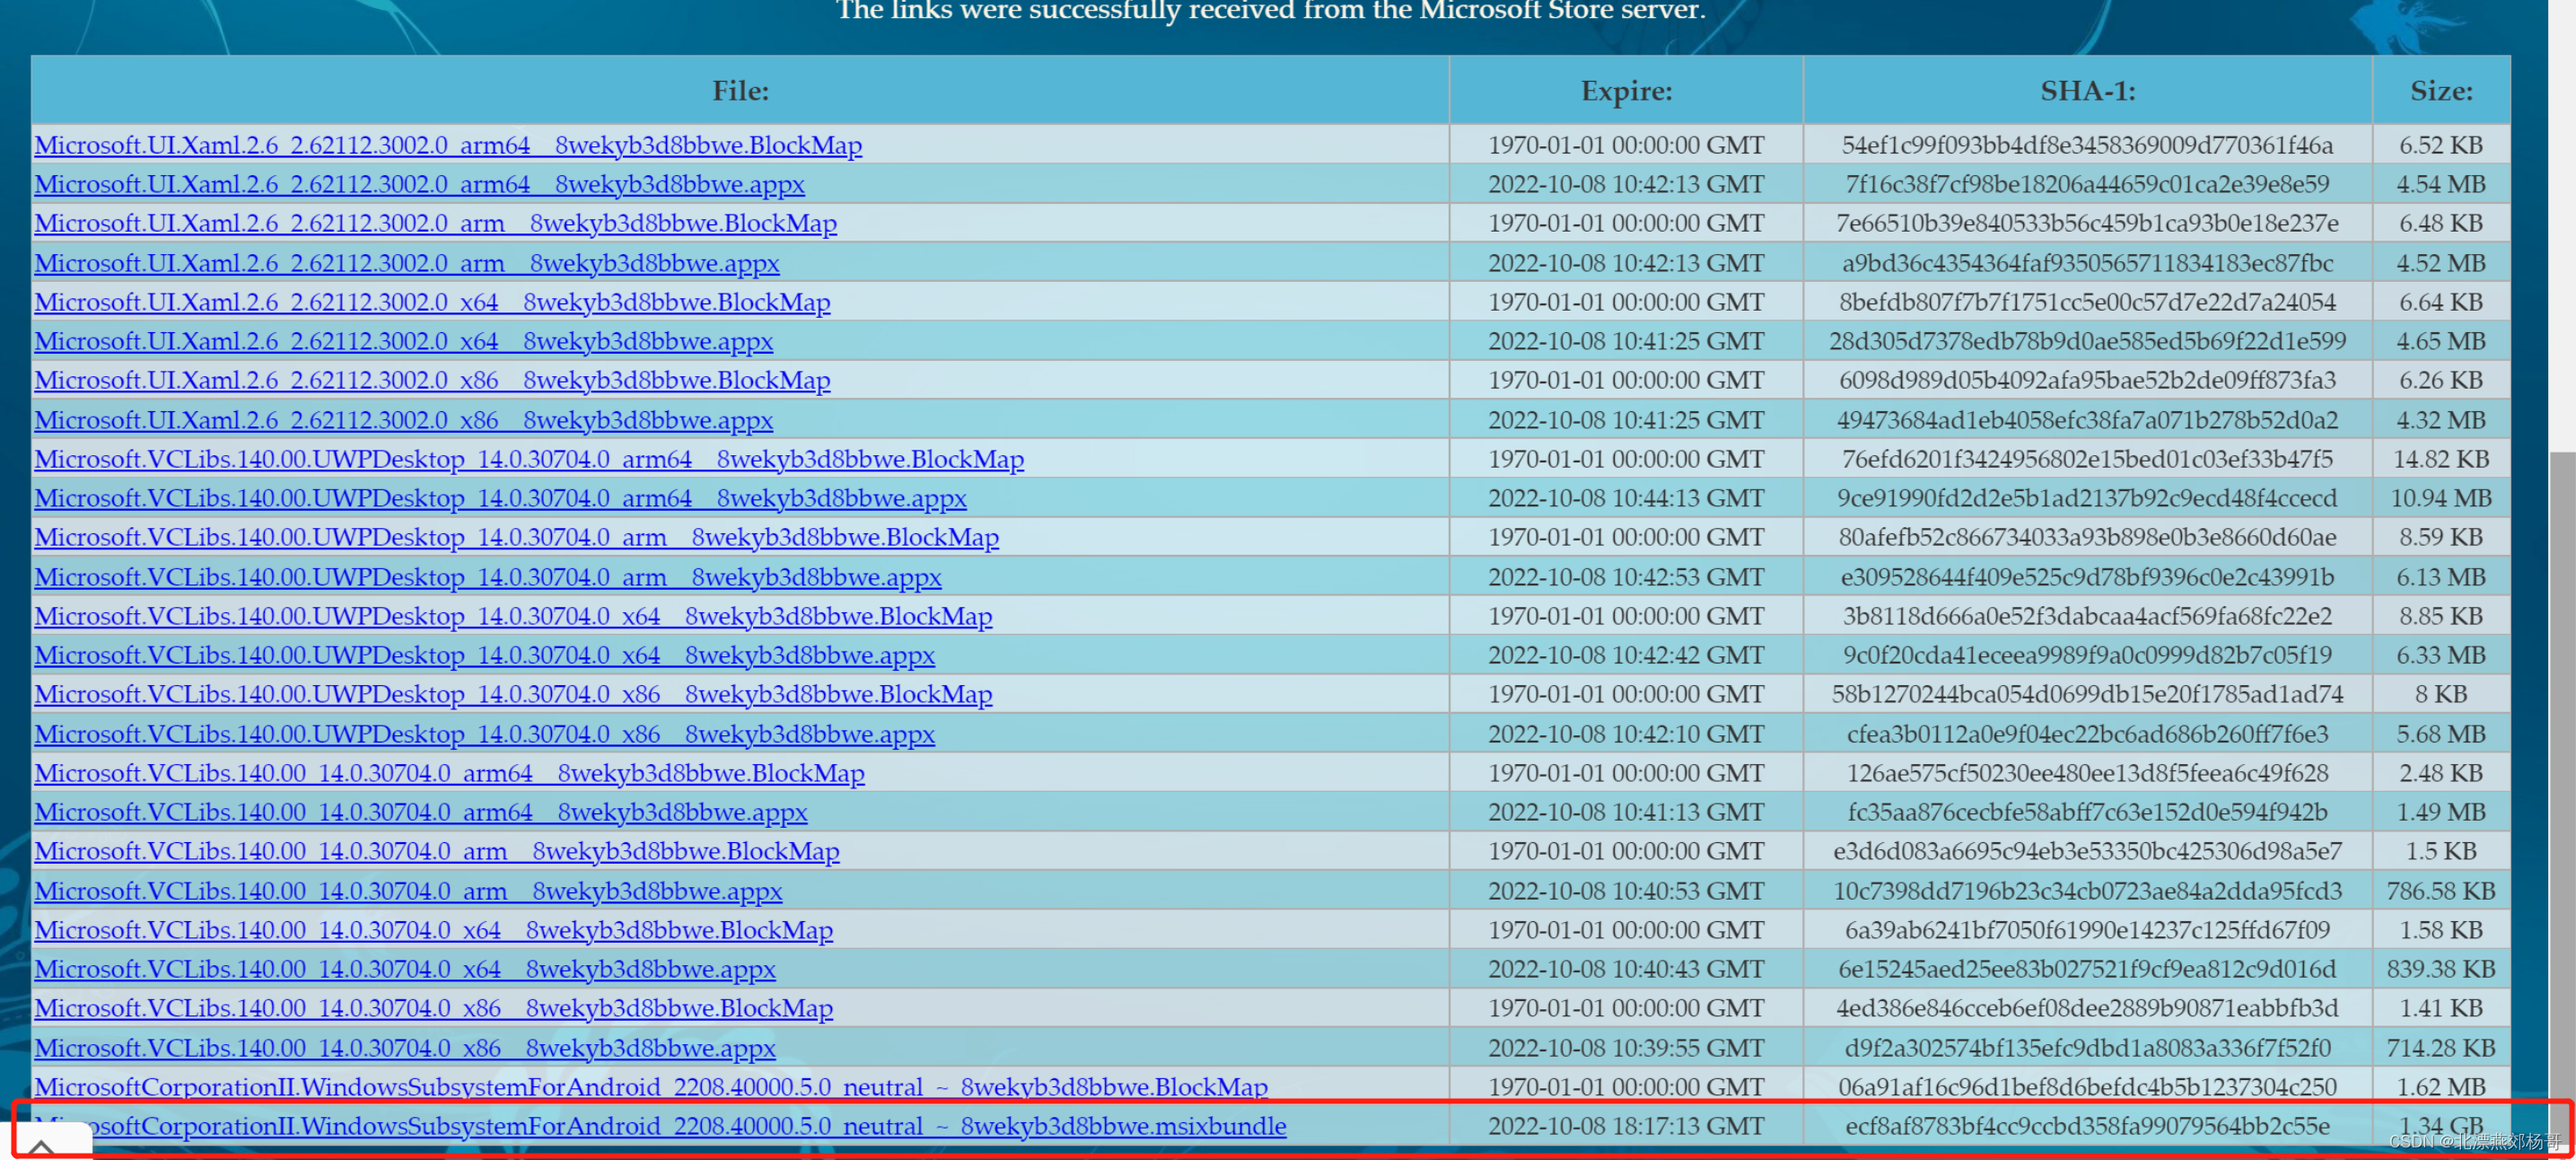
Find the file at the bottom: MicrosoftCorporationII.WindowsSubsystemForAndroid_1.7.32815.0_neutral___8wekyb3d8bbwe, and then start the download. (If you update in the future, the file name/version number you downloaded may be different)
Right-click the file, select "Copy File Address" in the menu,
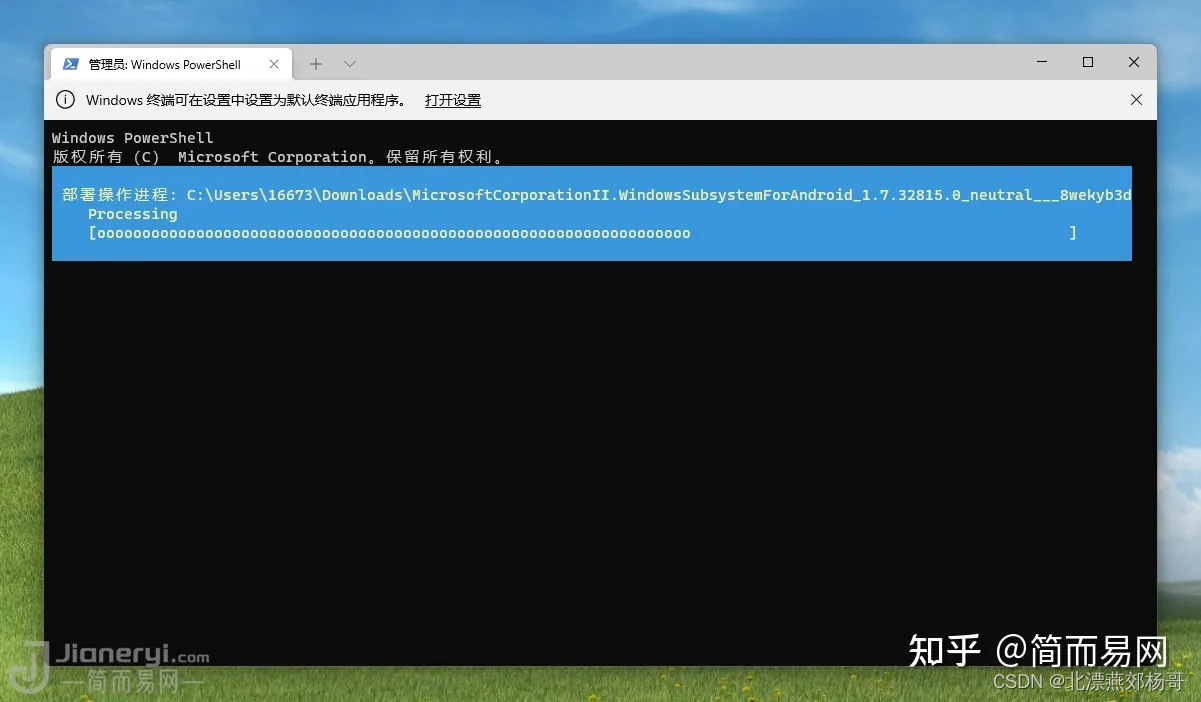
right-click the "Windows Start Menu Icon", click "Windows Terminal (Administrator)" and
enter the following command in the pop-up PowerShell command line interface:
# 安装命令如下:
Add-AppxPackage 鼠标点右键会自动粘贴安装包文件路径

# 看起来大概是这样的 (示例,请确保你的路径正确):
Add-AppxPackage "d:\wsa.Msixbundle"

# 然后回车开始进行安装
After the carriage return, the installation will start, just wait for the installation to complete.
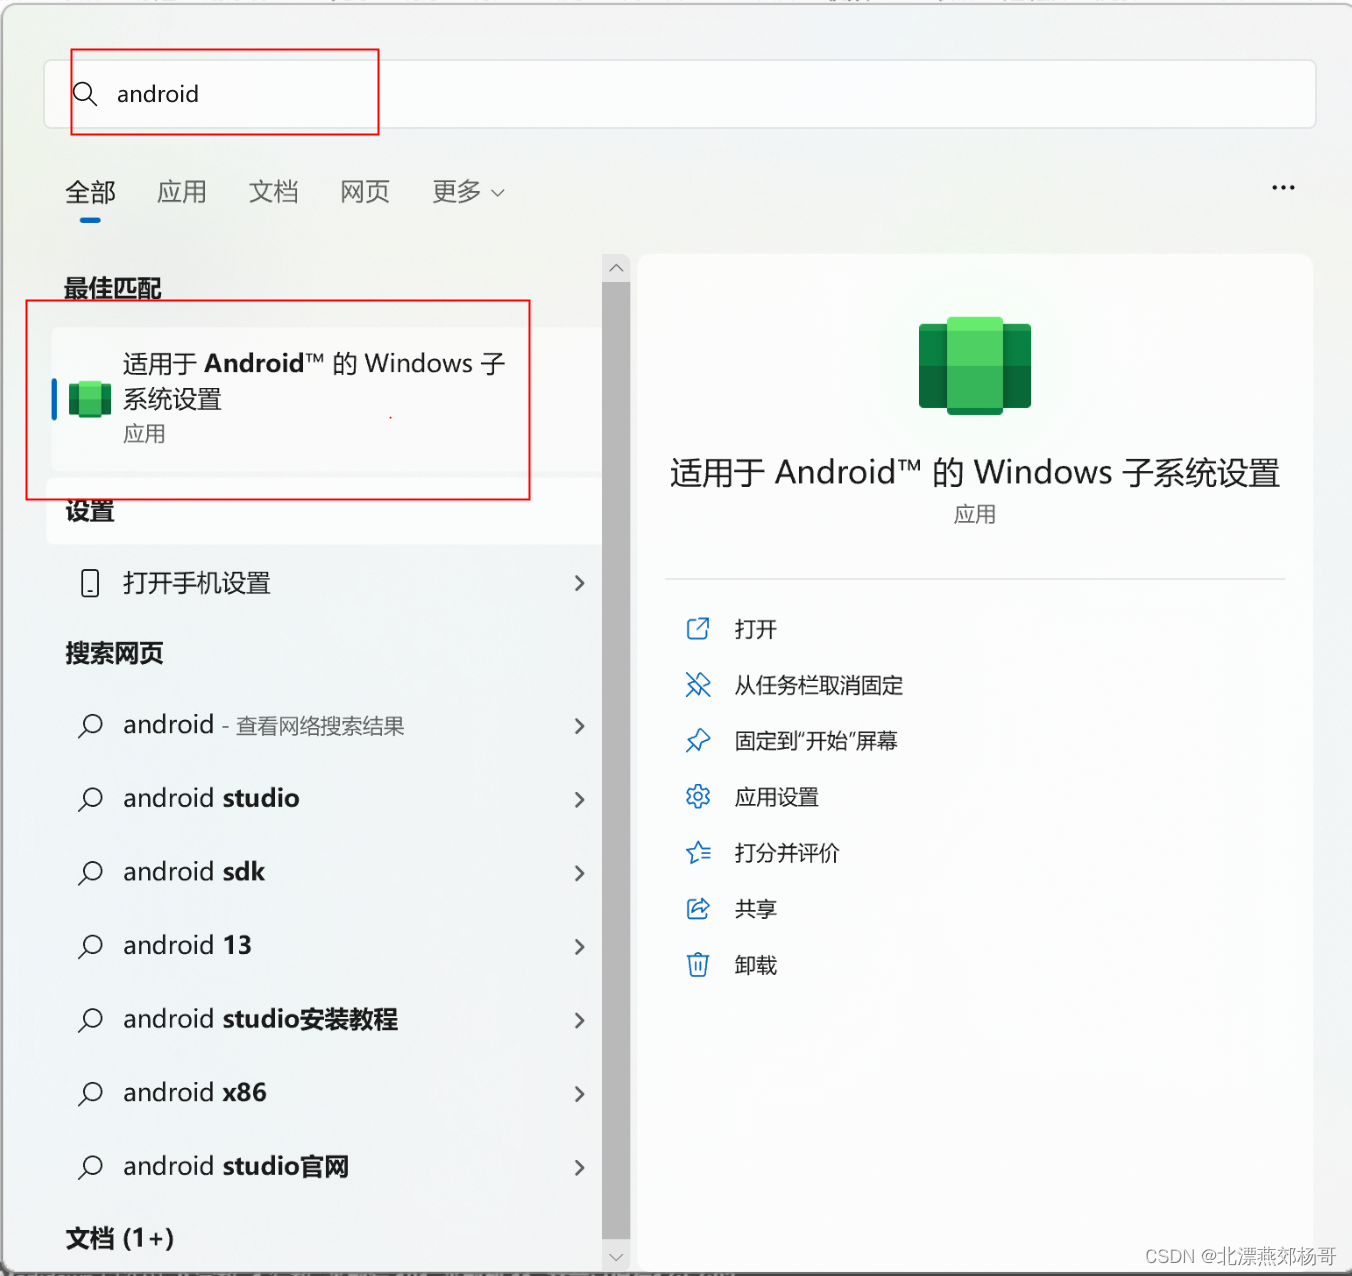
After the installation is complete, you can find the "Windows Subsystem for Android" application icon in the Windows Start menu.
Download the ADB Toolkit
https://dl.google.com/android/repository/platform-tools-latest-windows.zip
Prepare the apk file you need to run
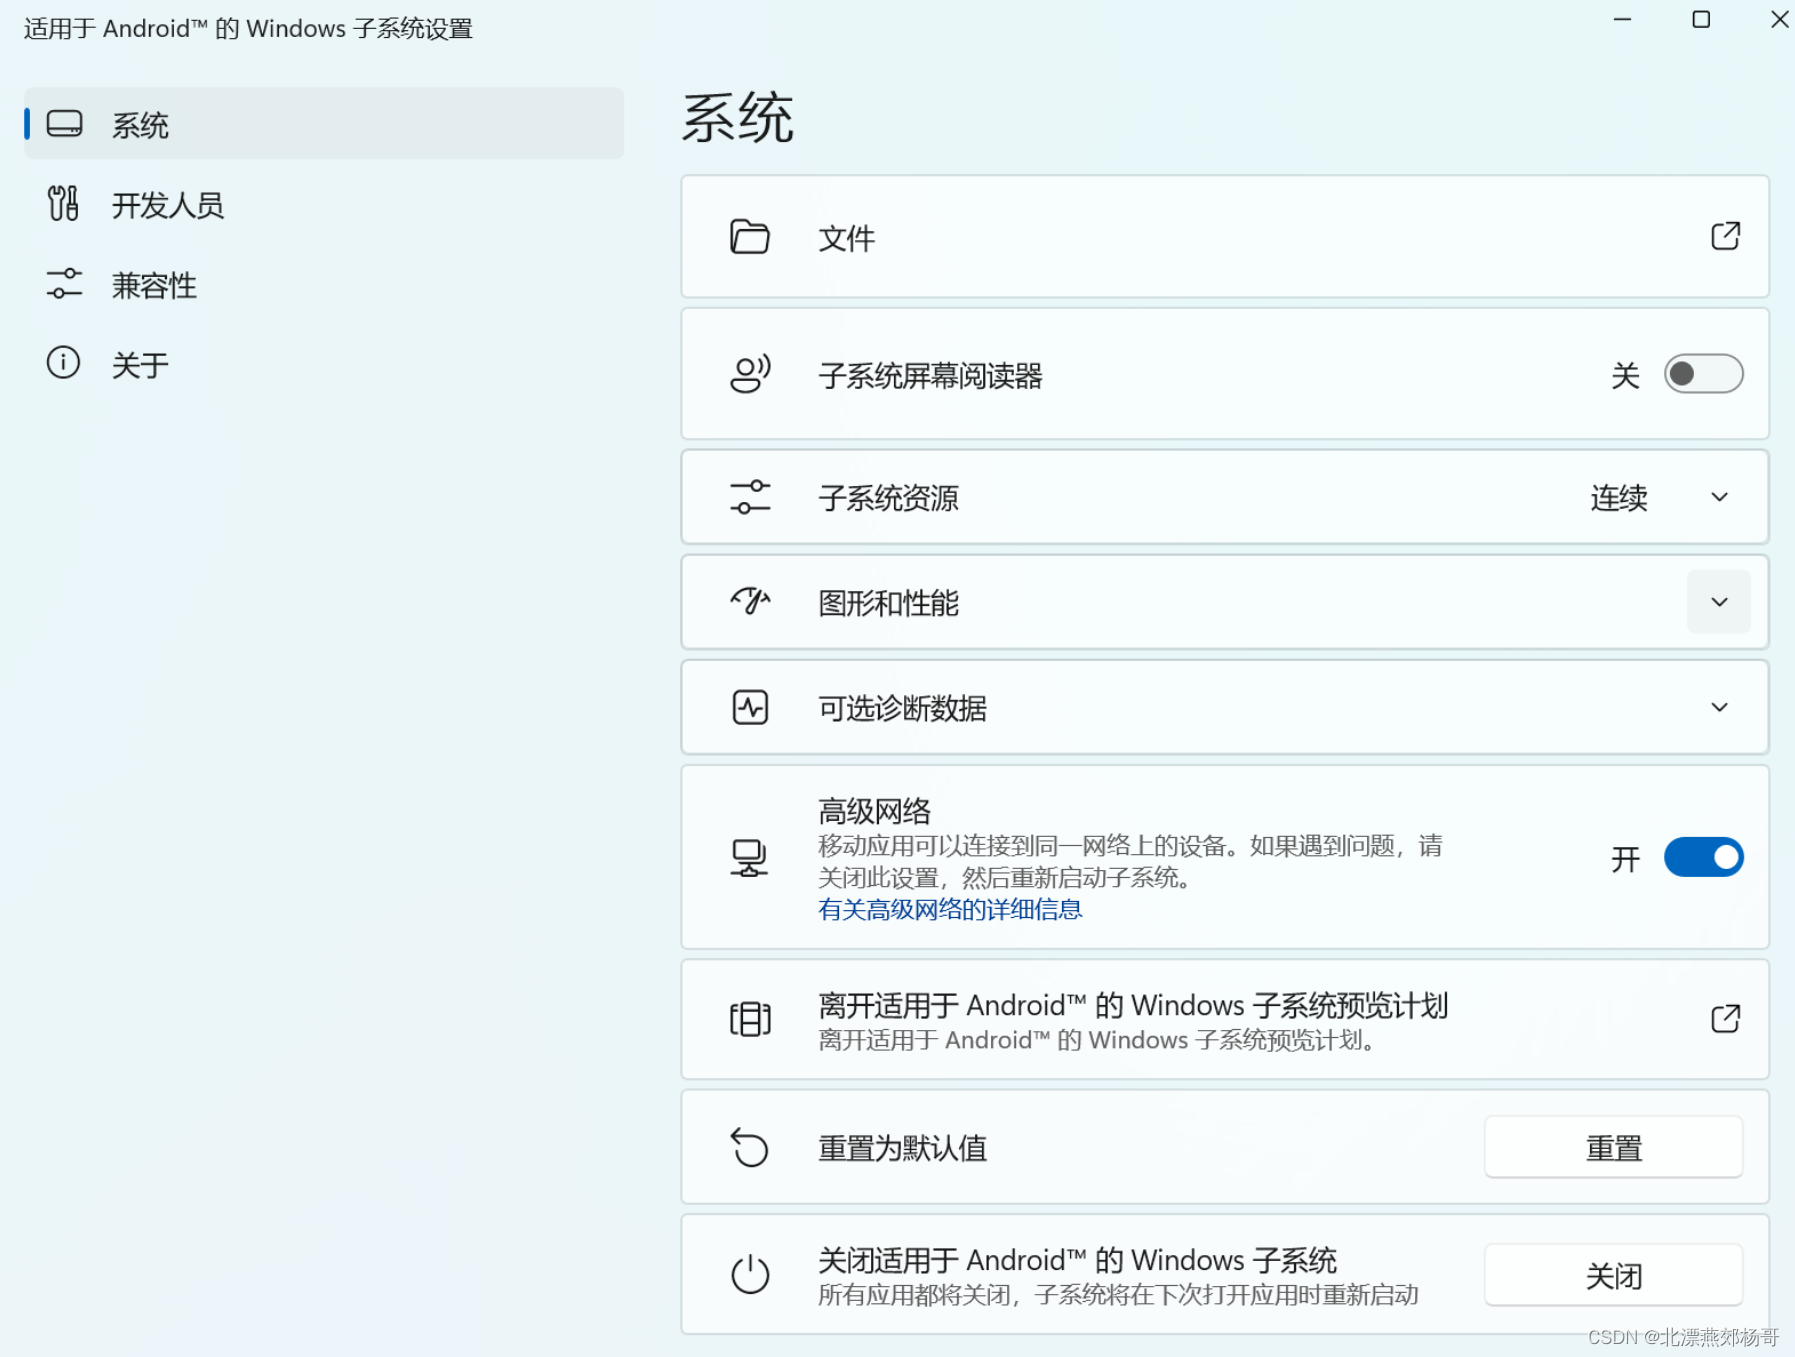
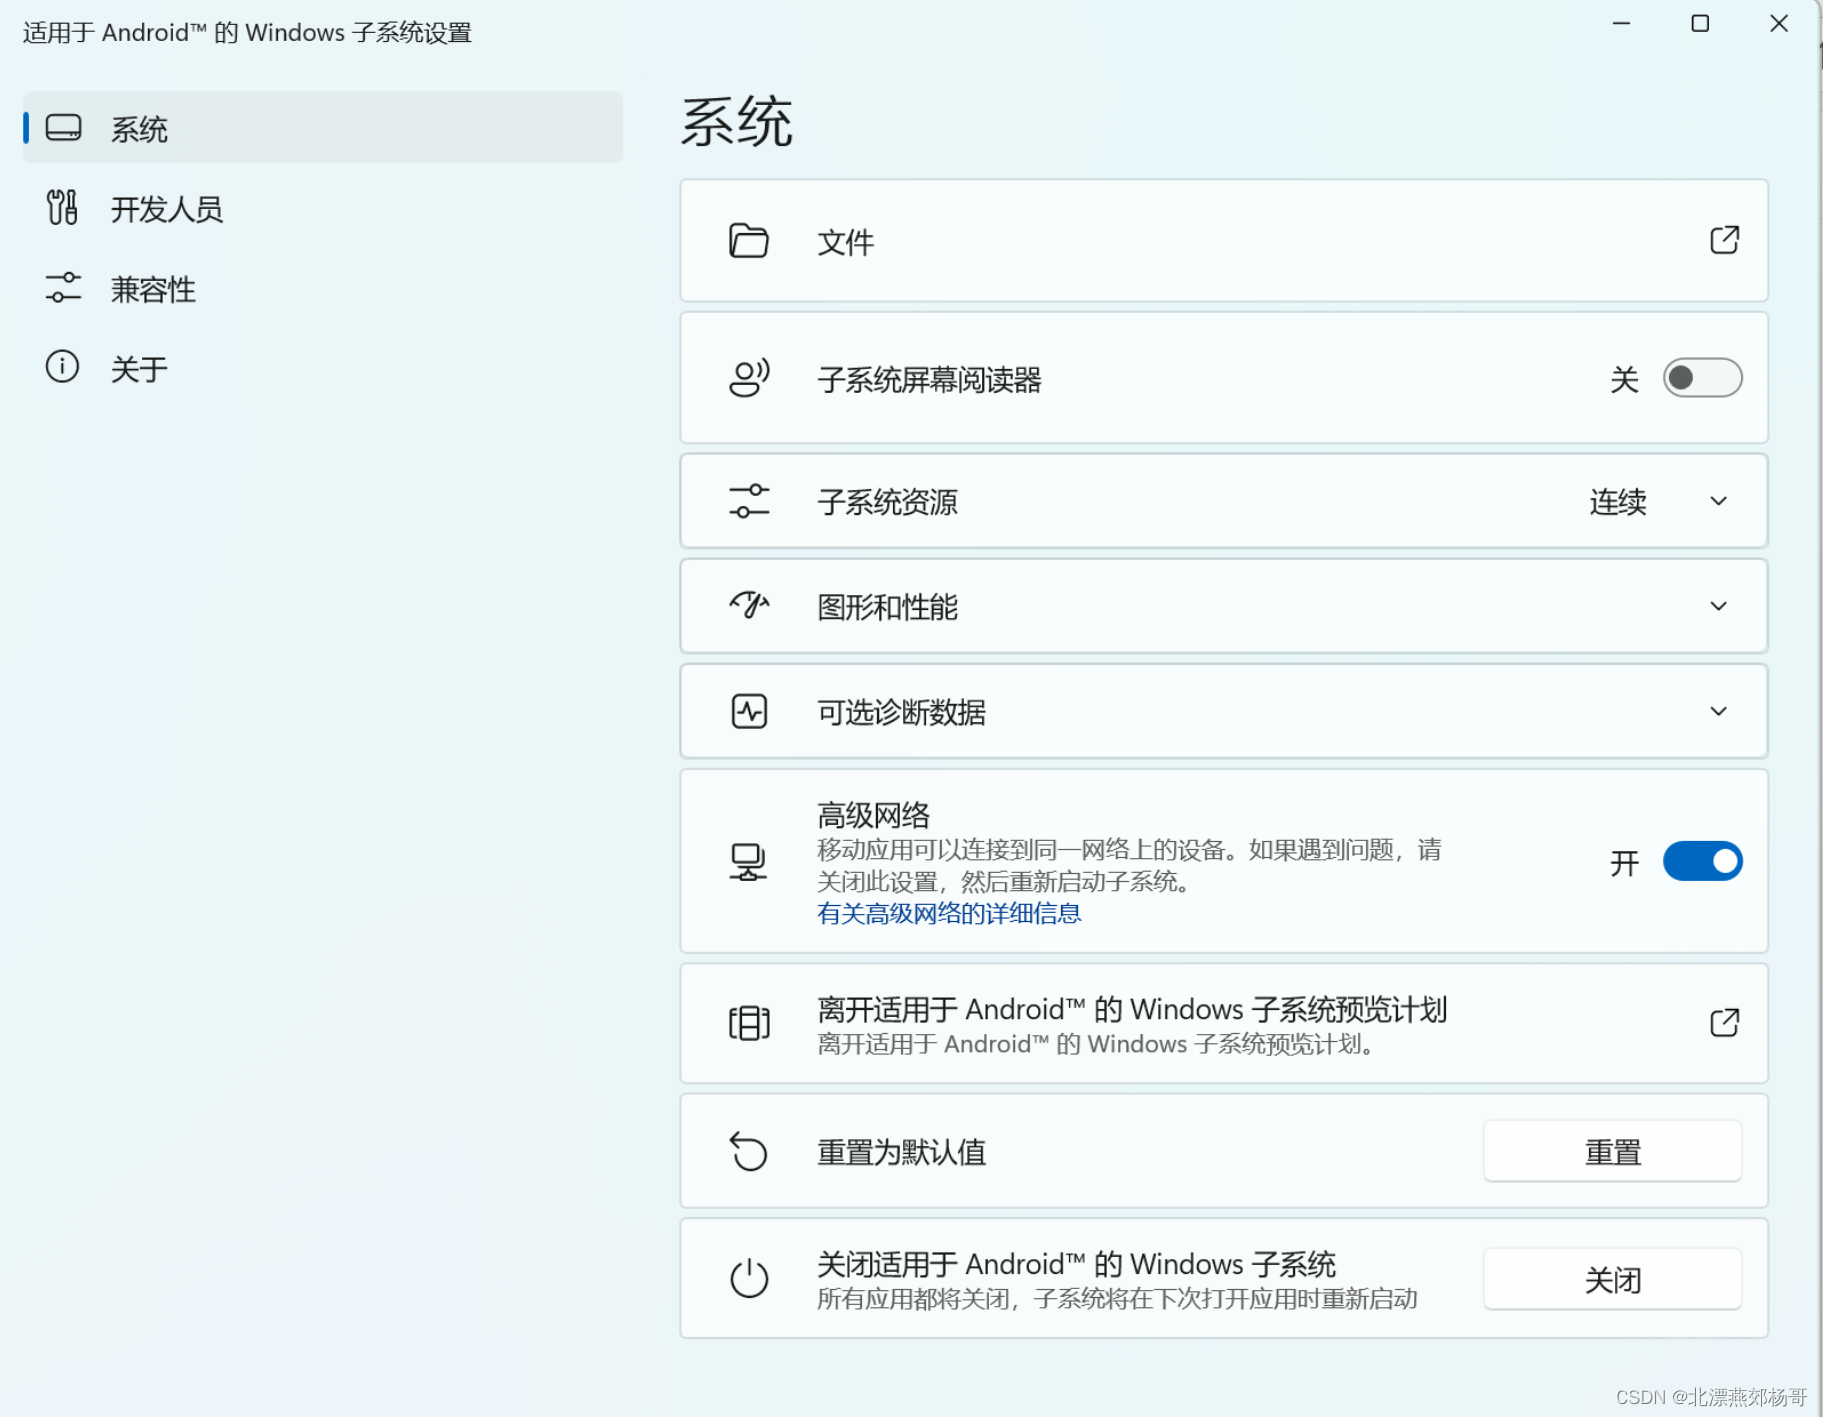
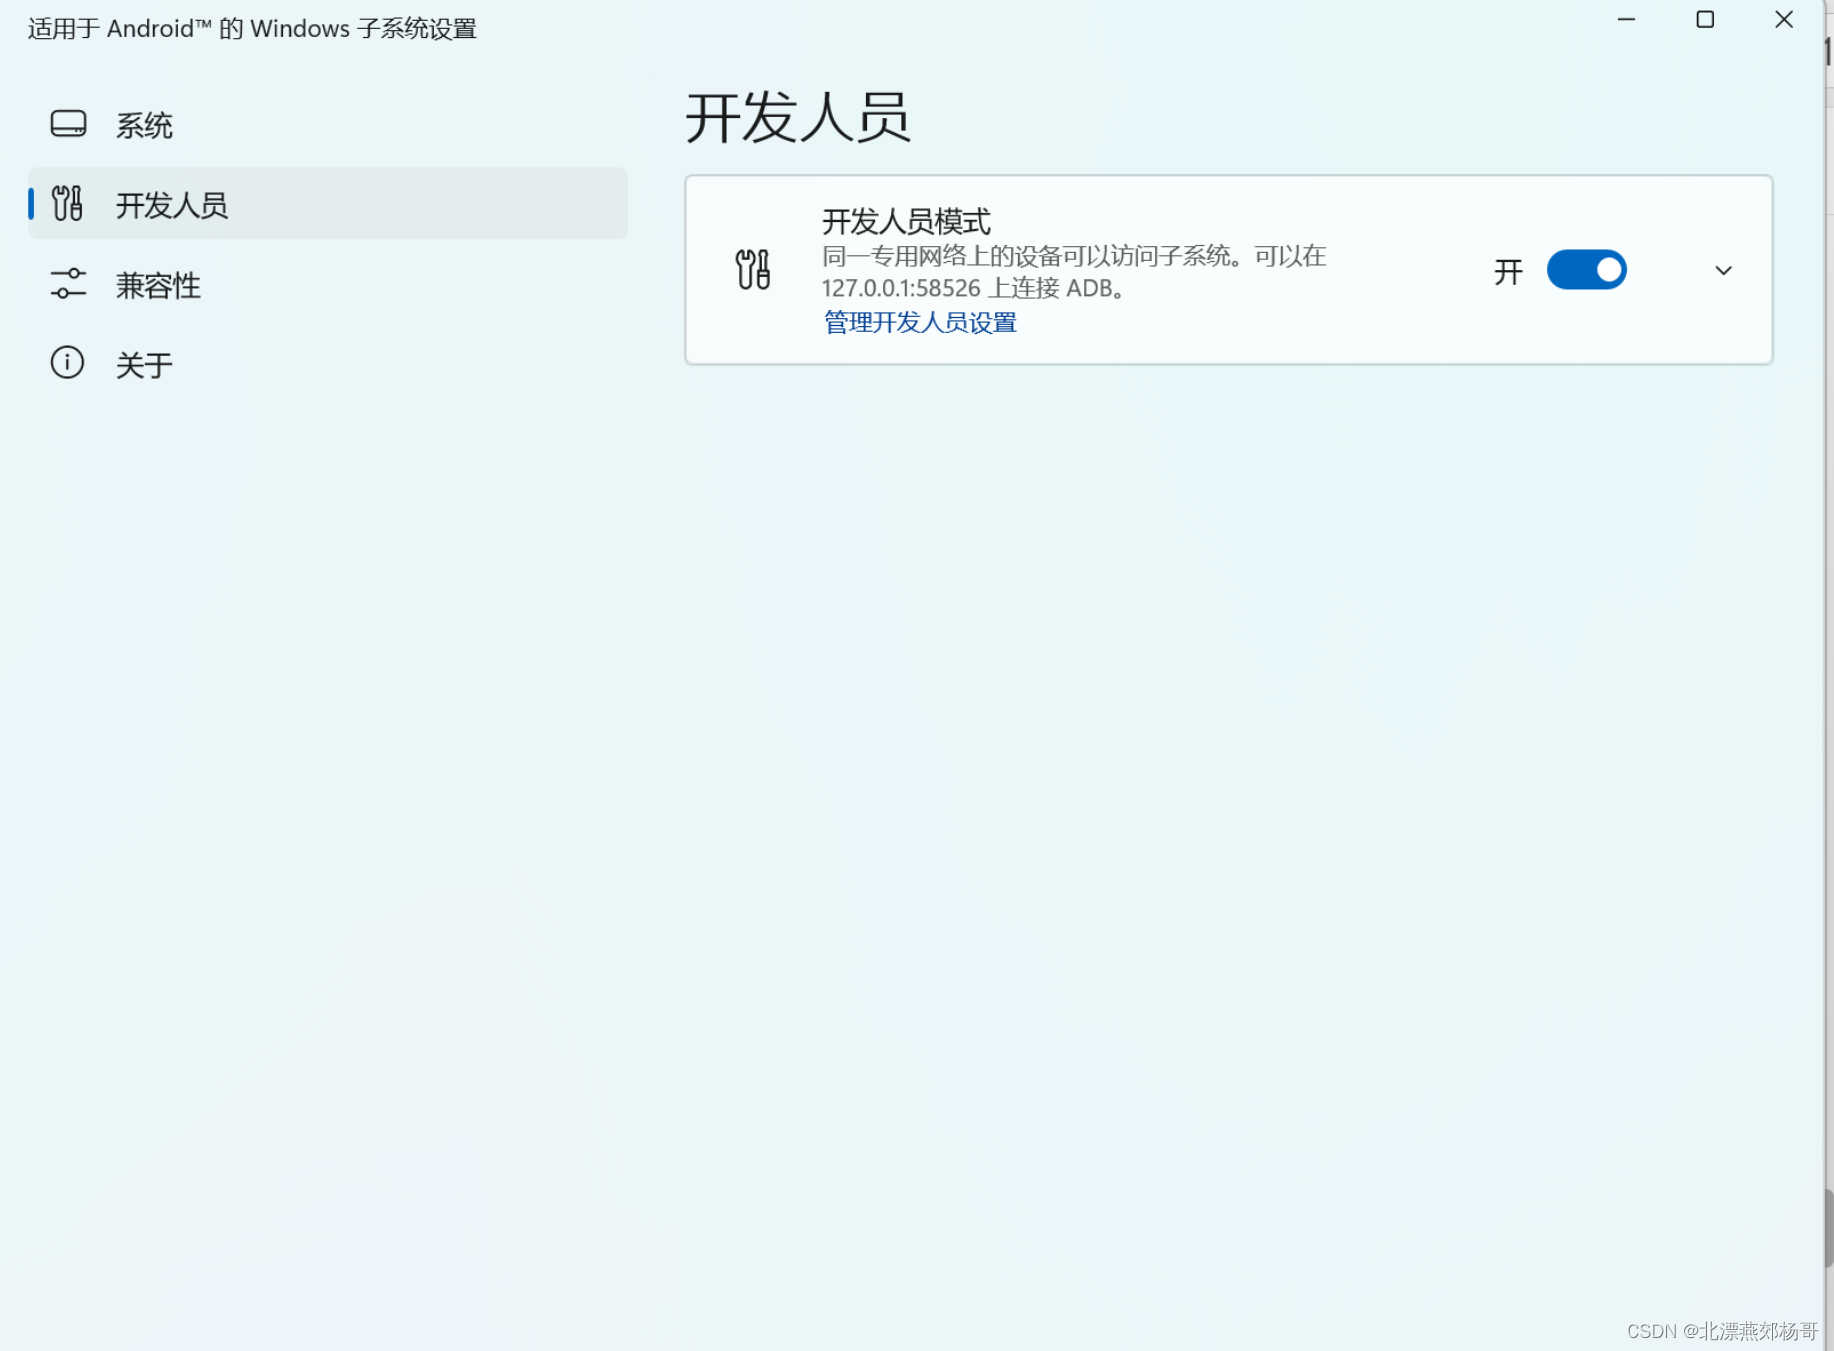
Next, run Windows Subsystem for Android, and you will enter the setting interface of the Android subsystem. We need to enable the "developer mode" of the Android subsystem, and set the subsystem resources to continuous first (it will continue to consume system resources). After installing the application It can be set back to "As needed".
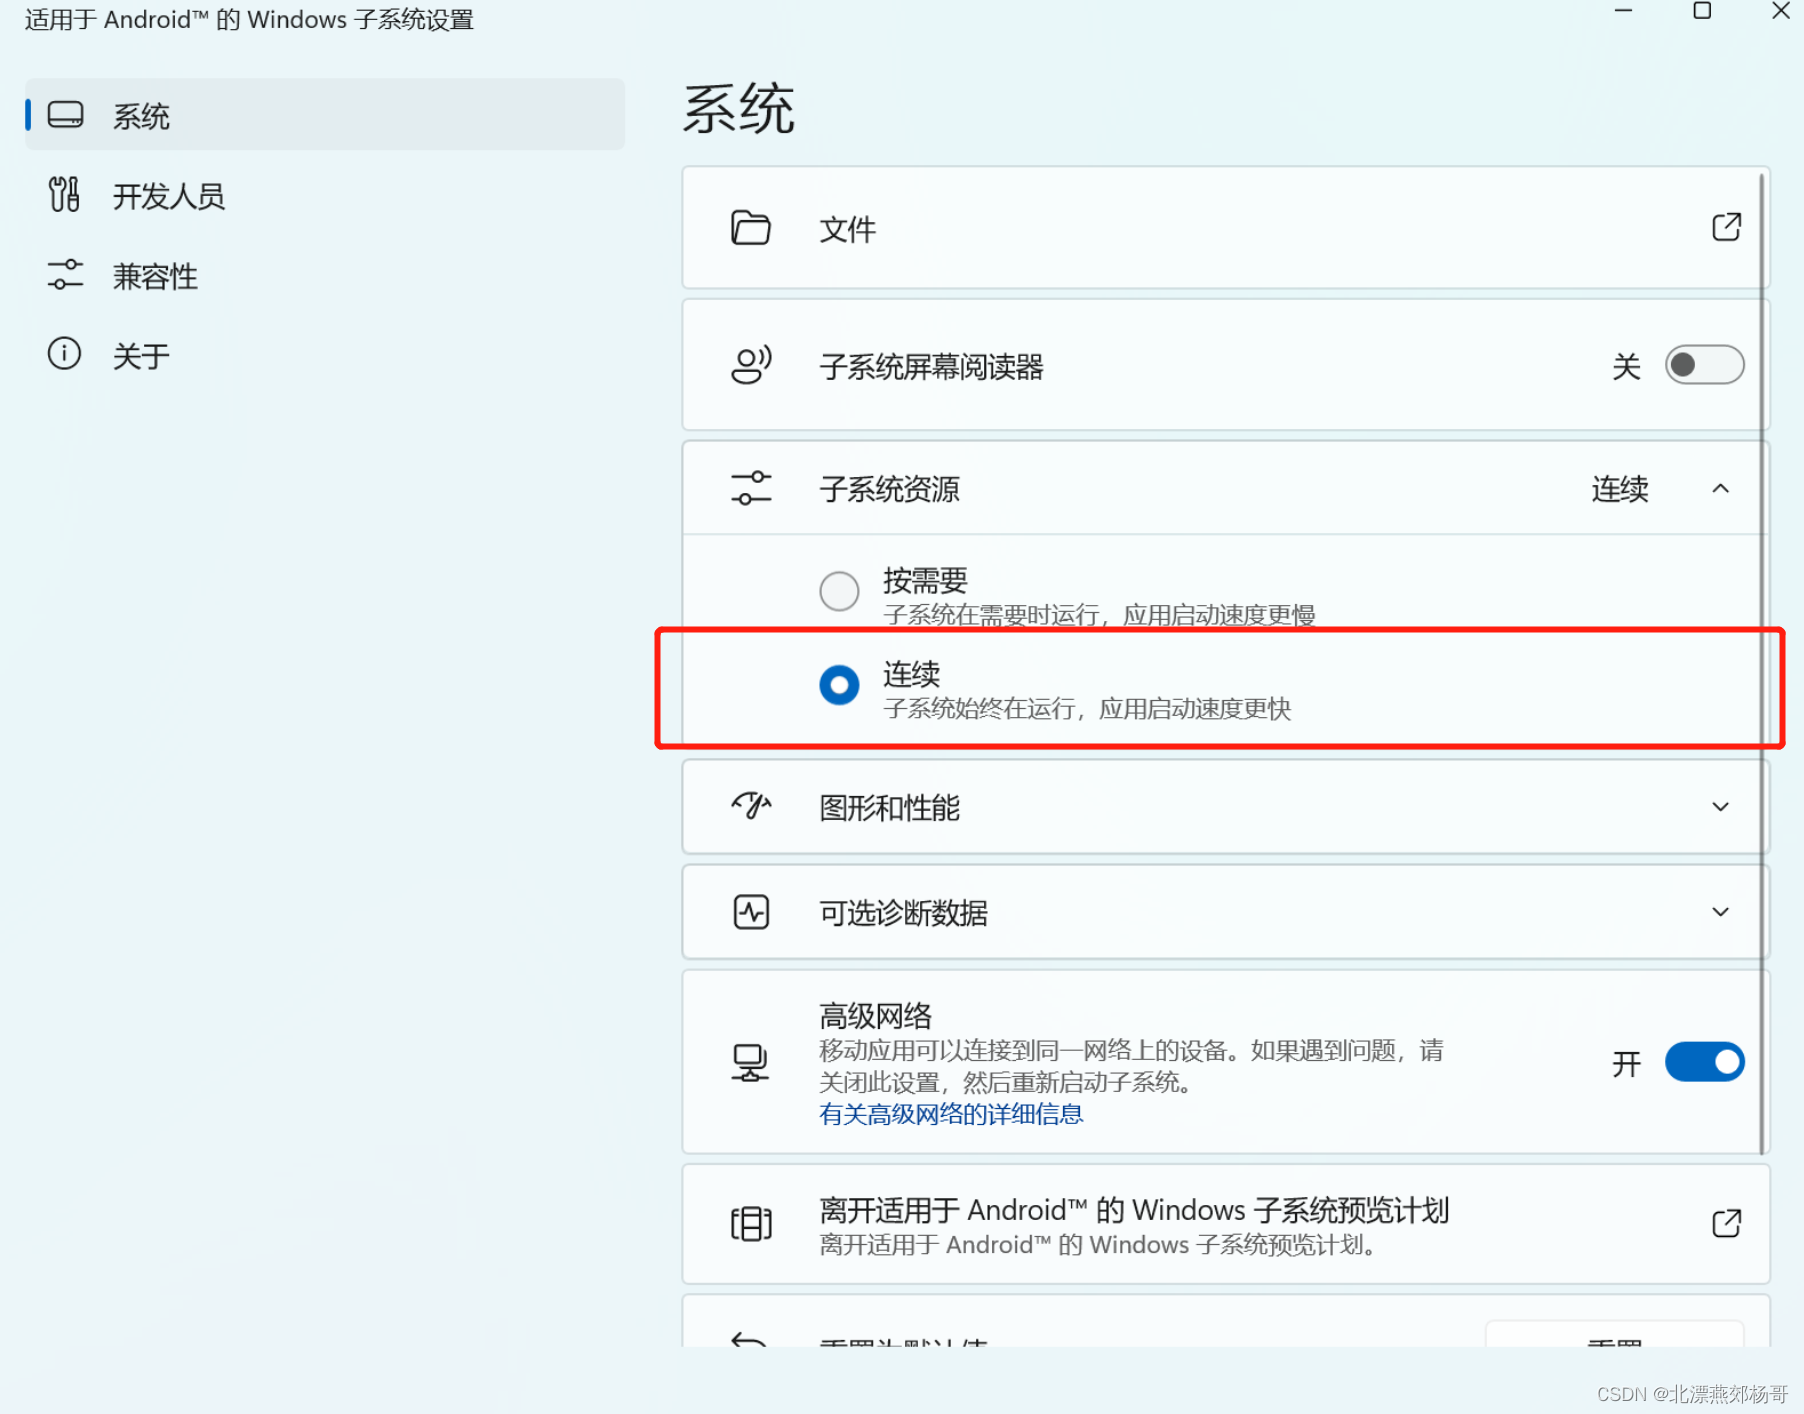
Android subsystem setting interface
Next, enter the directory where the ADB toolkit is decompressed, and select "Open in Windows Terminal" in the right-click menu of the platform-tools directory to enter the command line interface.
First of all, we have to let ADB connect to the Android system virtualized by the Android subsystem. The command is as follows ".\adb connect 127.0.0.1:58526" The ip address generally remains the same, but if you really can't connect, you can check it in the developer mode to the connection address. You can try multiple times if you can't connect once, until already connected appears.
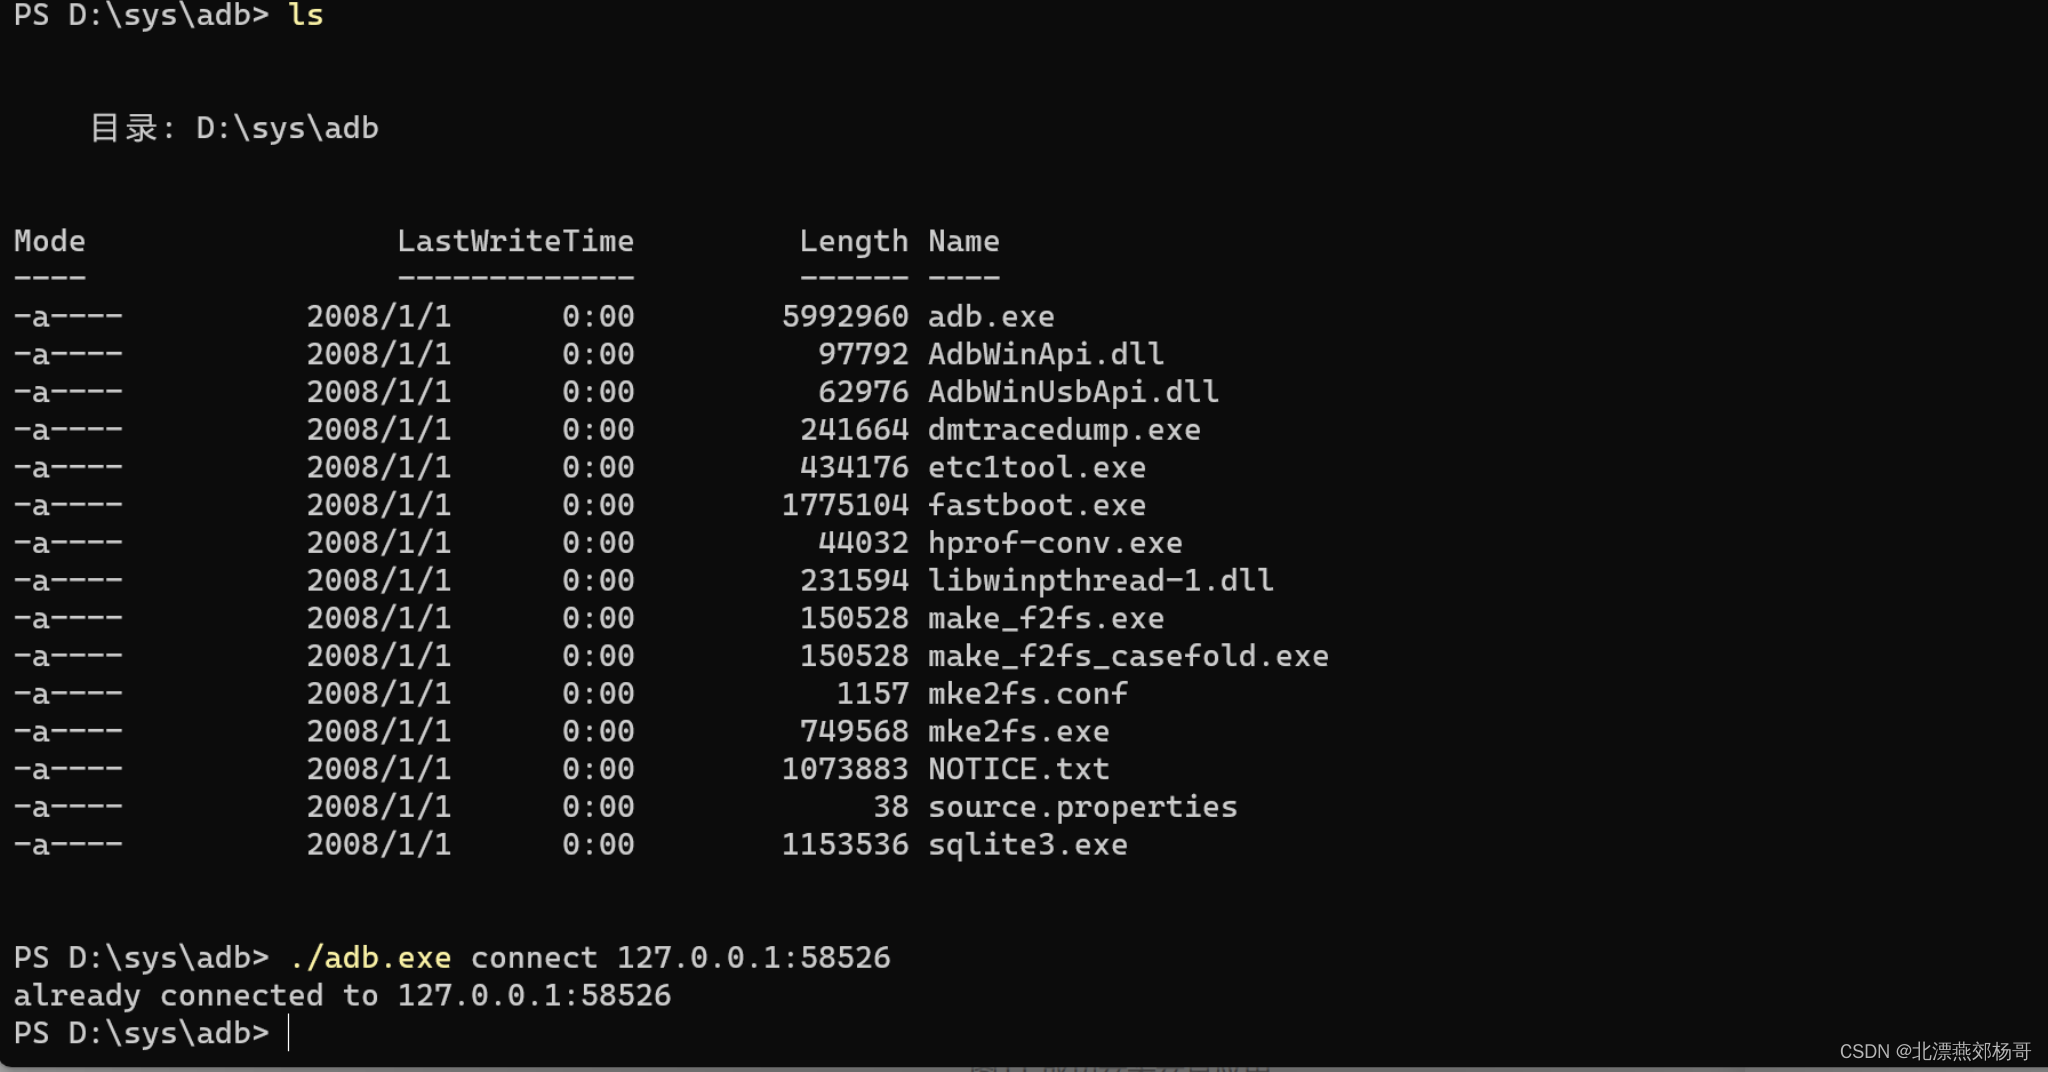
Figure 10 Successful connection
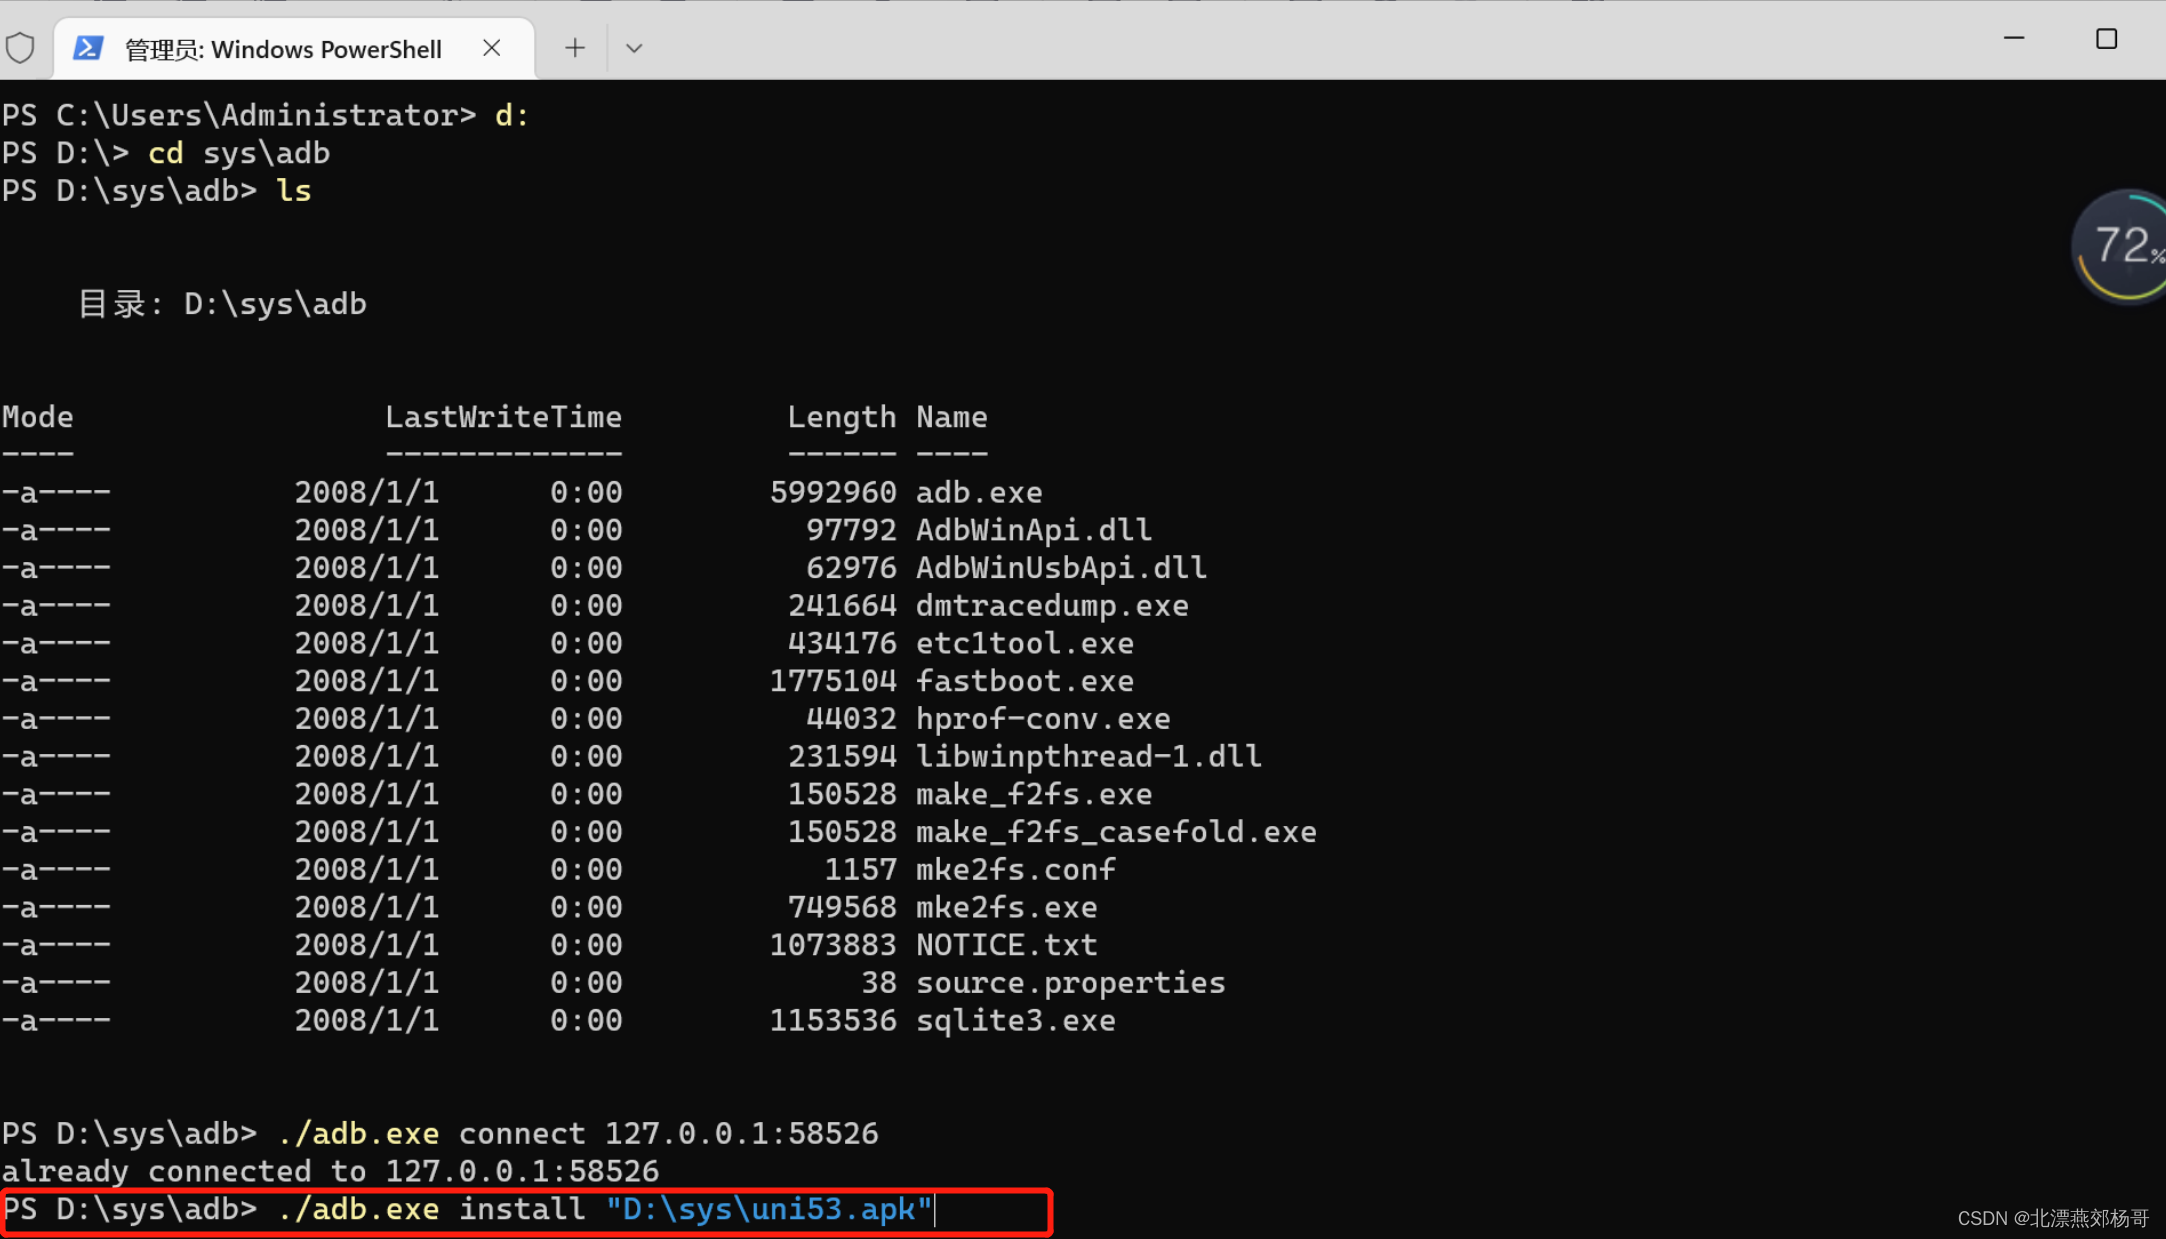
Then there is the command format for installing the Android app ".\adb install installation file address" After inputting, press Enter to start installing the Android app.
Successfully installed Android apps will appear in the recommended items of the start menu.
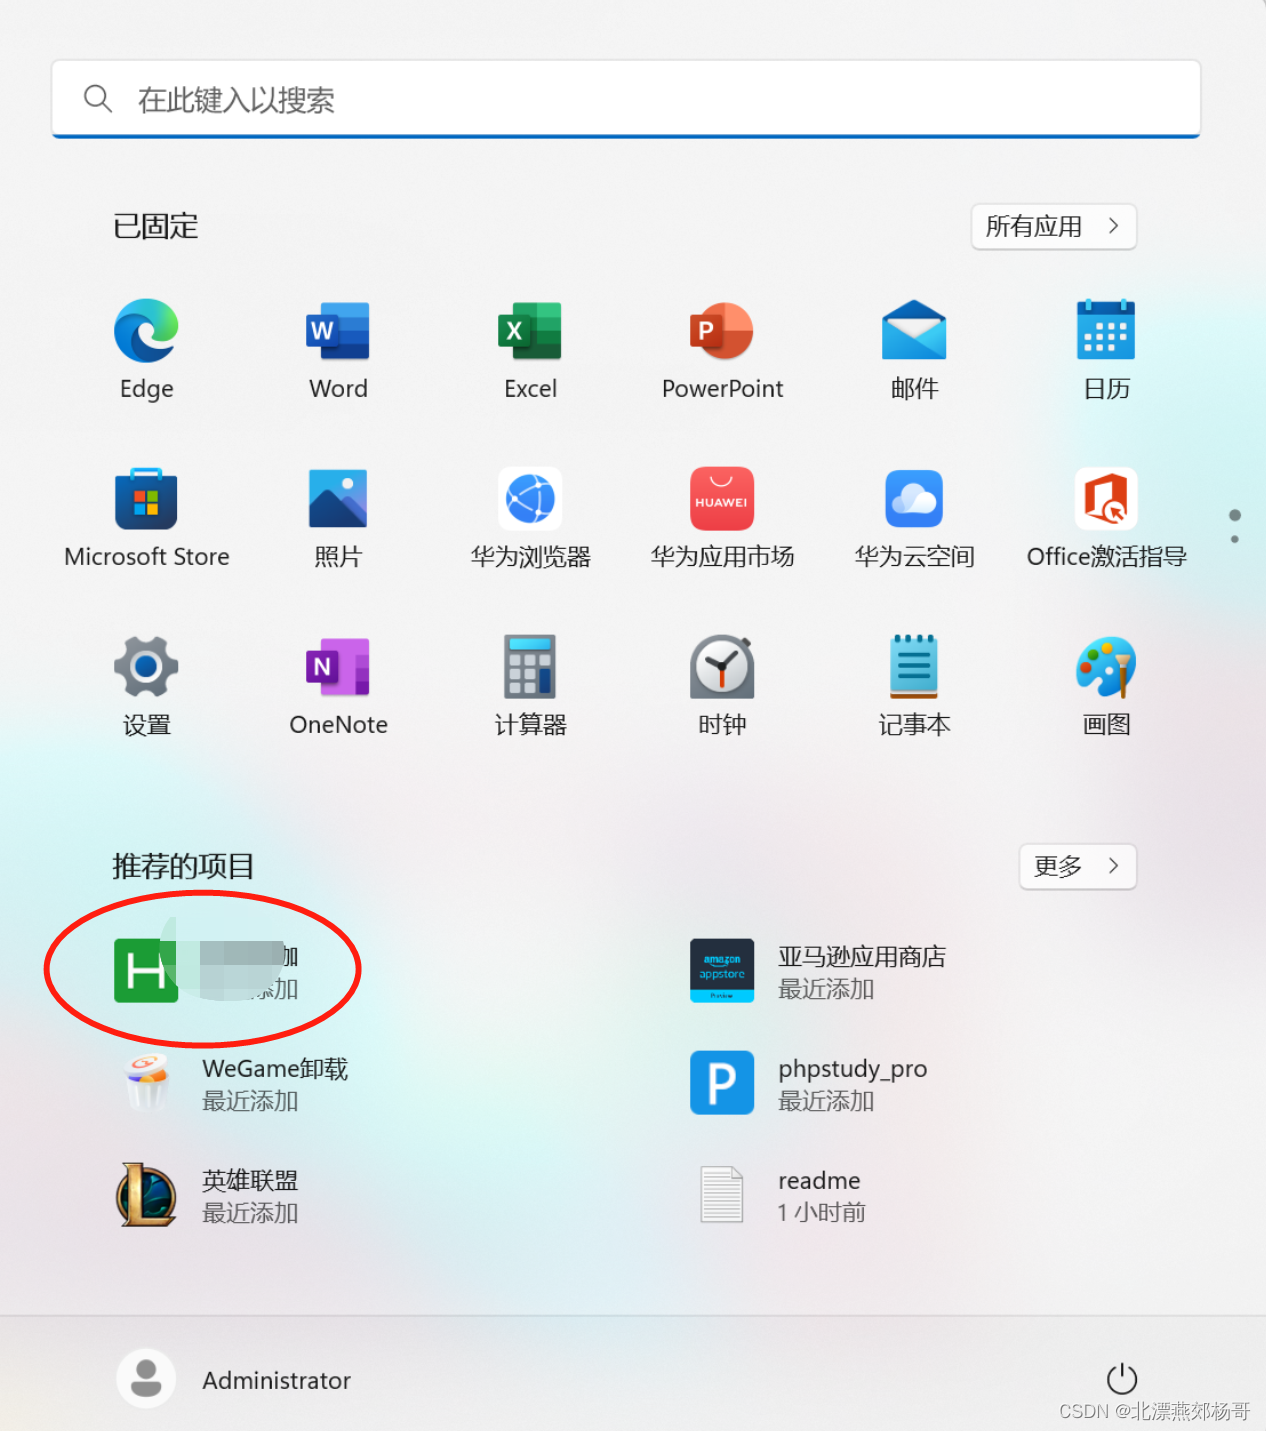
Figure 13 Running the android app packaged by uniapp in the Android subsystem
About win11 running android app, I have studied here first. As for the efficiency, compatibility and stability of the operation, I will not discuss it here, because the application I need to test is a web application. As long as it can run, it will be displayed normally. no problem
Summarize
The Windows 11 Android subsystem is recommended for everyone to have a chance to try it. It may make you feel amazing and refreshing. I think that with the Windows 11 Android subsystem, it will be more convenient for us to develop and test Android applications in the future.