Table of contents
In order to deploy the project we wrote to the cloud server
First, you need to set up the environment that you depend on for deployment.
Need to install jdk, tomcat, mysql
1. Install jdk
Install directly using the package manager, based on yum installation
Yum is equivalent to an application store
yum list | grep keywords to find the package name to be installed | is called a pipeline, and uses the output of the first command as the input of the second command
yum list package name to install
grep is used for filtering, because there are too many lists in yum list. It needs to be filtered by keywords
This process requires networking, and the yum source provided by the cloud server is very fast

java-1.8.0-openjdk-devel.x86_64 1:1.8.0.362.b09-2.al8
is what we need
devel is development, 1.8.0 version of jdk for 64-bit system
Next copy the name of the package and paste it into the directory
Enter the command, enter y

Finish

Then enter javac, if so, it is successful

2. Install tomcat
step:
1. Download the compressed package and get the zip
2. Upload the zip to linux, you may need yum install lrzsz
3. Unzip, unzip package name may need yum install unzip
4. Enter the bin directory and give the .sh file permission.chmod + x*.sh
5. Use sh startup.sh to start tomcat
the same way to find

We can find that the tomcat written here is an old version, and the servlet code we wrote is to match the tomcat version 8. Therefore, it can only be installed manually
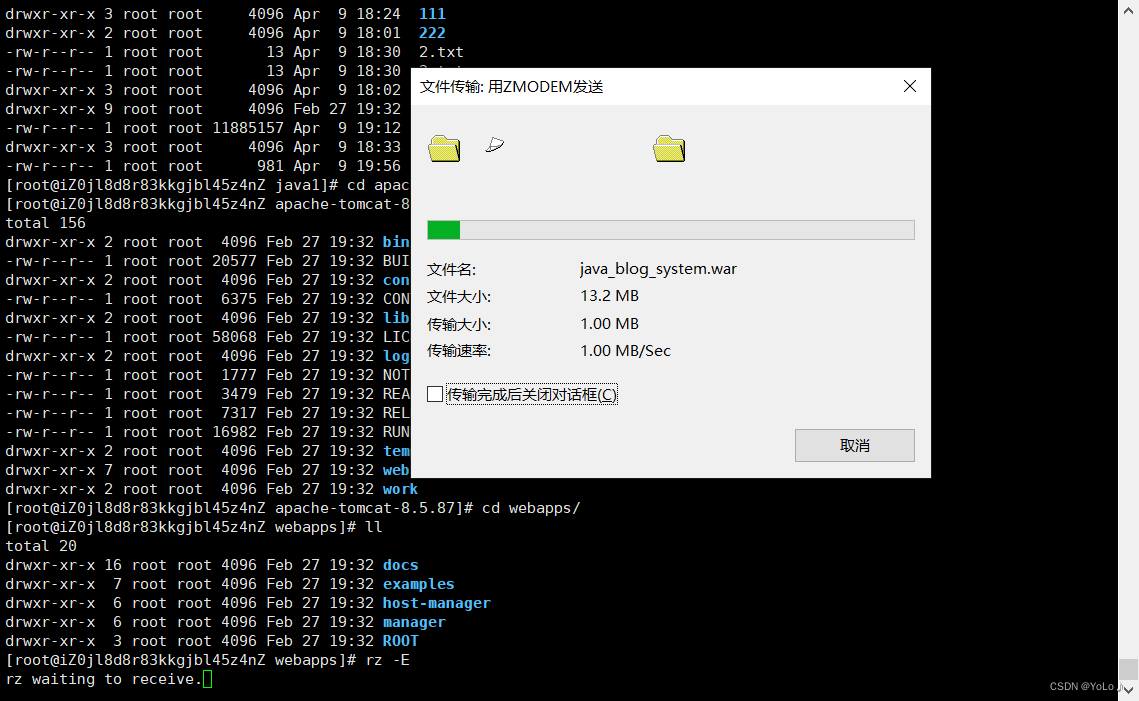
We can download directly from the official website and then transfer the zip to the linux server
Drag directly to the directory to be stored

If you finish dragging like this, then you need to cancel first, and then enter yum lrzsz on the command line
Drag and drop uses the rz command, some come with it, some don’t, and some need to be installed manually first

drag again

uploaded
Then unzip it with the command
Command: unzip

You also need to install a decompression command

Successfully decompressed

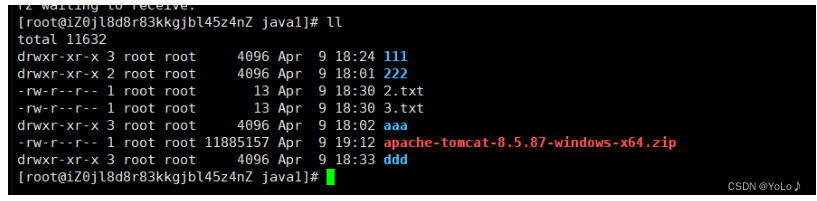
Enter the directory to see, it is exactly the same as in win

These are the contents of the bin, some startup scripts

currently does not have execute permission
Enter the bin directory, through chmod +x *.sh
Give executable permissions to all .sh files

We found that these files are all green. Already executable
Sh startup.sh can start tomcat
3. Database
The installation process of the database is relatively simple, and there are many tutorials on the Internet
service status
[root@iZ0jl8d8r83kkgjbl45z4nZ java1]# mysql -uroot
Welcome to the MariaDB monitor.  Commands end with ; or \g.
Your MariaDB connection id is 3
Server version: 10.5.16-MariaDB MariaDB Server

Copyright (c) 2000, 2018, Oracle, MariaDB Corporation Ab and others.

Type 'help;' or '\h' for help. Type '\c' to clear the current input statement.

MariaDB [(none)]> select version();
+-----------------+
| version()       |
+-----------------+
| 10.5.16-MariaDB |
+-----------------+
1 row in set (0.000 sec)
The connection is successful and check the version number of mariadb
MariaDB [(none)]> create database demo_db charset utf8mb4;
Query OK, 1 row affected (0.000 sec)
In order to support Chinese when creating a database, the utf8mb4 character set is uniformly used
MariaDB [(none)]> show databases;
+--------------------+
| Database           |
+--------------------+
| demo_db            |
| information_schema |
| mysql              |
| performance_schema |
+--------------------+
4 rows in set (0.000 sec)
After the environment is set up, it can be deployed
4. Deploy the blog system
1. Build database and table
The cloud server accesses the database on the cloud server, not the local one, and the local cloud server cannot access it
Copy and paste the code of the db.sql file we wrote before, and build the database and table
Pay attention to setting the character set
MariaDB [java_blog_system]> show tables;
+----------------------------+
| Tables_in_java_blog_system |
+----------------------------+
| blog                       |
| user                       |
+----------------------------+
2 rows in set (0.000 sec)
MariaDB [java_blog_system]> select *from blog;
+--------+--------------+--------------------------------------+---------------------+--------+
| blogId | title        | content                              | postTime            | userId |
+--------+--------------+--------------------------------------+---------------------+--------+
|      1 | 二分查找     | 二分查找又叫折半查找......           | 2023-04-09 20:42:05 |      1 |
|      2 | 二分查找     | 二分查找又叫折半查找......           | 2023-04-09 20:42:05 |      2 |
|      3 | 二分查找     | 二分查找又叫折半查找......           | 2023-04-09 20:42:05 |      3 |
+--------+--------------+--------------------------------------+---------------------+--------+
3 rows in set (0.000 sec)

MariaDB [java_blog_system]> select * from user;
+--------+----------+----------+
| userId | username | password |
+--------+----------+----------+
|      1 | zhangsan | 123      |
|      2 | lisi     | 123      |
|      3 | wangwu   | 123      |
+--------+----------+----------+
3 rows in set (0.000 sec)
quit
MariaDB [java_blog_system]> ^DBye
Enter
[root@iZ0jl8d8r83kkgjbl45z4nZ java1]# mysql -uroot
With password: mysql -root -p
Just enter the password
2. Fine-tune the code
The local database, port number, username and password may be different from the cloud server
For example, the local database password is set, and the cloud server database has no password by default, you can set a password for it, and change the local code password to the same!!
Check the port number of mysql, pay attention to the same port number as the code
netstat -anp | grep mysql
Use netstat -anp | grep XXX to see what port a certain process occupies. Which process occupies a certain port
The process or port to be checked is hi after adding grep
[root@iZ0jl8d8r83kkgjbl45z4nZ ~]# netstat -anp | grep mysql
tcp6       0      0 :::3306                 :::*                    LISTEN      18956/mysqld
unix  2      [ ACC ]     STREAM     LISTENING     60117    18956/mysqld         /var/lib/mysql/mysql.sock
[root@iZ0jl8d8r83kkgjbl45z4nZ ~]#
Fine-tune pom.xml before packaging

3. Pack
Use maven to make a war package
Double-click the package to package


4. copy
Copy the war package to the webapps directory on the cloud server

then start the server
Before the execution starts, the file must be green, otherwise it is useless

Check whether the startup is successful. If it is TIME_WATING, the startup is not successful, and LISTEN is successful. If it fails, you can check the log information to see if the required port is occupied by other processes. If it is occupied, you can set the port number in the configuration file Revise

So far, the deployment is successful!
5. Access blog system
If you cannot access the address entered in the browser, and it prompts that the response is too long, check the firewall
At this time, the high probability is that the firewall/security group of the server is not properly opened!
In order to ensure the security of the machine, the cloud server manufacturer introduces a security mechanism. By default, only port 22 (ssh) of your machine can be accessed externally. To make other ports accessible to the outside, you need to add it manually
The lightweight application server corresponds to the firewall
The ESC server corresponds to the security group
Here I am using the Alibaba Cloud server and need to set up a security group

Click Configure Rules
 Manually add a security group and open port 8080
 After the setting is successful, you can access normally


