Deploying Tale personal blog system on Linux system
1. Introduction to Tale
1.1 Introduction to Tale
Tale is a simple and beautiful Java blog system that allows everyone with a story to better express their ideas! Tale is developed using the lightweight mvc framework Blade, and the default theme uses beautiful pinhsu.
1.2 Tale Features
- Simple design and beautiful interface
- Markdown article publishing
- Custom article link
- Support multiple themes
- Support plug-in extension
- Support Emoji expressions
- Support NetEase Cloud music playback
- Support attachment and database backup
- Simple deployment and does not depend on Tomcat
- No database required, built-in Sqlite
2. Introduction to local environment
2.1 Local environment planning
This practice is a personal test environment, and the operating system version is centos7.6.
| hostname | local P address | Operating system version | Kernel version | java version |
|---|---|---|---|---|
| jeven | 192.168.3.166 | centos 7.6 | 3.10.0-957.el7.x86_64 | openjdk version “1.8.0_181” |
2.2 Introduction to this practice
1. The deployment environment for this practice is a personal test environment, please be careful in the production environment;
2. Deploy the Tale personal blog system in the centos7.6 environment.
3. Check the local environment
3.1 Check local operating system version
Check the local operating system version. The current operating system version is centos 7.9.
[root@jeven ~]# cat /etc/redhat-release
CentOS Linux release 7.6.1810 (Core)
3.2 Check the system kernel version
Check system kernel version
[root@jeven ~]#  uname -r
3.10.0-957.el7.x86_64
3.3 Check java version
Before deploying Tale applications, you need to install the java development environment. In this environment, the java environment has been installed in advance.
[root@jeven ~]# java -version
openjdk version "1.8.0_181"
OpenJDK Runtime Environment (build 1.8.0_181-b13)
OpenJDK 64-Bit Server VM (build 25.181-b13, mixed mode)
4. Deploy Tale personal blog system
4.1 Download Tale source code
Execute the following command to download the Tale source code.
git clone https://github.com/otale/tale.git

4.2 View the Tale source code directory
View the Tale source code directory
[root@jeven ~]# tree -L 3 ./tale/
./tale/
├── bin
│   └── tool
├── install.sh
├── LICENSE
├── package.xml
├── pom.xml
├── README.md
├── README_ZH.md
└── src
    ├── main
    │   ├── java
    │   └── resources
    └── test
        ├── java
        └── resources

8 directories, 7 files
4.3 View the installation script content
View the contents of the install.sh installation script
[root@jeven tale]# cat install.sh
#!/bin/sh

APP_NAME="tale"
get_latest_release() {


  curl --silent "https://api.github.com/repos/$1/releases/latest" | # Get latest release from GitHub api
    grep '"tag_name":' |                                            # Get tag line
    sed -E 's/.*"([^"]+)".*/\1/'                                    # Pluck JSON value
}

TAG_VERSION=$(get_latest_release "otale/tale")

wget -N --no-check-certificate https://github.com/otale/tale/releases/download/$TAG_VERSION/tale.tar.gz

echo '下载完毕'

mkdir $APP_NAME
tar -zxvf $APP_NAME.tar.gz -C $APP_NAME && cd $APP_NAME
chmod +x tool

echo '安装成功,请进入 tale 目录执行 sh tool start 启动'[root@jeven tale]#
4.4 Execute the installation script
Execute the install.sh file
sh install.sh

4.5 Start the Tale service
Enter the story directory
[root@jeven tale]# cd tale/
[root@jeven tale]# ls
lib  resources  tale-latest.jar  tool
Start the tale service
[root@jeven tale]# ./tool start
Starting tale ...
(pid=11038) [OK]
4.6 Check Tale service status
View tool command help information
[root@jeven tale]# ./tool --help
Usage: ./tool {

    start | stop | restart | status | upgrade | log}
Check tale service status
[root@jeven tale]# ./tool status
tale is running! (pid=11038)
4.7 Check the Tale listening port
Check the tale listening port and find that port 9000 is being monitored normally.
[root@jeven tale]# ss -tunlp |grep 11038
tcp    LISTEN     0      128      :::9000                 :::*                   users:(("java",pid=11038,fd=55))
5. Security settings
5.1 Firewall settings
Turn off the firewall. If you enable the firewall, you need to allow port 9000.
systemctl stop firewalld && systemctl disable firewalld
If you need to enable the firewall, execute the following command to allow port 9000.
firewall-cmd --add-port=9000/tcp --permanent
firewall-cmd --reload
5.2 selinux settings
Turn off selinux
sed -i 's/SELINUX=enforcing/SELINUX=disabled/' /etc/selinux/config
setenforce 0
6. Tale’s initial configuration
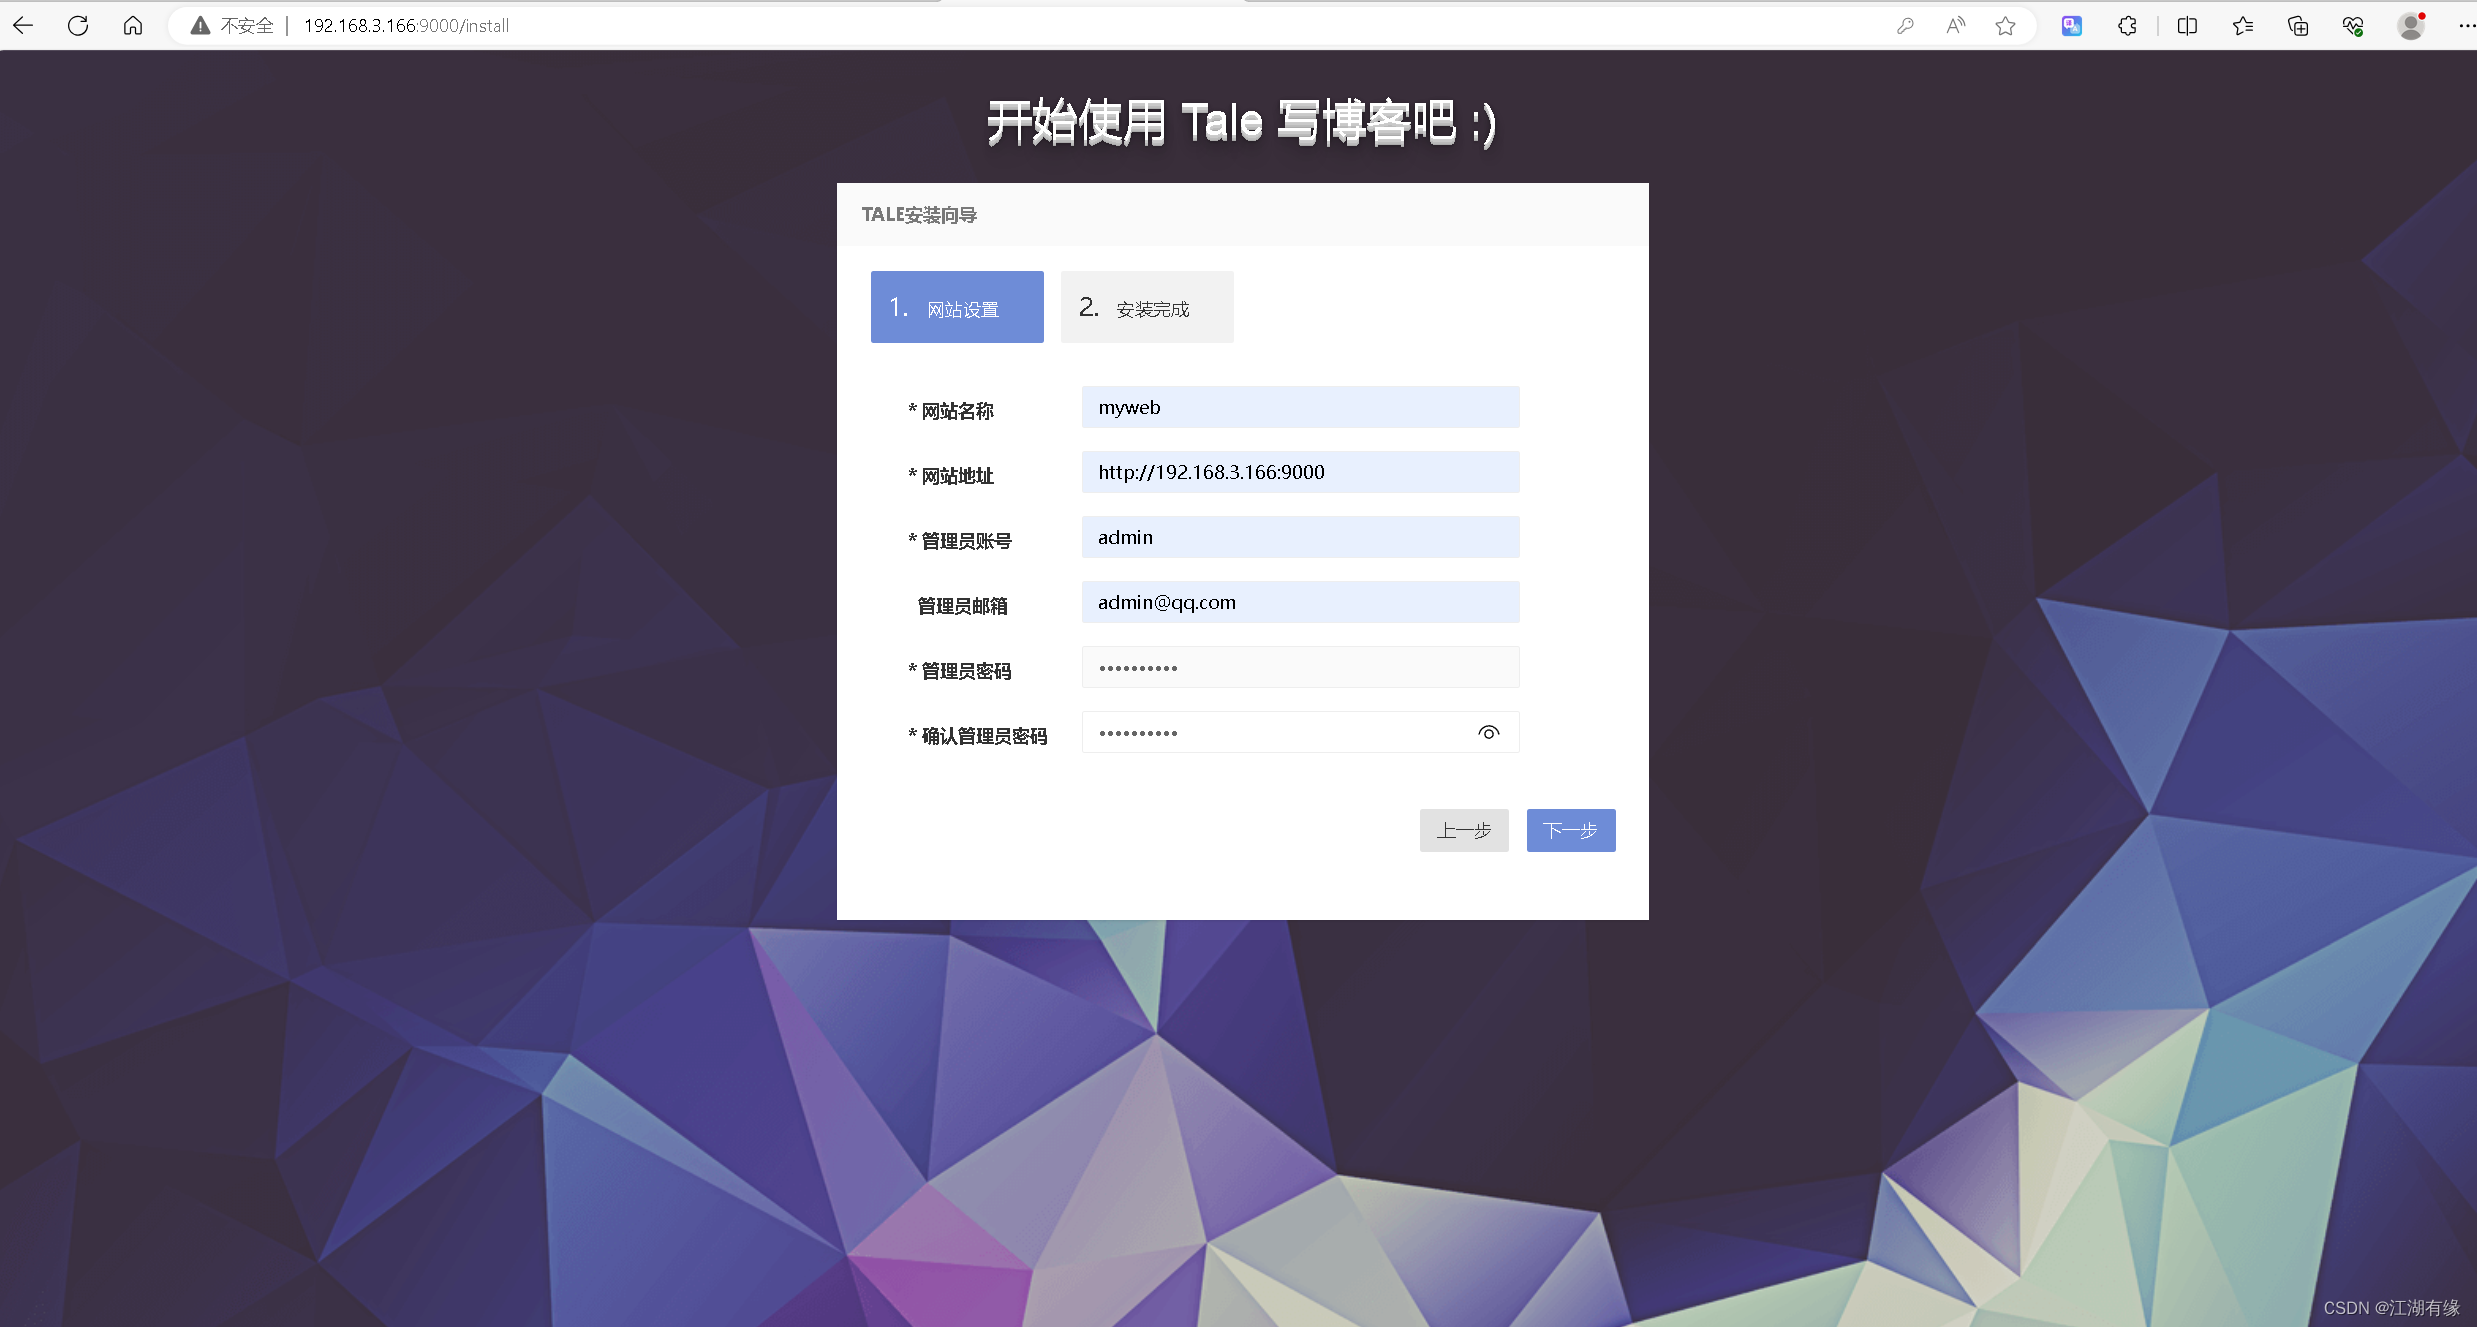
6.1 Website settings
Access address: http://192.168.3.166:9000/, replace the IP with your own server IP address. Fill in the website information and customize it.
Note: There is a small pit here. When opening the initialization page, there will be no next button. You need to force ctrl+f5 to force refresh several times before the following page will appear.
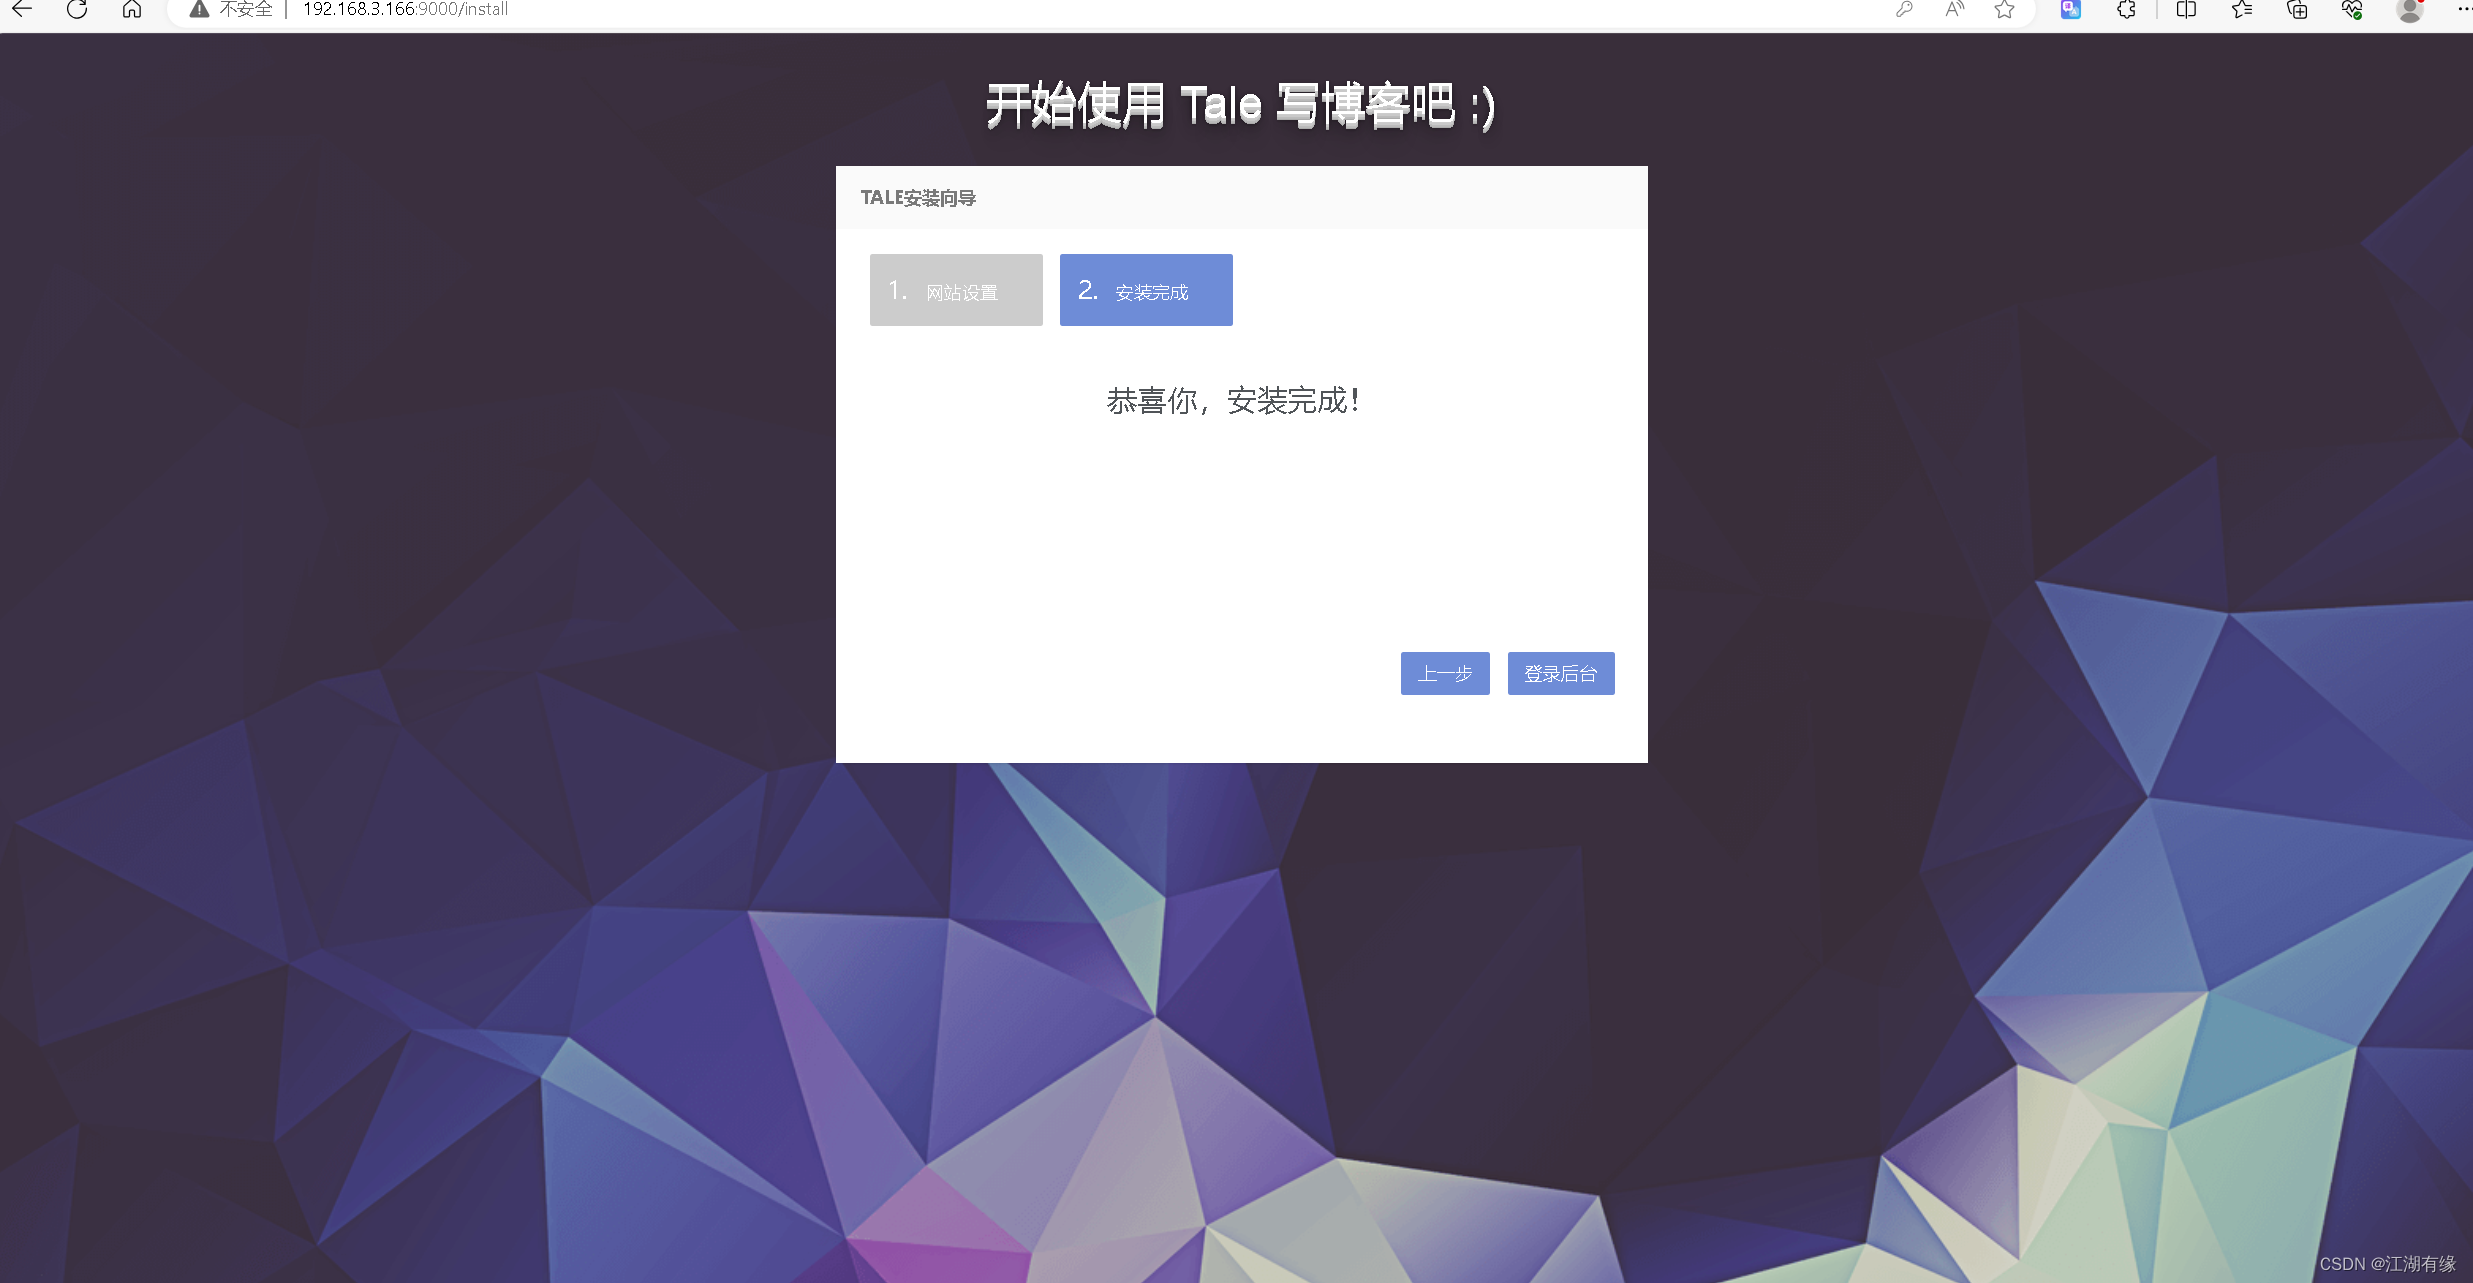
6.2 Initial installation completed
After setting the website information, click "Next" and the initialization is completed successfully.
7. Access Tale personal blog system
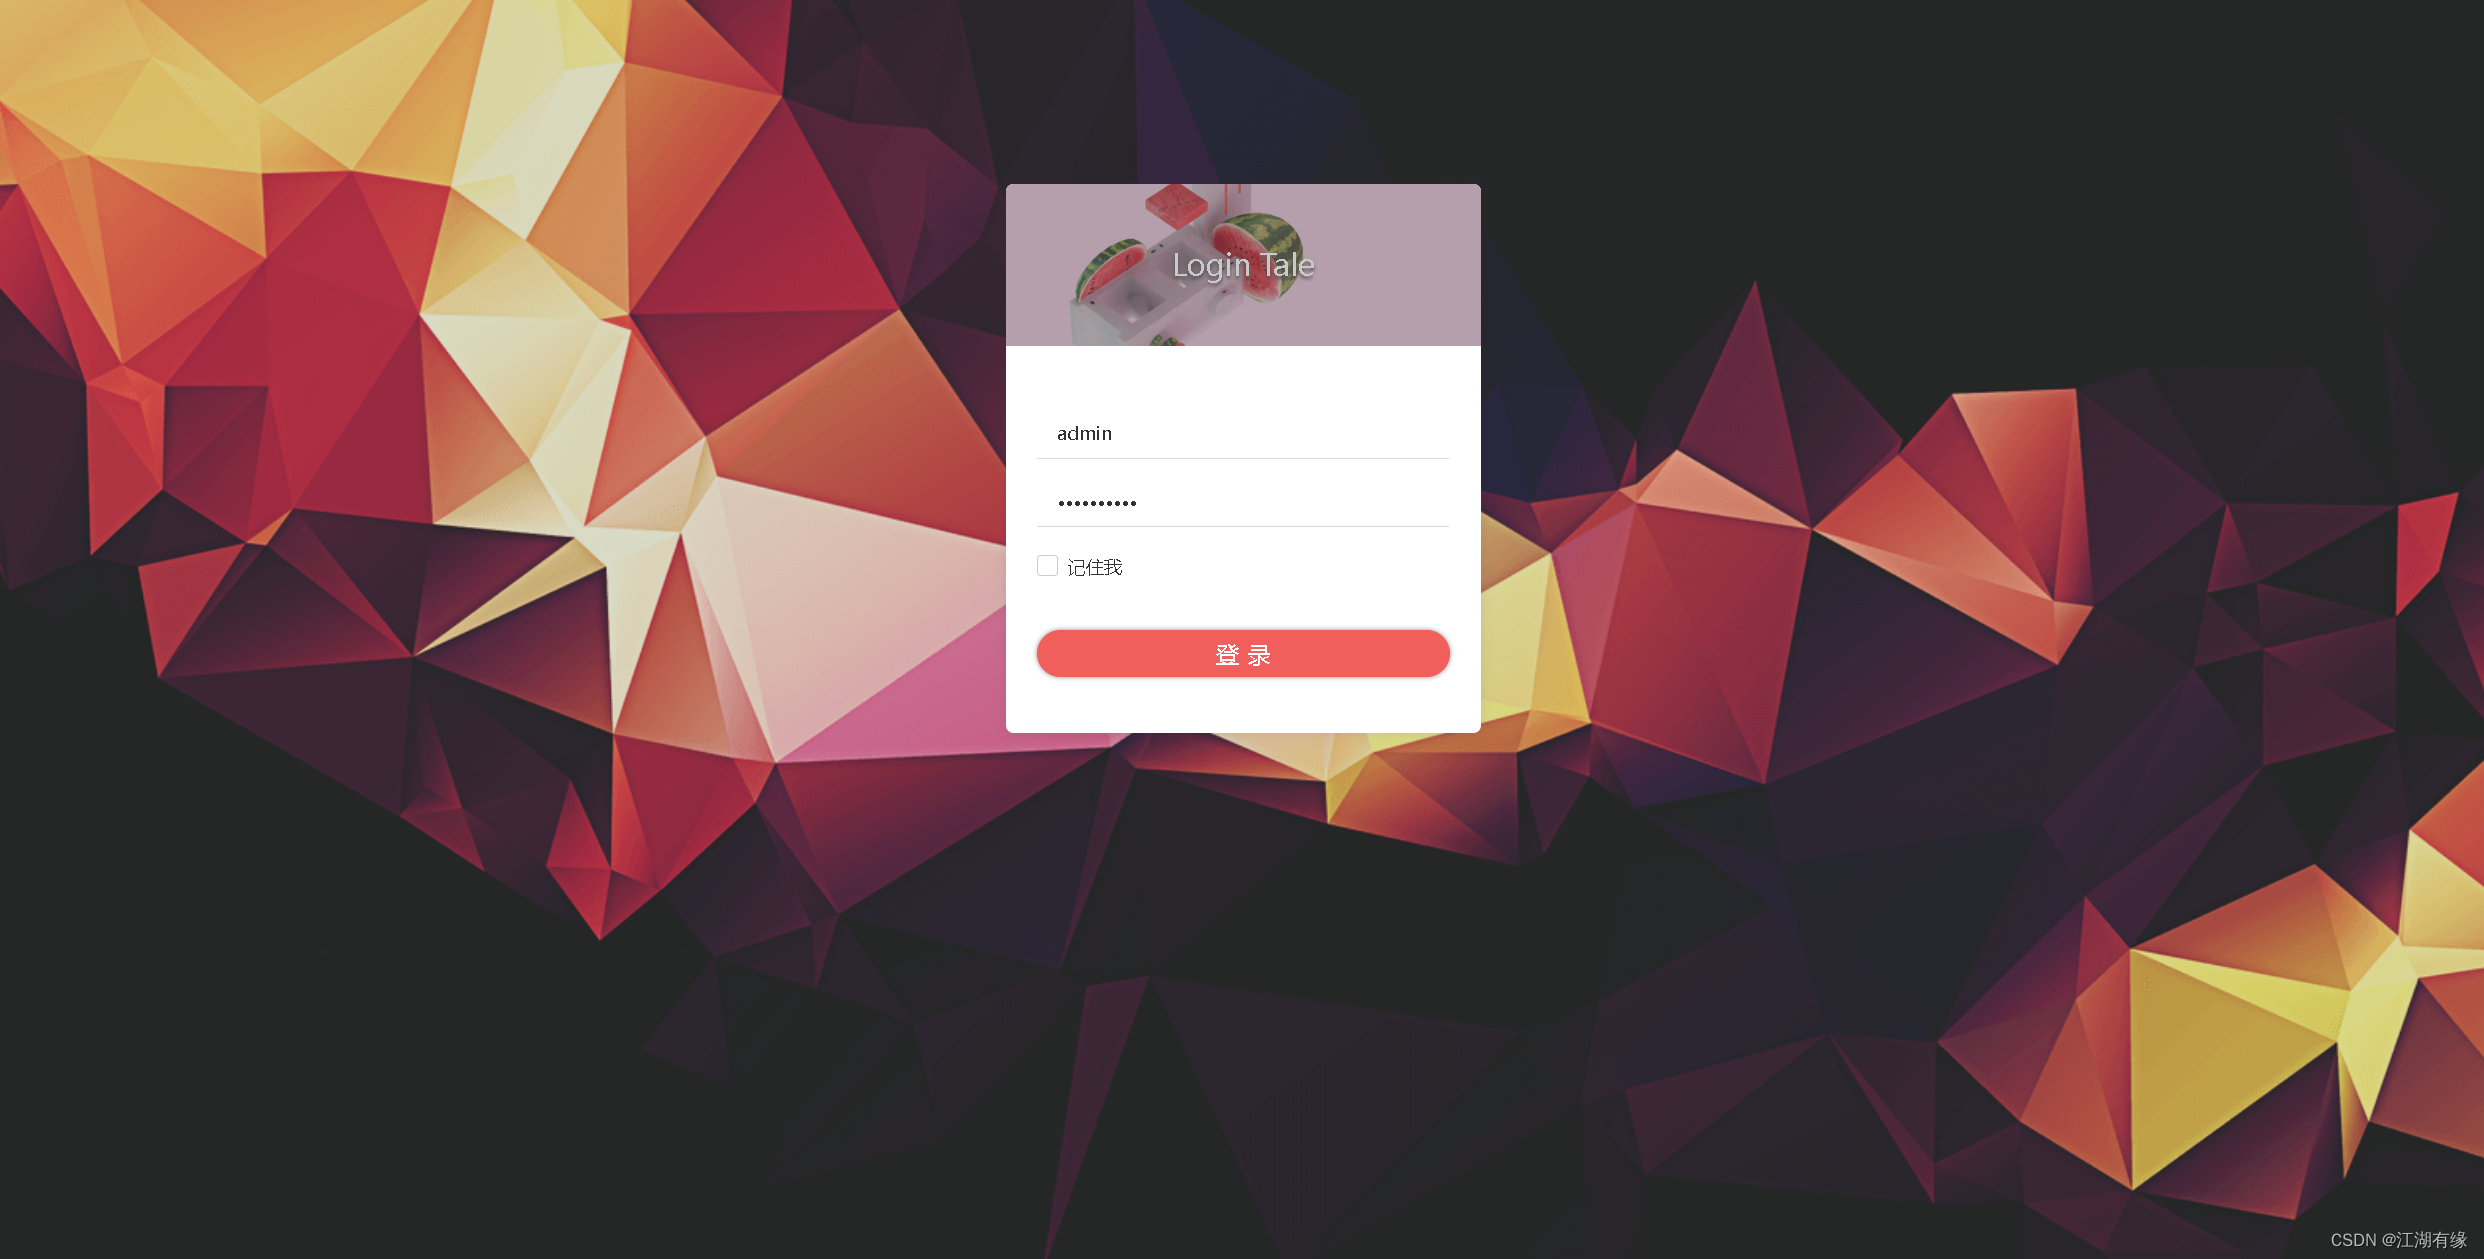
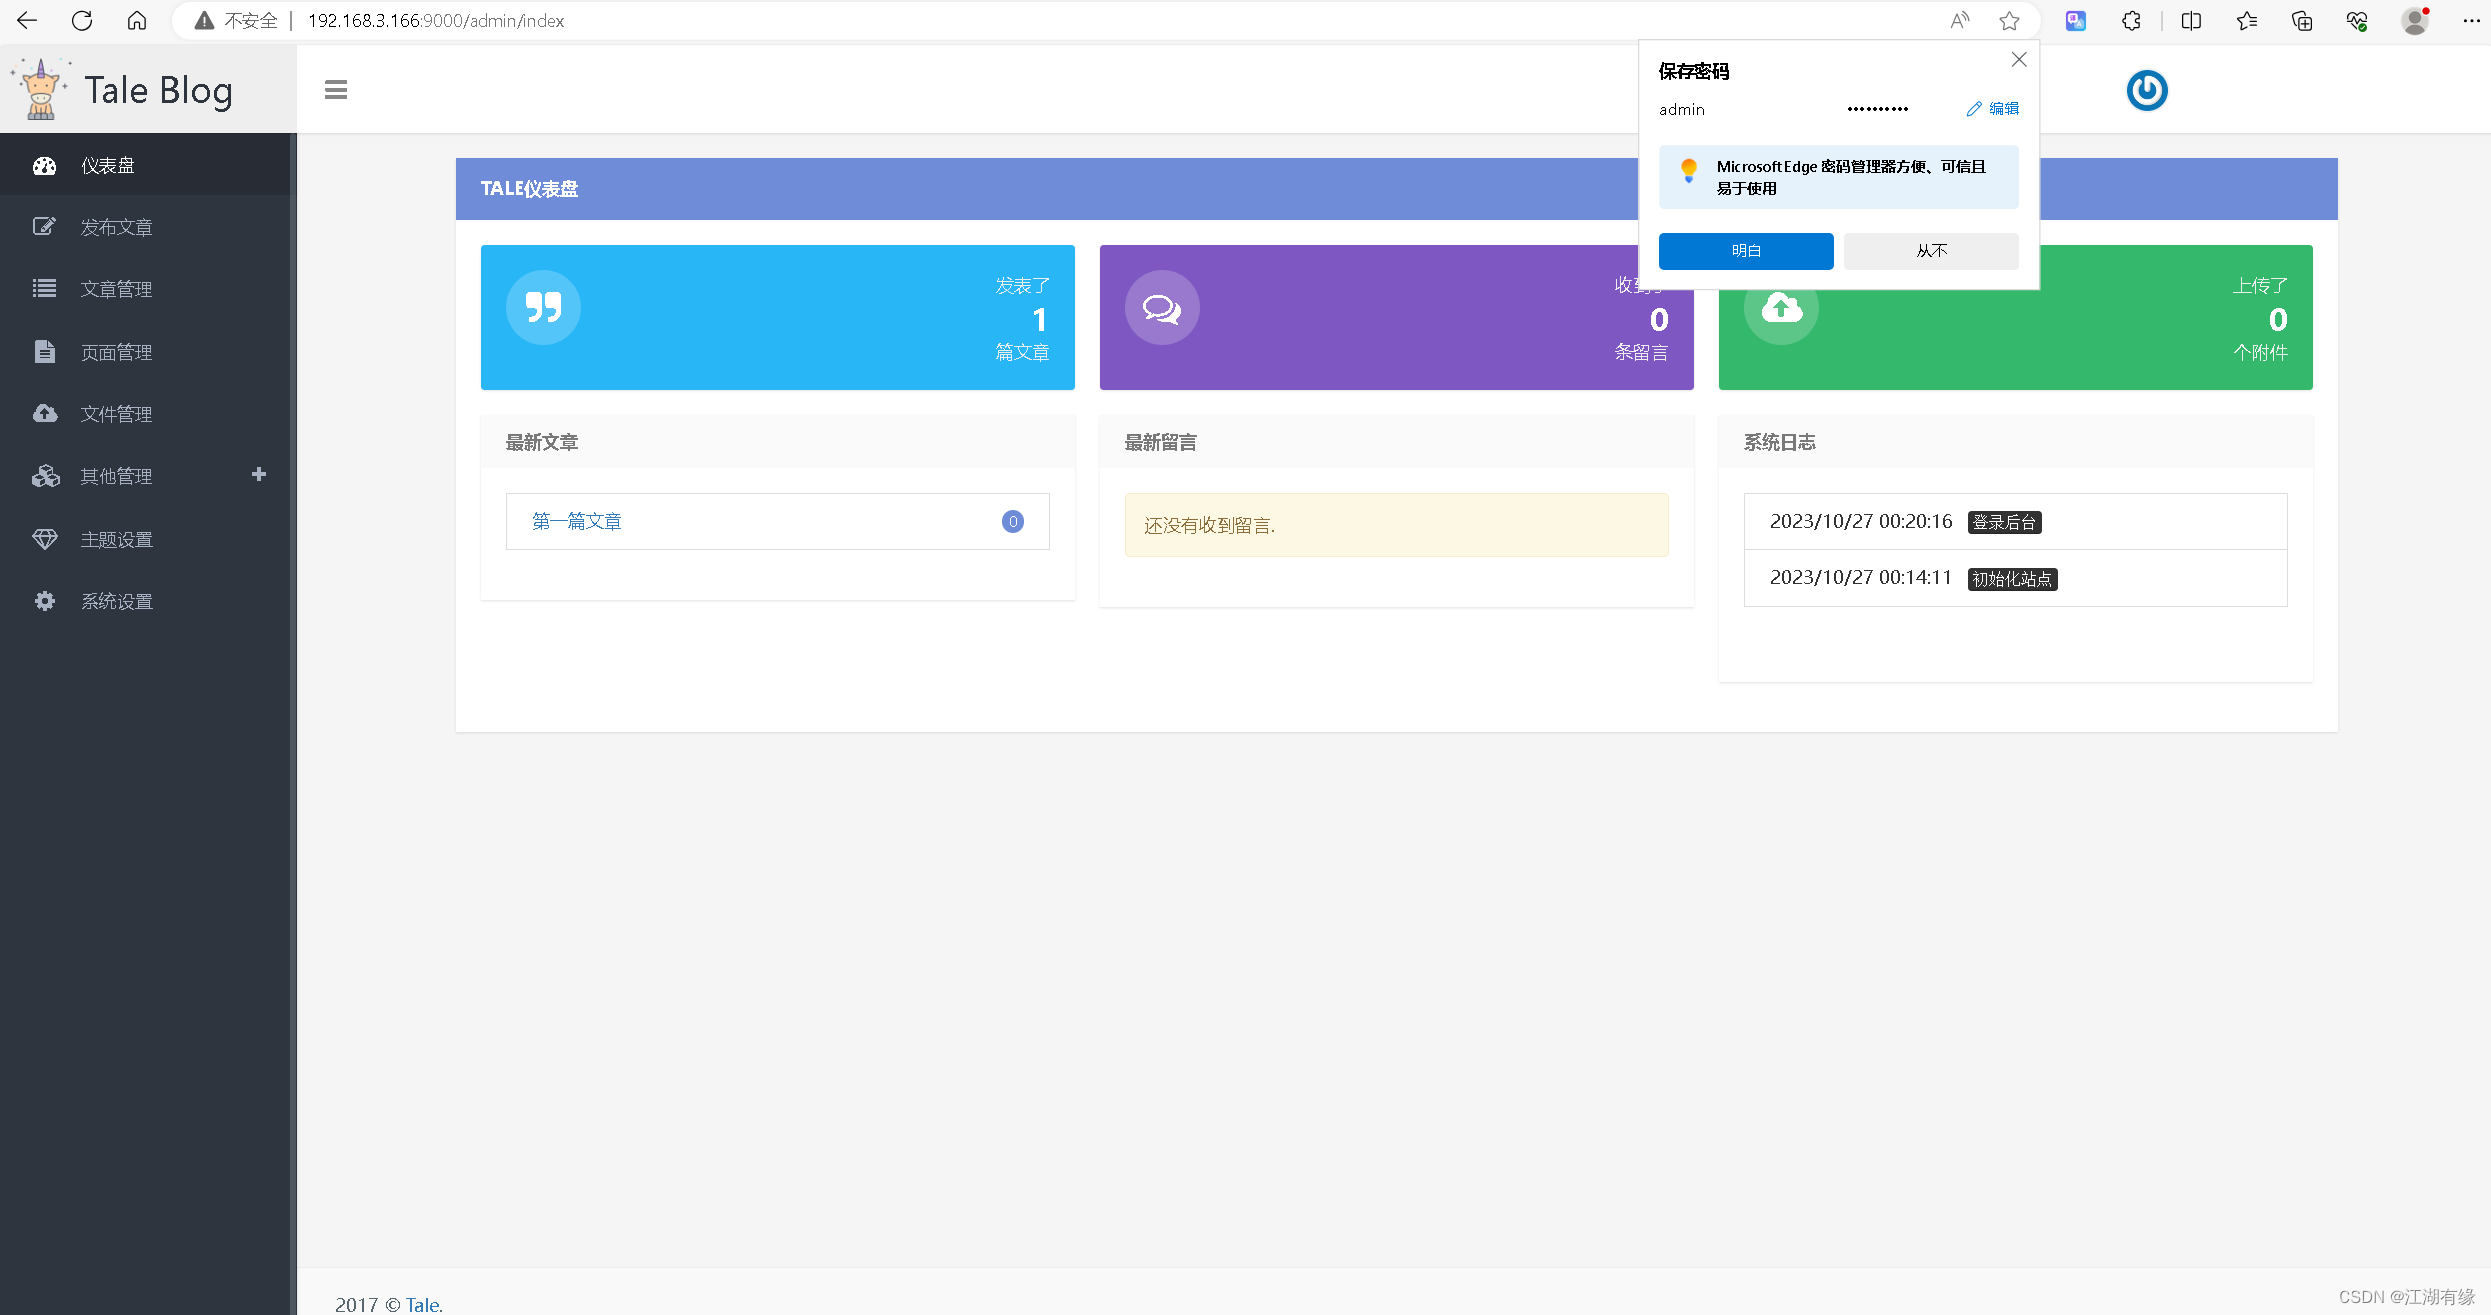
7.1 Log in to Tale backend management
Access address: http://192.168.3.166:9000/admin/login, replace the IP address with your own server IP address, enter the administrator account and password you just set, and enter Tale backend management.
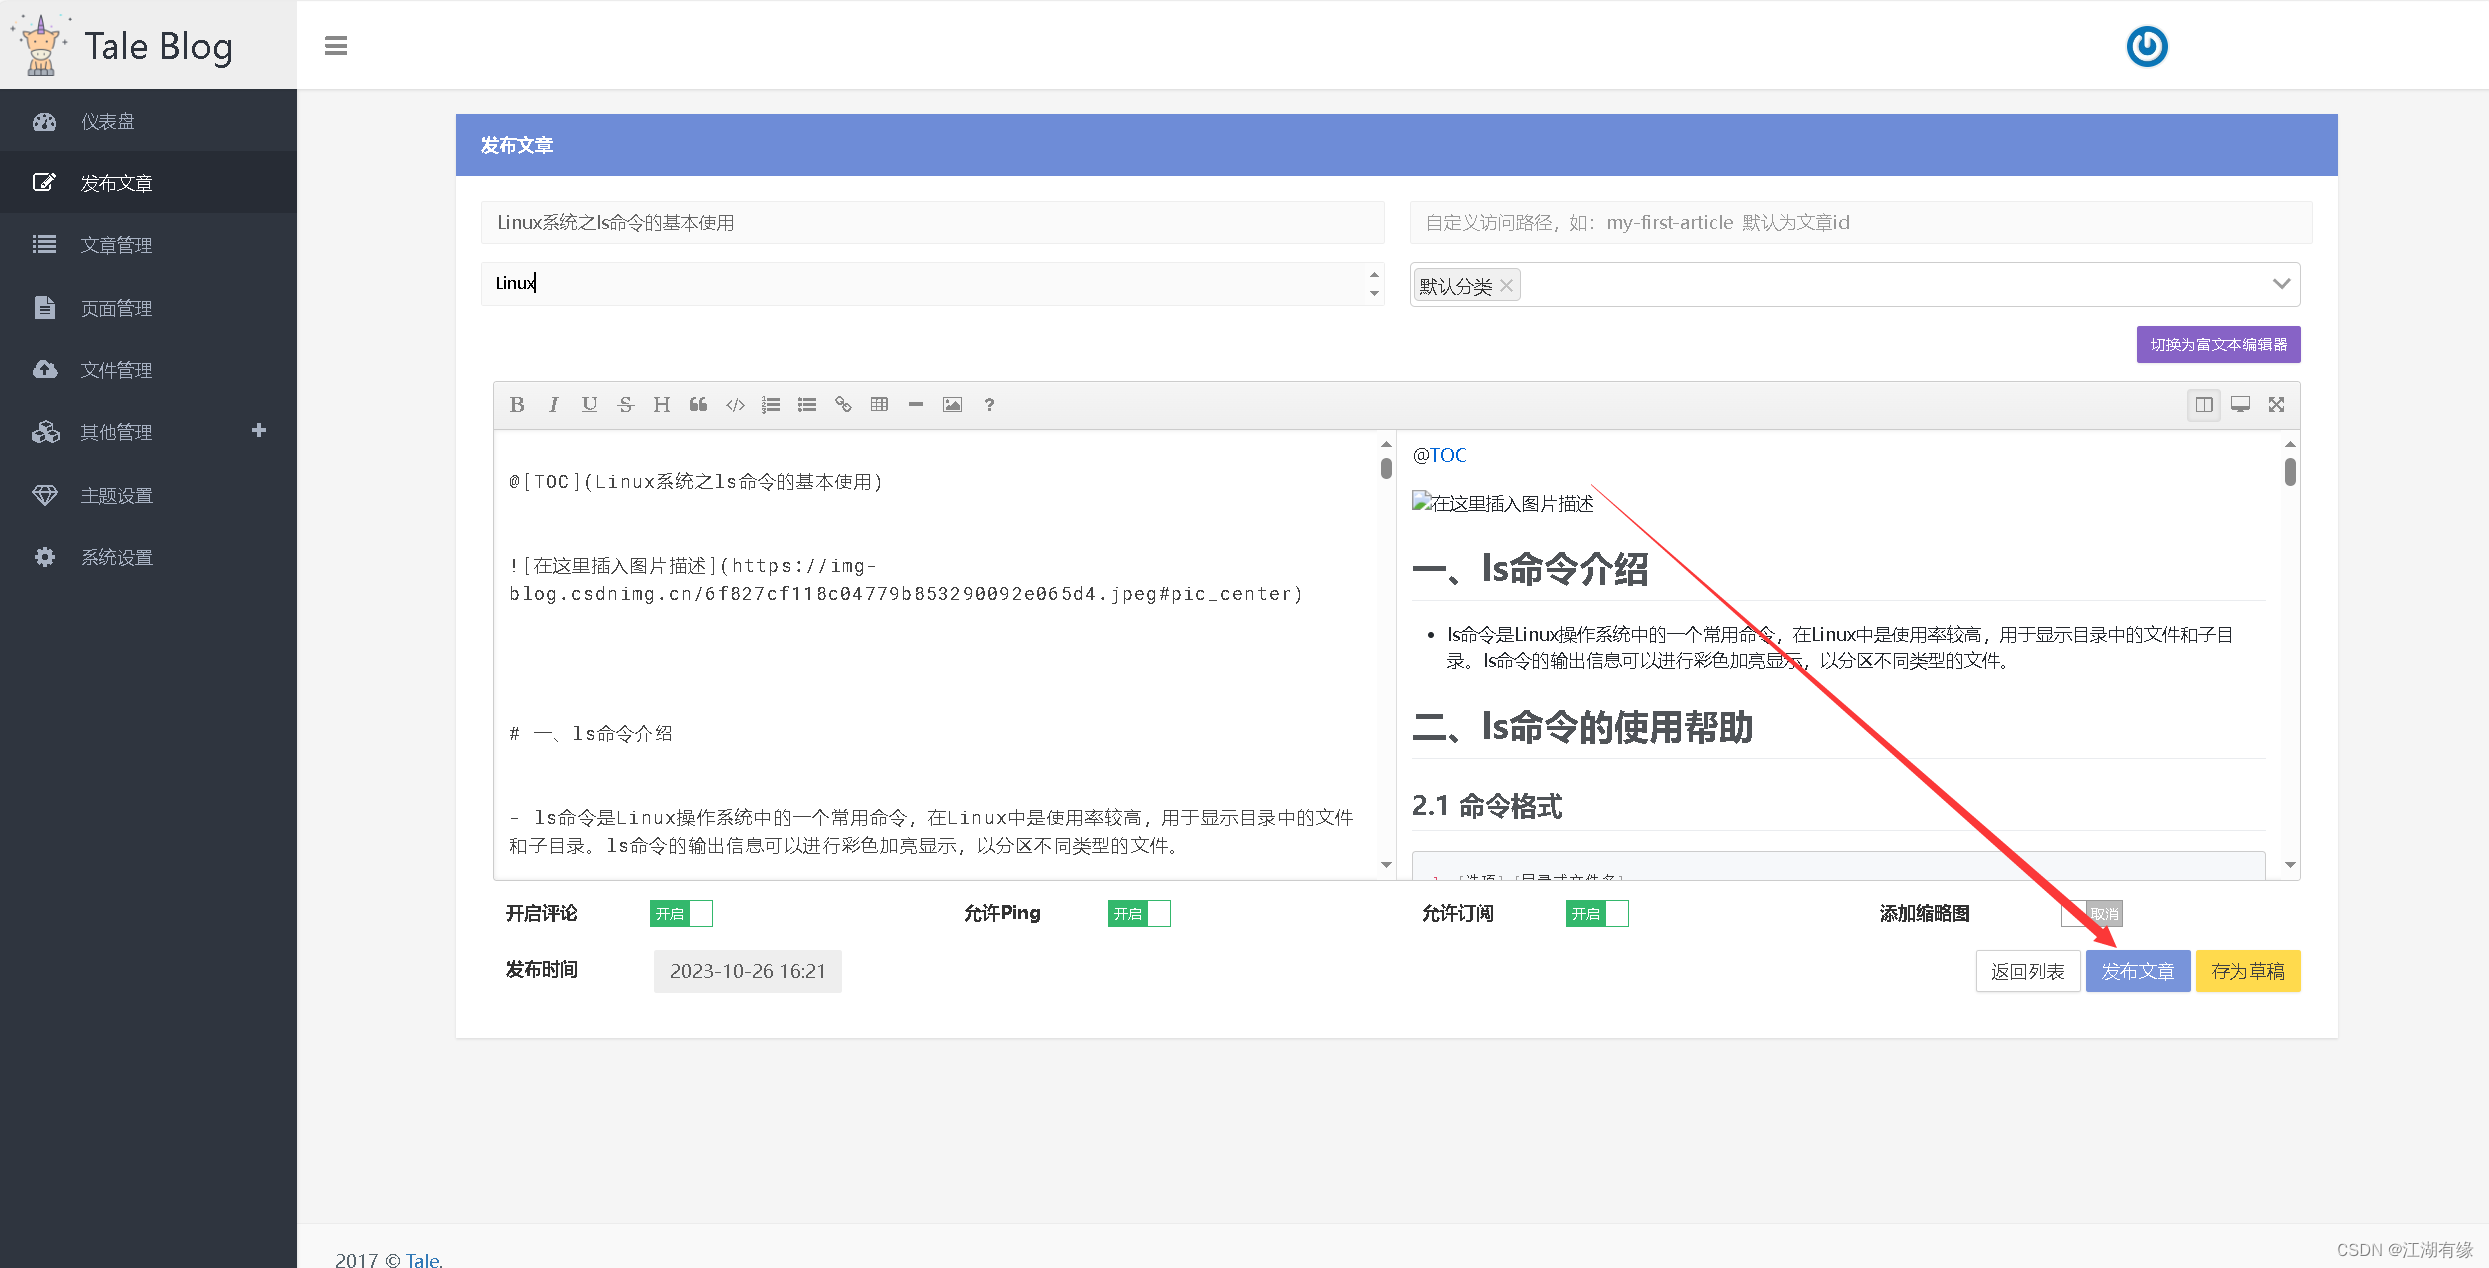
7.2 Post a blog
Click to publish the article, fill in the article title and edit the article content, and publish it.
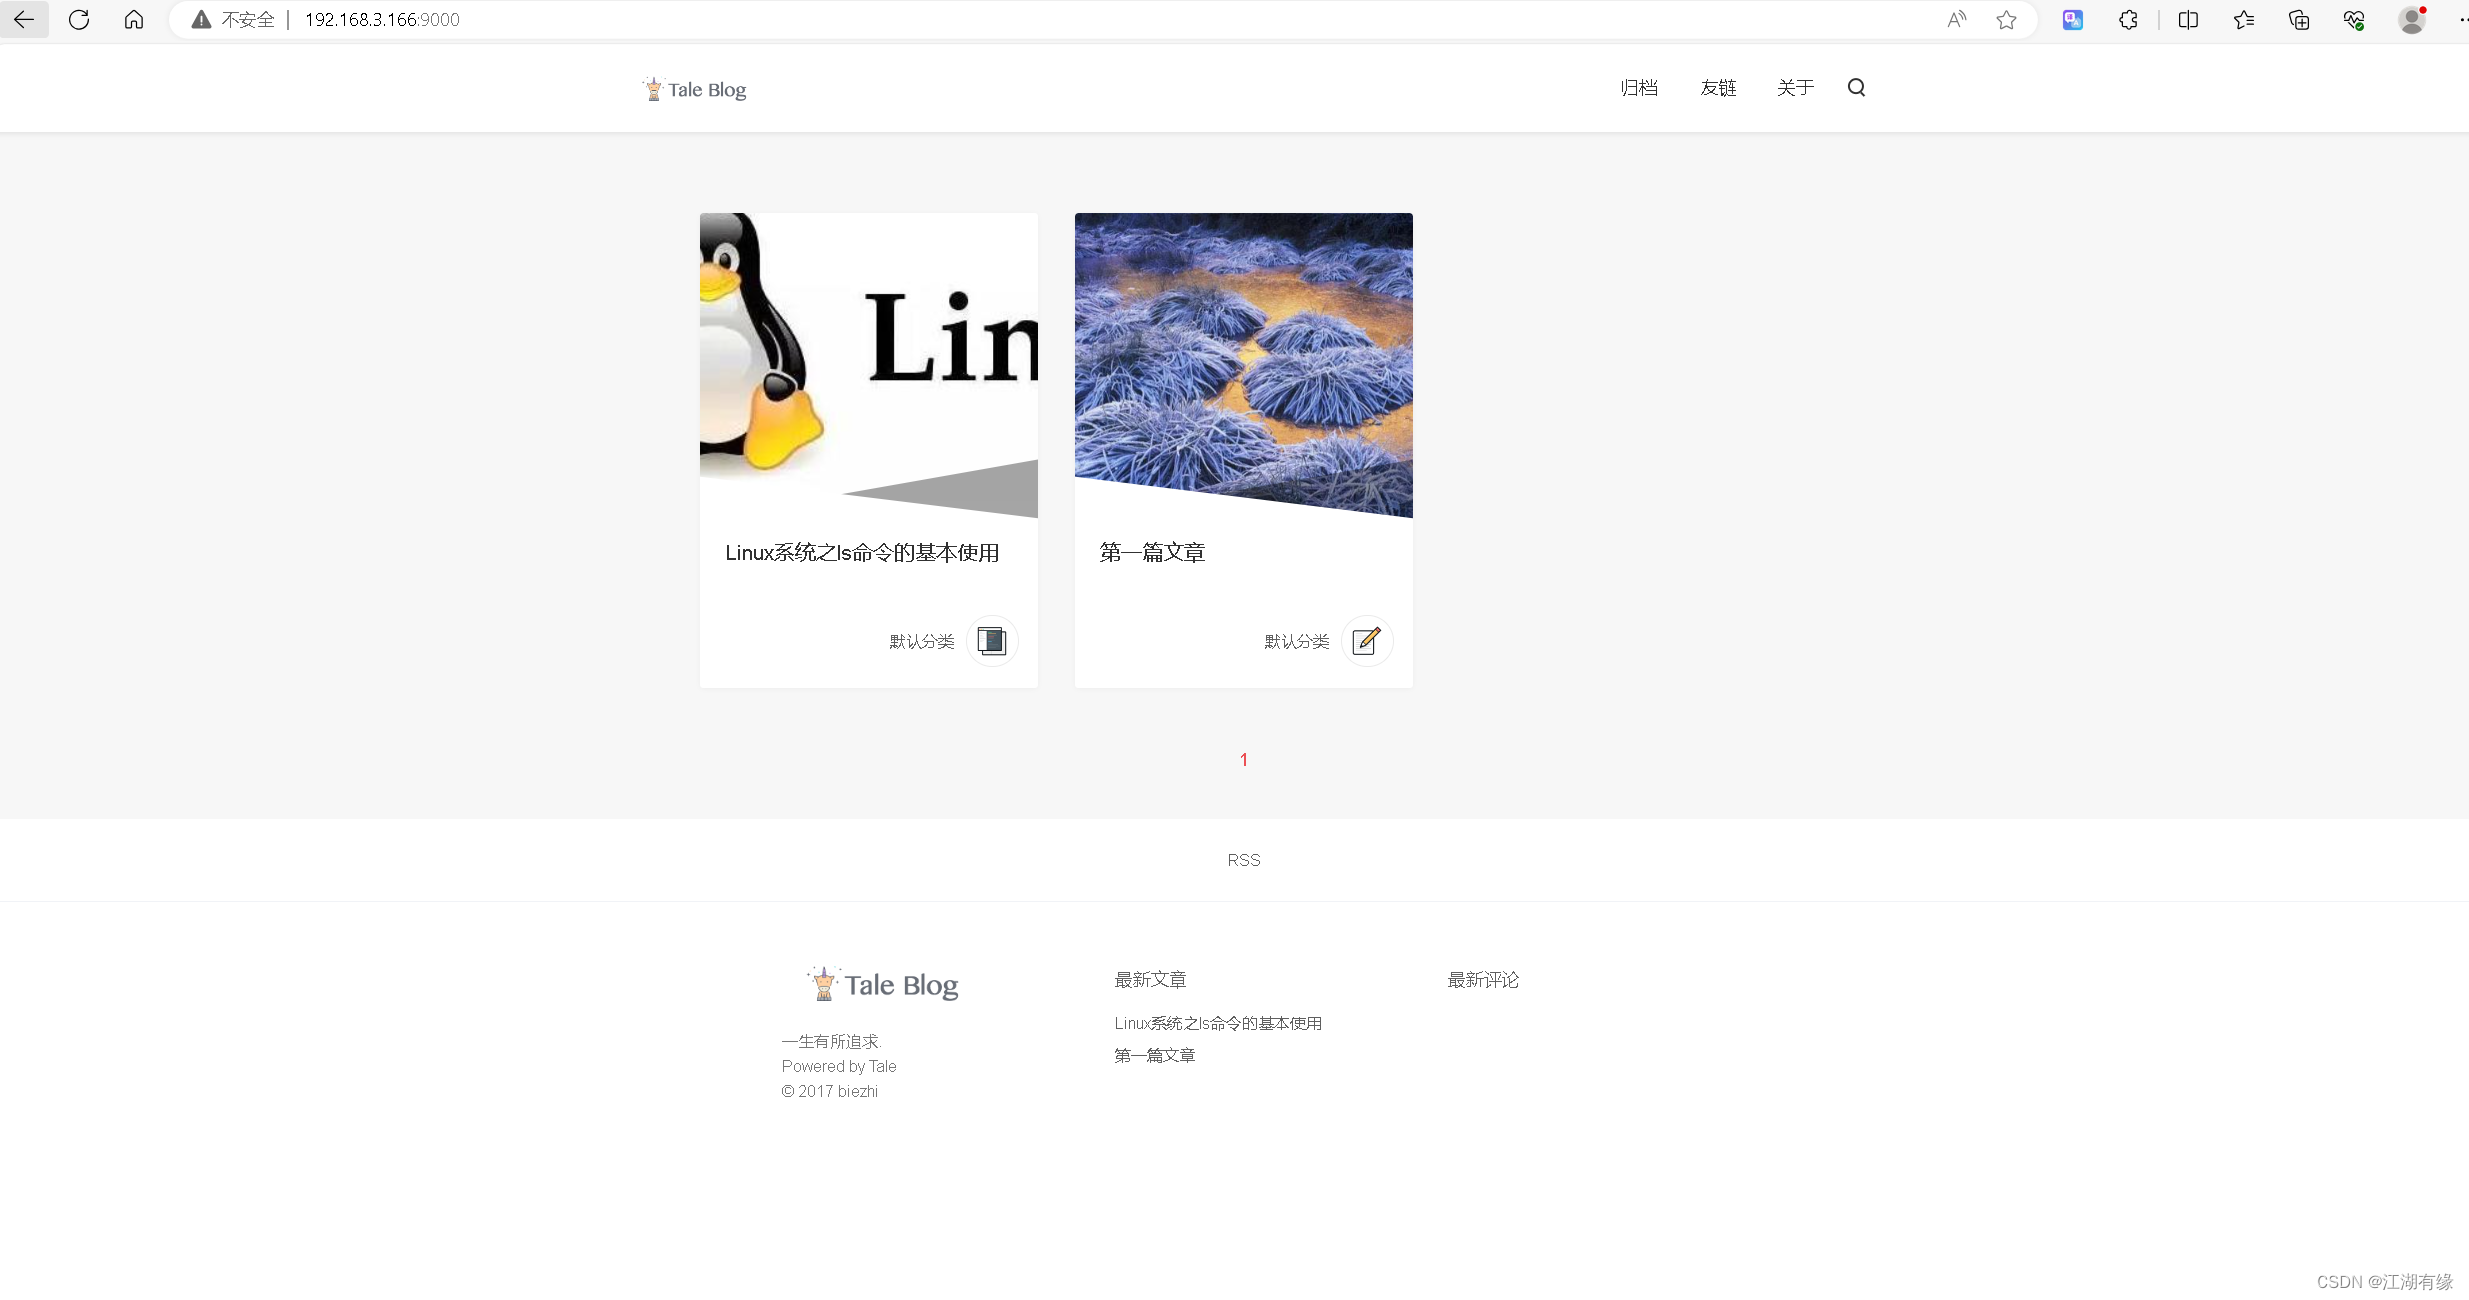
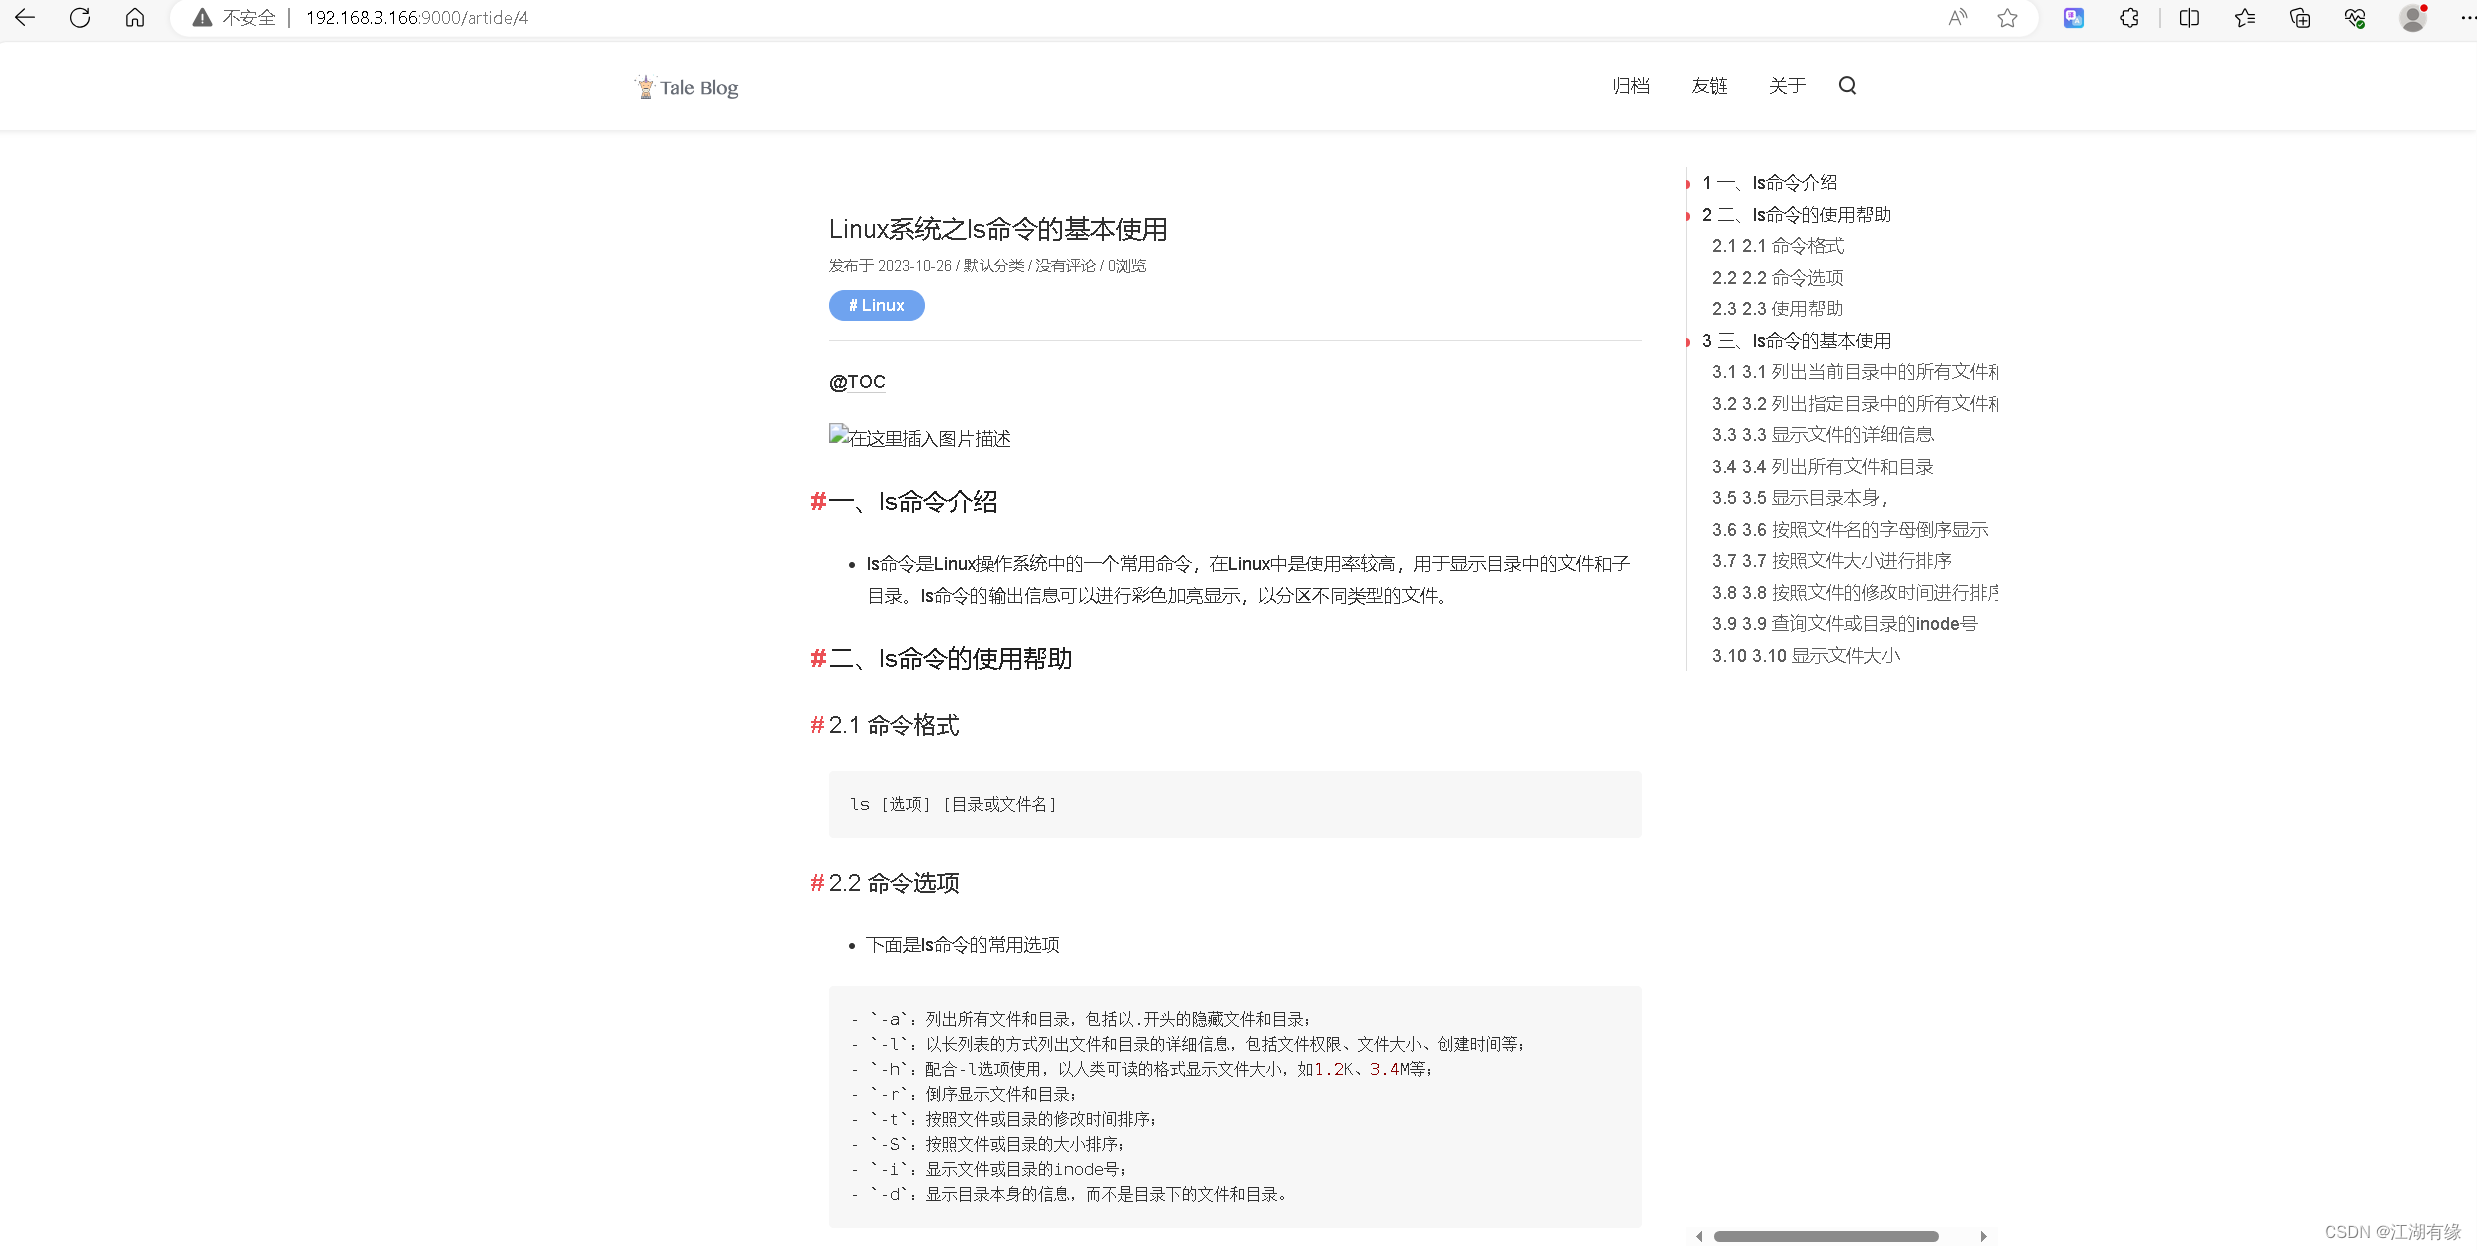
7.3 View the front-end blog effect
Visit the tale blog front desk to view the effect of the blog post.
8. Summary
Tale personal blog system is an open source Java blog system that is simple to use, fully functional, and easy to expand. Tale is simple to deploy and easy to operate. Tale's article management function is very convenient. Users can easily create, edit, and delete articles. Supports Markdown syntax, making it easy to layout and format articles. Tale’s comment management function is also very good, allowing users to comment and reply to blog posts. Administrators can review comments and delete them. Compared with other mature and popular blogging systems, Tale is suitable for personal daily use, simple and convenient.