Foreword: Hot update of the game is a basic requirement; fortunately, cocos-creator has prepared a solution for us. Compared with U3D's hot update solution, it is very easy to use! , without paying too much attention to details
This article uses cocos-creator version 3.5.2
Official document: Hot Update Example Tutorial Cocos Creator
https://docs.cocos.com/creator/3.5/manual/zh/advanced-topics/hot-update.html
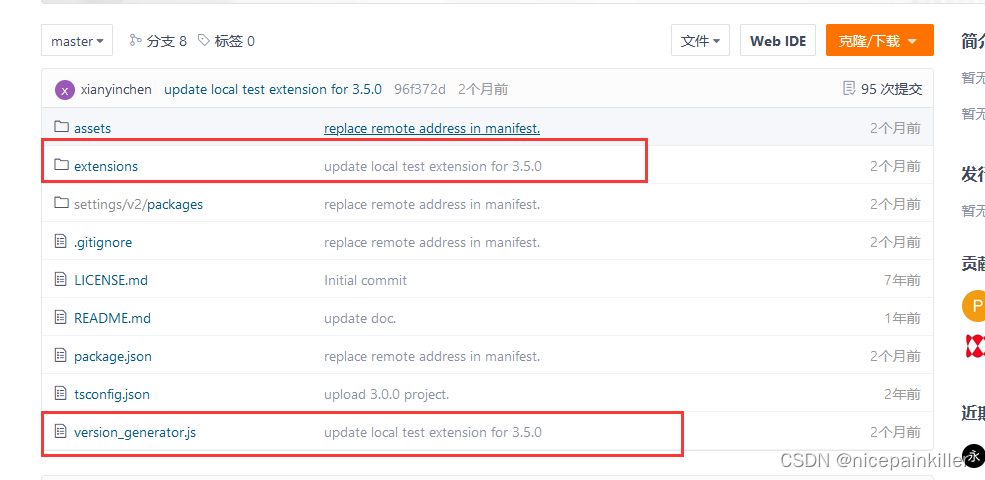
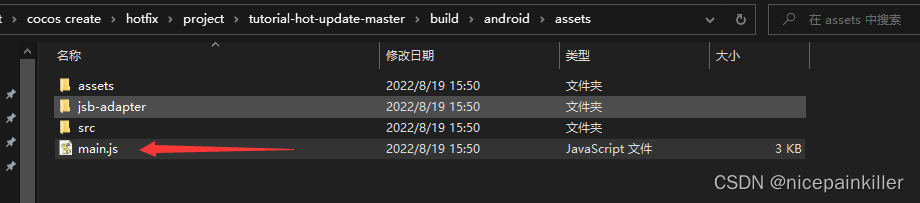
➤ The script in the extensions folder: it is mainly used to add resource path logic to main.js in the corresponding build subdirectory after the build is completed, that is, to locate your updated resource path ;
In fact, it is an immediate execution function, adding the referenced path to it
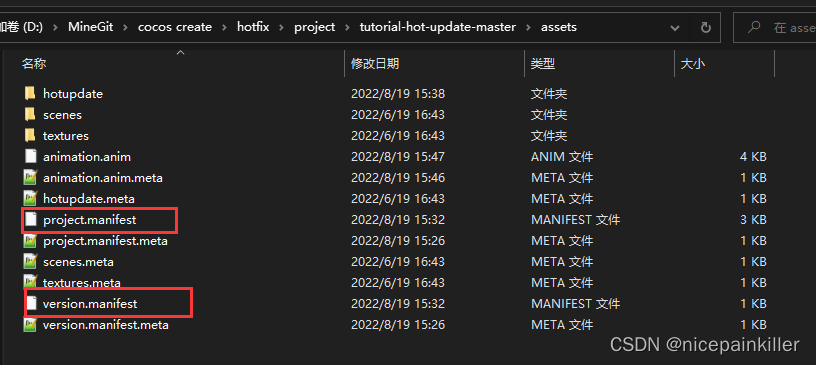
➤ The version_generator.js script is used to hash and sign the resources you build, and finally generate project.manifest and version.manifest files for resource comparison whether to download and update,
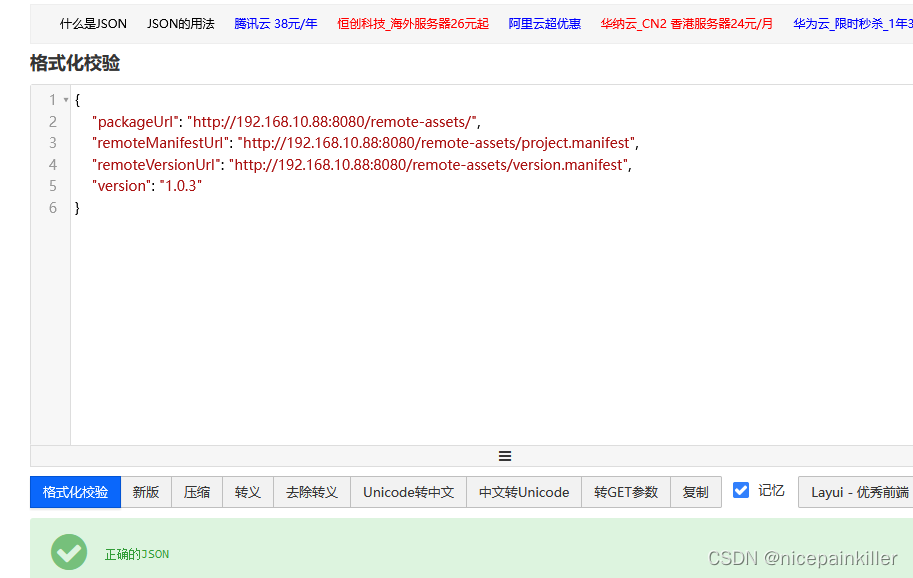
The content of project.manifest is roughly as follows: record the hash value file size of the resource file, and the file list
The main function of the version.manifest file is to record the version information of the current resource 1.0.3
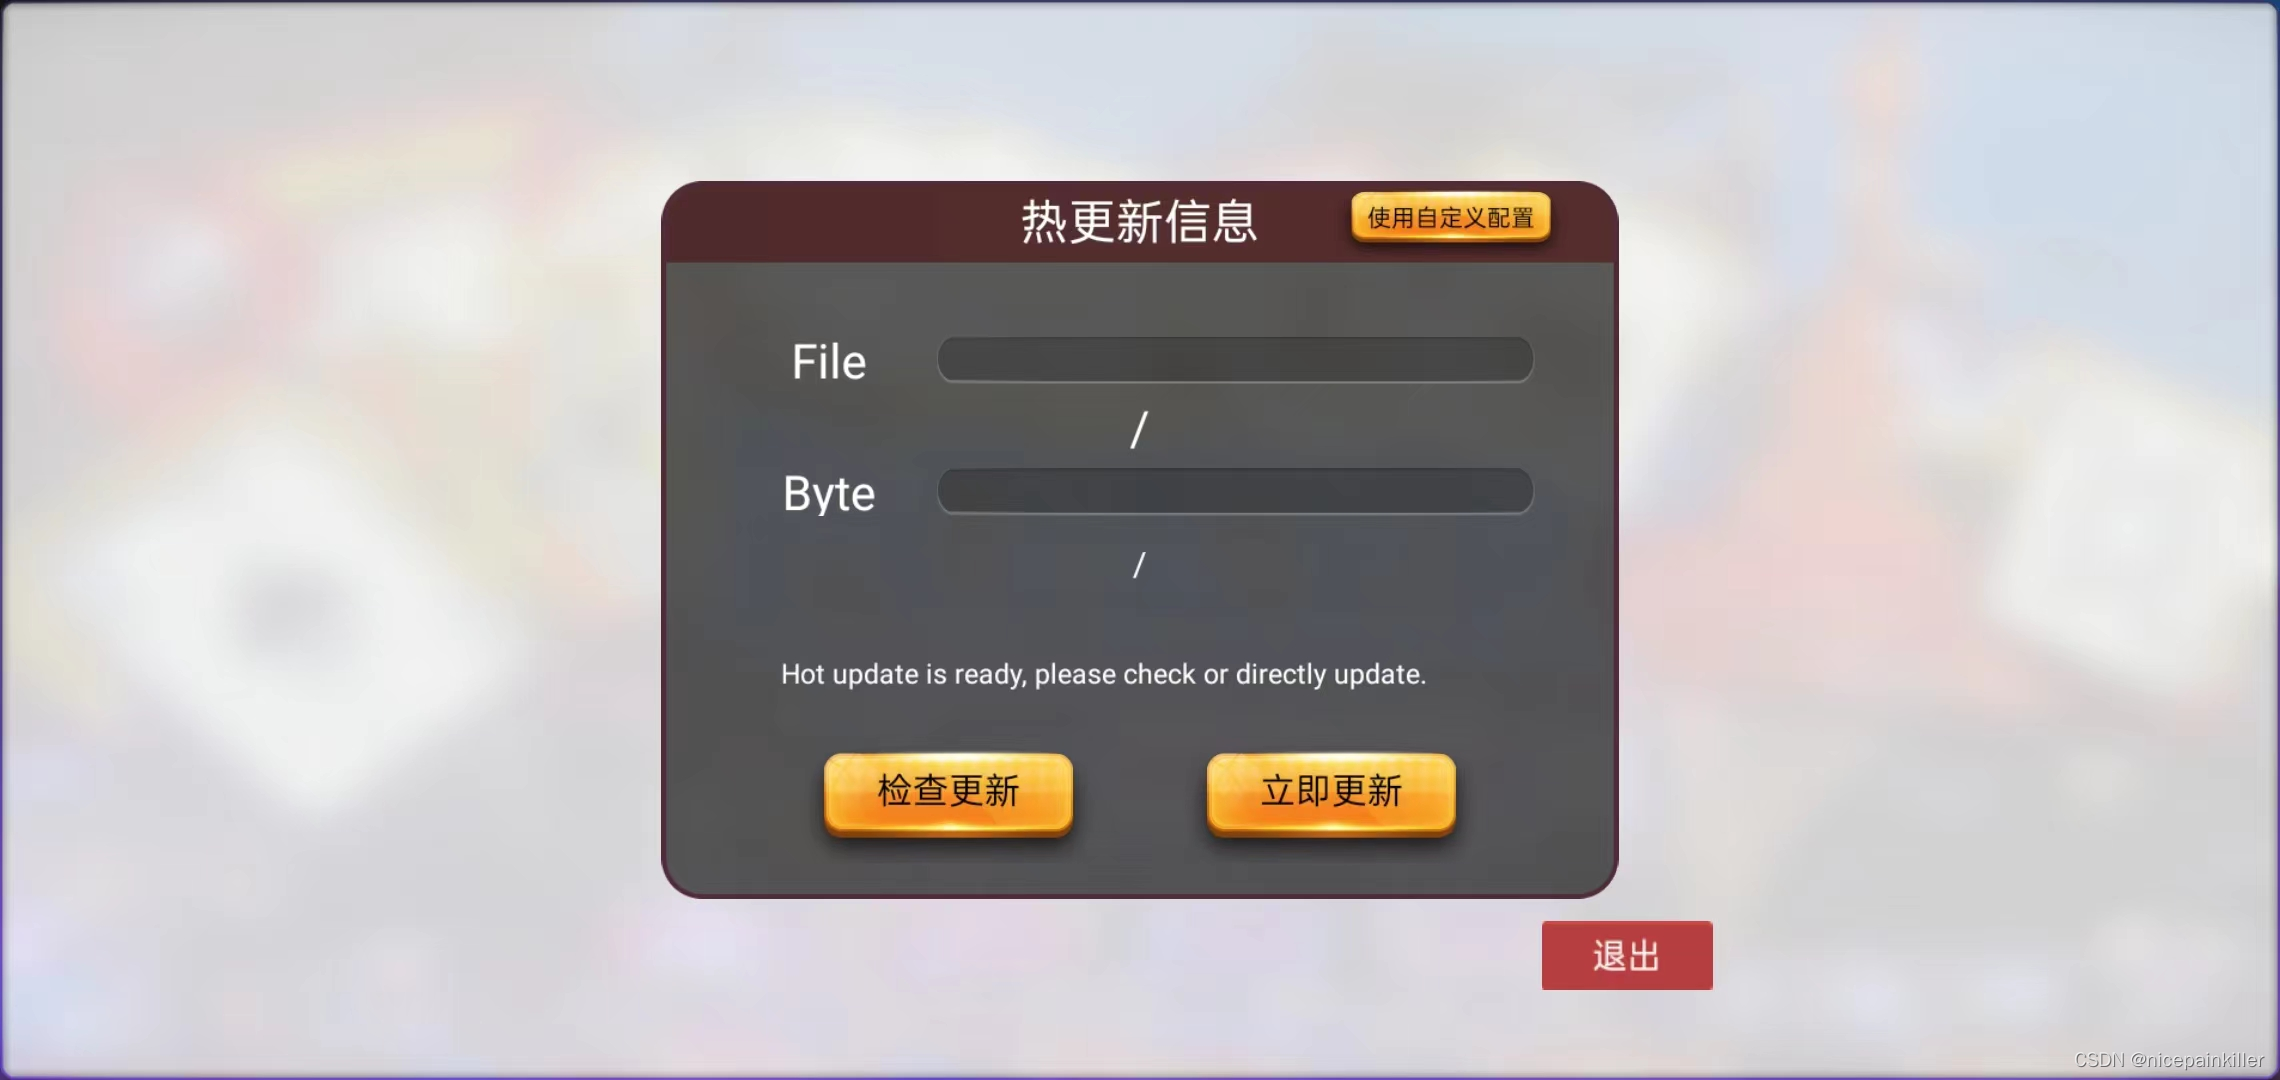
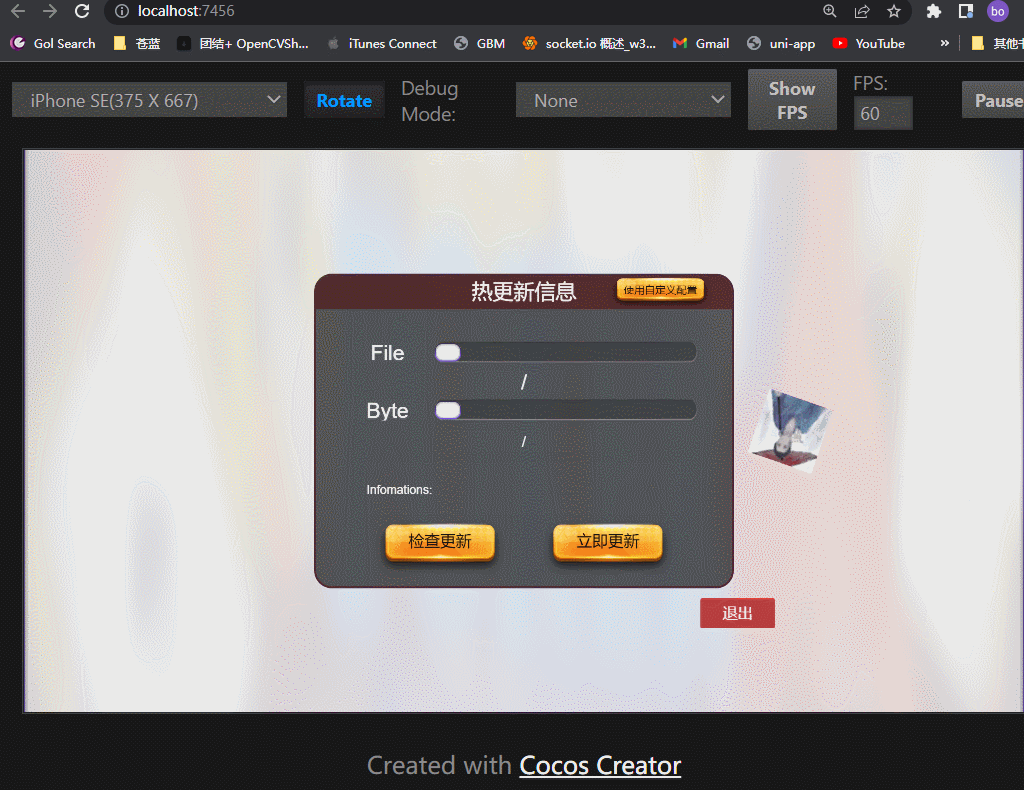
➤ When the App side needs to check for updates, it will compare the server and local version.manifest files . If the version is the same, it will be skipped. Otherwise, the server project.manifest and the local project.mainfest will be compared to find the files that need to be downloaded. ➤ ➤ ➤ ➤
>>>>>>> If it has not been updated, it will find the version.manifest and project.mainfest files added to the assets directory of the project path , so we will add the project.manifest and version.manifest files to the project assets path; otherwise When the first update cannot be found , it will be an error to compare the text with the server !
Here we basically explain the functions of various files and scripts, let's get started directly;


➥ Build the project to publish the App
Goal : Build a parent package for later hot update resources
page:
Modify the registration on the release page, the rest can be defaulted, click Build
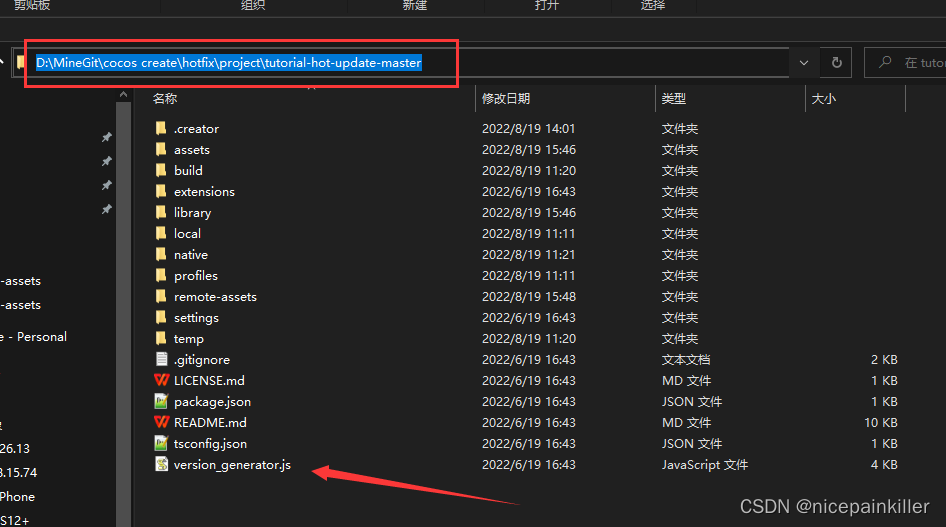
In the project root directory run : version_generator file
node version_generator.js -v 1.0.0 -u http://192.168.10.88:8080/remote-assets/ -s build/android\assets -d remote-assets/
- -v specifies the resource version
- -u set your server resource path
- -s specifies the path to the resource file generated by your build project, ( to generate a manifest for the resource )
- -d Generate the file paths of project.manifest and version.manifest, we temporarily put them in the remote-assets directory of the project root directory;
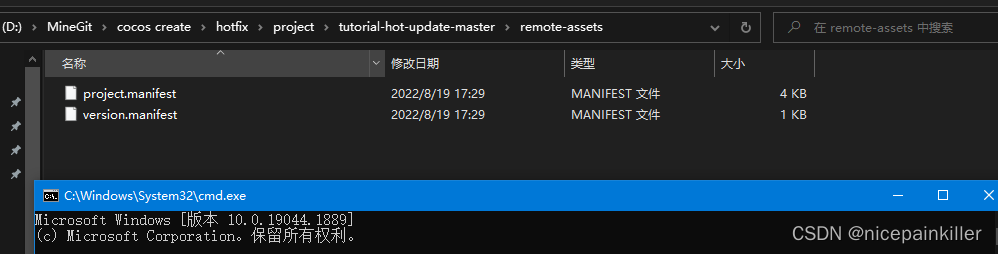
After running: There will be two more files in the remote-assets folder;
Because it is a parent package : we need to copy these two files toassets path of the project root directory . ( Replace the two files that come with Demo, we cannot use the configuration information for these two files )
Remarks: Because the project.manifest version.manifest file in the just-built project is incorrect ( the file server address in the demo project ) or not available (not in the new project ); we need to build the resources containing the project.manifest version.manifest build file again;
Android Studio runs the Android project we built! !
Here's a little more : because I tested it on the local area network, I used http requests; Android 7.0 requires additional configuration to continue to access;
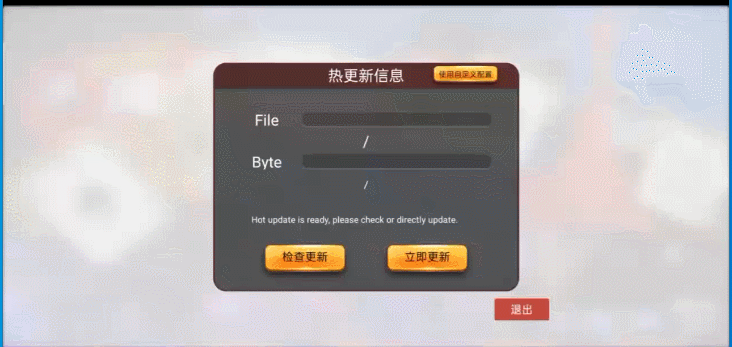
Our phone is already running:


➥ Modify the page and make resources that need to be updated
Ⅰ: We add an animation to the UI :
Ⅱ Rebuild the project:
Ⅲ After the build is completed, regenerate project.manifest and version.manifest, * add one to the version number , otherwise, the previous version will be
node version_generator.js -v 1.0.1 -u http://192.168.10.88:8080/remote-assets/ -s build/android\assets -d remote-assets/
We create a new folder named remote-assets on the desktop (the location is optional without the project root directory) ; copy the just generated project.manifest and version.manifest; and all the assets files that build the project resource path into it: put on the server.
Roughly as follows:
Then use the container to run; ngixn iis can be used, what I use here is: live-server; if it can be accessed in the browser, it will be successful
* Do not run Android Studio again at this time; if you run it again, the App will be loaded with the latest resources; we open the APP directly


➥ Run the App and update resources
Do not run Android Studio again at this time ; if you run it again, the App will be loaded with the latest resources;
We open the APP directly:
After updating the resource and restarting, the newly added animation is already playing! You're done!