KVM is the abbreviation of Kernel Virtual Machine. Currently, Red Hat supports running KVM on 64-bit systems with version 5.4 and above, and the hardware should support VT technology. KVM, formerly known as QEMU, was acquired by Red Hat in 2008 and acquired a hypervisor technology, making KVM considered the mainstream of future linux hypervisors. Because KVM is integrated into the linux kernel, its core source code is very small compared to xen. Compared with vSphere, KVM is an open source virtualization platform that is widely used in small and medium-sized enterprises.
KVM management tools are libvirt and virt-manager (graphical tools).
Deployment process
1. First, KVM is integrated into the linux kernel. We need to install some KVM components. If you want to install and use the virt-manager management tool, you need to use the Linux GNOME desktop. Mount the red hat system disk and use yum to install the required components. 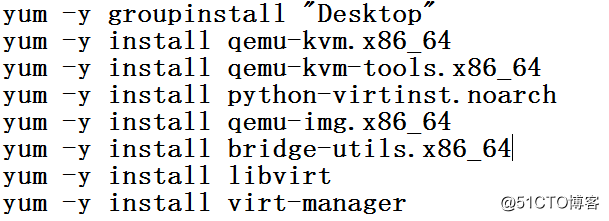
2. We can verify whether the CPU supports virtualization through a command. cat /proc/cpuinfo | grep vmx, this command verifies whether the VT technology is supported by filtering the vmx in the cpu information. 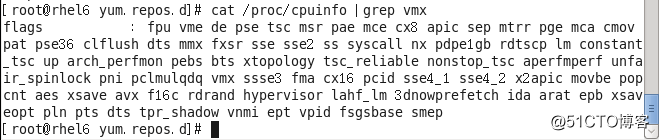
3. Check the KVM module in the linux kernel. 
4. Set up KVM virtualization network.
vim /etc/sysconfig/network-scripts/ifcfg-eth0 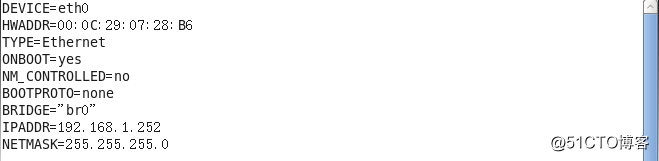
vim /etc/sysconfig/network-scripts/ifcfg-br0 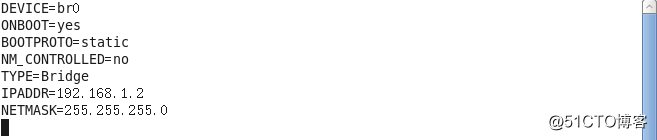
5. Restart the network service to make the address take effect 
6. Create a virtualized data file directory and implement the prepared partition mount to this directory. (Partition creation: fdisk /dev/sdb, np-1-enter-enter-w, mkfs-t ext4 /dev/sdb1)
7. Create a new store directory in this directory to store virtual machines; an iso is used to store images. (The directory name can be arbitrary) 
8. Enter the KVM graphical management interface through virt-manager 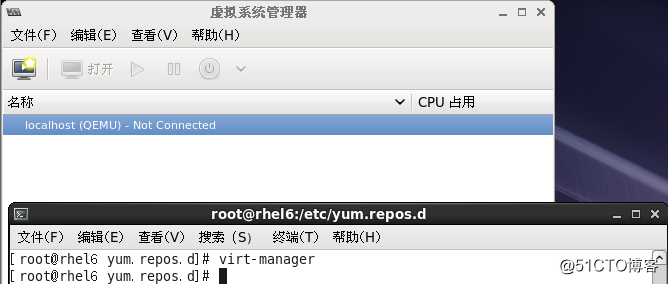
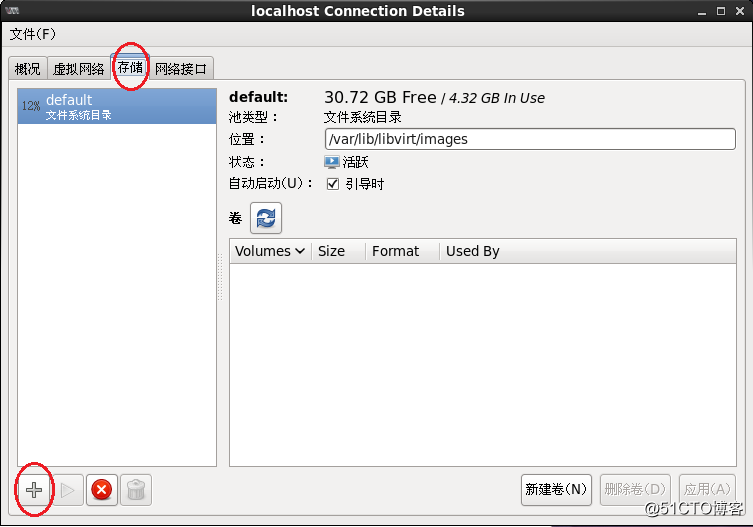
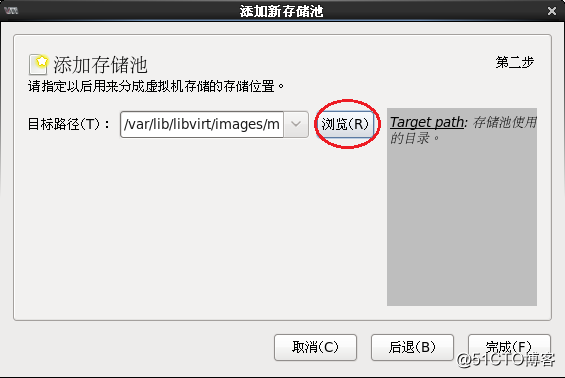
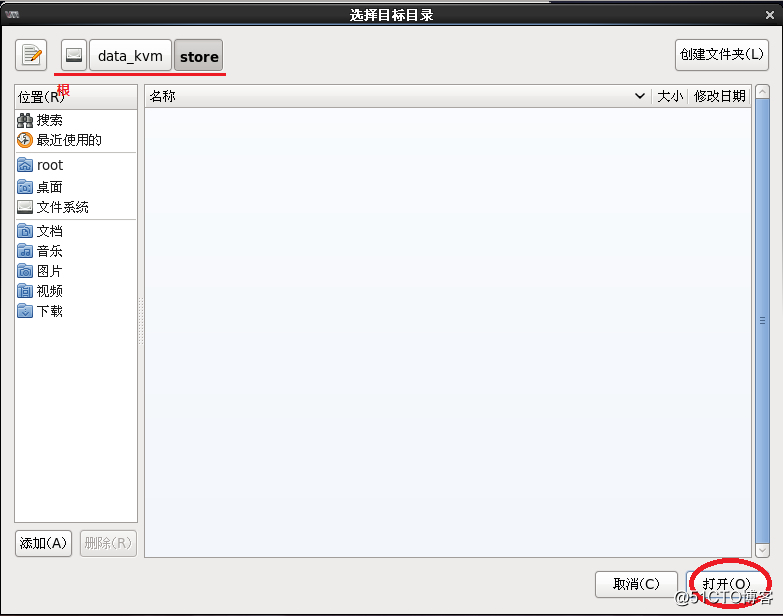
9. Create storage. Double click on this location. 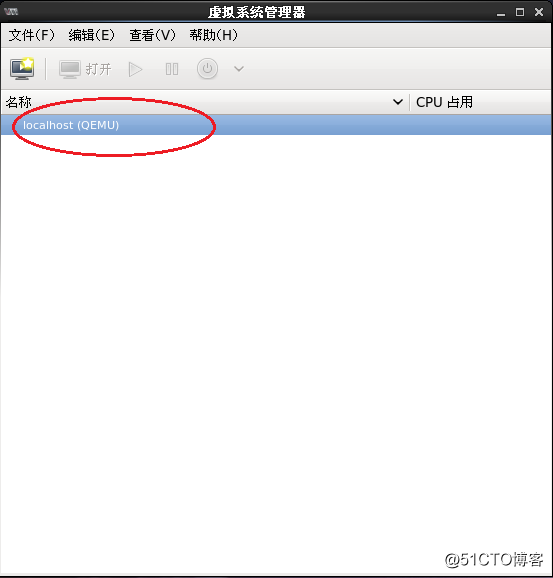
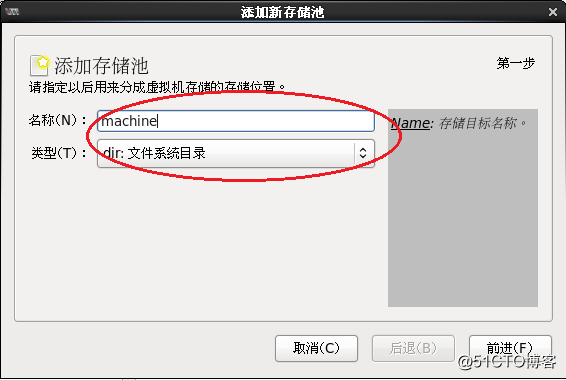
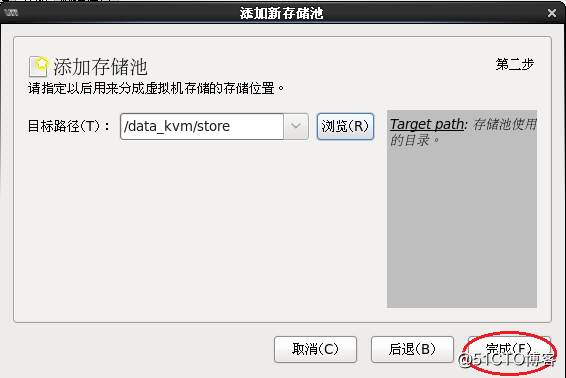
10. Follow the steps above to create another storage /data_kvm/ios 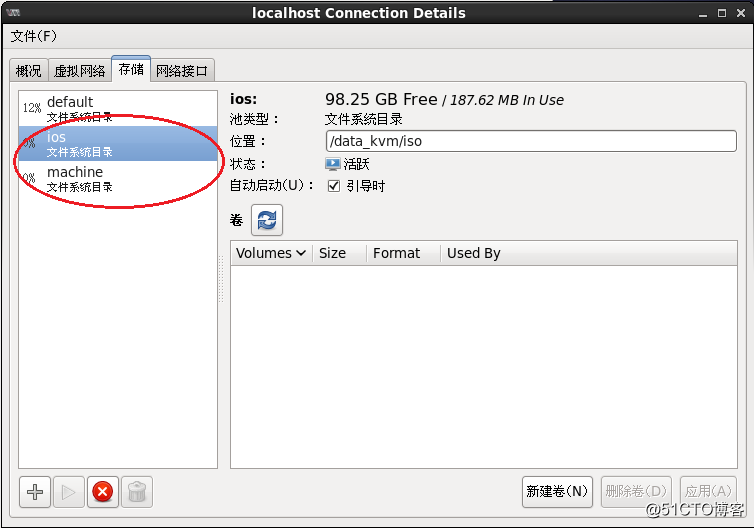
11. After creating the volume in the machine, 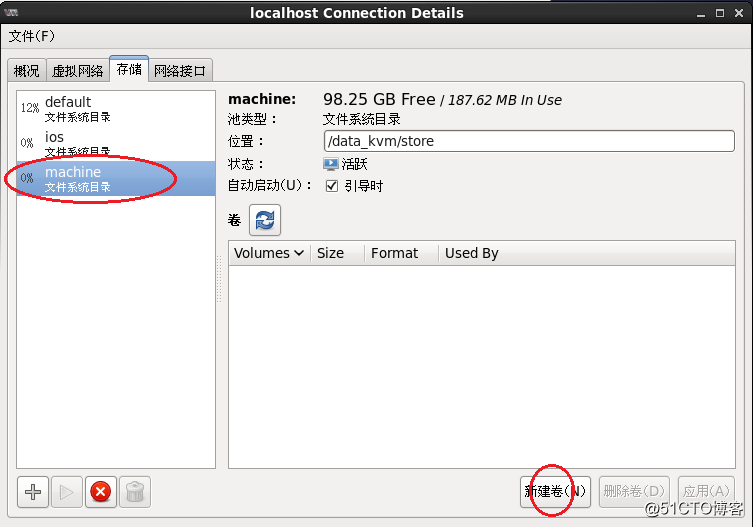
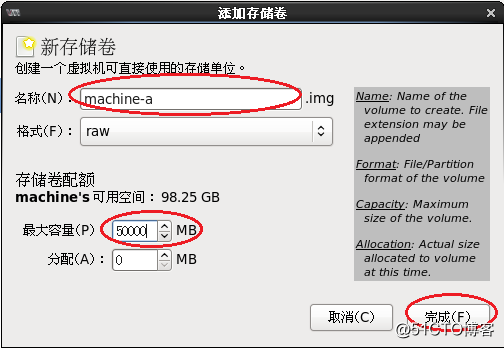
you can close this window
12. Start creating the virtual machine. Right-click "localhost" - "New" 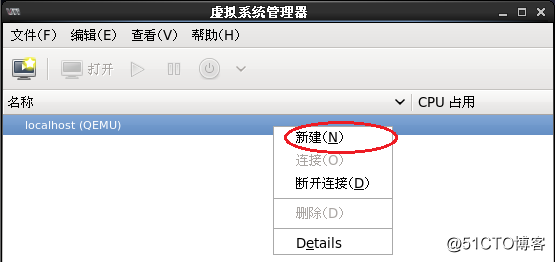
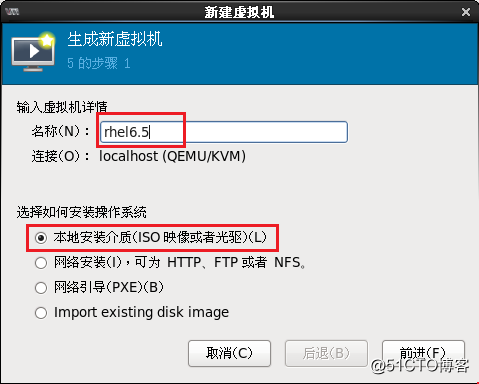
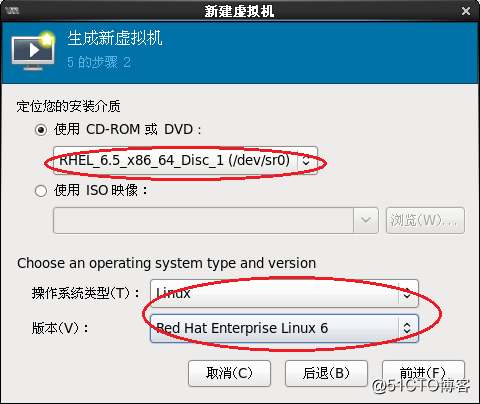
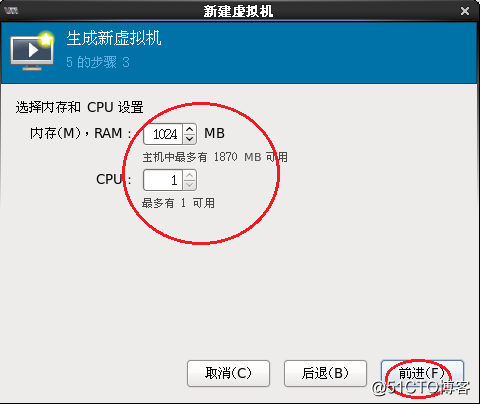
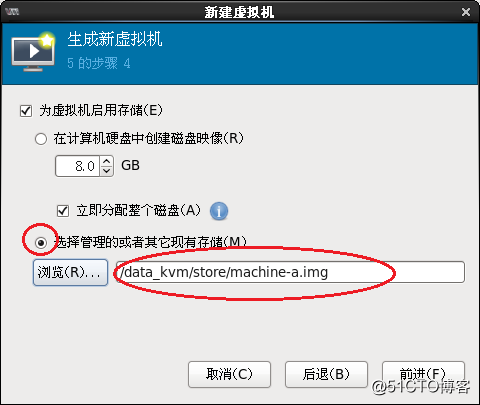
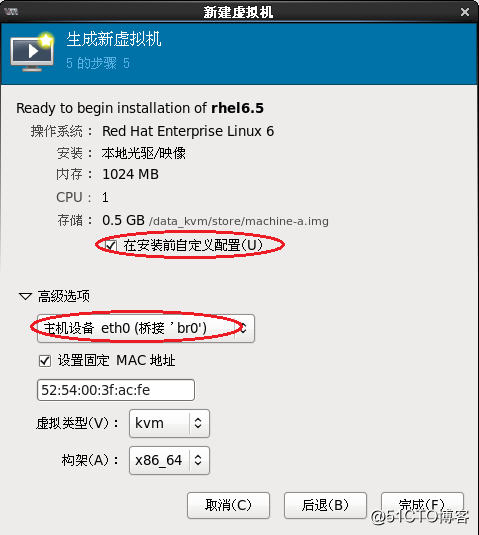
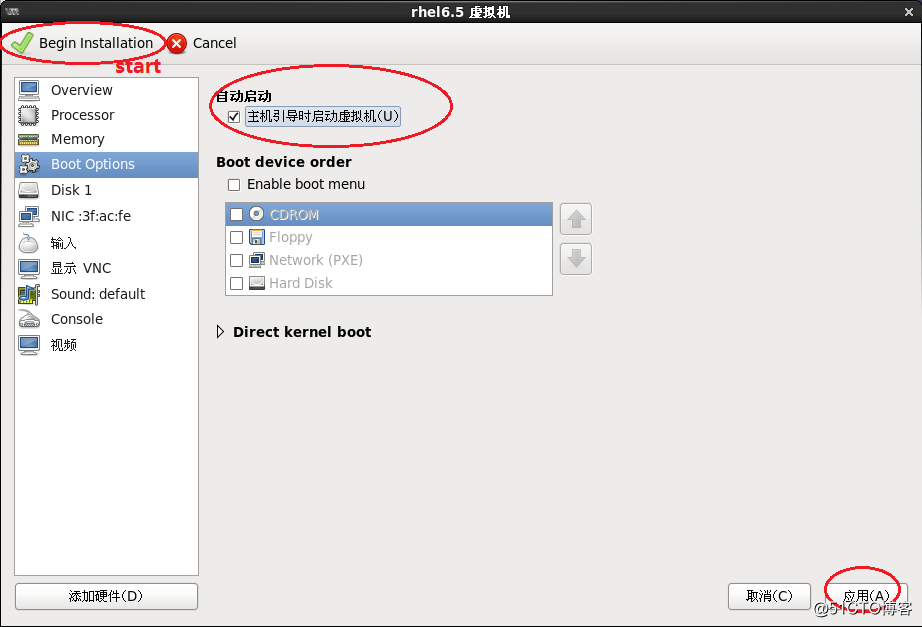
to complete the above configuration to start the virtual machine installation system. (Of course, KVM needs to mount the system disk, and the steps for installing the operating system are omitted. You can refer to http://blog.sina.com.cn/s/blog_17876b2540102ws6b.html)
13. The virtual machine uses the raw format by default. Also the default. There are two types of KVM virtual machine disk files: raw and qcow2 by default. The raw format has the best performance and speed block, but its disadvantage is that it does not support some new KVM functions, such as mirroring, Zlib disk compression, AES encryption, etc. Sometimes in order to use functions such as cloning, you need to use the qcow2 format, and you can convert virtual machine files at this time. 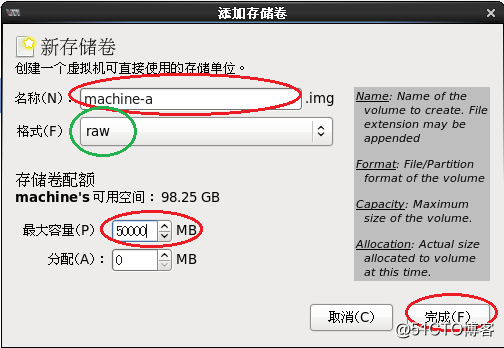
14. First shut down the virtual machine. To view the current virtual machine file format, you can use the following methods 
15, convert the format 
16, modify the xml configuration of rhel6.5 

17, and install the libguestfs-tools toolkit with yum. After the installation is complete, you can clone the virtual machine or take a snapshot of the virtual machine
Deploy KVM virtualization platform
Guess you like
Origin http://43.154.161.224:23101/article/api/json?id=324915694&siteId=291194637
Recommended
Ranking