table of Contents
1. Uninstall the old version of Python
We can
cmdcheck the Python version by entering the following command
python -V #这里V大写

Now to uninstall Python
1. Remove Python related software
Open the control panel and delete the software about Python
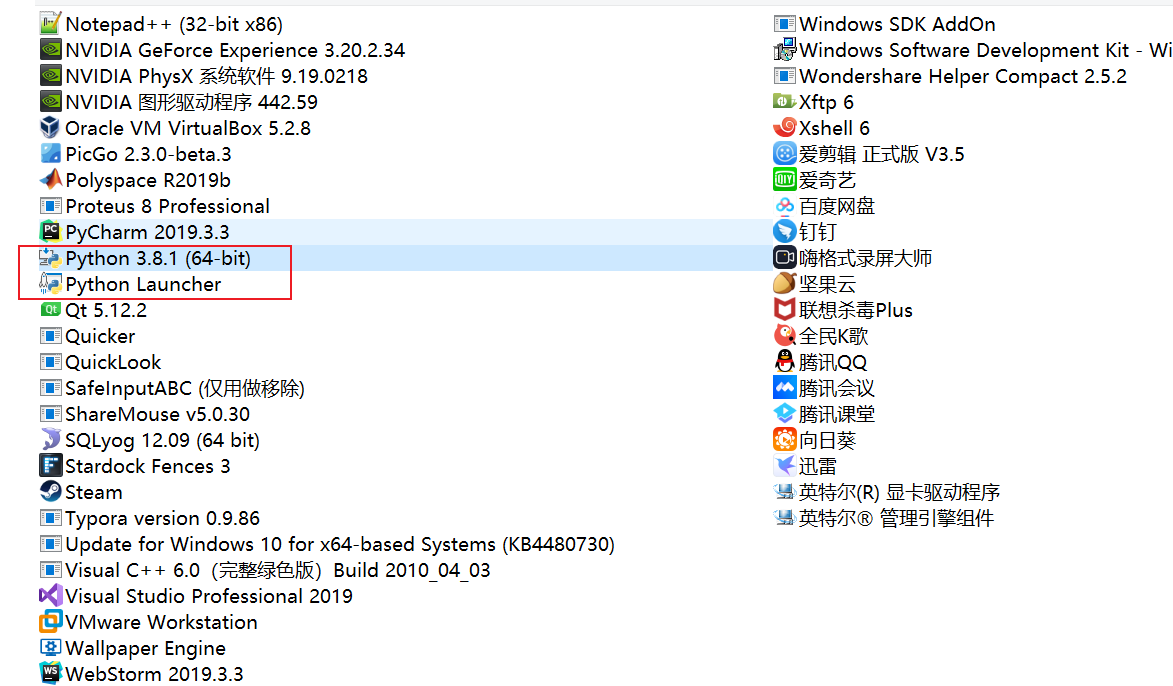
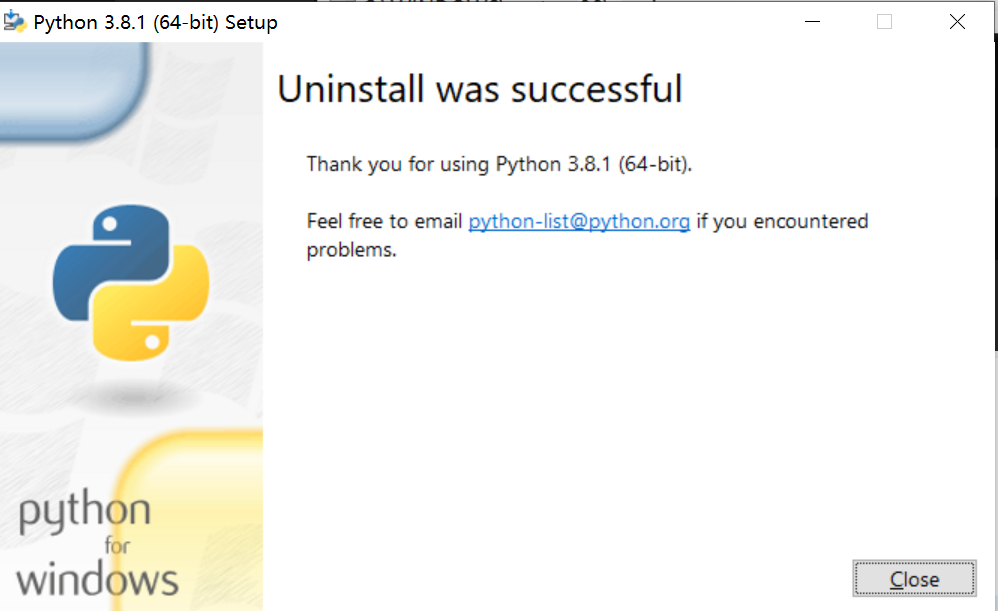
First delete Python 3.8.1(64bit)and then the following dialog box will pop up, wait for the deletion to complete and close it 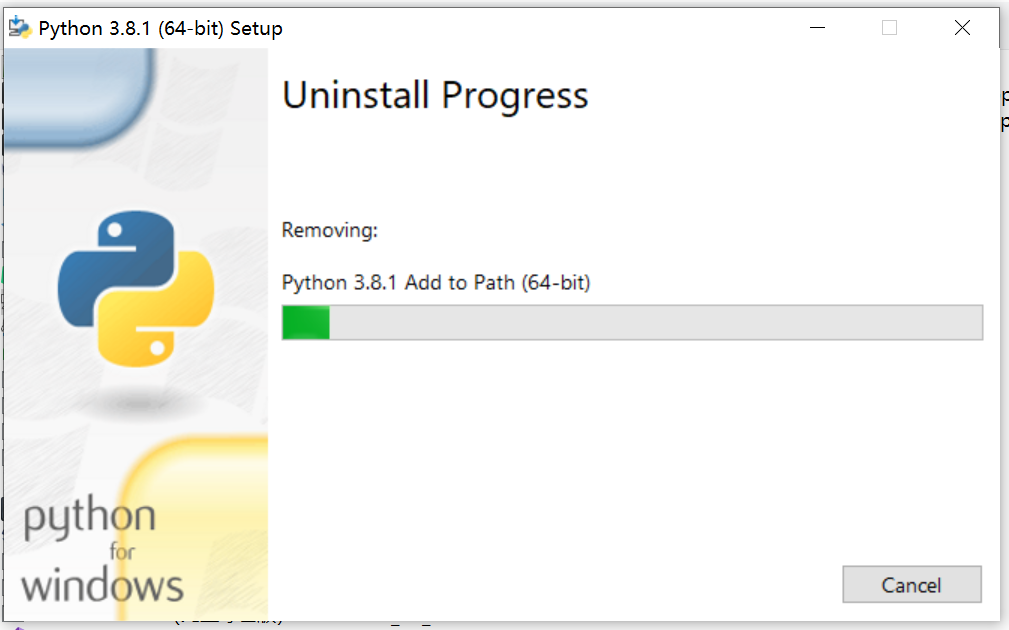
and then uninstallPython-laucher
2. Delete the entire Python installation directory
3. Delete Python-related environment variables
Right 我的电脑, 属性Select 高级系统设置, click 环境变量

Delete up and down 用户变量and 系统变量the Pathpath path about Python, you can delete

2. Download Python
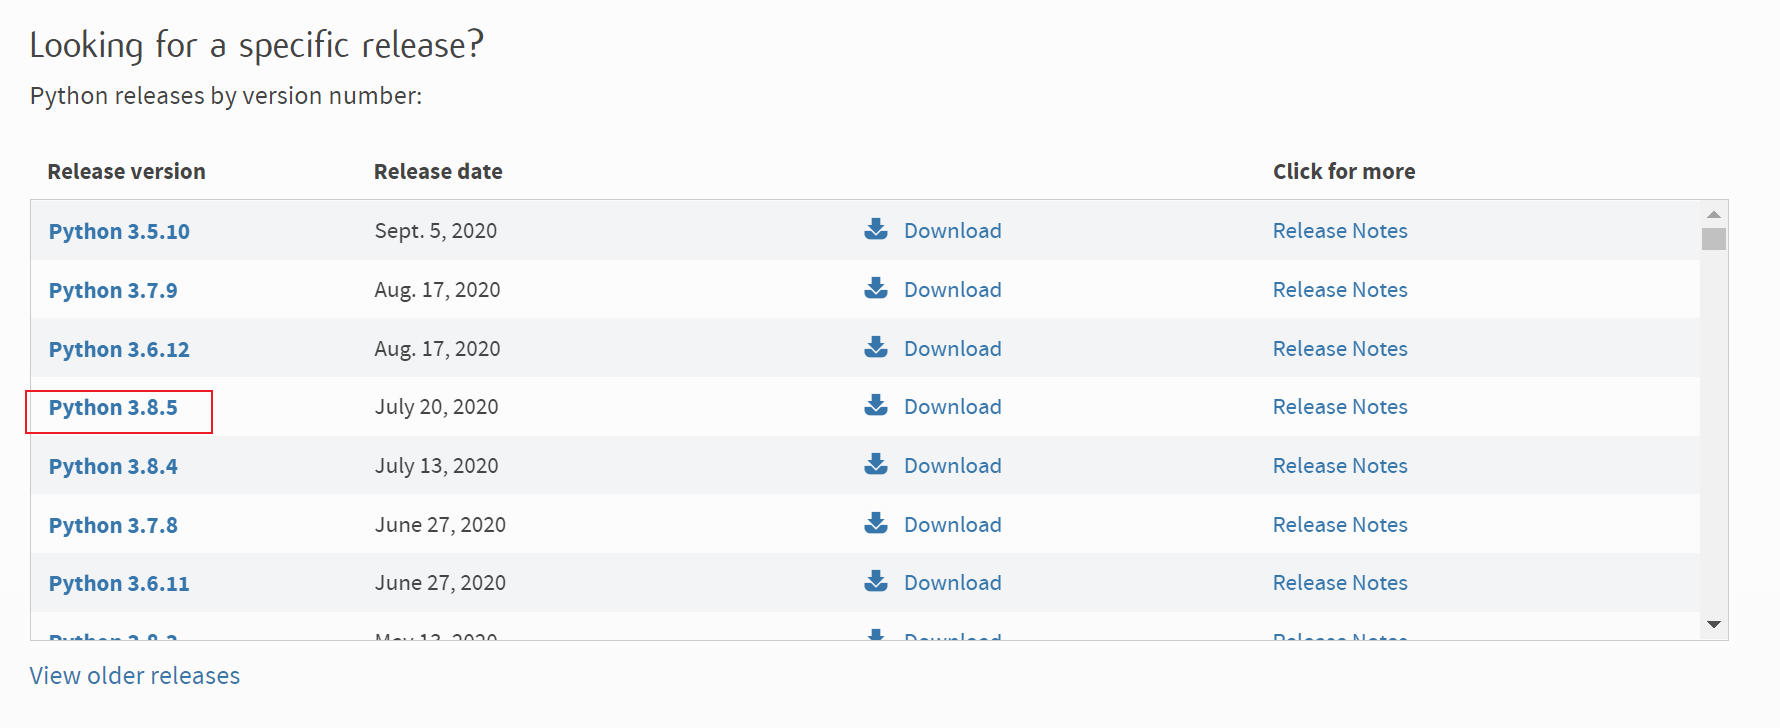
Download address: https://www.python.org/downloads/ After
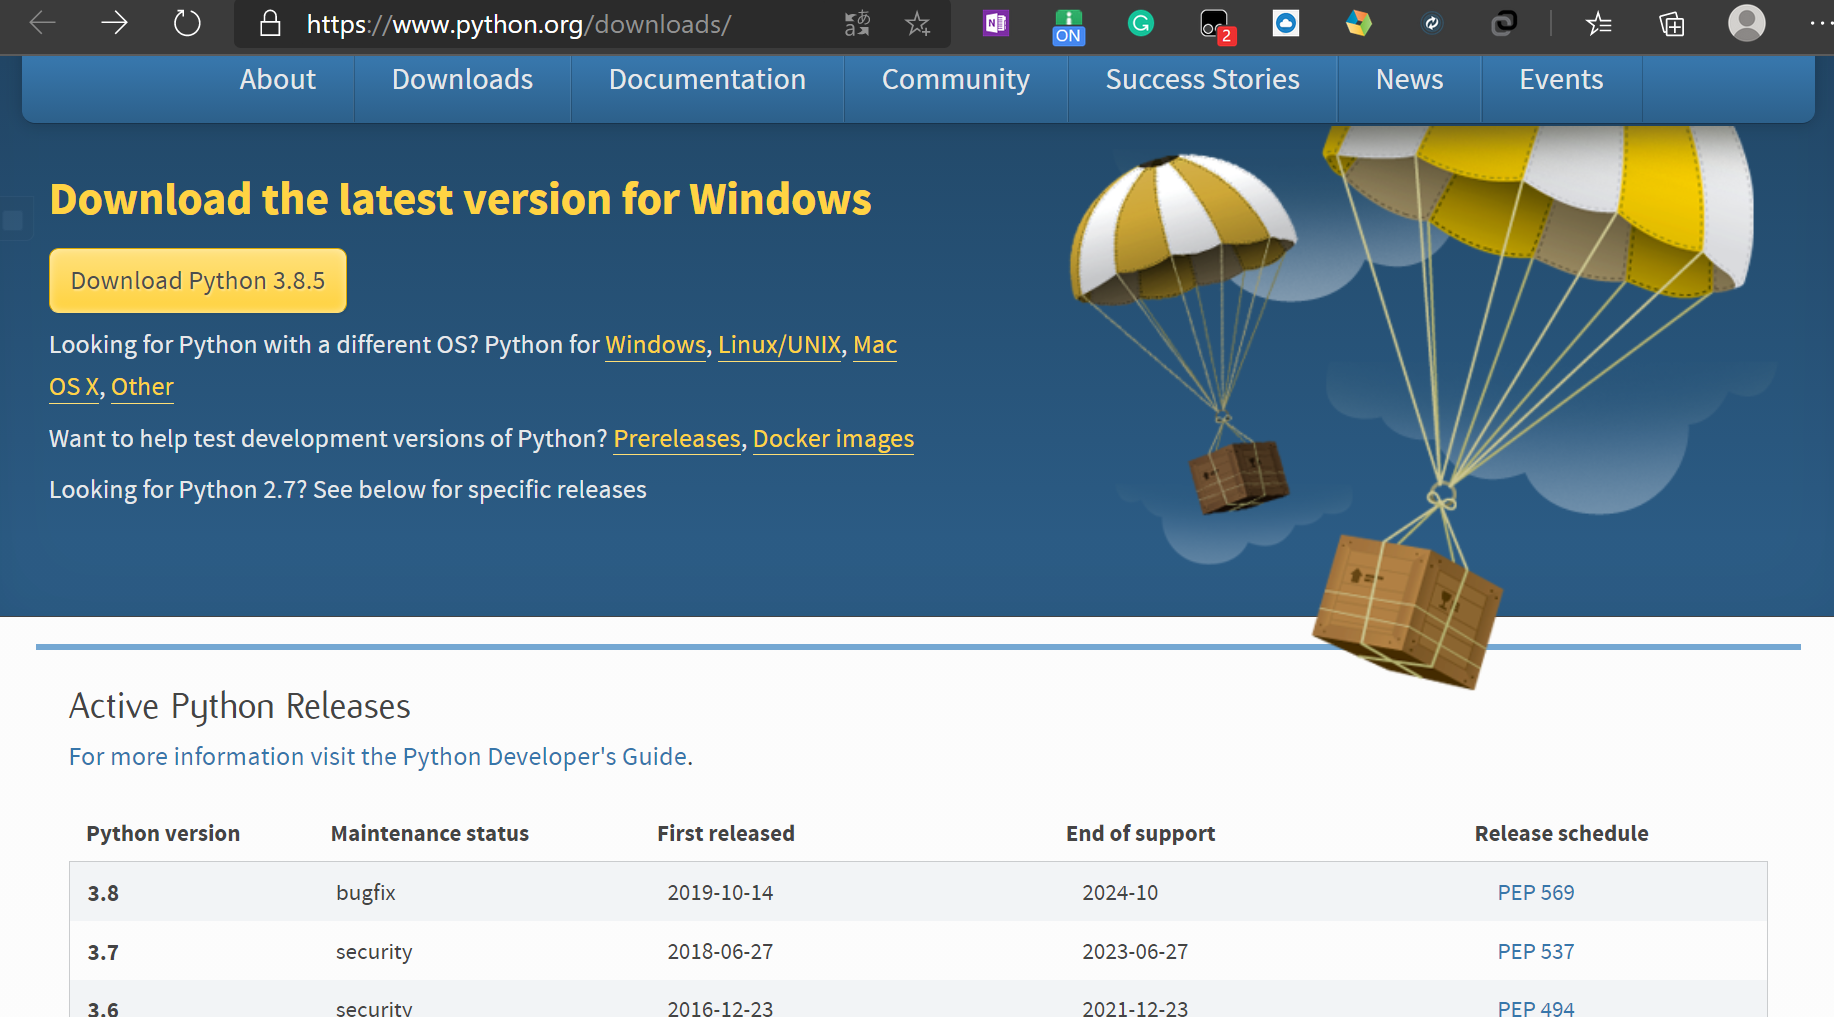
entering the page, slide down, you can choose different versions to download, click the latest here, Python 3.8.5
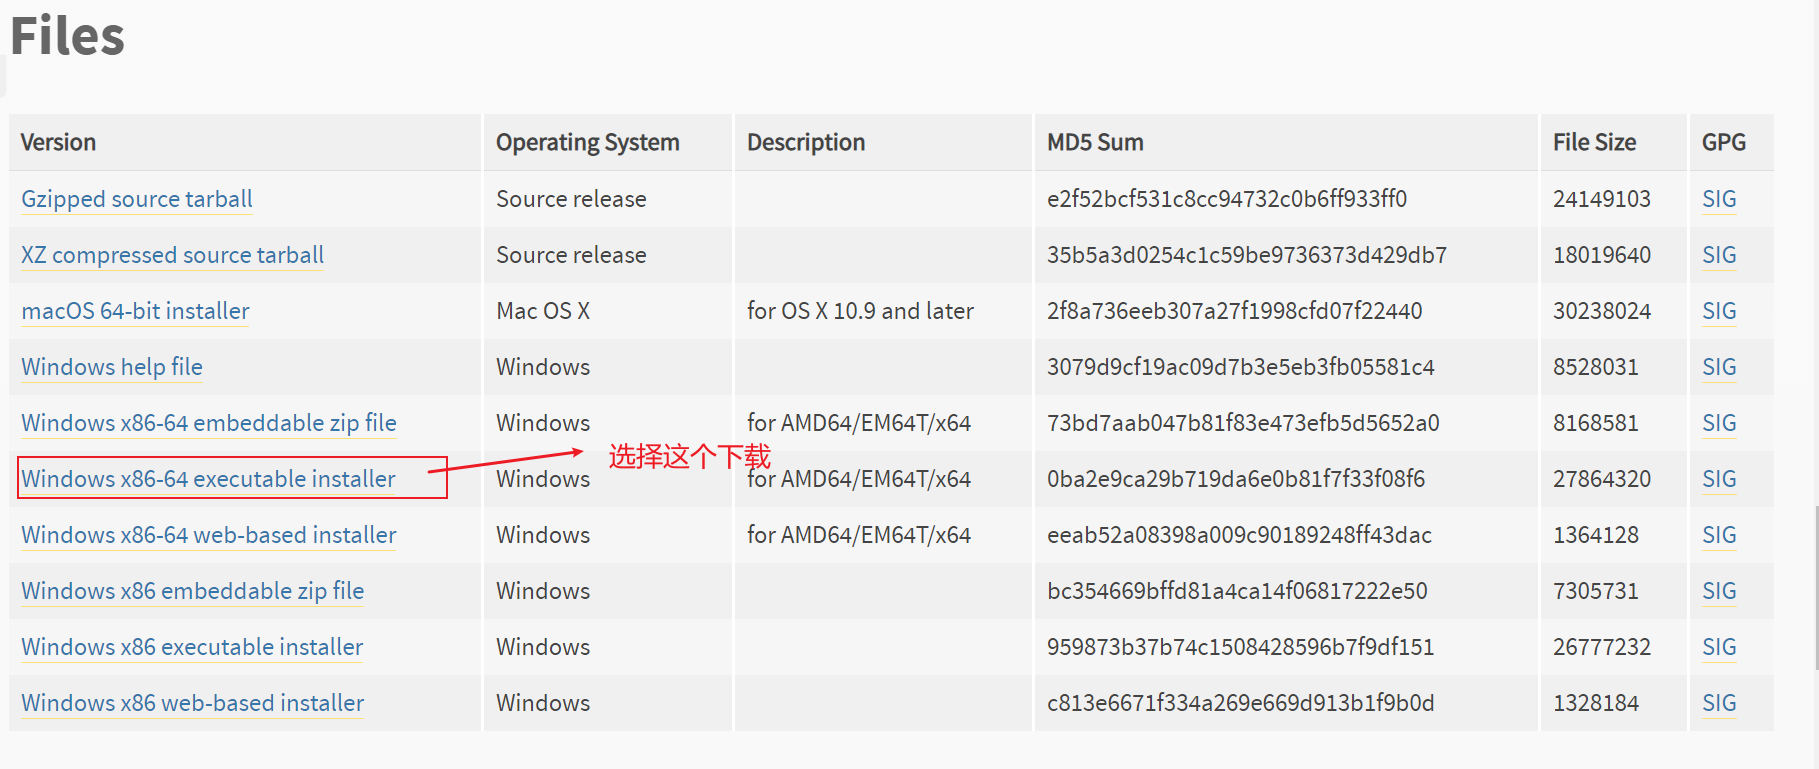
click to enter, slide to the bottom, you can choose different download forms
-
web-based: Installed through the network, is to install python through the network only after the installation -
executable: For executable files, download all pythons to be installed and install them on this machine -
embeddable zipfile: zip compressed file, that is, python is packaged into a zip compressed package
This is a Windows system, it is recommended to use the excutableform to install, and choose 64-bit, download as shown in the figure
The official website download may be slow, it is recommended to copy the download link and use Thunder download
3. Python installation
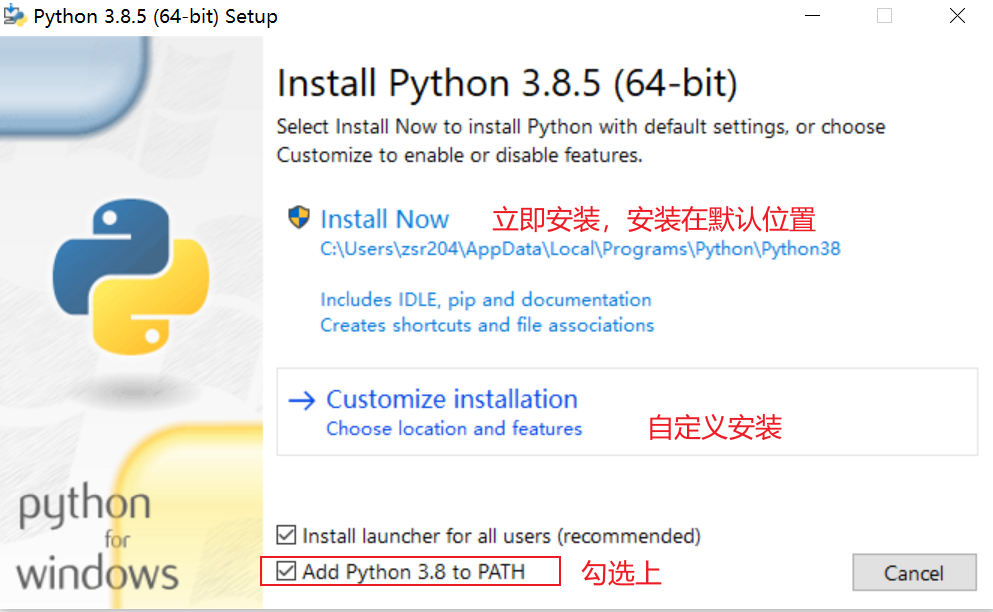
After the download is complete to get .exethe file

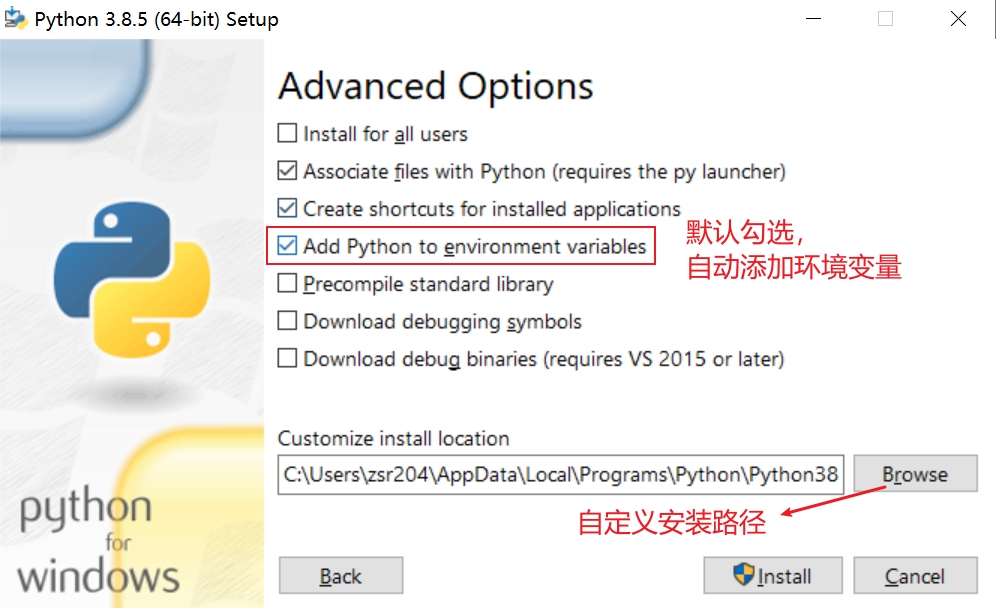
, double-click .exethe file to run, there are two installation methods, recommended to choose custom installation , pay attention to check on Add Python 3.8 to PATH, it will automatically add environment variables for us, do not have to manually add a
plus down the default, click on Next
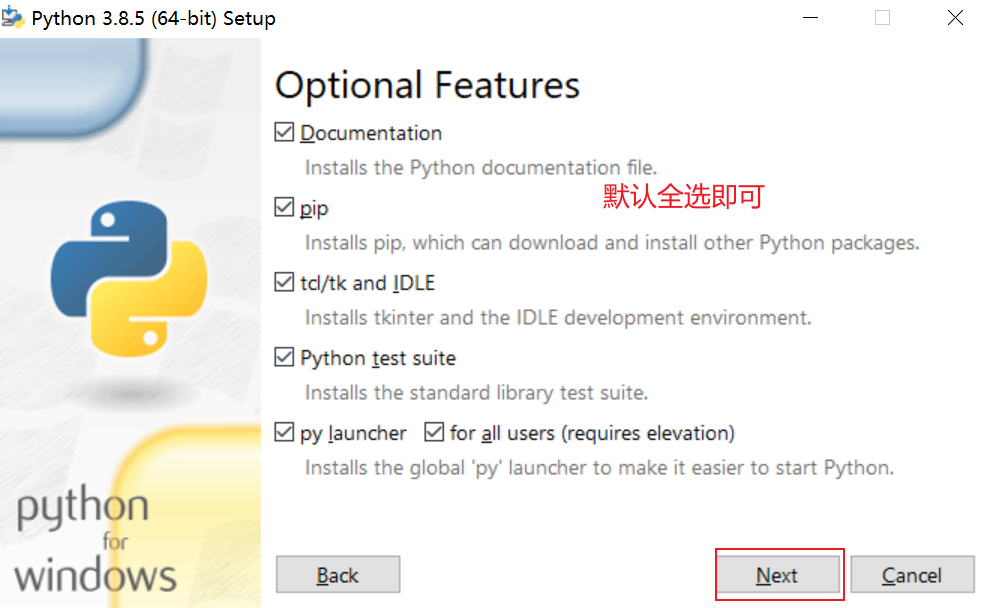
and then we self custom installation path, select your click installcan be installed
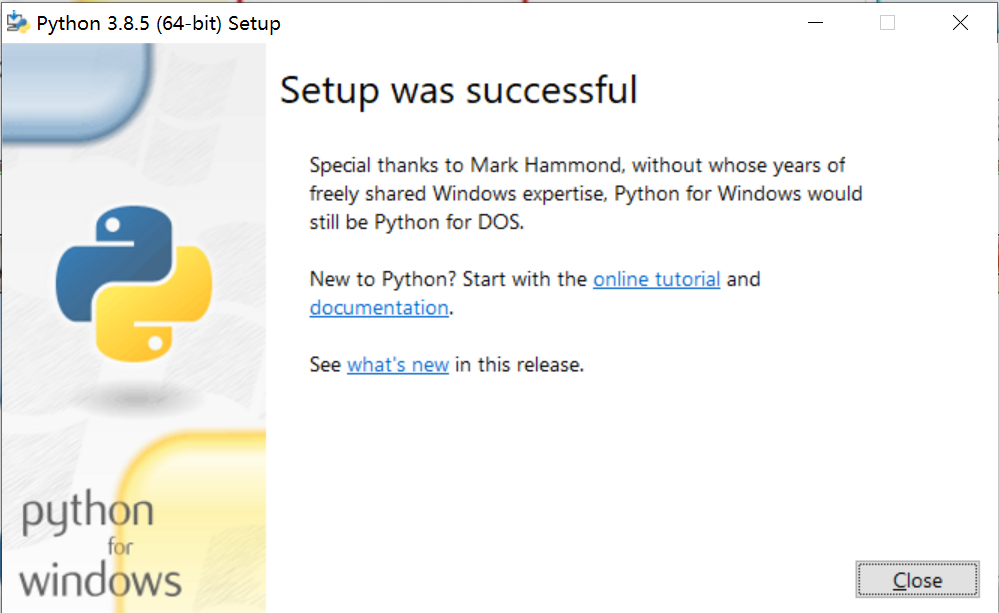
after the installation, click Closeto
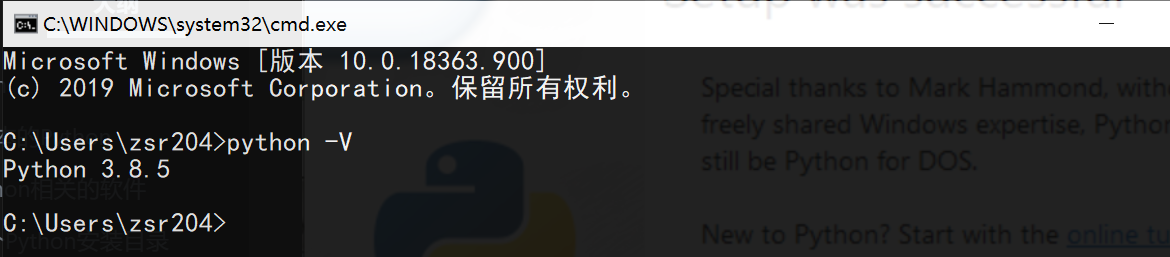
finally Win+Renter cmdto open the task Manager to see whether the installation is successful, the following results appear successful installation
#注意V为大写
python -V
You can also enter it directly Pythonfor verification
python
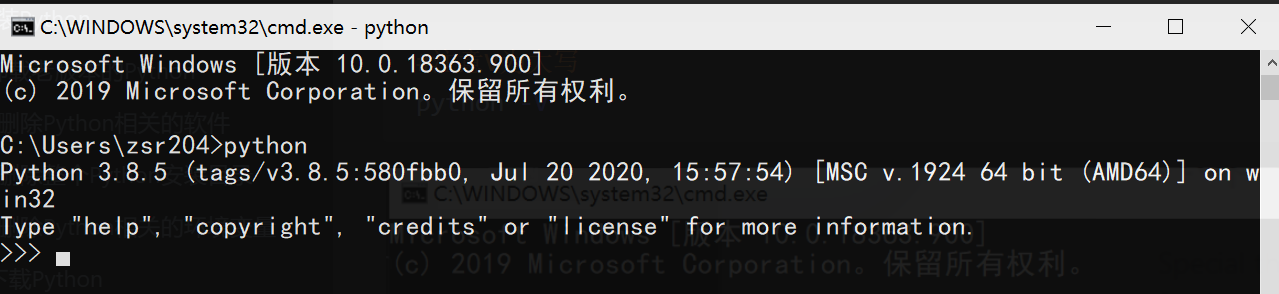
At this point, pythonit has been installed and configured successfully!
Finally, we can view the environment variables, you can see that the corresponding path is automatically added during the installation process
