Android development environment configuration document
1. JDK installation
- JDK Installation
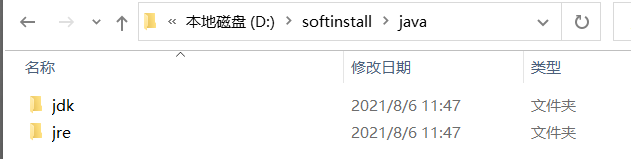
1.1 JDK Select Installation Directory
During the installation process, there will be two installation prompts. The first time is to install jdk and the second time is to install jre. It is recommended that both be installed in different folders within the same java folder. (Cannot be installed in the root directory of the java folder, jdk and jre installed in the same folder will make an error). As shown in Figure 1-1.
1.2 Install JDK and JRE
1: Install jdk and choose the directory at will, just modify the directory before the default installation directory \java.
2: The directory before installing jre and changing \java is the same as the directory where jdk is installed.
Note: If there is no installation directory requirement, it can be set by default. No need to make any changes, just click Next both times. - Environment variable configuration
WIN7: Computer→Properties→Advanced System Settings→Advanced→Environment Variables;
WIN10: This Computer→Advanced System Settings→Environment Variables.
Or directly search for environment variables to open.
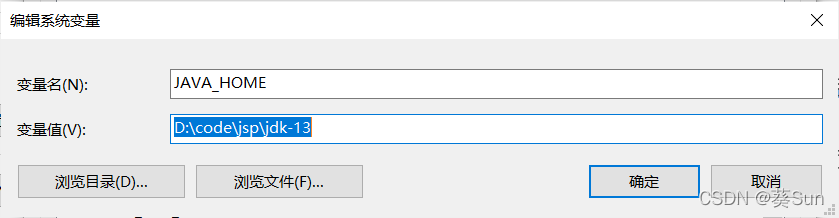
After opening "Environment Variables": Click "System Variables → New JAVA_HOME Variable", and fill in the jdk installation directory for the variable value (I updated it once to D:\code\jsp\jdk-13, which should be downloaded from Figure 1-1 default jdk). As shown in Figure 2-1.
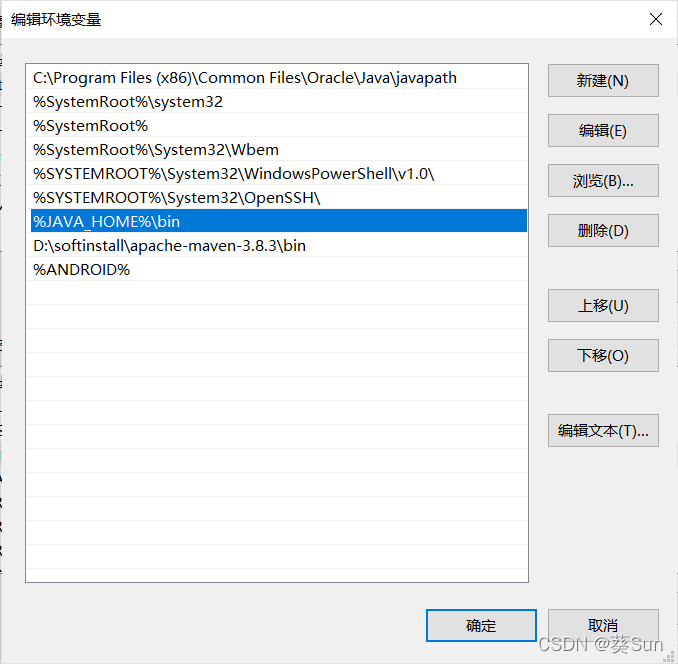
Click “System Variables→Path Variables→Edit”, as shown in Figure 2-2. Enter %JAVA_HOME%\bin; at the end of the variable value.
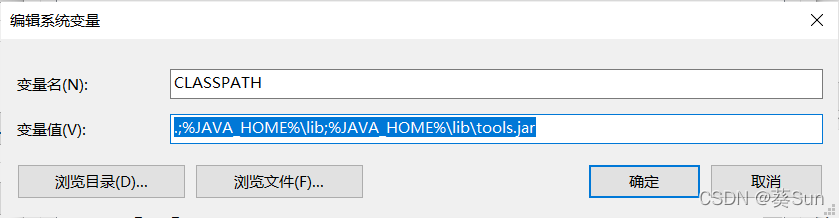
Click "System Variables → New CLASSPATH Variable", fill in the variable value.;%JAVA_HOME%\lib;%JAVA_HOME%\lib\tools.jar (note the first point). As shown in Figure 2-3.
- Check whether the configuration is successful
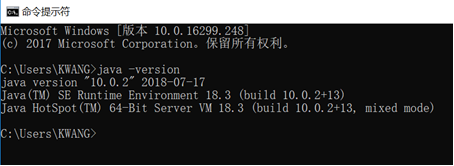
Run cmd and enter java -version (there is a space between java and -version). If the version information is displayed as shown in Figure 3-1, the installation and configuration are successful.
2. Android Studio installation tutorial
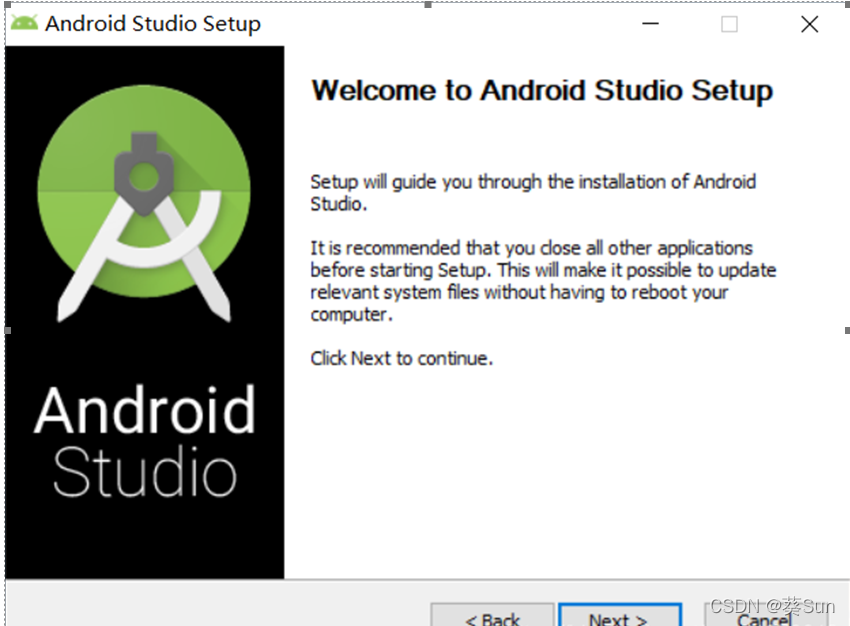
1. First, download the Android studio installation package, which can be downloaded from the official website of https://developer.android.google.cn/studio/. The latest version of Android studio I demonstrate here. As shown below

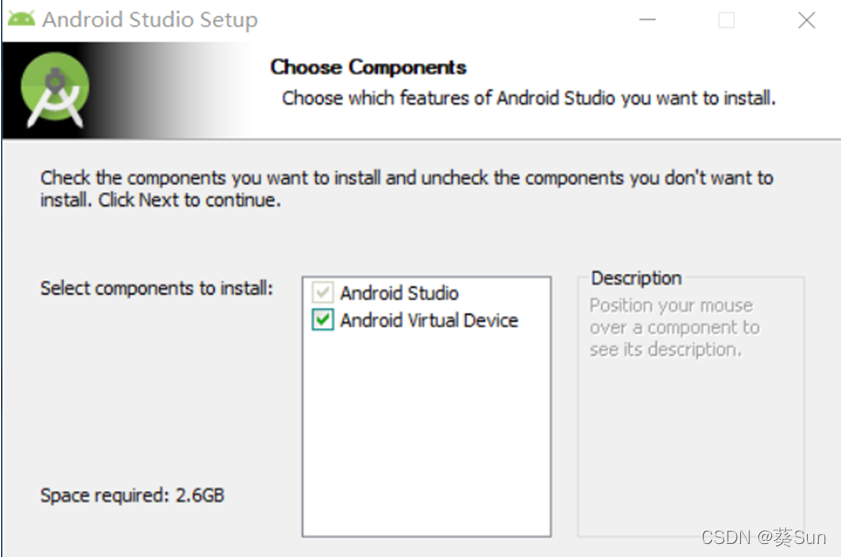
2. After downloading and installing, follow the steps below:
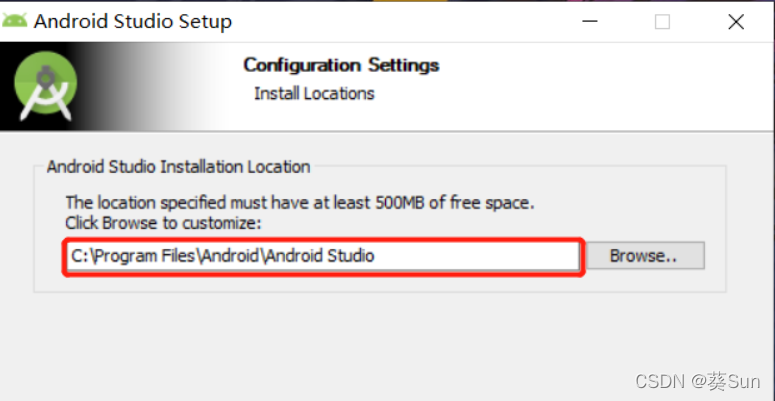
The next step is to choose the installation path. Personally, it is recommended not to change it if the memory is large.
I put it in D:\AS\Android Studio, and the folder will be created by itself.
At this point the basic part has been completed.
4. The following must be completed step by step, step by step carefully:
click on the second
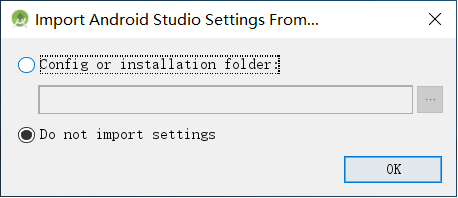
Then there will be various prompts, the next step is here
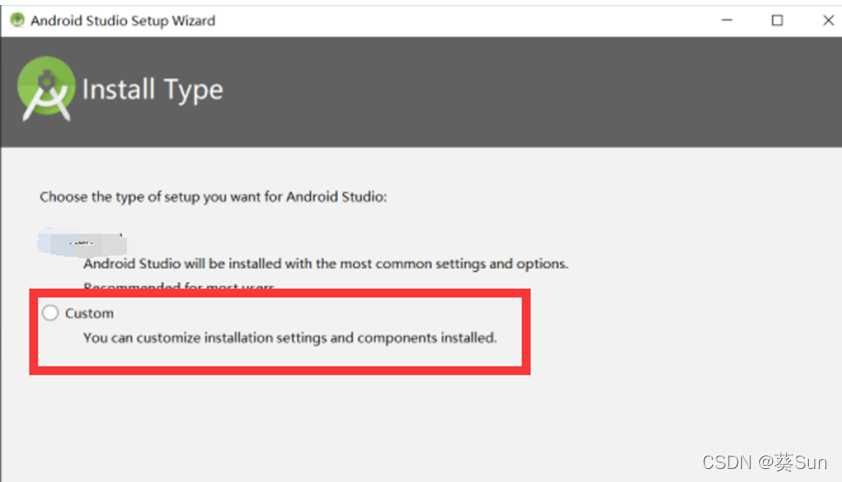
After installing this
custom
, you can change the installation location, otherwise, it can only be installed on the C drive
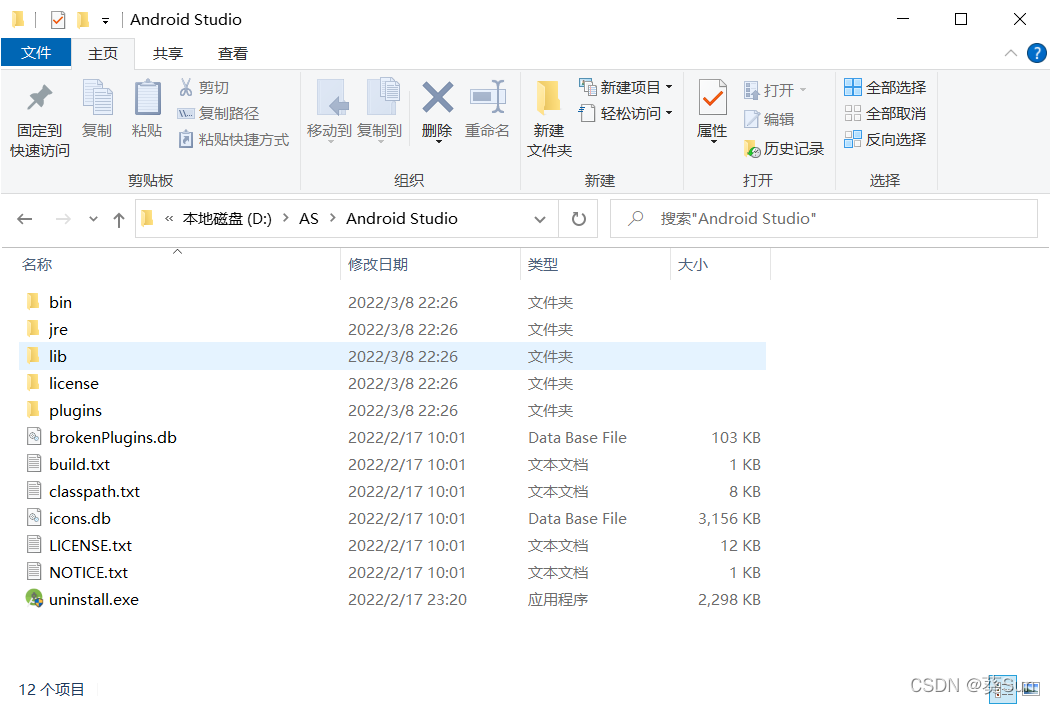
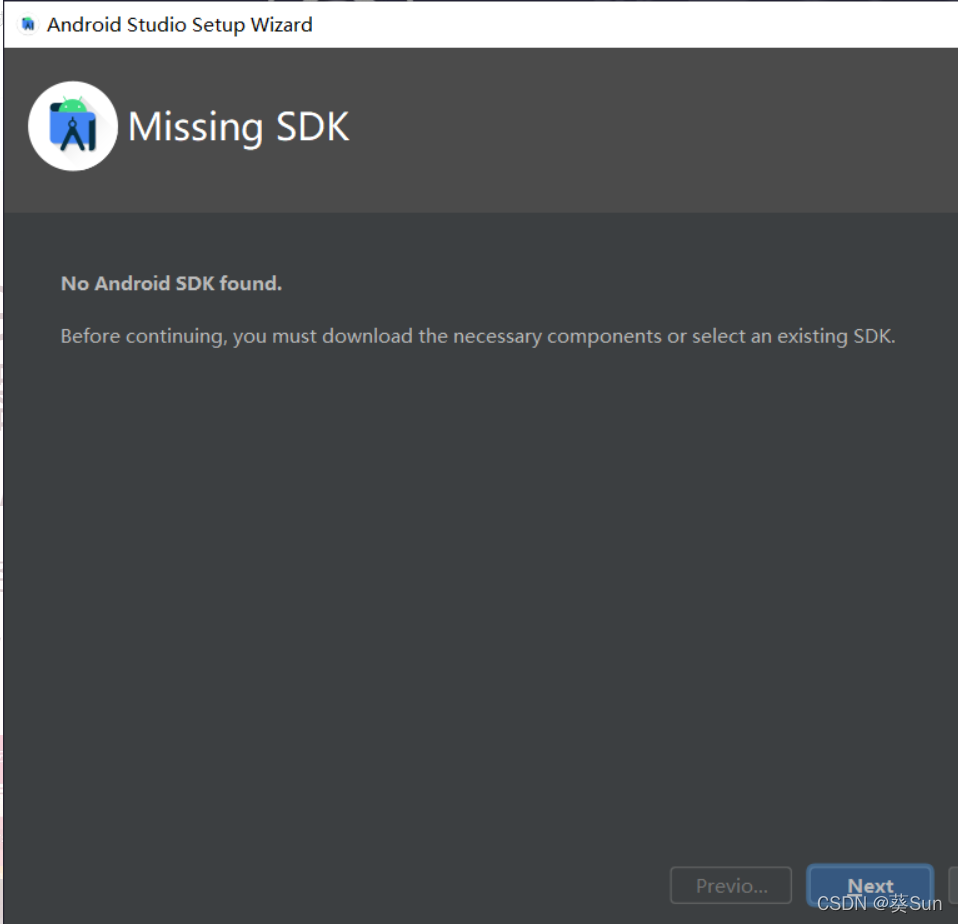
At this point, the android studio installation is complete. The following directory will be generated in the android directory. After the
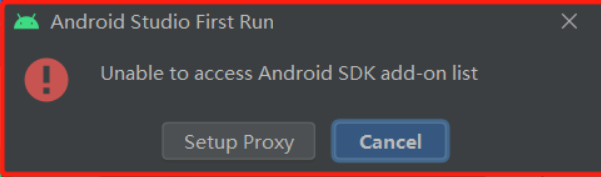
 completion, the sdk needs to be downloaded. The first installation is generally not available, and you can download it in the software. If the pop-up window shown below appears, don't worry, just click Cancel or close the pop-up window.
Then the theme style will be selected: after next.
You need to install and configure the sdk. After the selection in the previous step is completed, the following will appear, click next.
The installation path below is very important. It is recommended to write exactly the same as mine. It must be an empty folder, and the path of \Android\sdk must be used, otherwise the next step will not be possible.
(Note that the installation path must be all in English, no spaces, punctuation marks or the like or Chinese. Remember that the installation path must not appear in Chinese. Chinese will cause a lot of trouble later.)
Check the content to refer to the

memory selection in the picture, Personally, I have a 32G memory stick. I chose 4096MB. You can choose according to the situation. It is better not to be lower than 2G (2048MB).

Then next-finish, wait for the download, finish-next-finish.
The following is the configuration of environment variables.
Open the system environment variable (as mentioned above, you can scroll forward if you forget it),
create a new ANDROID, and the variable value is the storage path of the sdk. 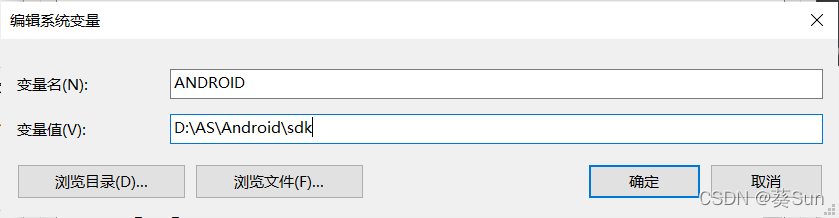
Edit the path environment variable and add a %ANDROID%;
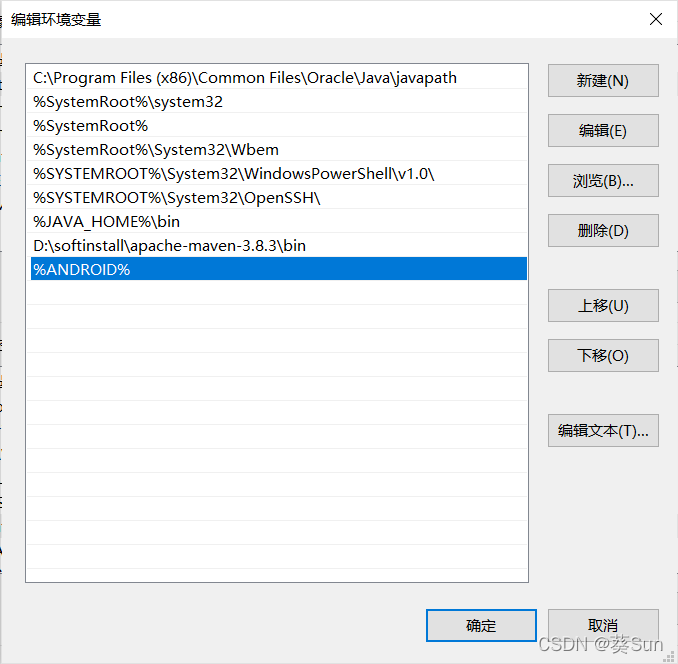
click OK, OK, OK. All confirmations must be clicked to save the configuration. Then restart Android Studio.
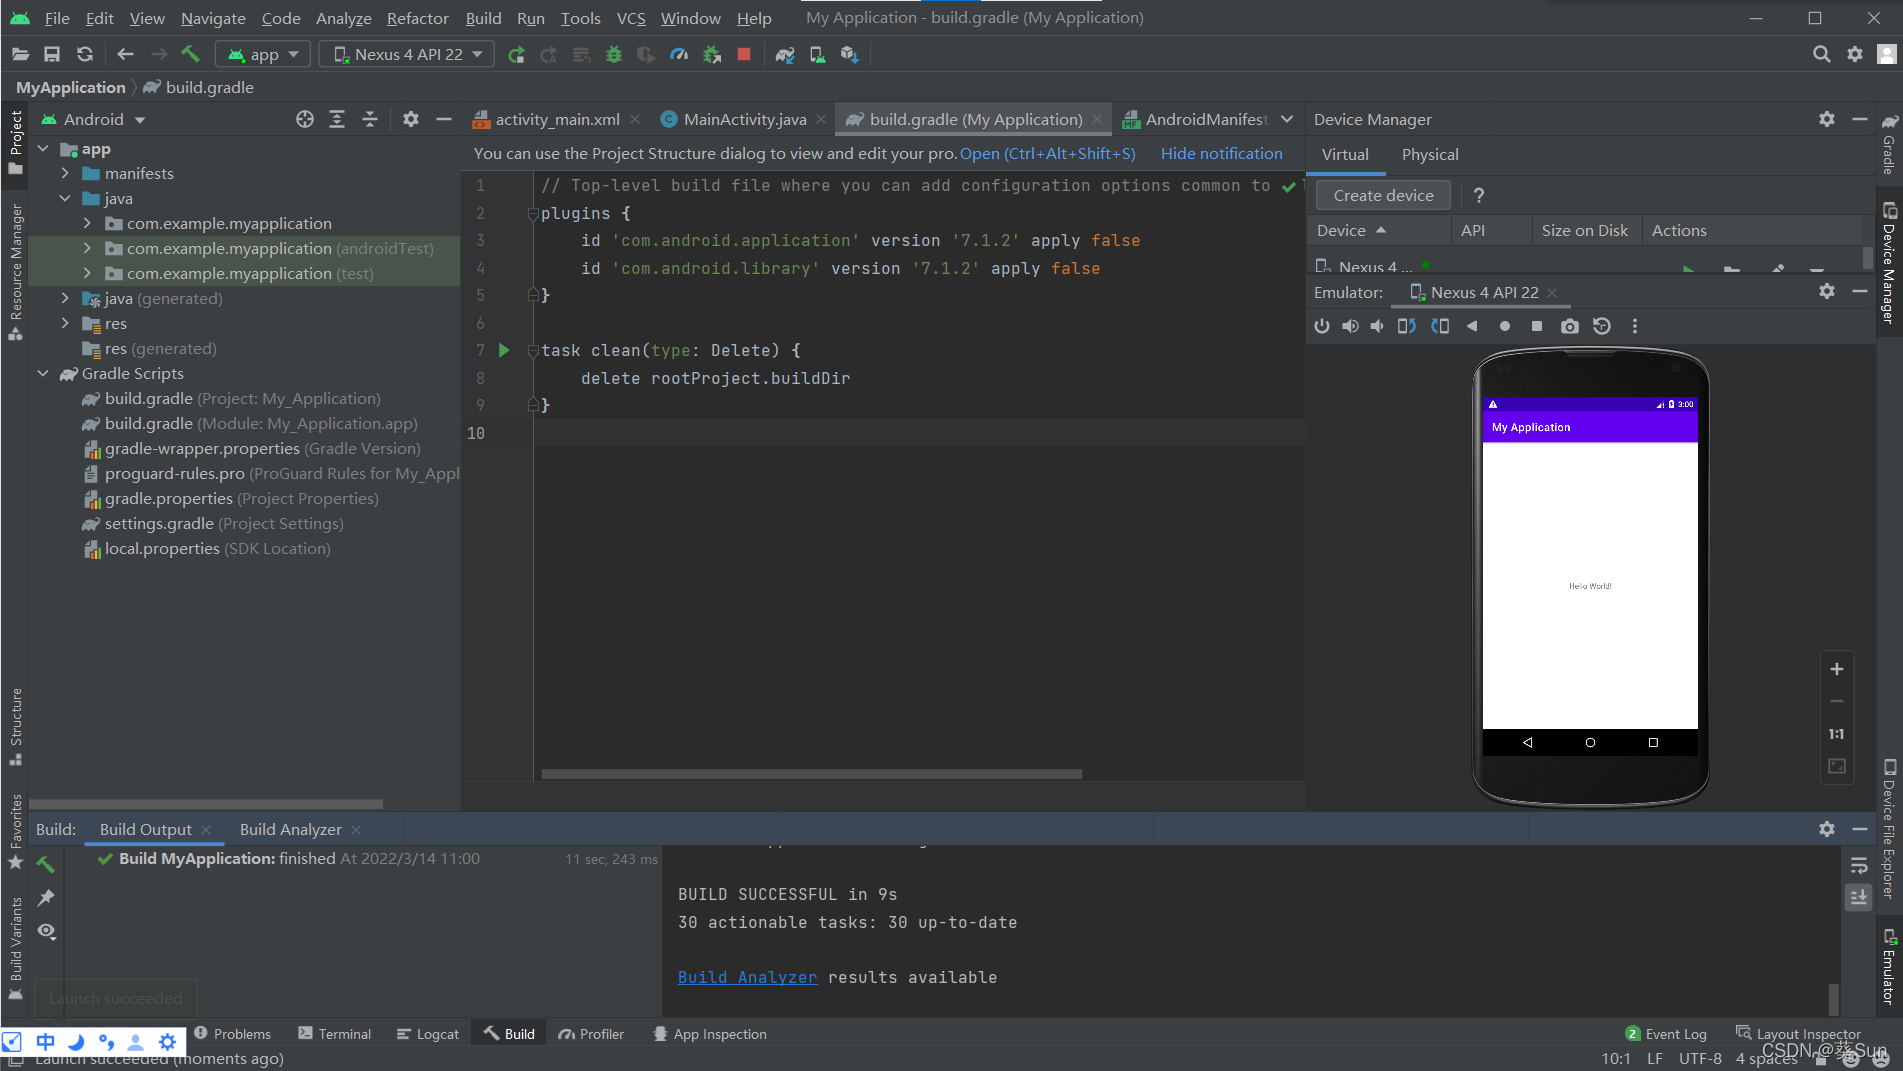
5. Start demonstrating the first hello world program!
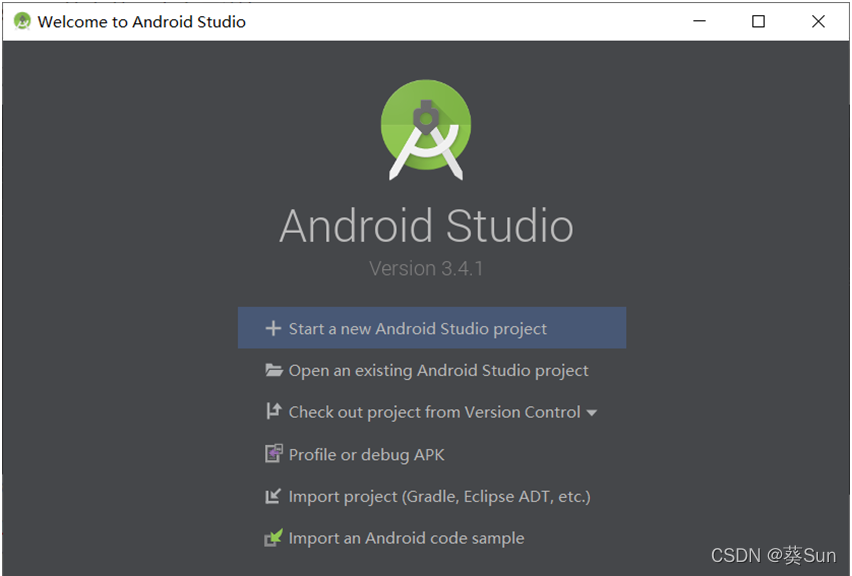
Click start a new balabala in the picture above... The demo is a blank case, and no other templates will be displayed!
Project name, domain name, language, API level, just

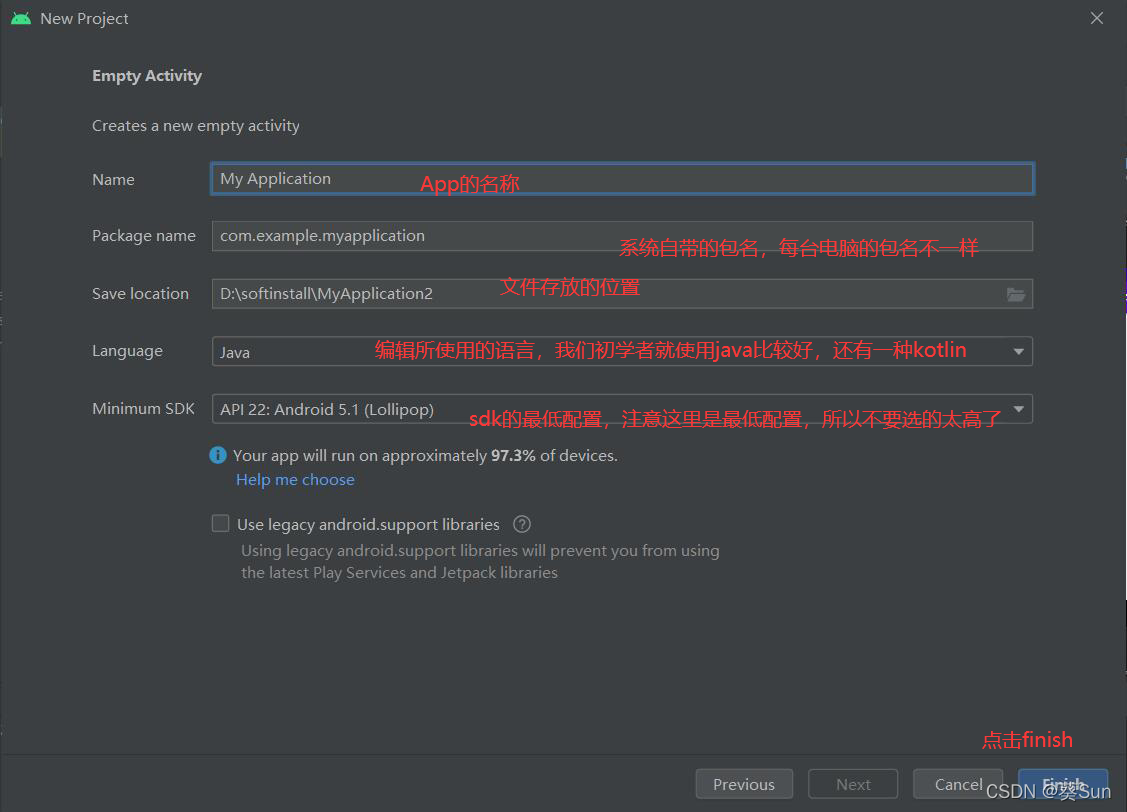
choose according to your needs. After the selection is complete, click finish.
After that, Android studio will automatically create an app project. To run this project, you need an Android application, and because of the first installation, you need to configure a new emulator.
Since there are many problems in configuring the emulator and it is more complicated, I won't say much in this article. You can click on this link Android studio to install the emulator tutorial and go to my other blog to watch it. It is very detailed and varies according to different computer CPUs. method. Since Intel and AMD's CPUs take a different approach, there are different approaches.
However, the final result can still be shown to you.