Tip: After the article is written, the table of contents can be automatically generated. For how to generate it, please refer to the help document on the right
Article Directory
Preface
Here I will talk about my recent learning experience. When I was in contact with open source projects, I had already stored some basic knowledge and knew how to use some frameworks. Looking at the code at this time, you will have a lot of questions, such as the order of execution and why it is configured like this. At this time, you will continue to ctrl+b to look at it layer by layer. The more you look at it, the more you start to doubt yourself. Will I really do it? ? Perhaps I am not here to tell you to get its principles or something, I want you to pass on the negative information of learning. I think for a novice, you should have a clear understanding when learning the framework. The framework must be encapsulated. Next, what are you doing with the framework? If you can use it, you can understand it, so there is no need to study in depth at the beginning.
1. How to use shiro in xmall
In the previous article, I looked at the single sign-on function of xmall-sso, and we found that the code inside is very simple, that is, go to the database to query and verify, generate the token and put it in redis. I also wrote a method to get user data based on token. So do I need to manually verify the login status and permissions every time the service is called? Regardless of whether each request is manually written for verification or AOP is used to achieve verification. All need to be realized by ourselves. One is to increase the complexity and difficulty of the project, and it is also prone to errors.
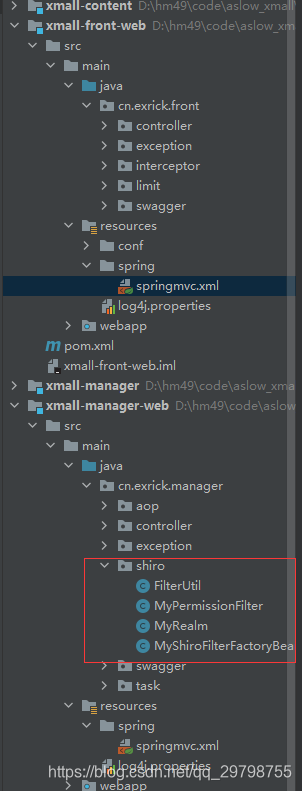
We can see that xmall-front-web is not used, but shiro is used in xmall-manager-web. Next, let's take a look at how to use the shiro framework to achieve login and permission verification.
Two, shiro verification
1. shiro placement
<!-- 配置自定义Realm -->
    <bean id="myRealm" class="cn.exrick.manager.shiro.MyRealm"/>

    <!-- 安全管理器 -->
    <bean id="securityManager" class="org.apache.shiro.web.mgt.DefaultWebSecurityManager">
        <property name="realm" ref="myRealm"/>
    </bean>

    <bean id="perms" class="cn.exrick.manager.shiro.MyPermissionFilter"/>

    <!-- Shiro过滤器 核心-->
    <bean id="shiroFilter" class="cn.exrick.manager.shiro.MyShiroFilterFactoryBean">
        <!-- Shiro的核心安全接口,这个属性是必须的 -->
        <property name="securityManager" ref="securityManager"/>
        <!-- 身份认证失败,则跳转到登录页面的配置 -->
        <property name="loginUrl" value="/login"/>
        <!-- 登录成功之后的 跳转页面 -->
        <property name="successUrl" value="/"/>
        <!-- 权限认证失败,则跳转到指定页面 -->
        <property name="unauthorizedUrl" value="/403"/>
        <!--自定义过滤器-->
        <property name="filters">
            <util:map>
                <entry key="perms" value-ref="perms"></entry>
                <entry key="roles" value-ref="perms"></entry>
            </util:map>
        </property>
        <!-- Shiro连接约束配置,即过滤链的定义 -->
        <property name="filterChainDefinitions">
            <value>
                <!--anon 表示不需要认证以及授权-->
                <!--authc 表示需要认证 没有登录是不能进行访问的-->
                <!--perms 表示需要该权限才能访问的页面 /user/* = perms[/*] -->
                <!--roles 表示需要角色才能访问的页面 /* = roles[管理员]-->
                <!--/login = anon
                /401 = anon
                / = authc
                /index = authc
                /welcome = authc
                /thanks-pic = authc
                /lock-screen = authc
                /user/logout = authc
                /user/userInfo = authc-->
            </value>
        </property>
    </bean>

    <!-- Shiro生命周期处理器 -->
    <bean id="lifecycleBeanPostProcessor" class="org.apache.shiro.spring.LifecycleBeanPostProcessor"/>
Here can be divided into several parts to
configure securityManager security manager, he needs to inject a Realm
configuration custom realm
configuration custom filter MyPermissionFilter
2. Log-in permission verification
Take a look at its specific execution process
A url request is first intercepted by MyPermissionFilter

. There is only one method isAccessAllowed in this class. What method is this?
ctrl+b found that it is an abstract method in AccessControlFilter and found where it is called. Here we will take a look at the method onAccessDenied. The difference with isAccessAllowed is that one is used when logging in, and the other is used when logging in fails. Generally used to redirect to the 401 page.
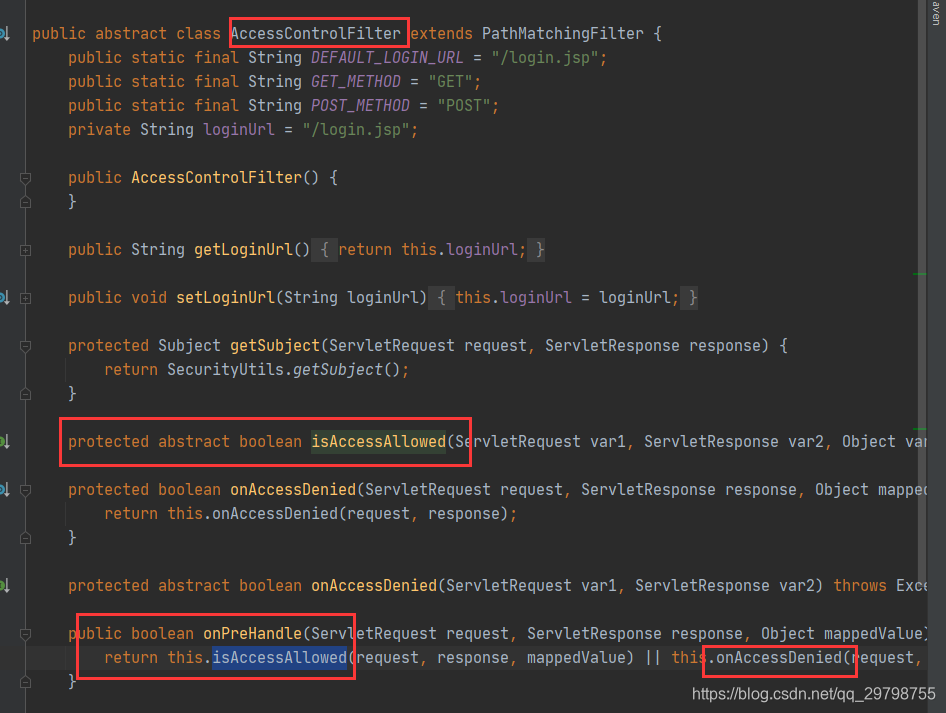
Looking inside, I finally found the familiar code in this PathMatchingFilter. The 
preHandle method is used for processor interception. As the name implies, this method will be called before Controller processing.
See if you find that filter and Interceptor are very similar to recommend an article on the difference between Filter and Interceptor
After the event, return to the controller 
SecurityUtils, which is the 
subject and the
last subject.login(token) managed by the securityManager , to call the framework login permission verification, etc.
to sum up
There is still a lot of knowledge in shiro, if Dangdang look at one or two cases is not comprehensive. It is best to read the official documentation. We will join JWT in the reconstruction project later