table of Contents
- Hardware Configuration
- 1. Start the installation
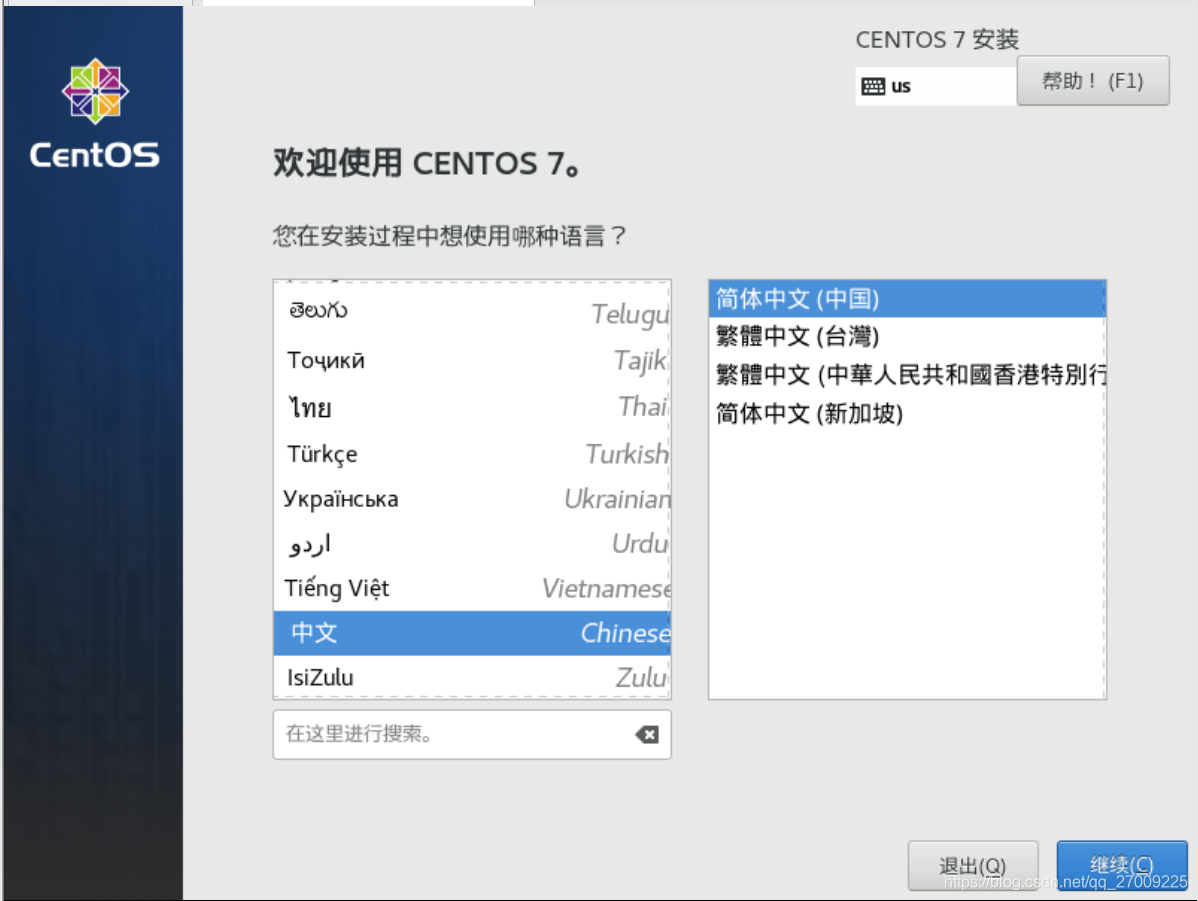
- 2. Select the language, Chinese are generally at the bottom
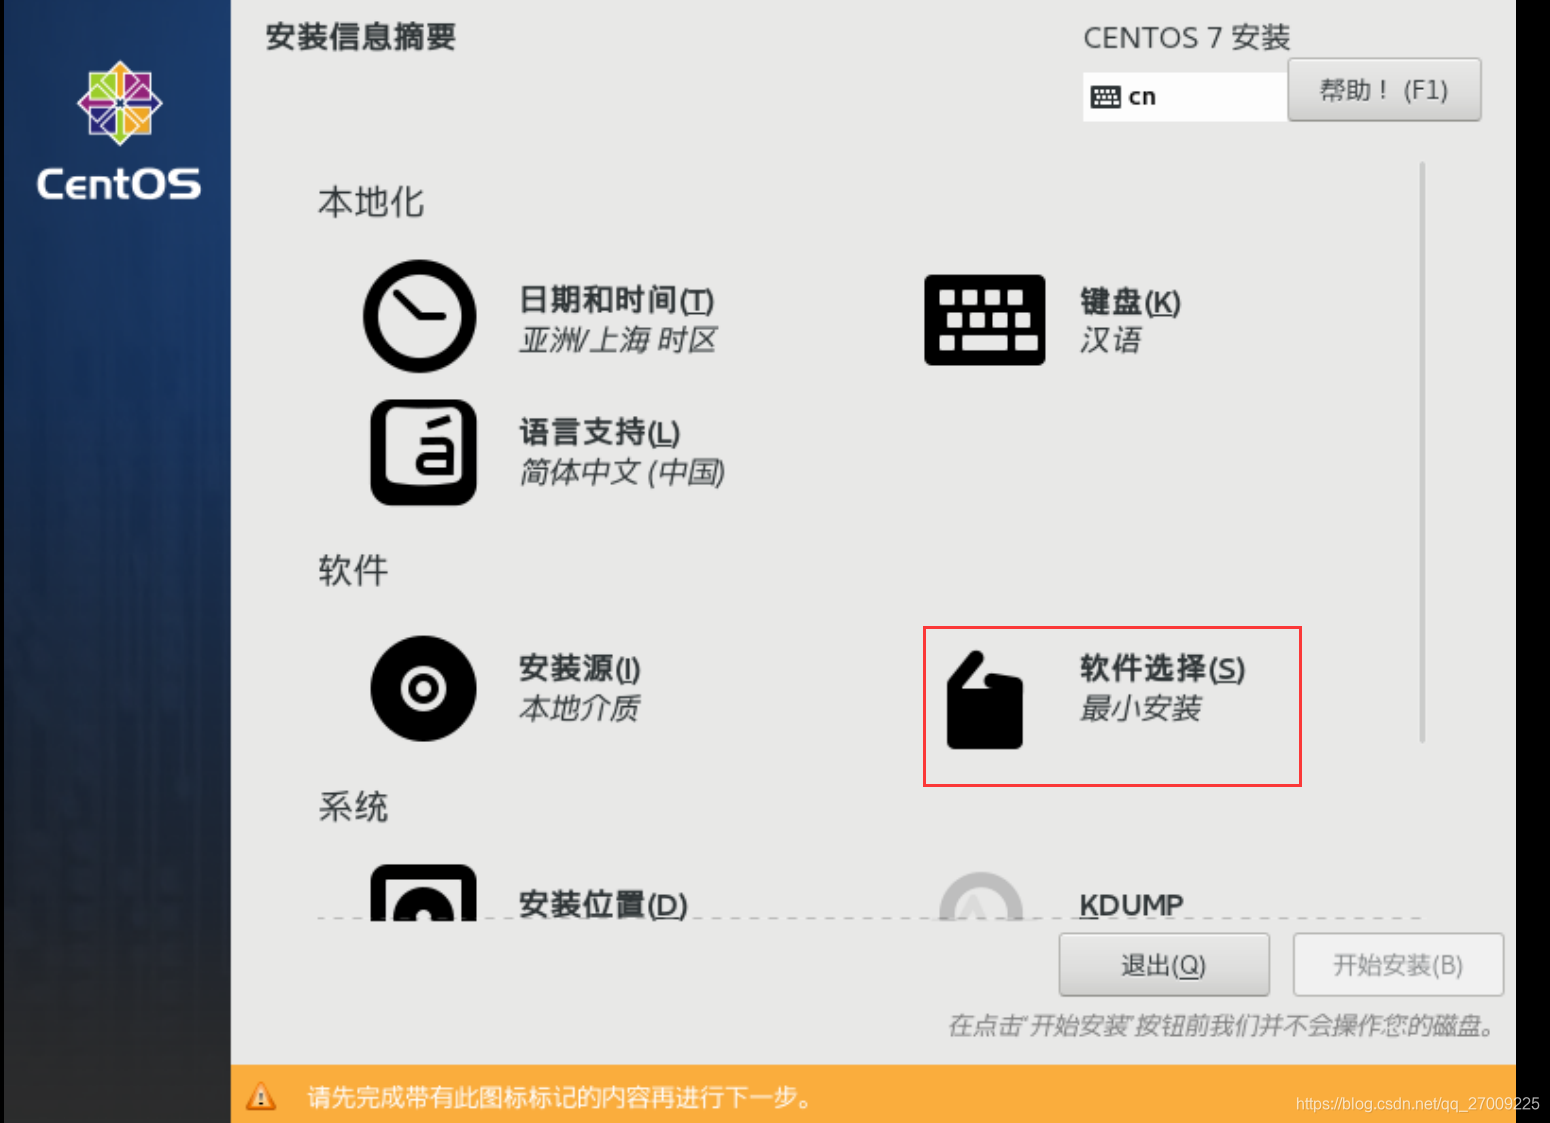
- 3. Select the installation form
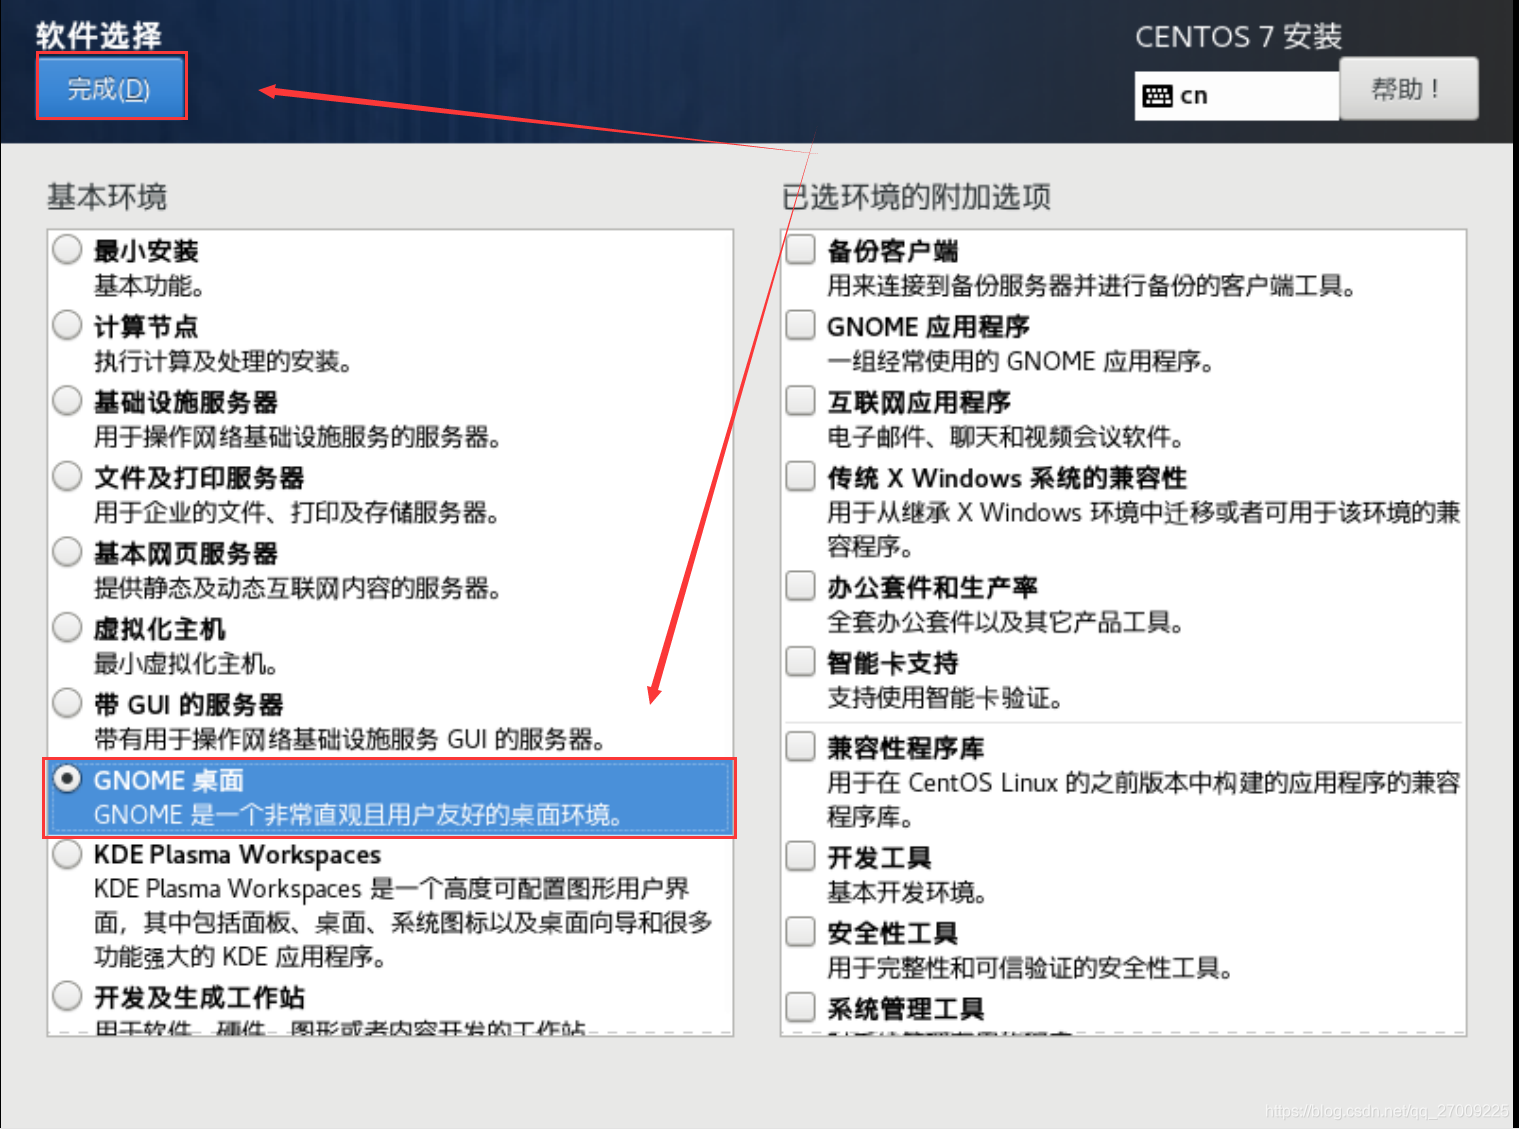
- 4. Select "GNOME Desktop": this is what we want the table, and then click Finish
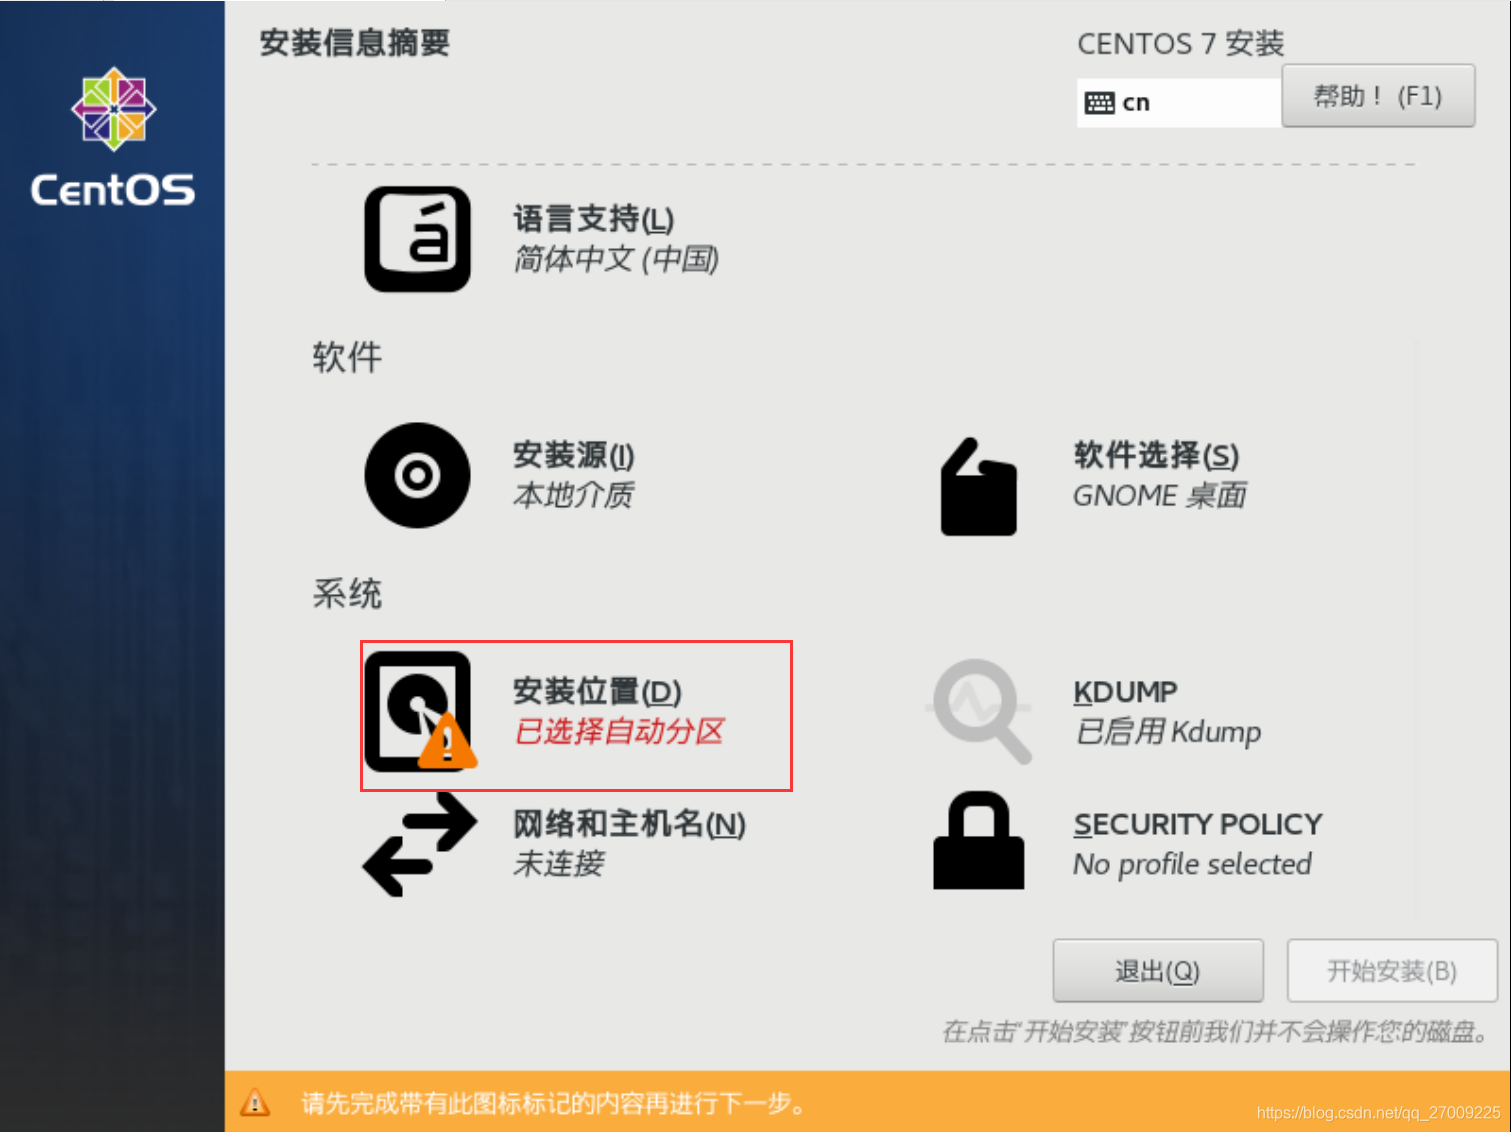
- 5. Select the installation position
- 6. The mounting location of the configuration
- 7. Select "I want to configure partitions (U)", click Finish
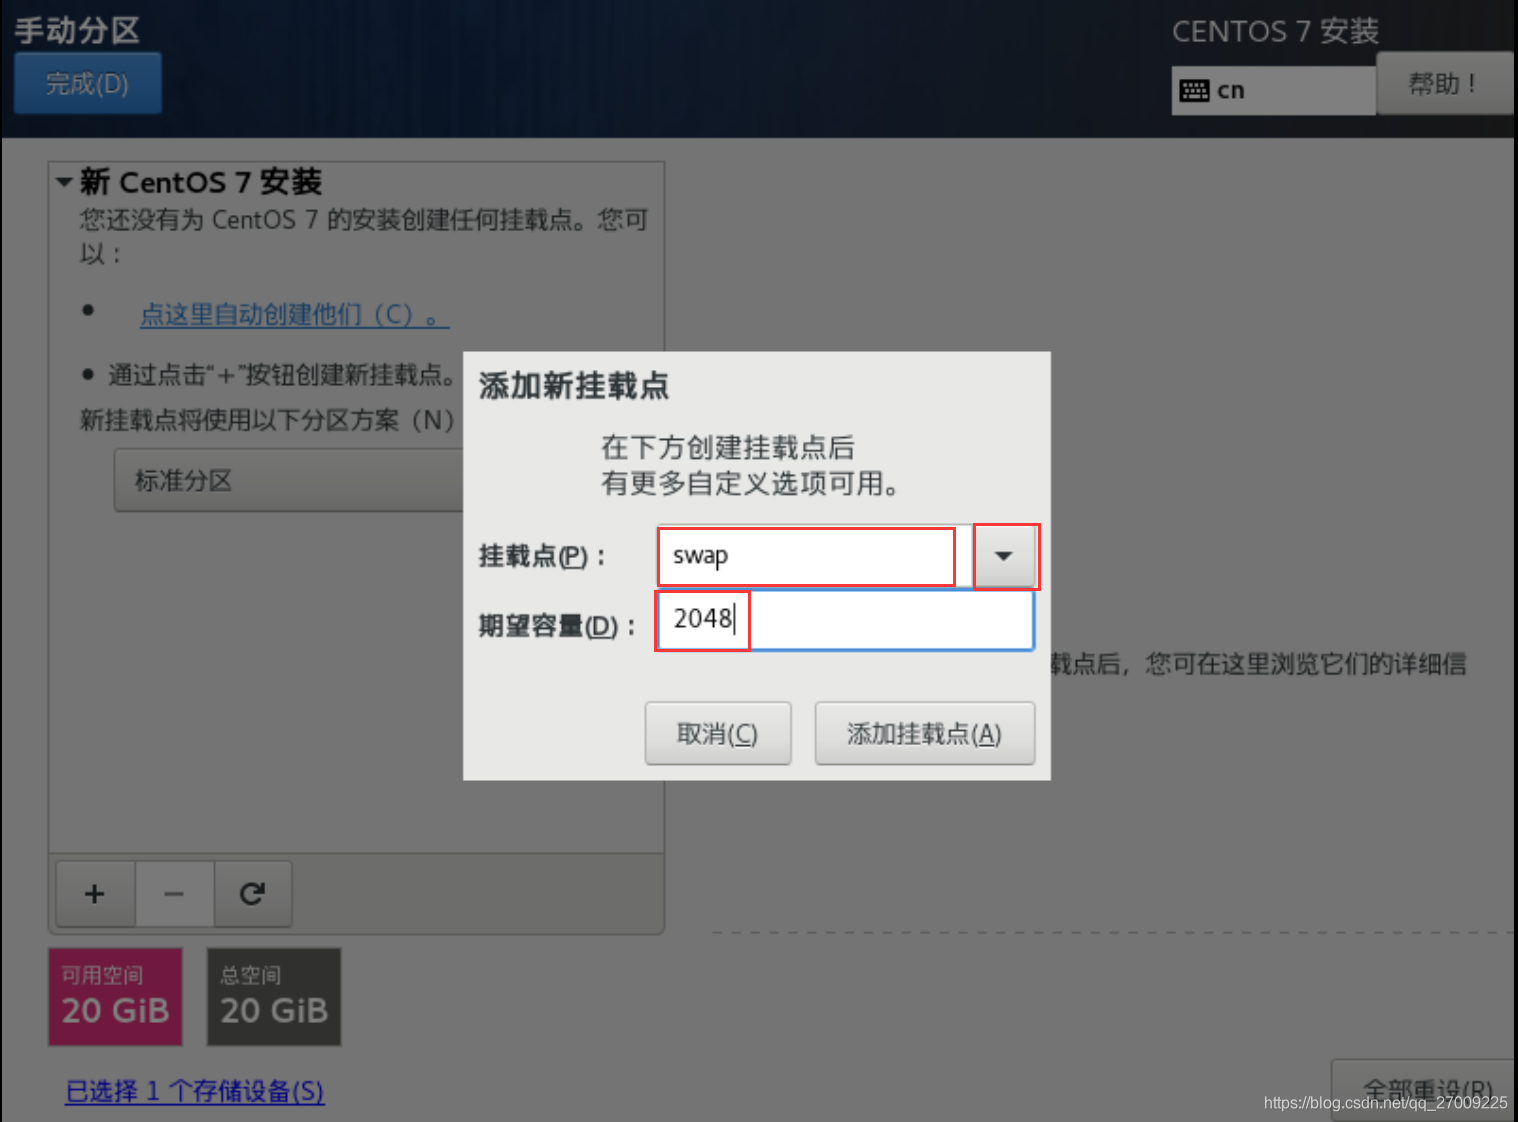
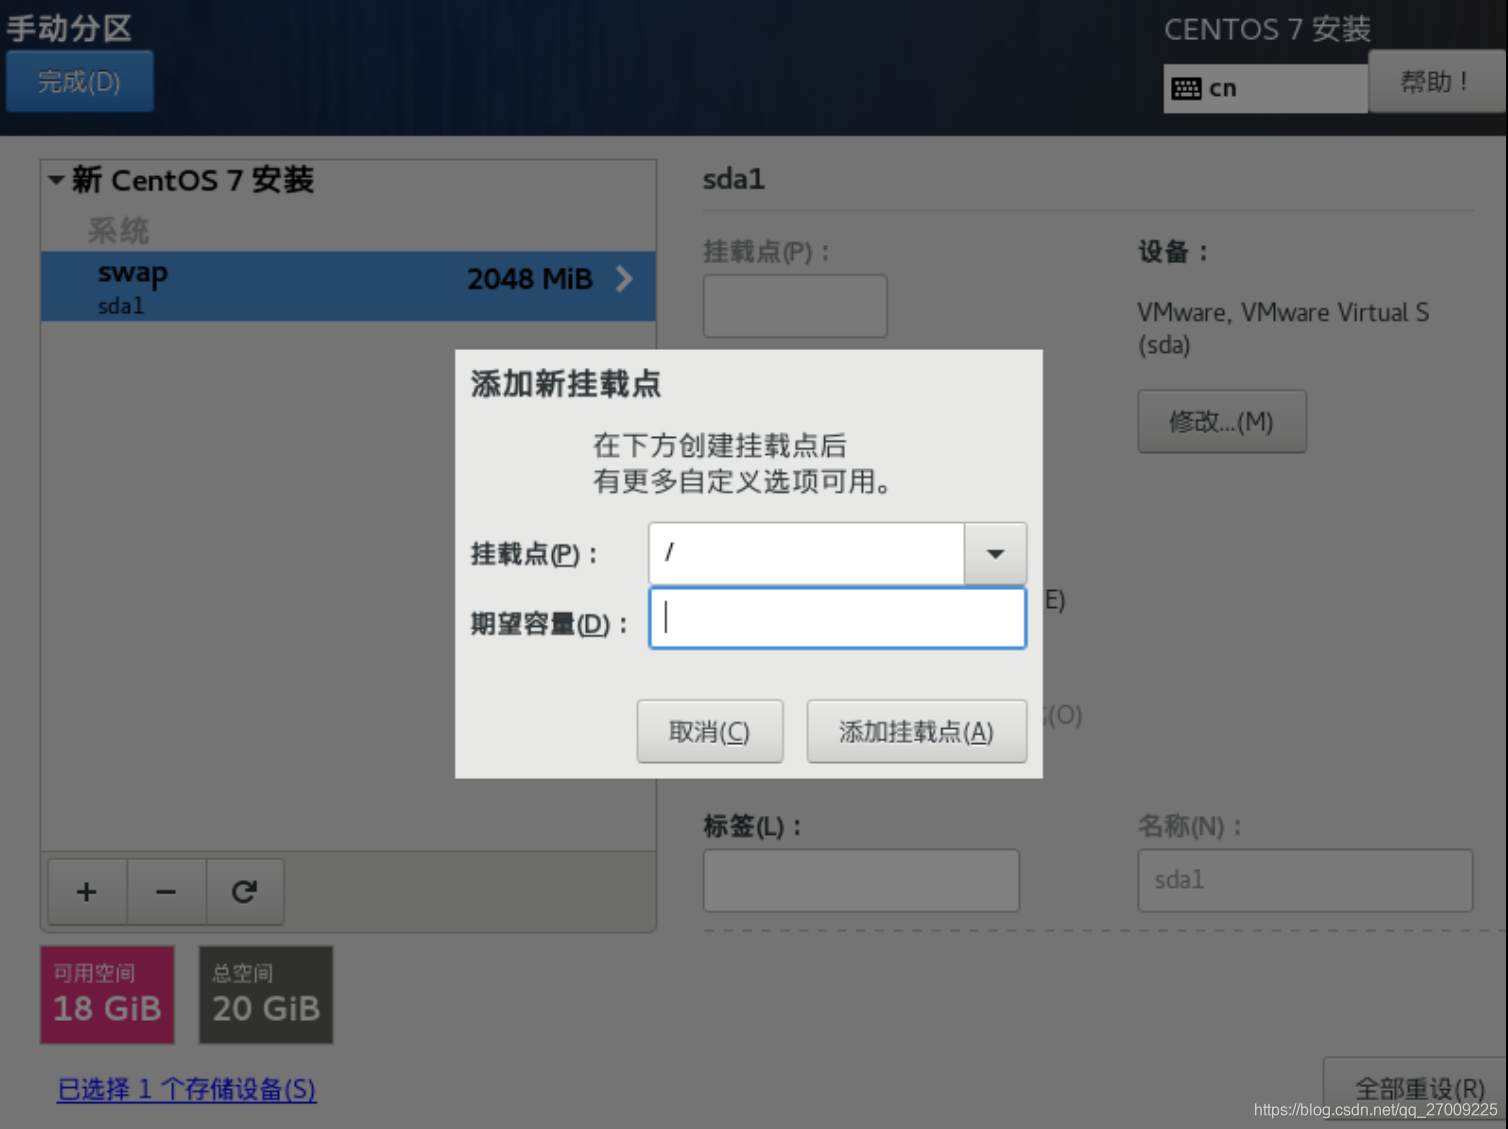
- 8. manual partitioning: (1) Add "Add New Mount Points"
- 9. manual partitioning: (1) Add "swap" mount point, a desired capacity: 2048, and then click the "Add mount point"
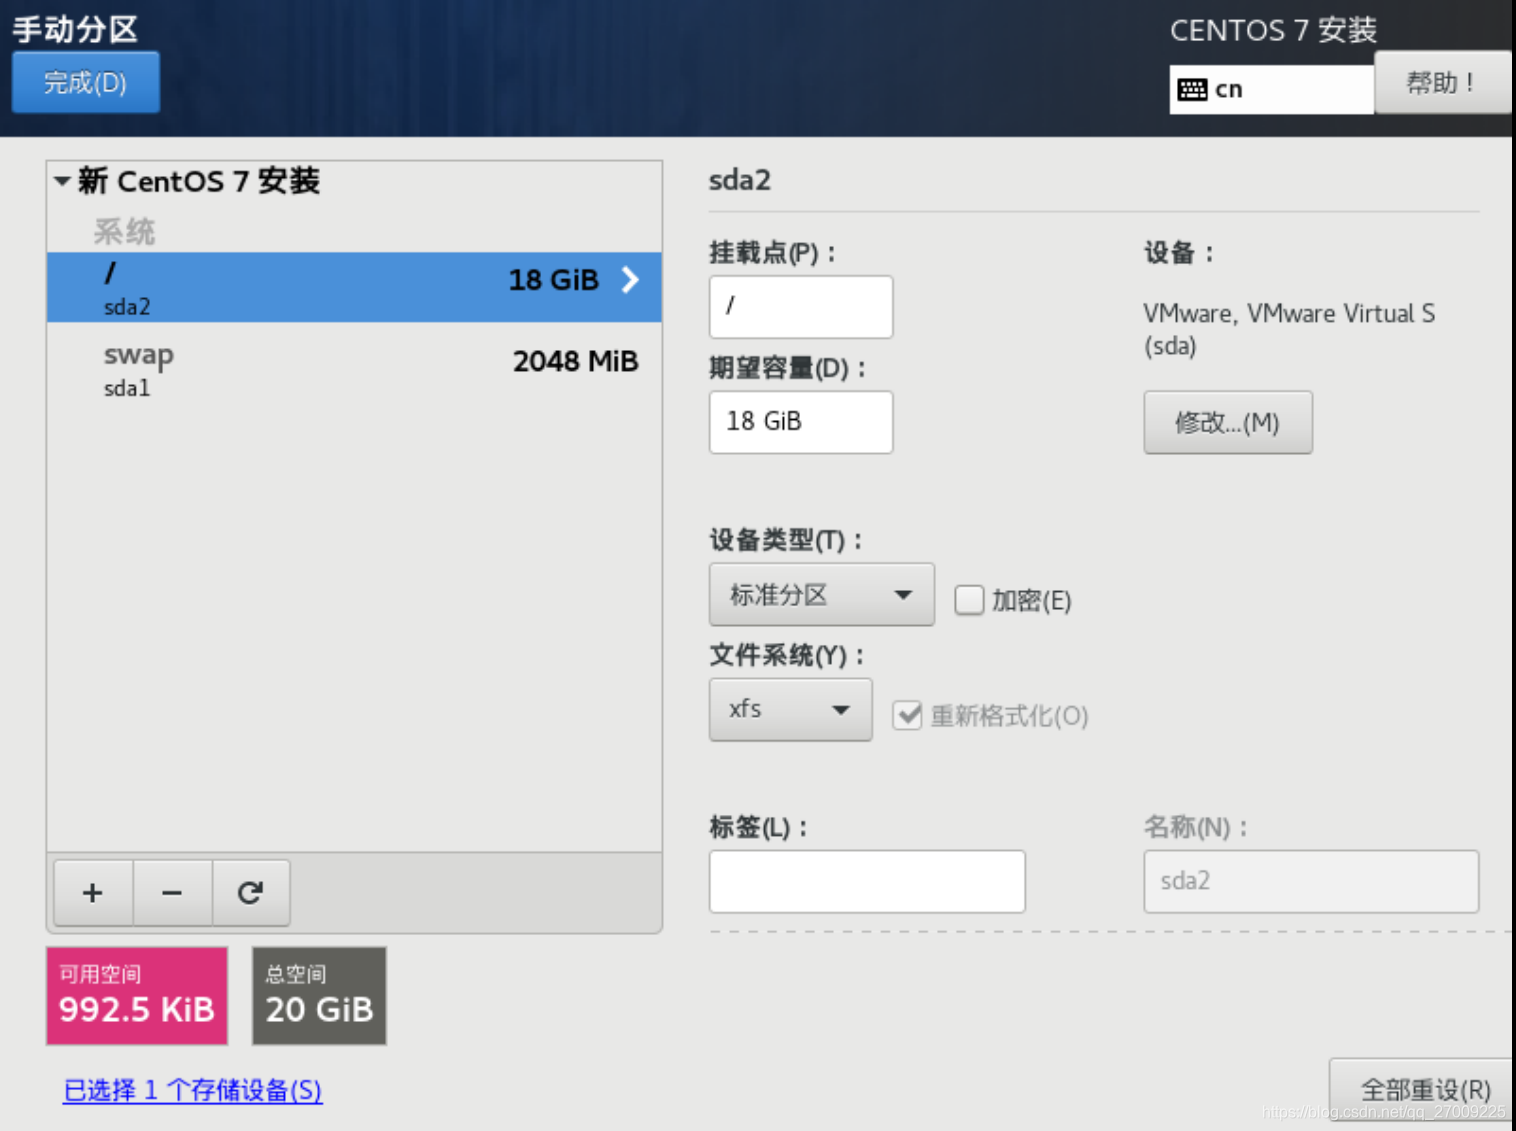
- 10. The manual partitioning: (2) add the root directory "/" mount point, time to fill a desired capacity, click on the "Add mount point"
- 11. Click Finish
- 12. Select "to accept the change (A)"
- 13. Configuration "host name and the network (N)" is optional.
- 14. start the installation
- 15. User Settings
- 16. Set the root (super administrator) password (not too simple pass), click Finish
- 17. Create a user (due to the root user privileges is too large, so we need to create your own account)
- 18. Wait for the installation to complete
- 19. The installation is complete, click Restart
- 20. Accept the license agreement (required)
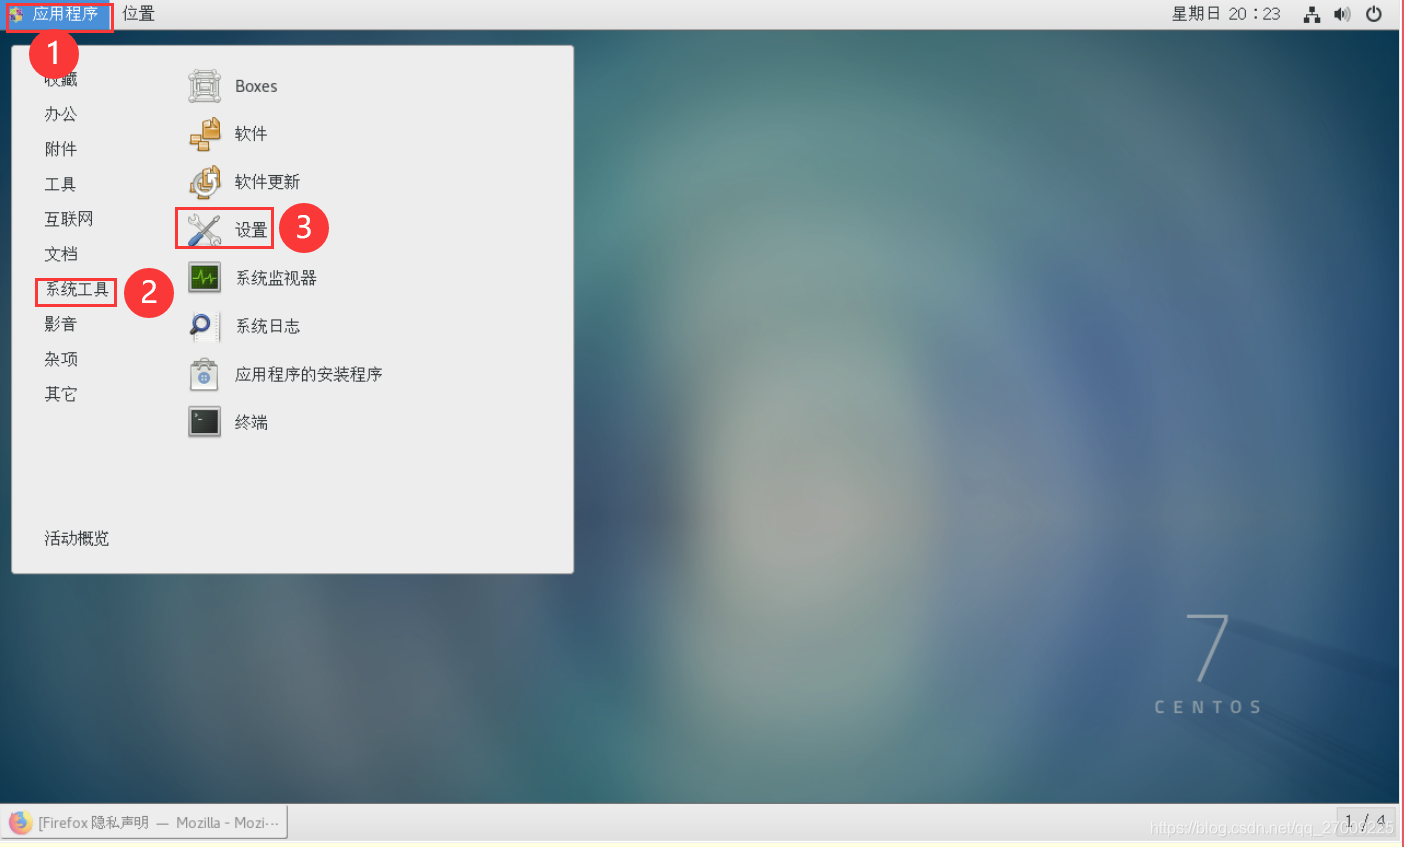
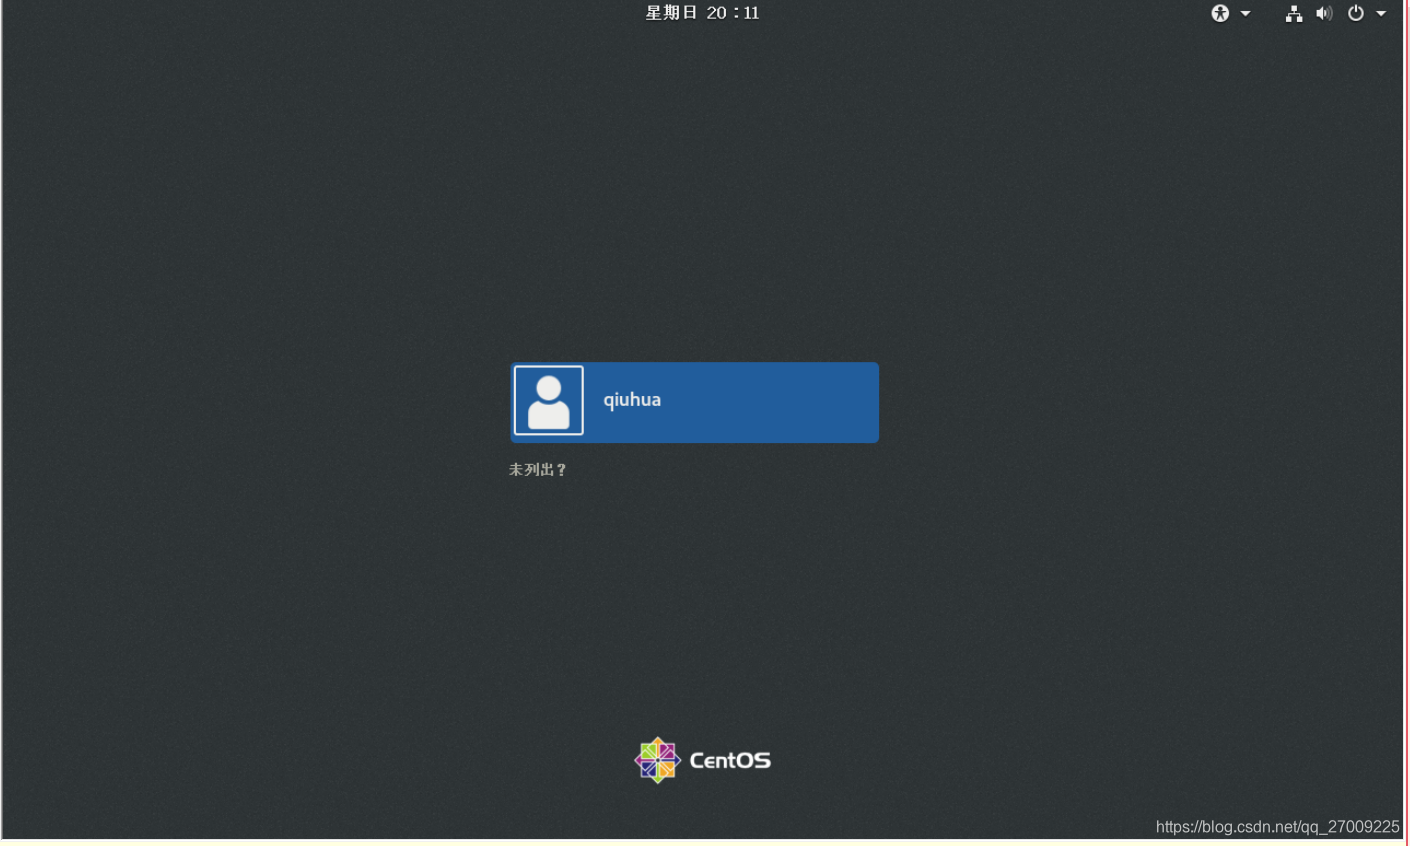
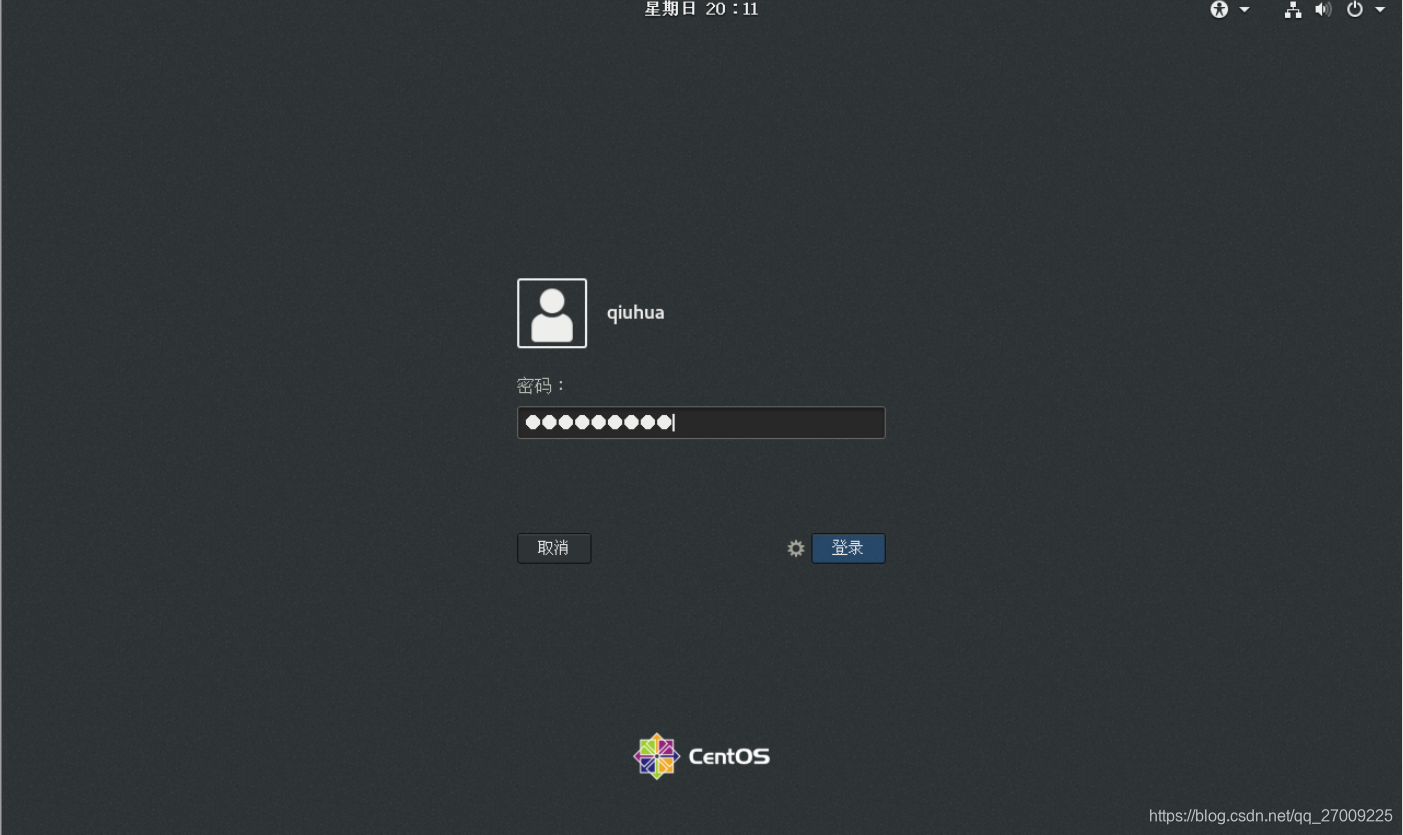
- 1. Log
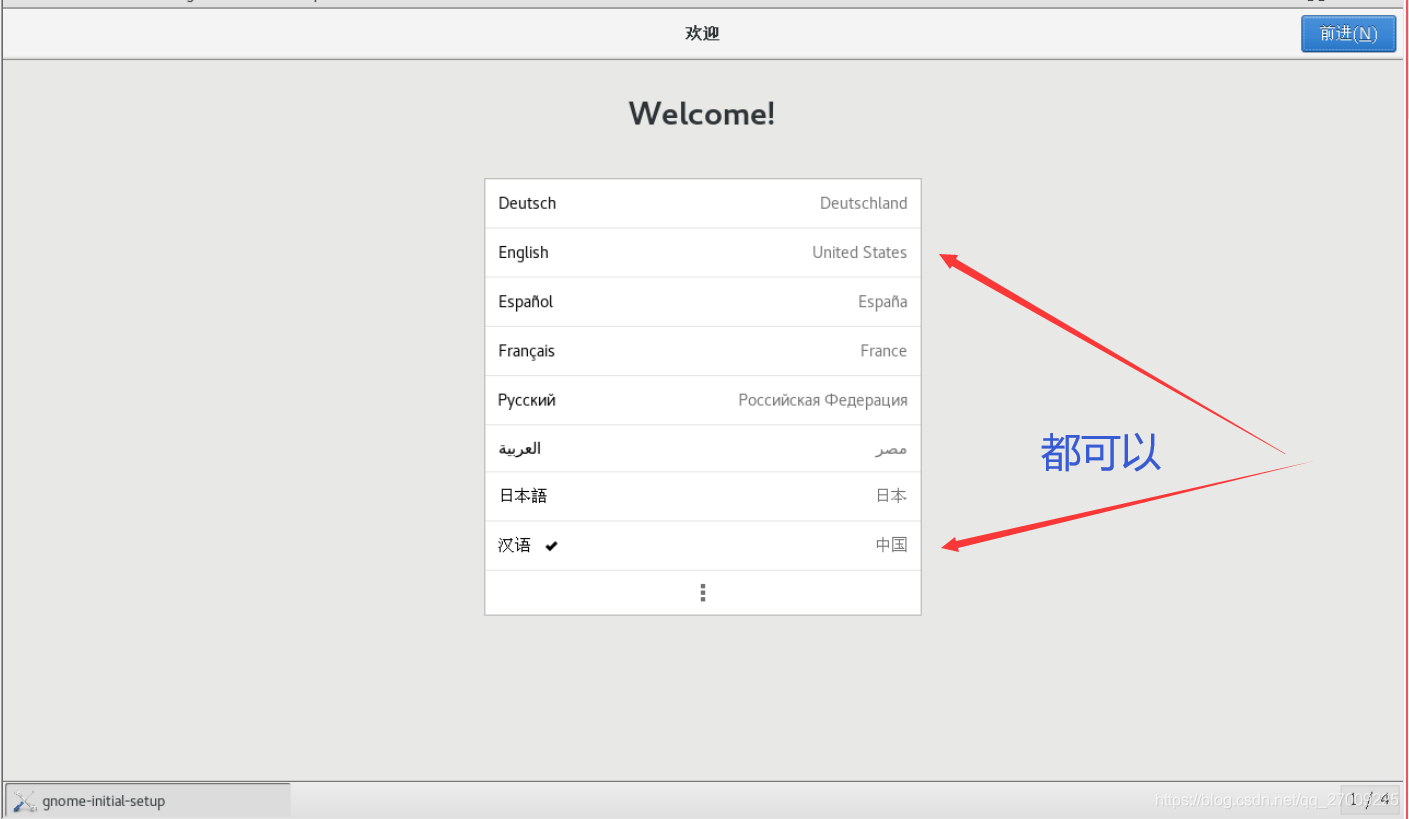
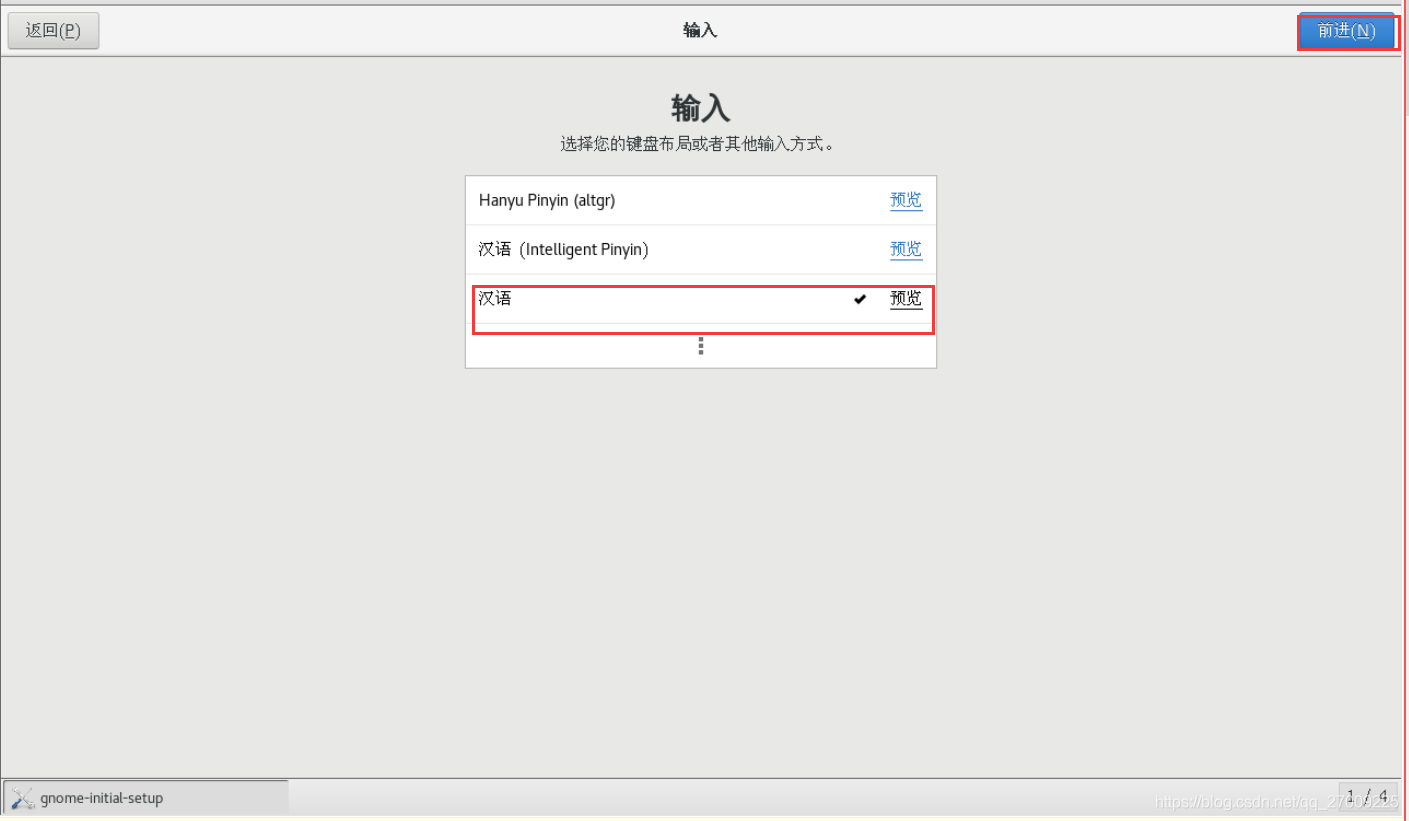
- 1. Select the language and keyboard
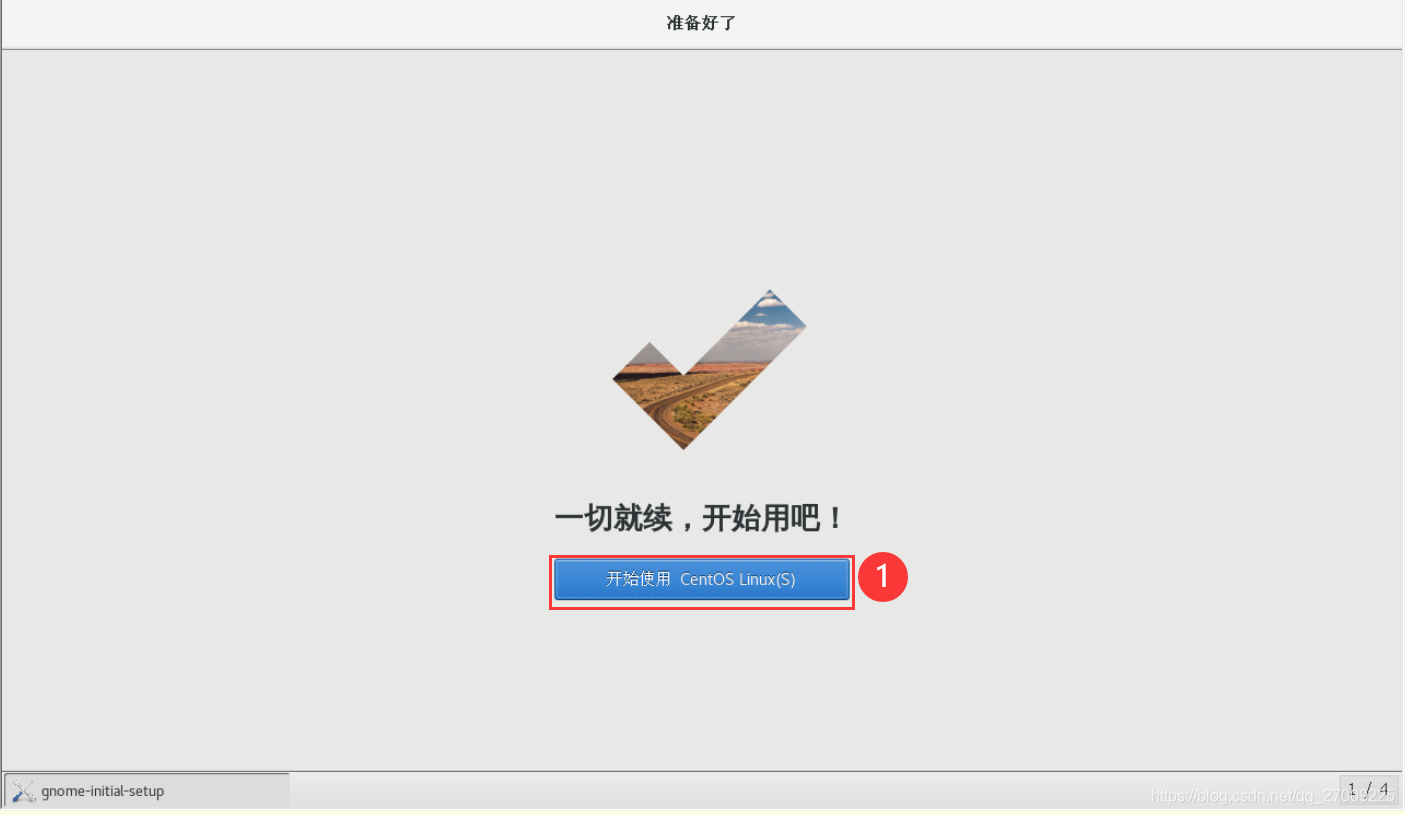
- 1. This step can be skipped
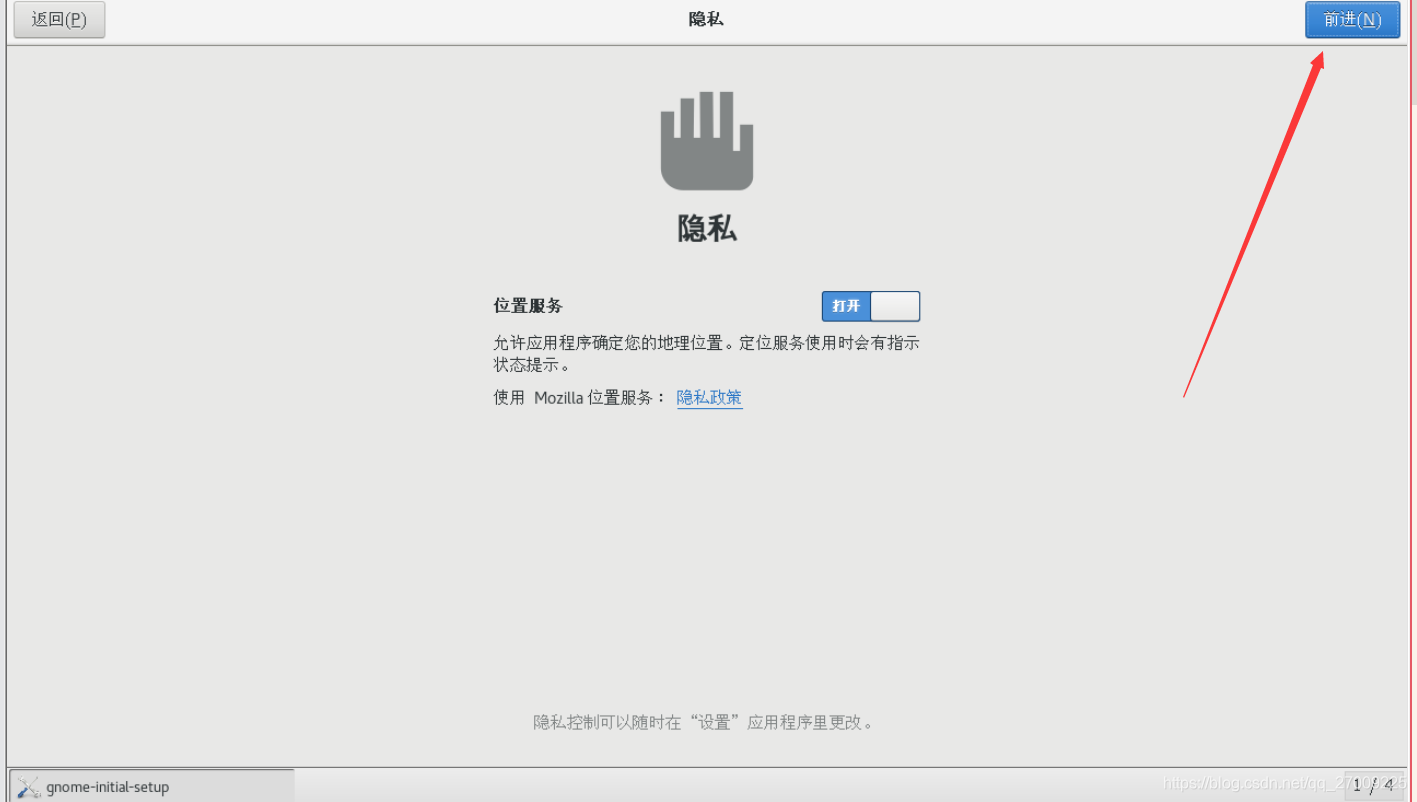
- 1. Verify network (To be honest, I think this interface is much more attractive than Ubuntu, like!)
- If you do not enable Ethernet in the installation process, you step on the cause can not access the network, press the following steps
Hardware Configuration
1, HUAWEI mate x cpu i5 82500u , 8g memory, discrete graphics
2, VM 15 PRO
Note: The above CentOS7 usually installed version and the desktop system installed, usually the default startup desktop
Could not help but want to add: OMG! CentOS blue lock screen, too TM ... beautiful! I fell in love! ! (I have fallen into severe obsessive-compulsive disorder ...)
1. Start the installation
- The first is the direct installation does not detect the environment (recommended)
- The second is to detect the environment, there may not succeed

2. Select the language, Chinese are generally at the bottom
3. Select the installation form
Draw focus: students are generally used to use graphical interface, so " software selection " must be selected
4. Select "GNOME Desktop": this is what we want the table, and then click Finish
The right of " additional options " to choose according to their needs, the optional " office suite and productivity ", " development tools "
5. Select the installation position
6. The mounting location of the configuration
- This place is selected by default " Automatic Configuration partition (U) " ,, easy;
- Select " I want to configure partitions (the I )", Custom;
if you select "Automatic Configuration partition (U)", skip to step 13
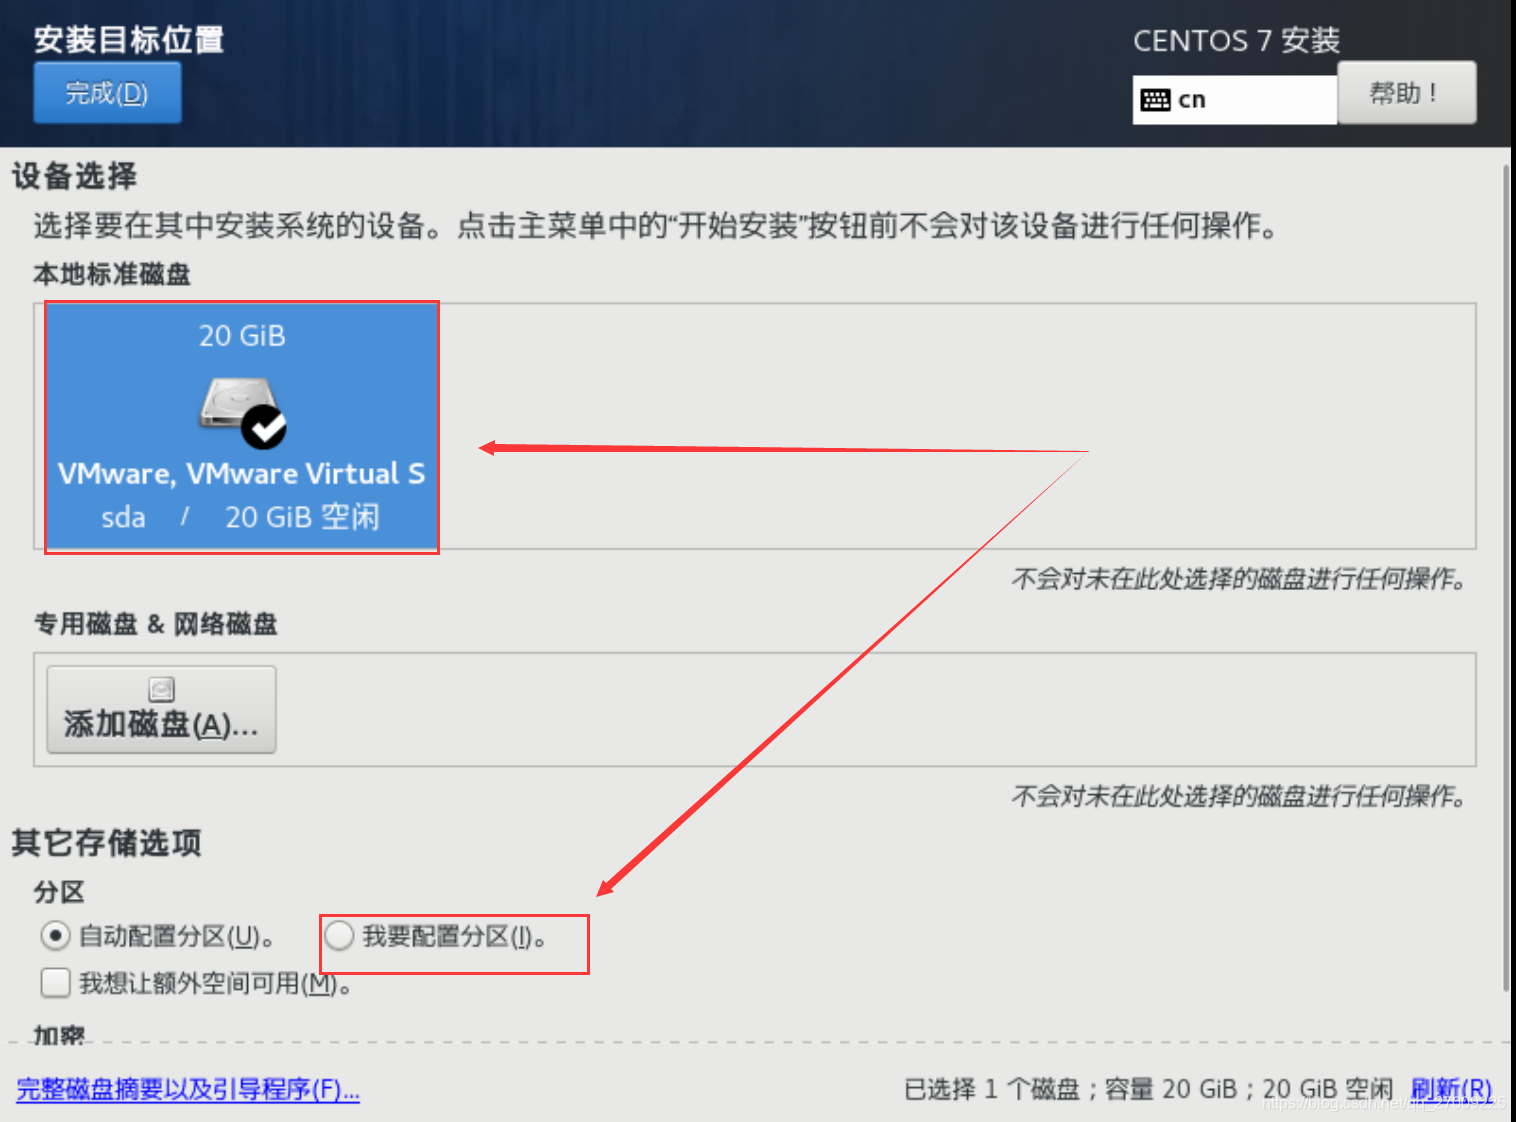
7. Select "I want to configure partitions (U)", click Finish
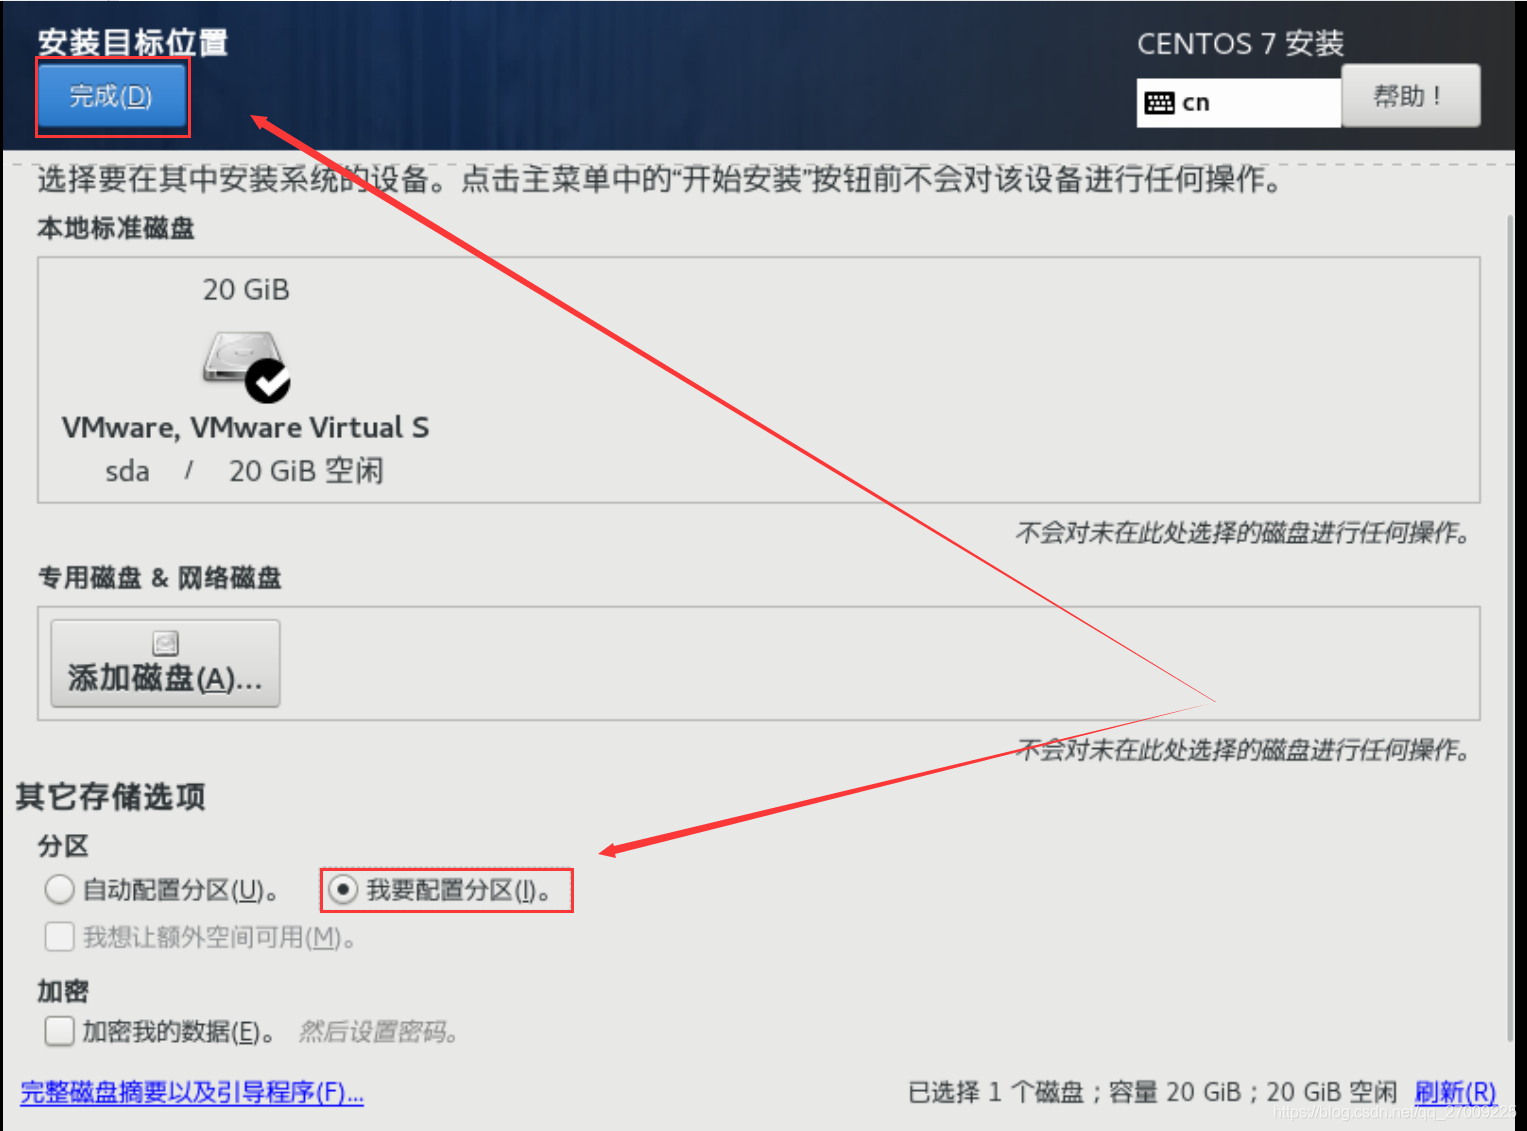
8. manual partitioning: (1) Add "Add New Mount Points"
- The partitioning scheme new mount point amended as follows: standard partition
- Click the "+"

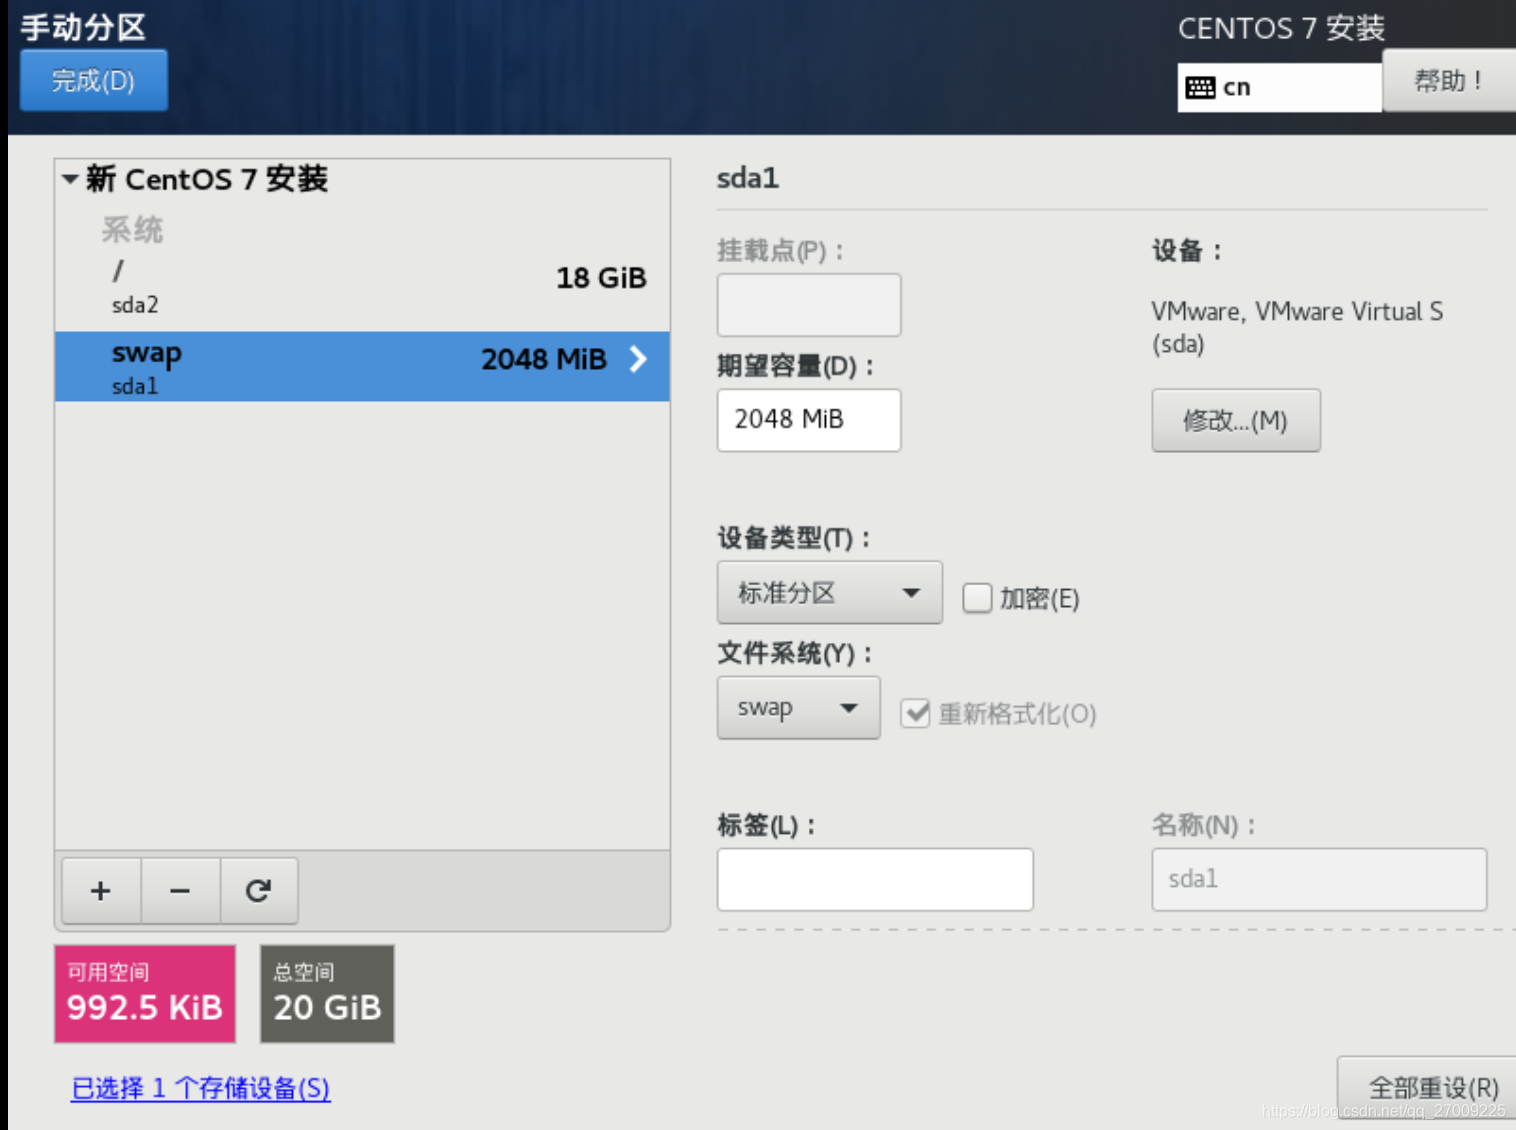
9. manual partitioning: (1) Add "swap" mount point, a desired capacity: 2048, and then click the "Add mount point"
swap partition is the swap partition, similar to memory or cache
10. The manual partitioning: (2) add the root directory "/" mount point, time to fill a desired capacity, click on the "Add mount point"
(3) ( Optional ) Add "/ boot" mount point, a desired capacity: 400M (can), standard partition, ext4
11. Click Finish

12. Select "to accept the change (A)"

13. Configuration "host name and the network (N)" is optional.
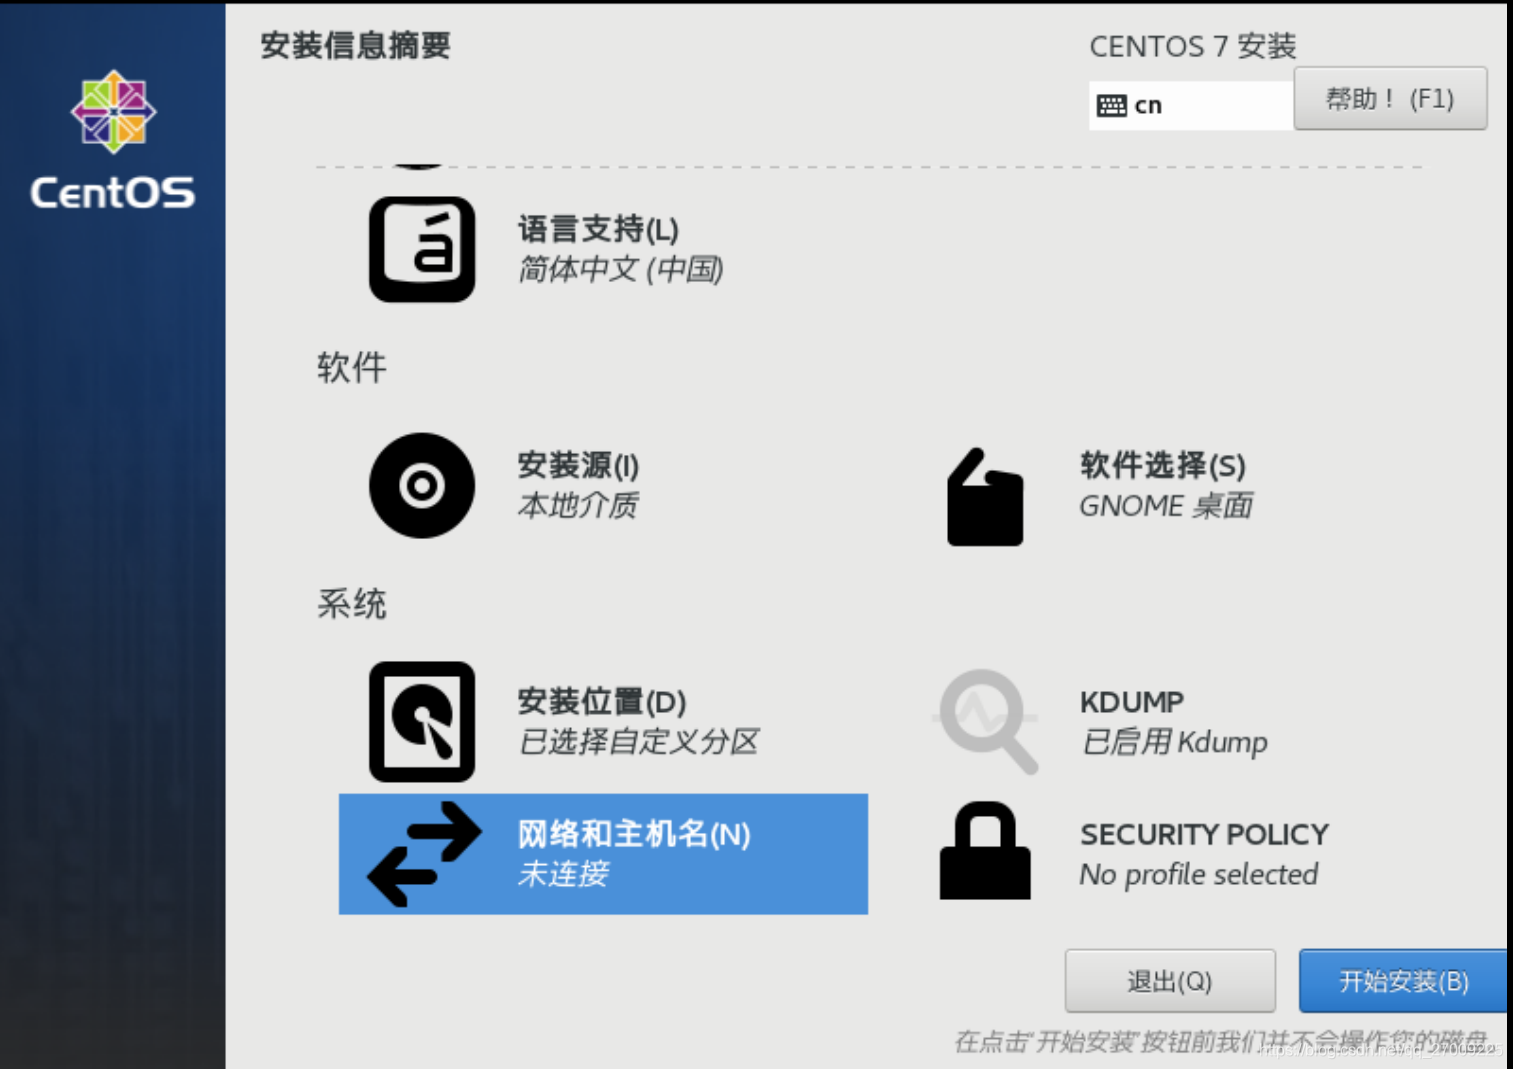
1. "Ethernet" is off by default, this installation is complete, etc. can also be launched in the desktop system
2. "Configuration": You can configure the ip address, etc.
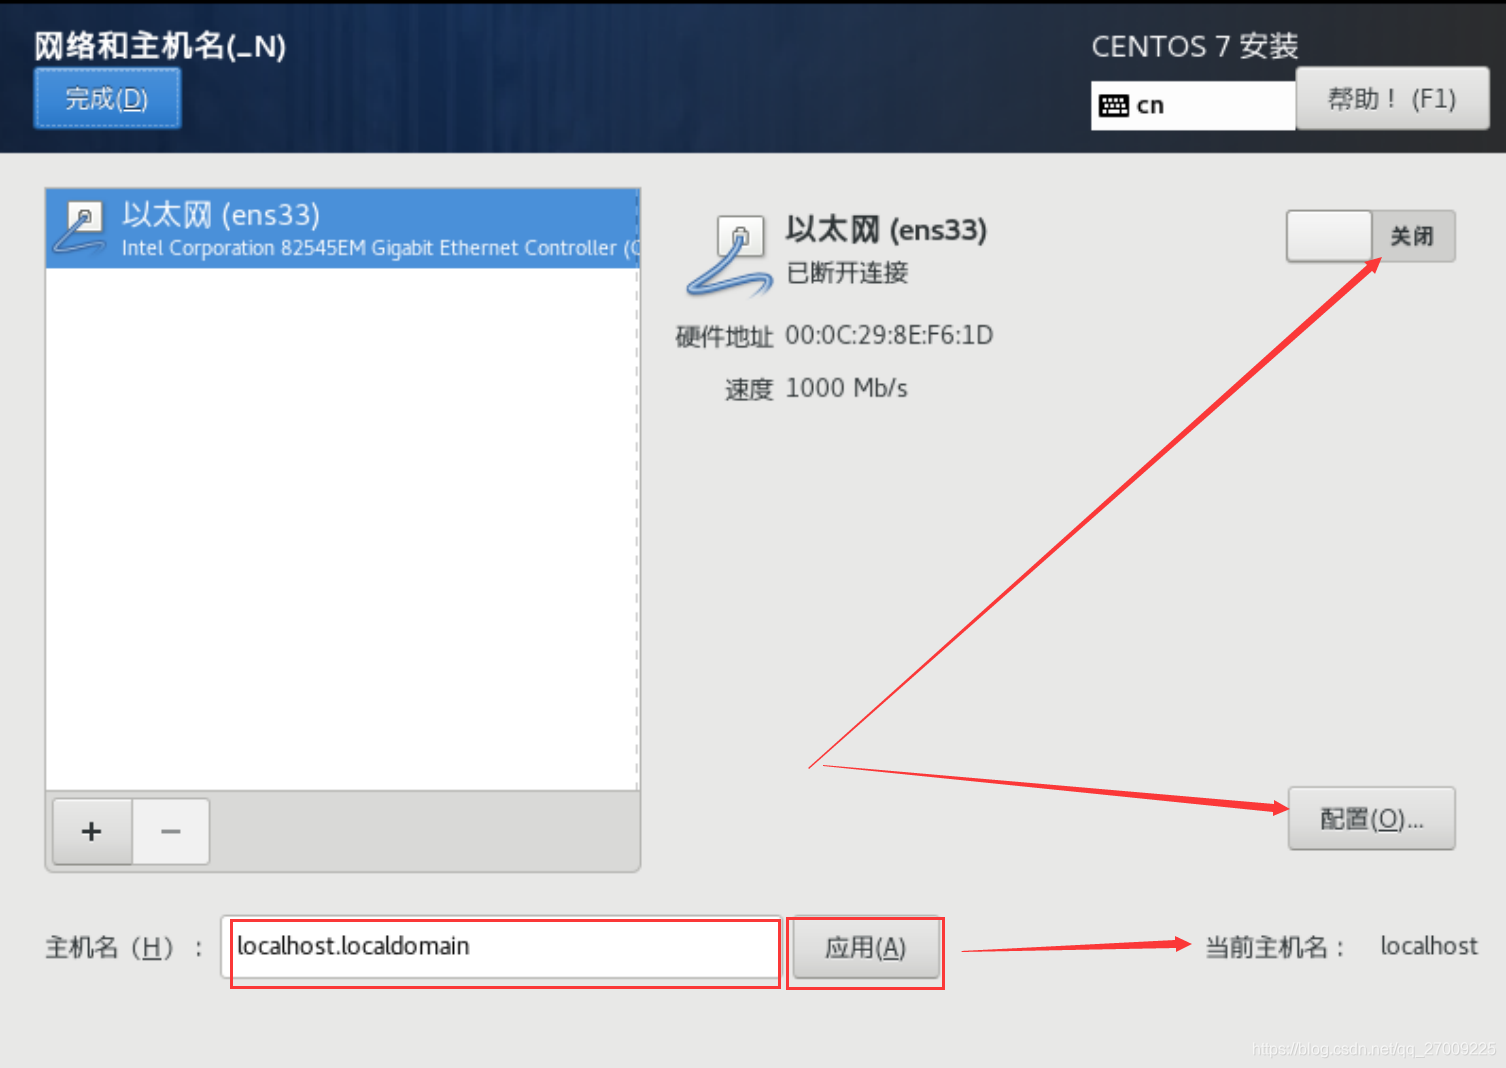
Renderings Click "Finish"

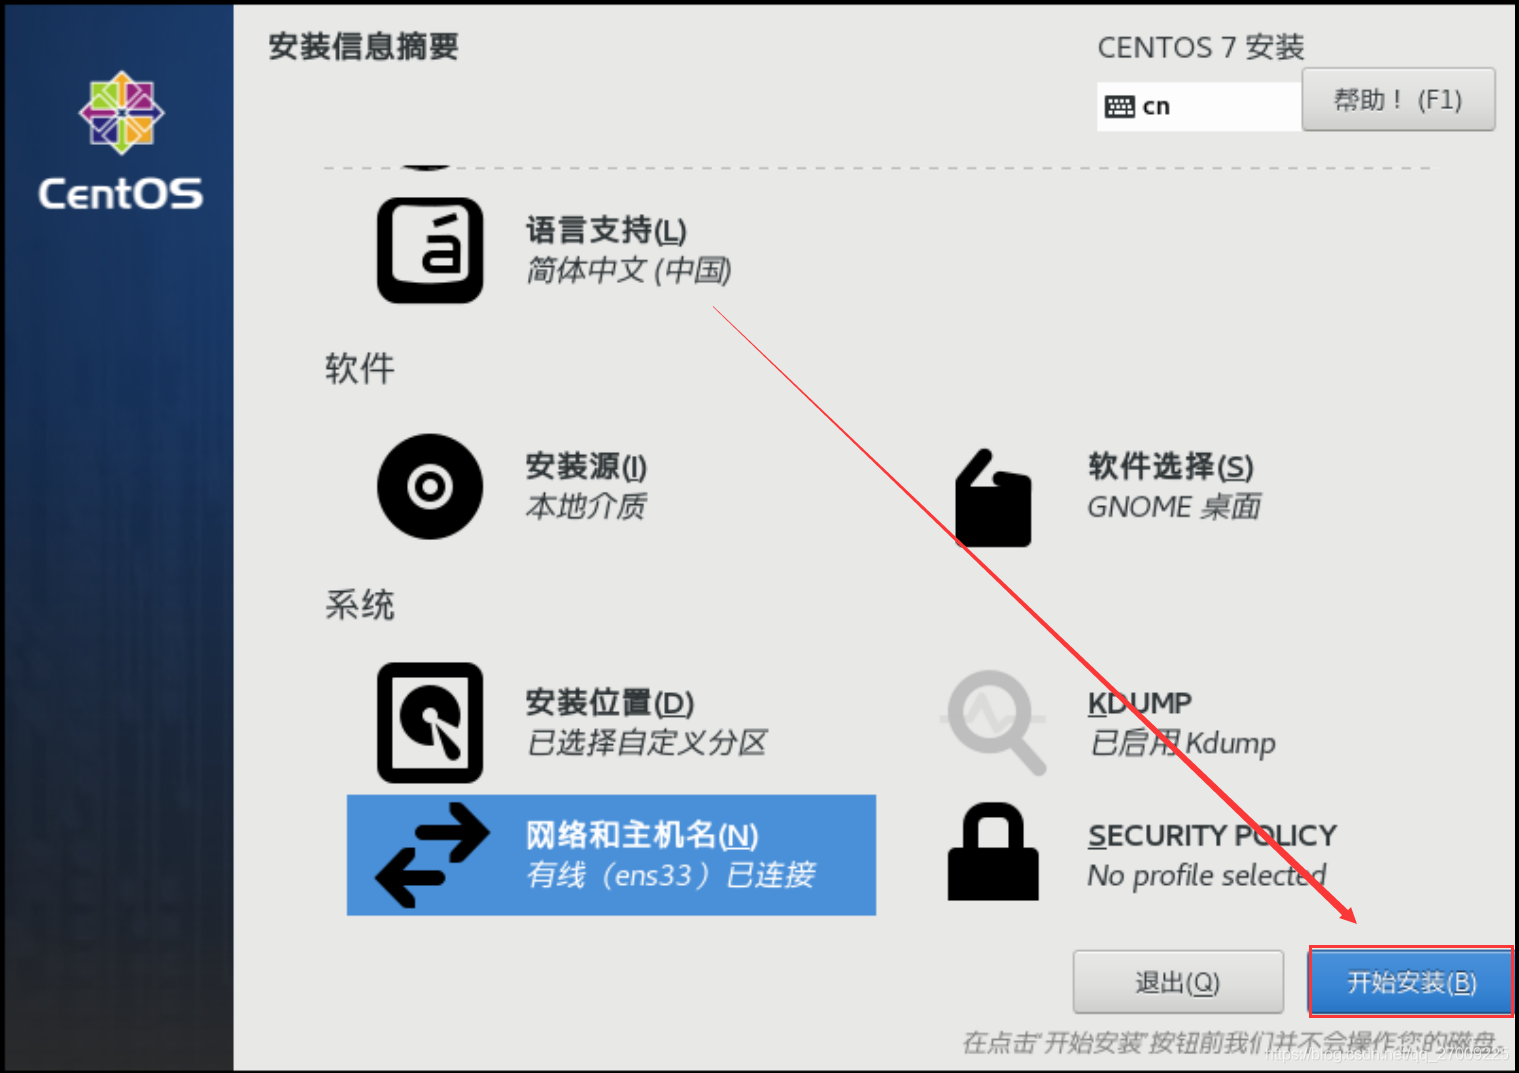
14. start the installation
15. User Settings
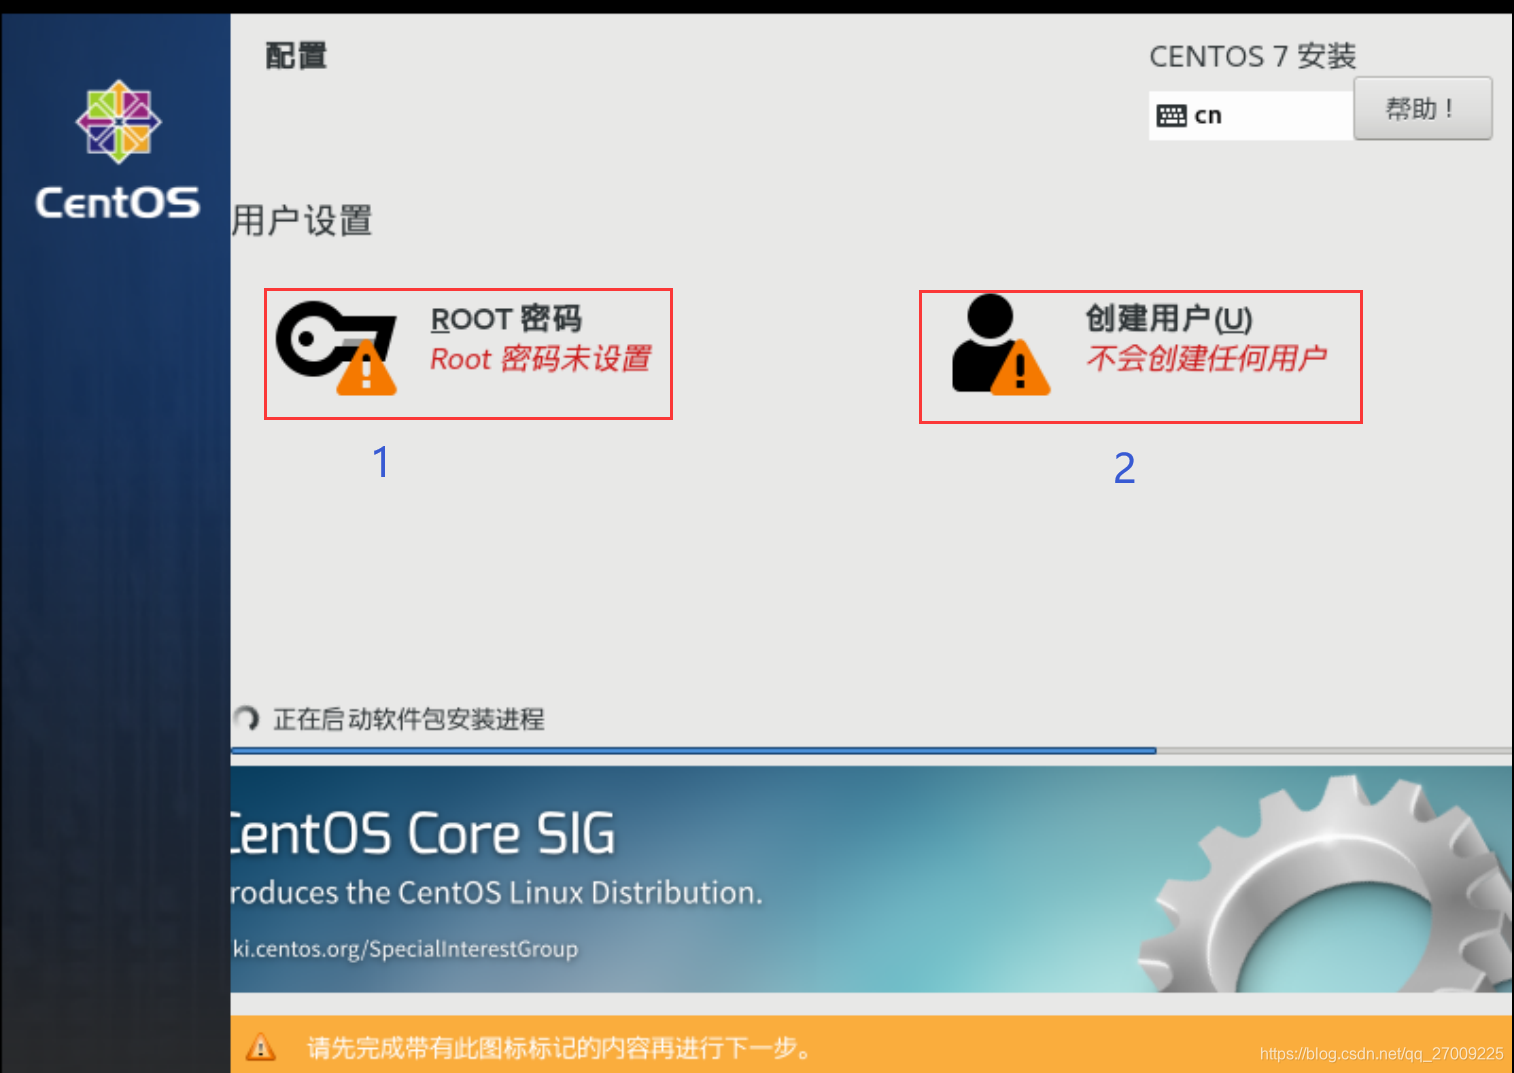
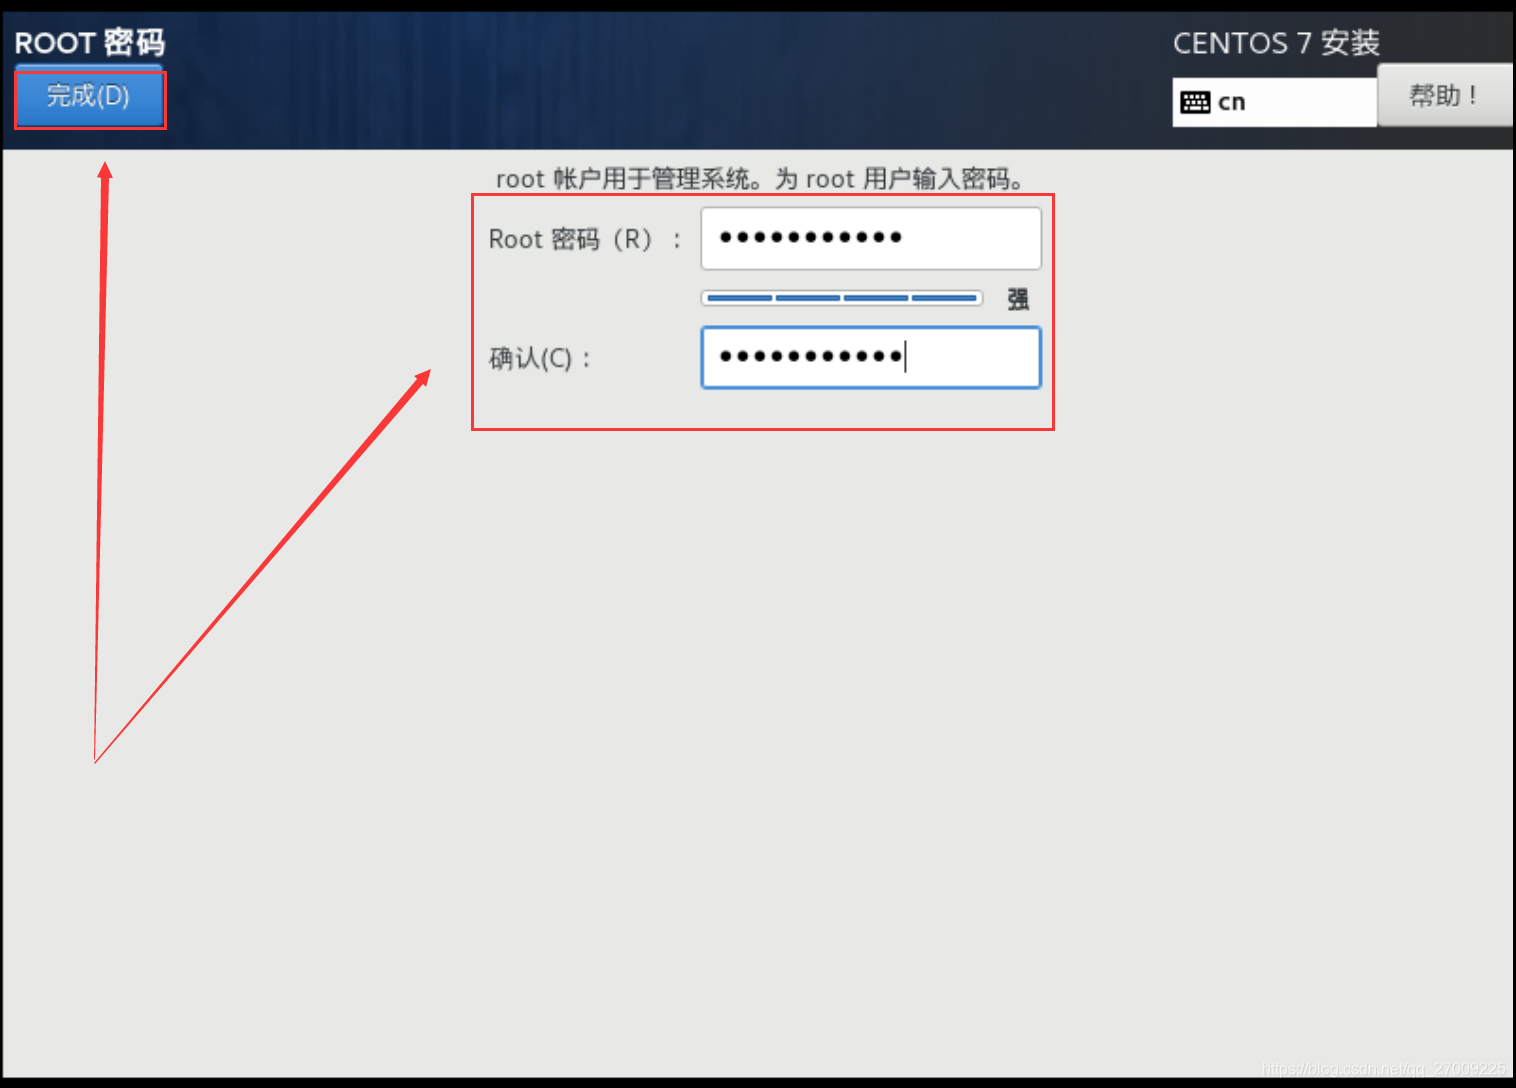
16. Set the root (super administrator) password (not too simple pass), click Finish
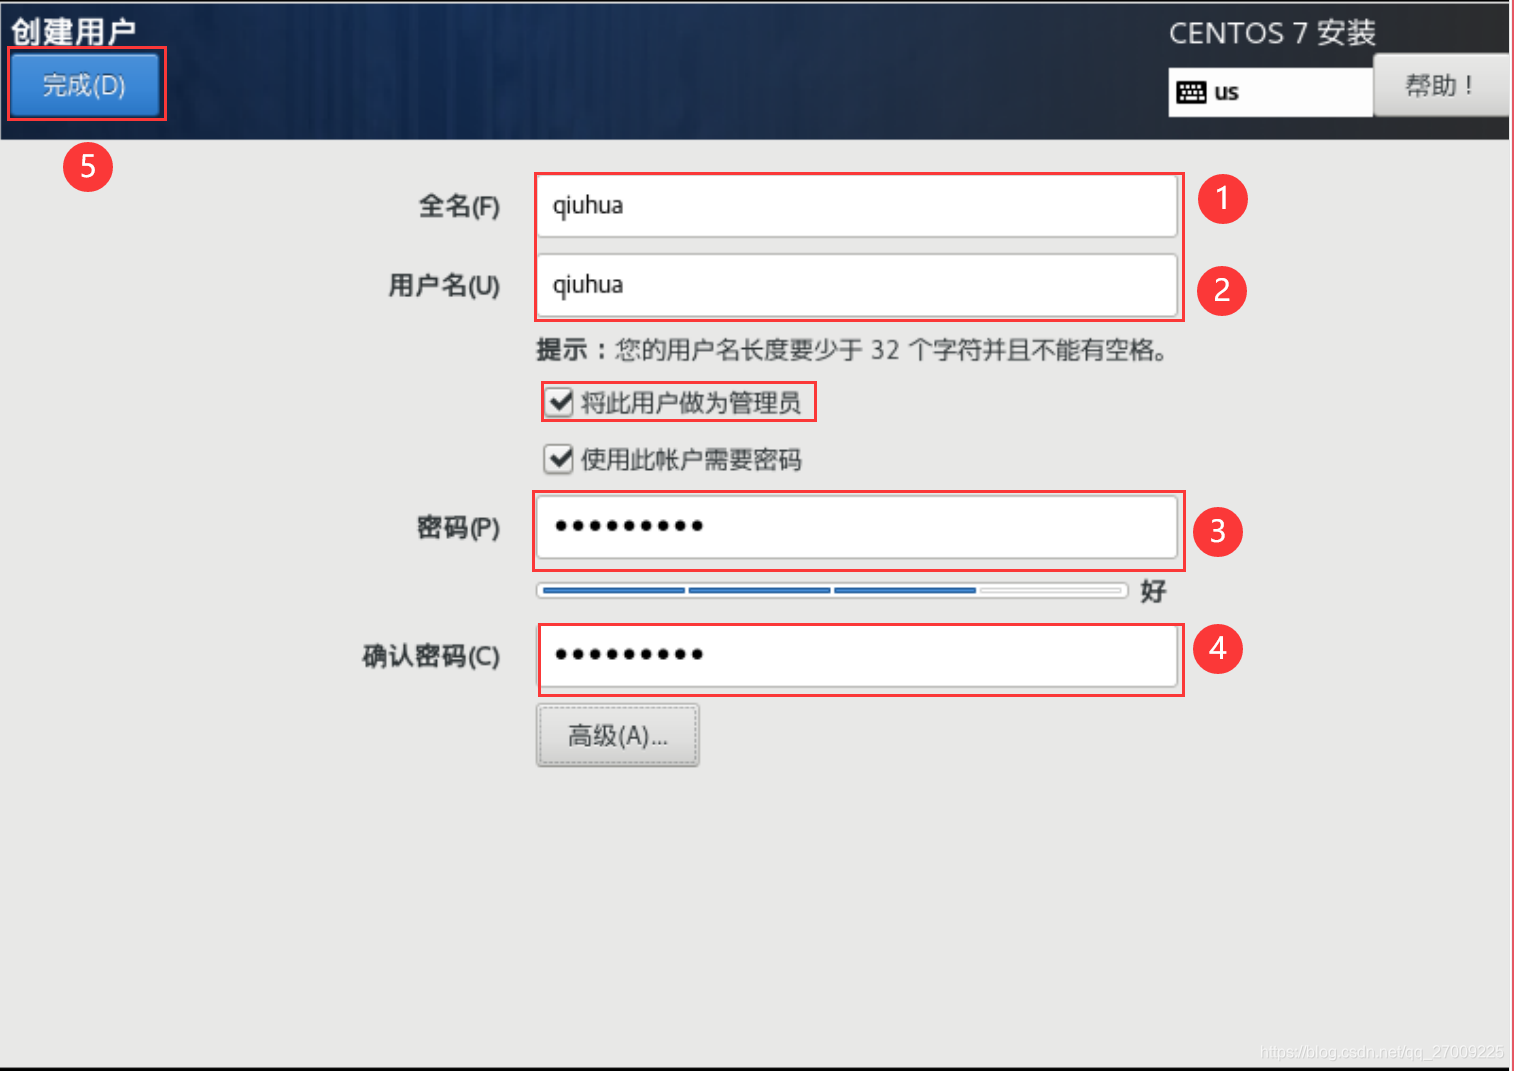
17. Create a user (due to the root user privileges is too large, so we need to create your own account)
18. Wait for the installation to complete

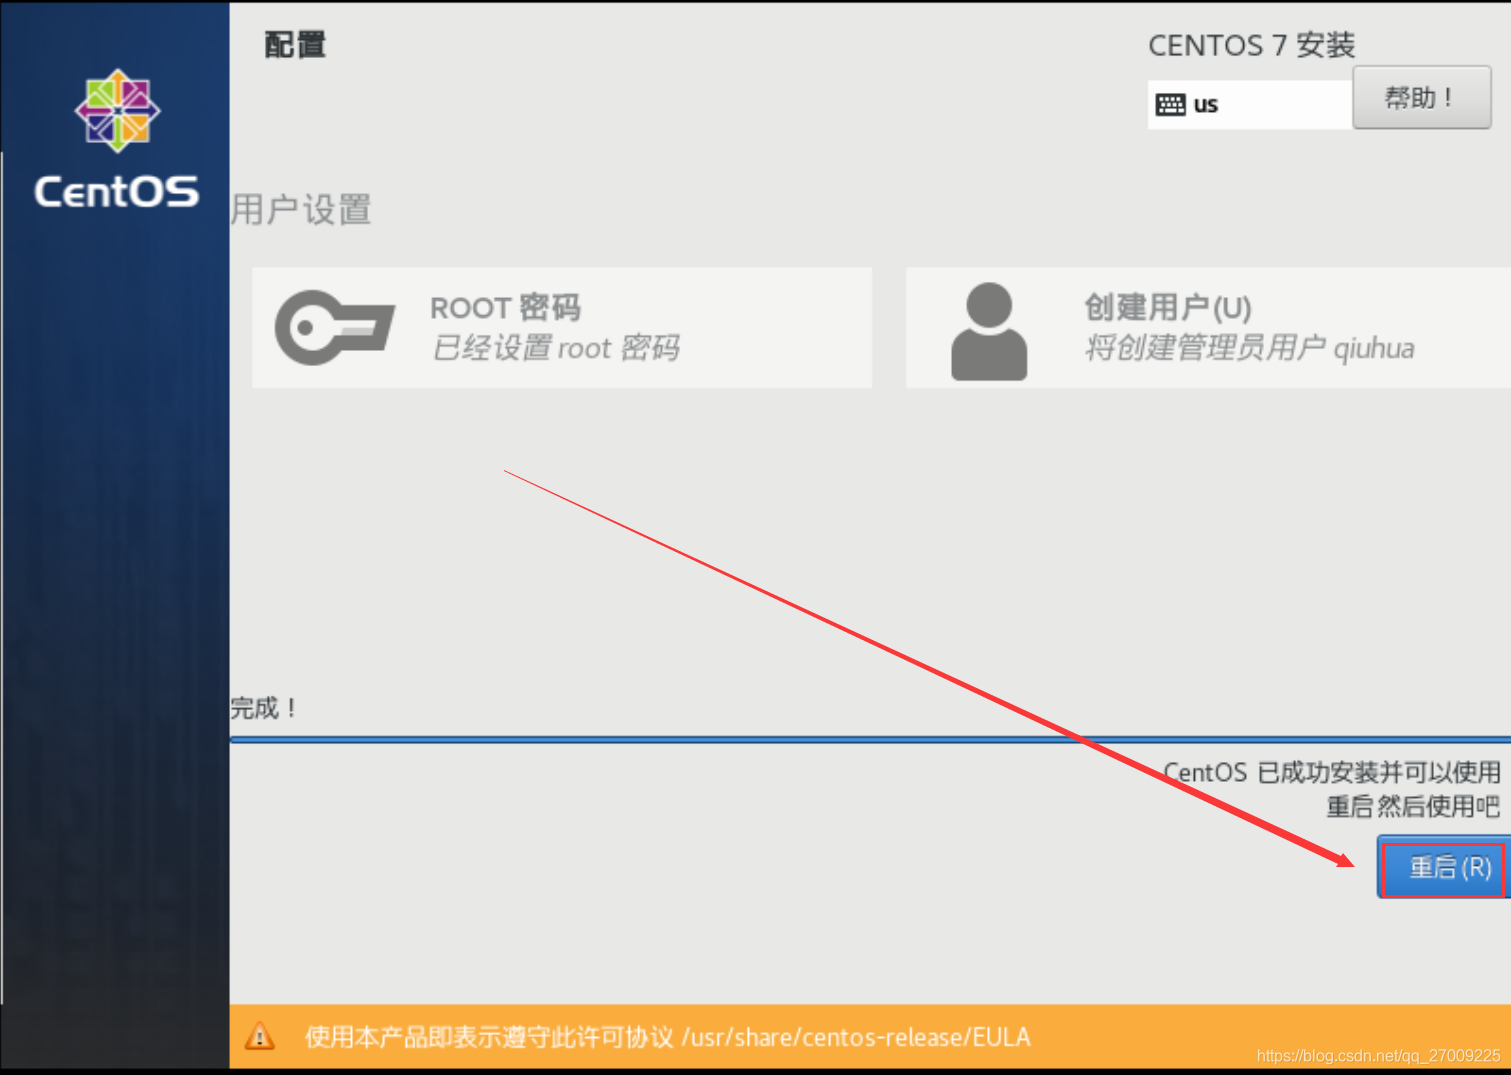
19. The installation is complete, click Restart
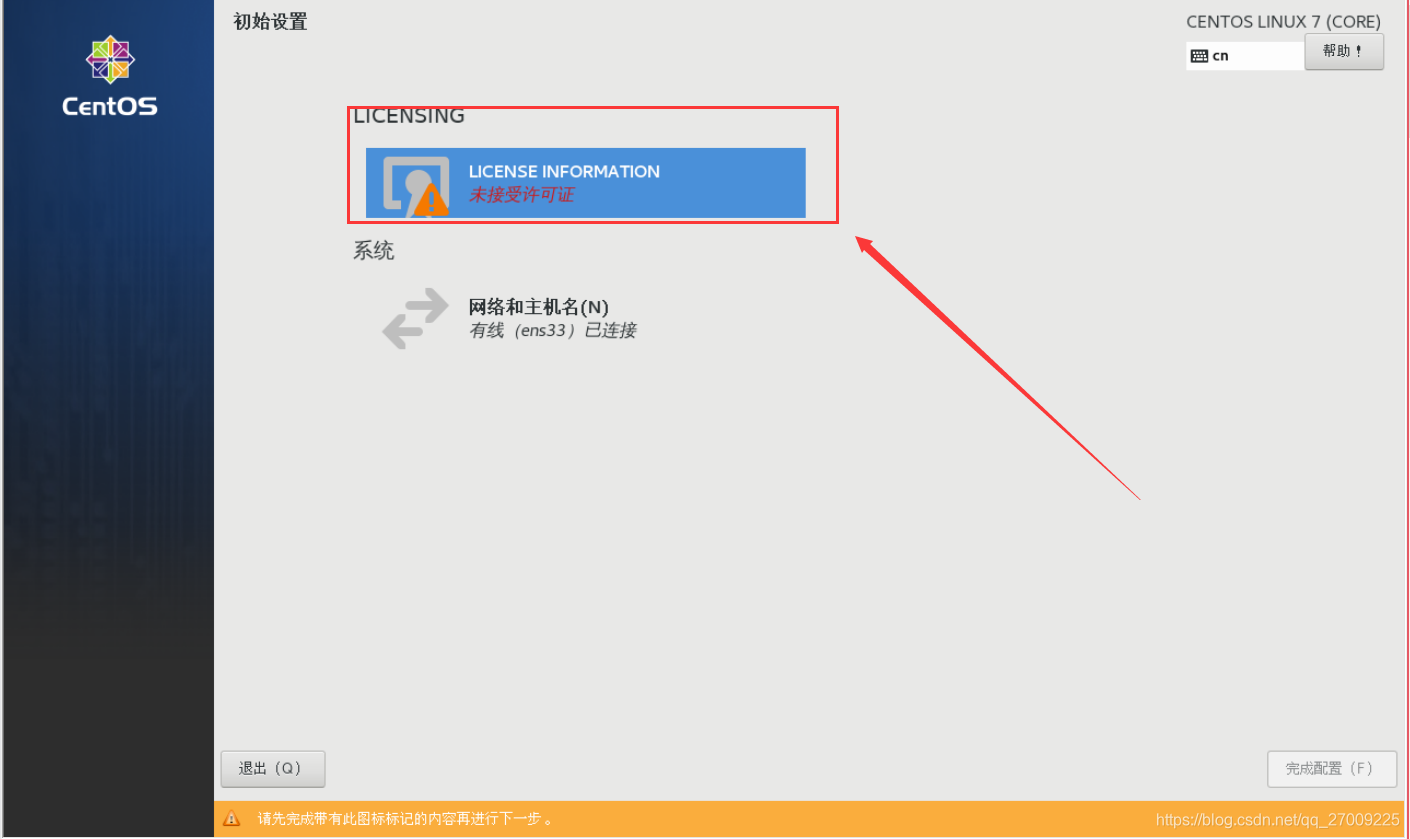
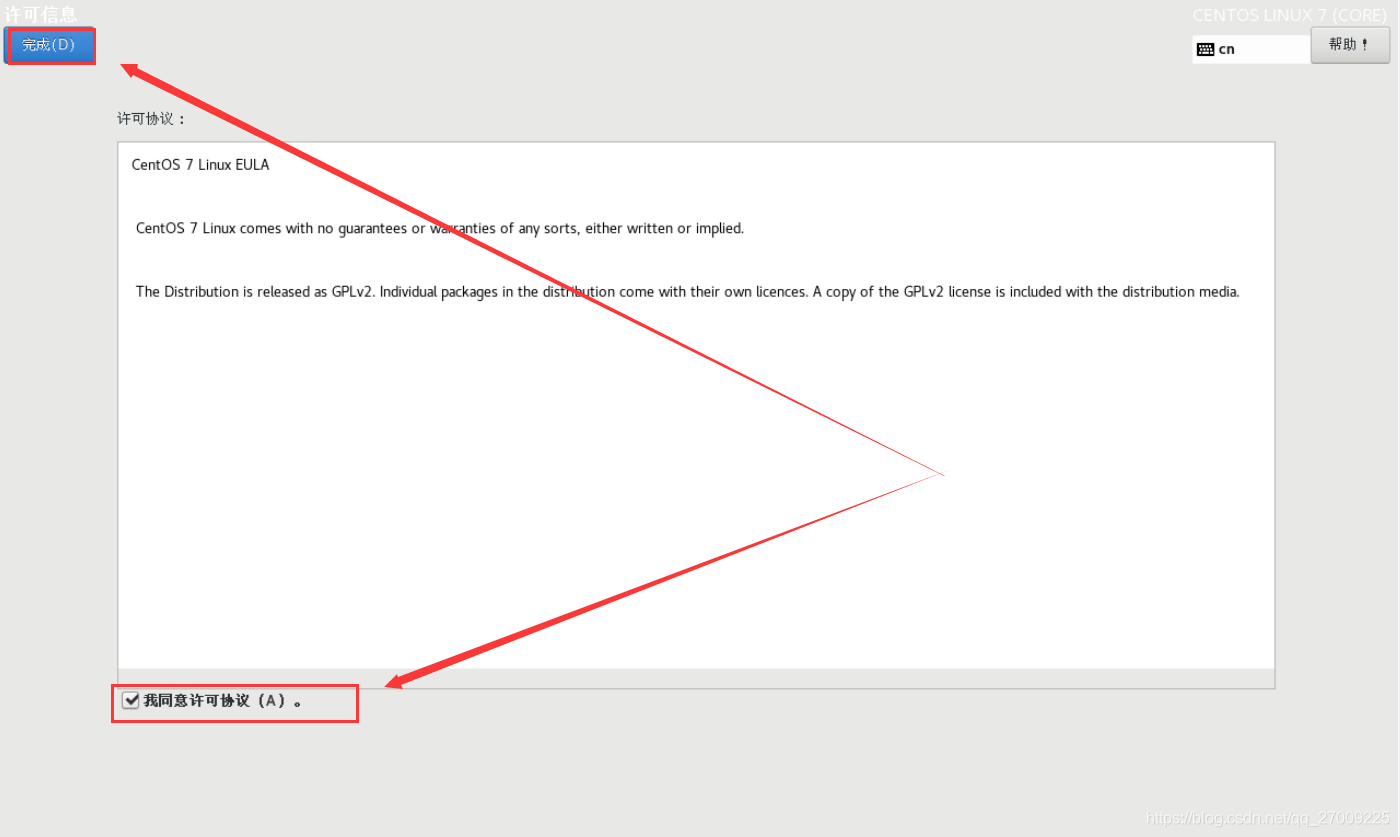
20. Accept the license agreement (required)
Complete the configuration

1. Log
1. Select the language and keyboard

1. This step can be skipped
1. Verify network (To be honest, I think this interface is much more attractive than Ubuntu, like!)
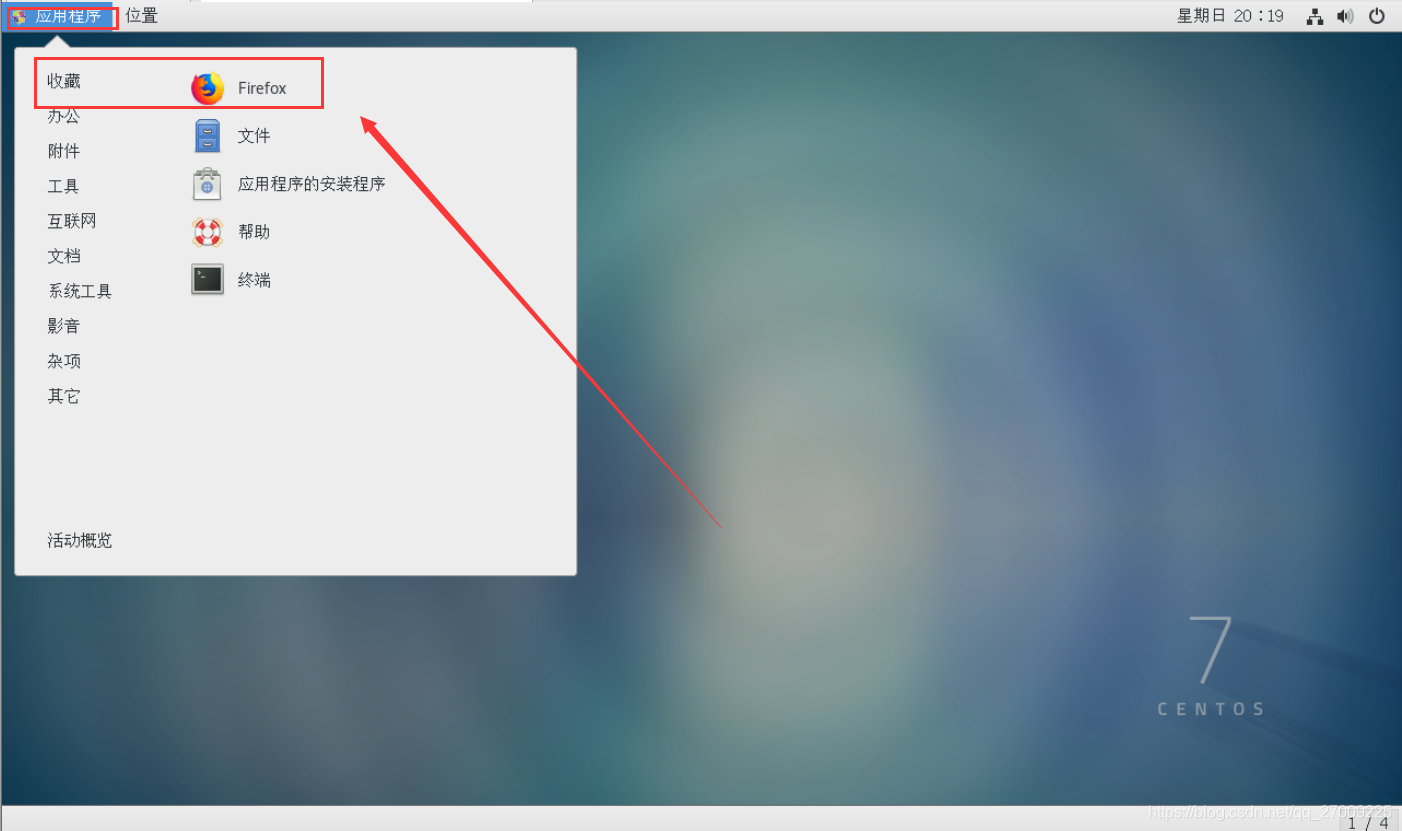
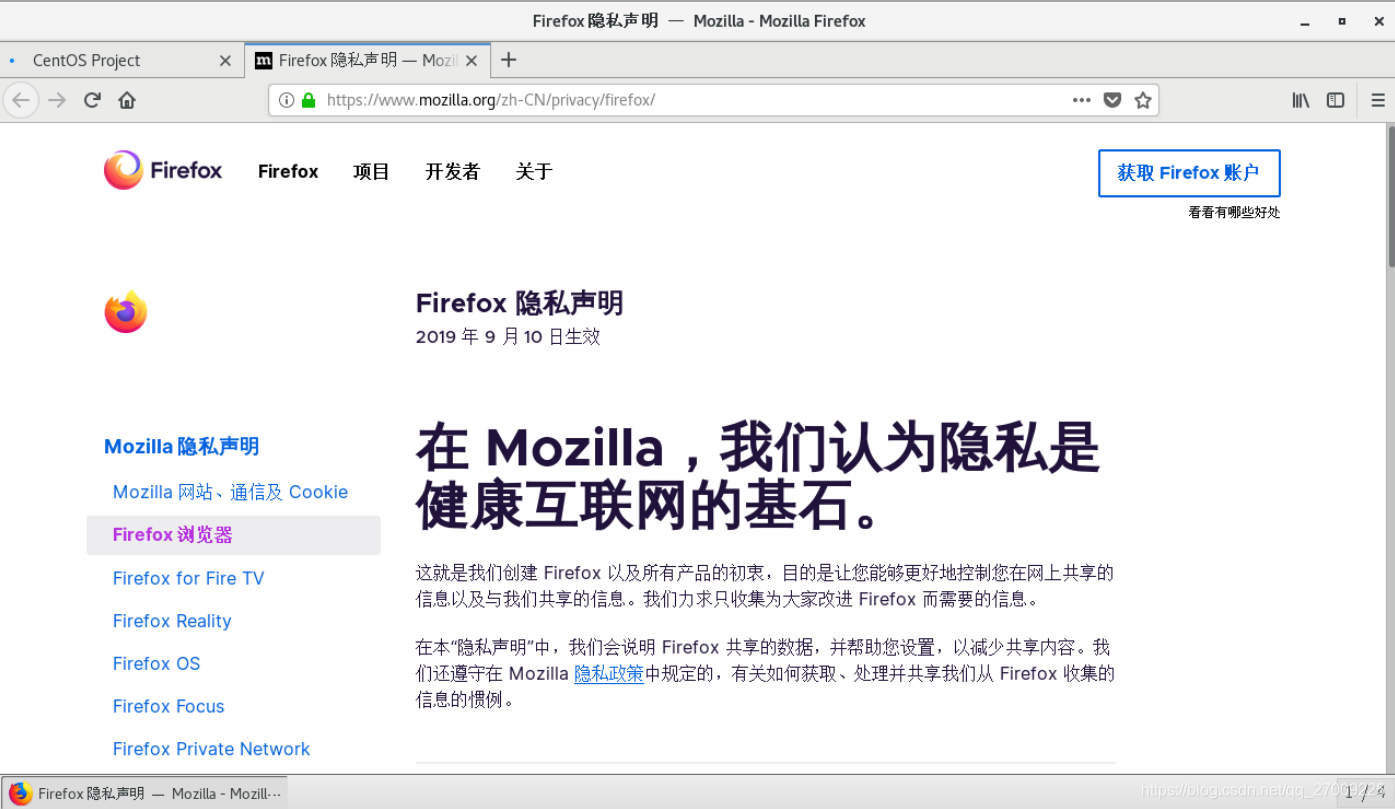
Firefox appears privacy statement page indicates that the network no problem
If you do not enable Ethernet in the installation process, you step on the cause can not access the network, press the following steps