Gitlab搭建-centOS 7
说明
以前在公司自己搭建过, 这次记录下
熟悉一下相关流程
钻牛角尖, 就是想搭建一个自己的GitLab
有错误, 欢迎指出~
下载
网盘下载gitlab-ce-12.2.3 密码:3lnb
官网所有版本
准备工作
1. Install and configure the necessary dependencies(安装和配置前的必要工作)
On CentOS 7 (and RedHat/Oracle/Scientific Linux 7), the commands below will also open HTTP, HTTPS and SSH access in the system firewall.
在CentOS 7(或其它linux7), 下面的命令是为了打开HTTP, HTTPS 和 SSH 访问的防火墙
sudo yum install -y curl policycoreutils-python openssh-server
sudo systemctl enable sshd
sudo systemctl start sshd
sudo firewall-cmd --permanent --add-service=http
sudo firewall-cmd --permanent --add-service=https
sudo systemctl reload firewalld Next, install Postfix to send notification emails. If you want to use another solution to send emails please skip this step and configure an external SMTP server after GitLab has been installed.

接下来, 安装邮件通知服务Postfix. 如果你想使用其它方式, 可以直接跳过, 并在安装好GitLab后再配置其它SMTP服务
sudo yum install postfix
sudo systemctl enable postfix
sudo systemctl start postfix
#####2. Add the GitLab package repository (添加GitLab软件包存储库)
Add the GitLab package repository.
添加GitLab软件包存储库
curl https://packages.gitlab.com/install/repositories/gitlab/gitlab-ee/script.rpm.sh | sudo bash安装
使用上传工具(Xftp, SecureFX等), 将下载的GitLab安装包上传服务器
本人使用的是scp直接上传
命令:
scp gitlab-ce-12.2.3-ce.0.el7.x86_64.rpm [email protected]:/usr/local看个人情况操作
进入安装包目录(本人的在/usr/local/目录下), 使用如下命令安装GitLab
cd /usr/local/
rpm -ivh ./gitlab-ce-12.2.3-ce.0.el7.x86_64.rpm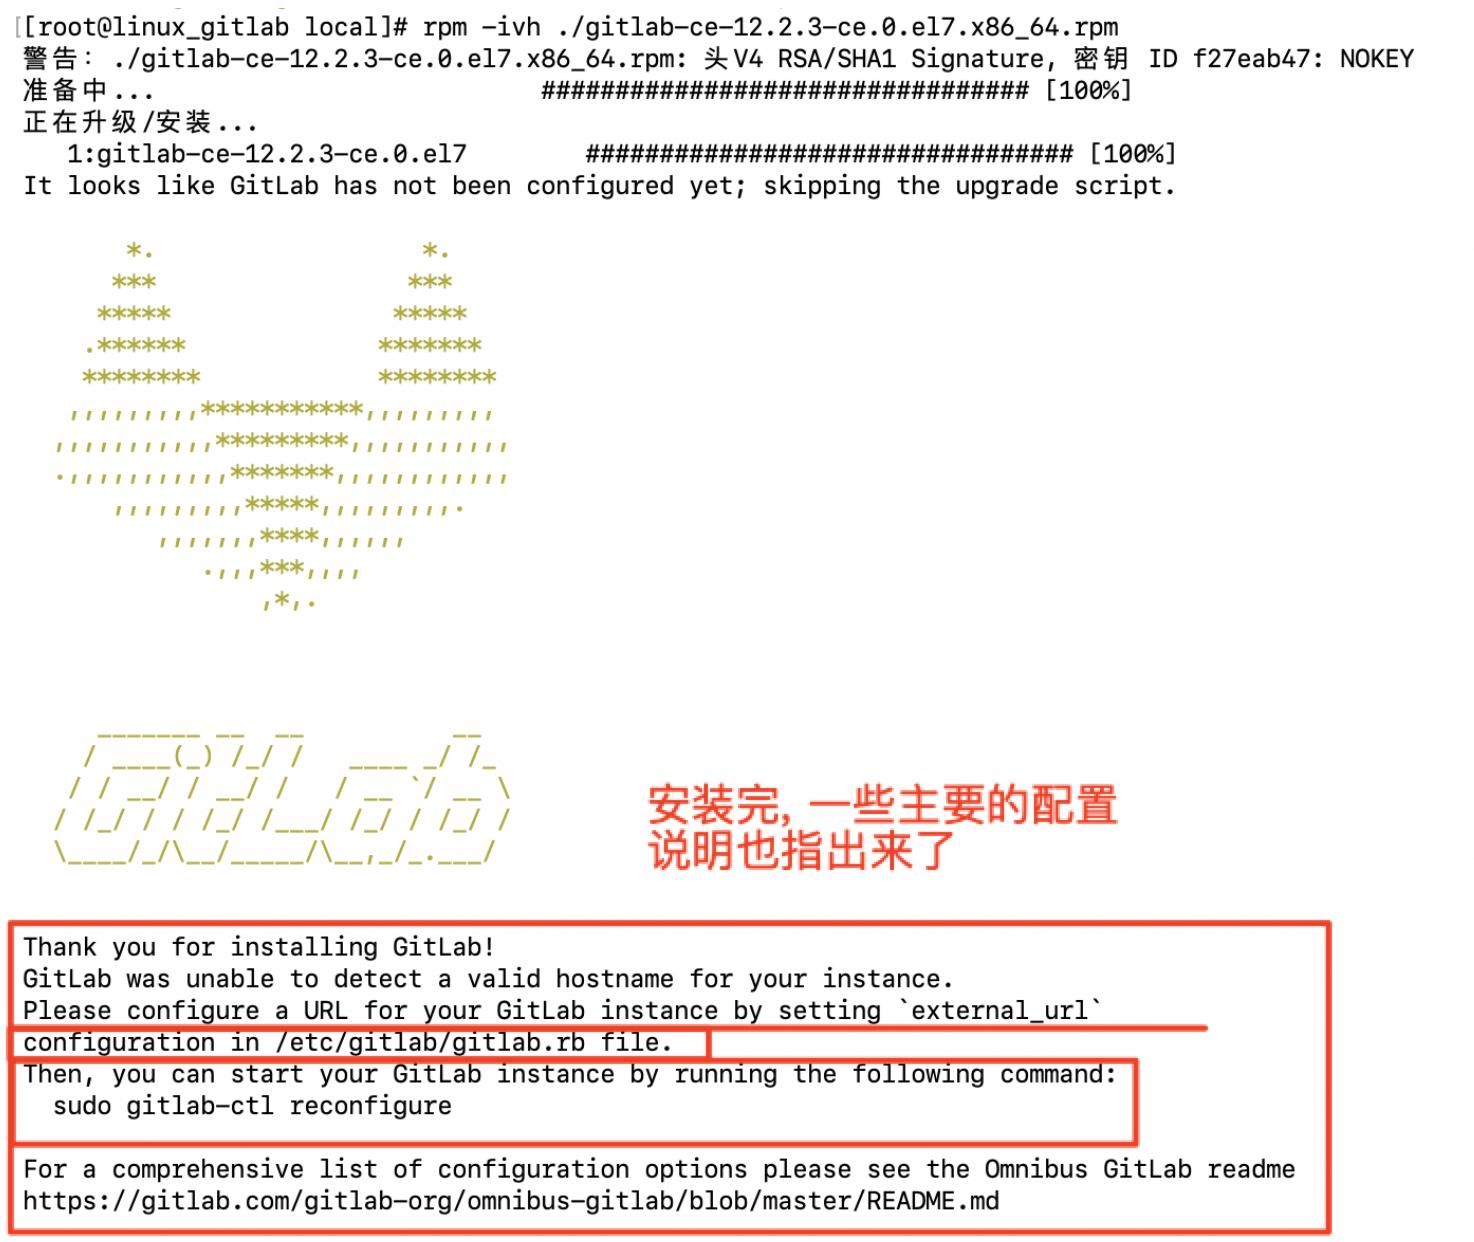
修改url在/etc/gitlab/gitlab.rb文件的external_url
修改后, 需要使用命令sudo gitlab-ctl reconfigure使配置生效
- 安装好GitLab后, 使用命令
sudo gitlab-ctl reconfigure使当前的配置生效
启动服务并使用
使用命令
gitlab start查看启动服务[root@linux_gitlab gitlab]# gitlab-ctl start ok: run: alertmanager: (pid 51688) 34s ok: run: gitaly: (pid 51697) 32s ok: run: gitlab-monitor: (pid 51715) 32s ok: run: gitlab-workhorse: (pid 51721) 31s ok: run: grafana: (pid 51729) 31s ok: run: logrotate: (pid 51744) 30s ok: run: nginx: (pid 51752) 30s ok: run: node-exporter: (pid 51758) 31s ok: run: postgres-exporter: (pid 51762) 30s ok: run: postgresql: (pid 51783) 29s ok: run: prometheus: (pid 51873) 28s ok: run: redis: (pid 51880) 28s ok: run: redis-exporter: (pid 51886) 28s ok: run: sidekiq: (pid 51897) 24s ok: run: unicorn: (pid 51921) 19s如果命令
gitlab start无效可以先运行命令
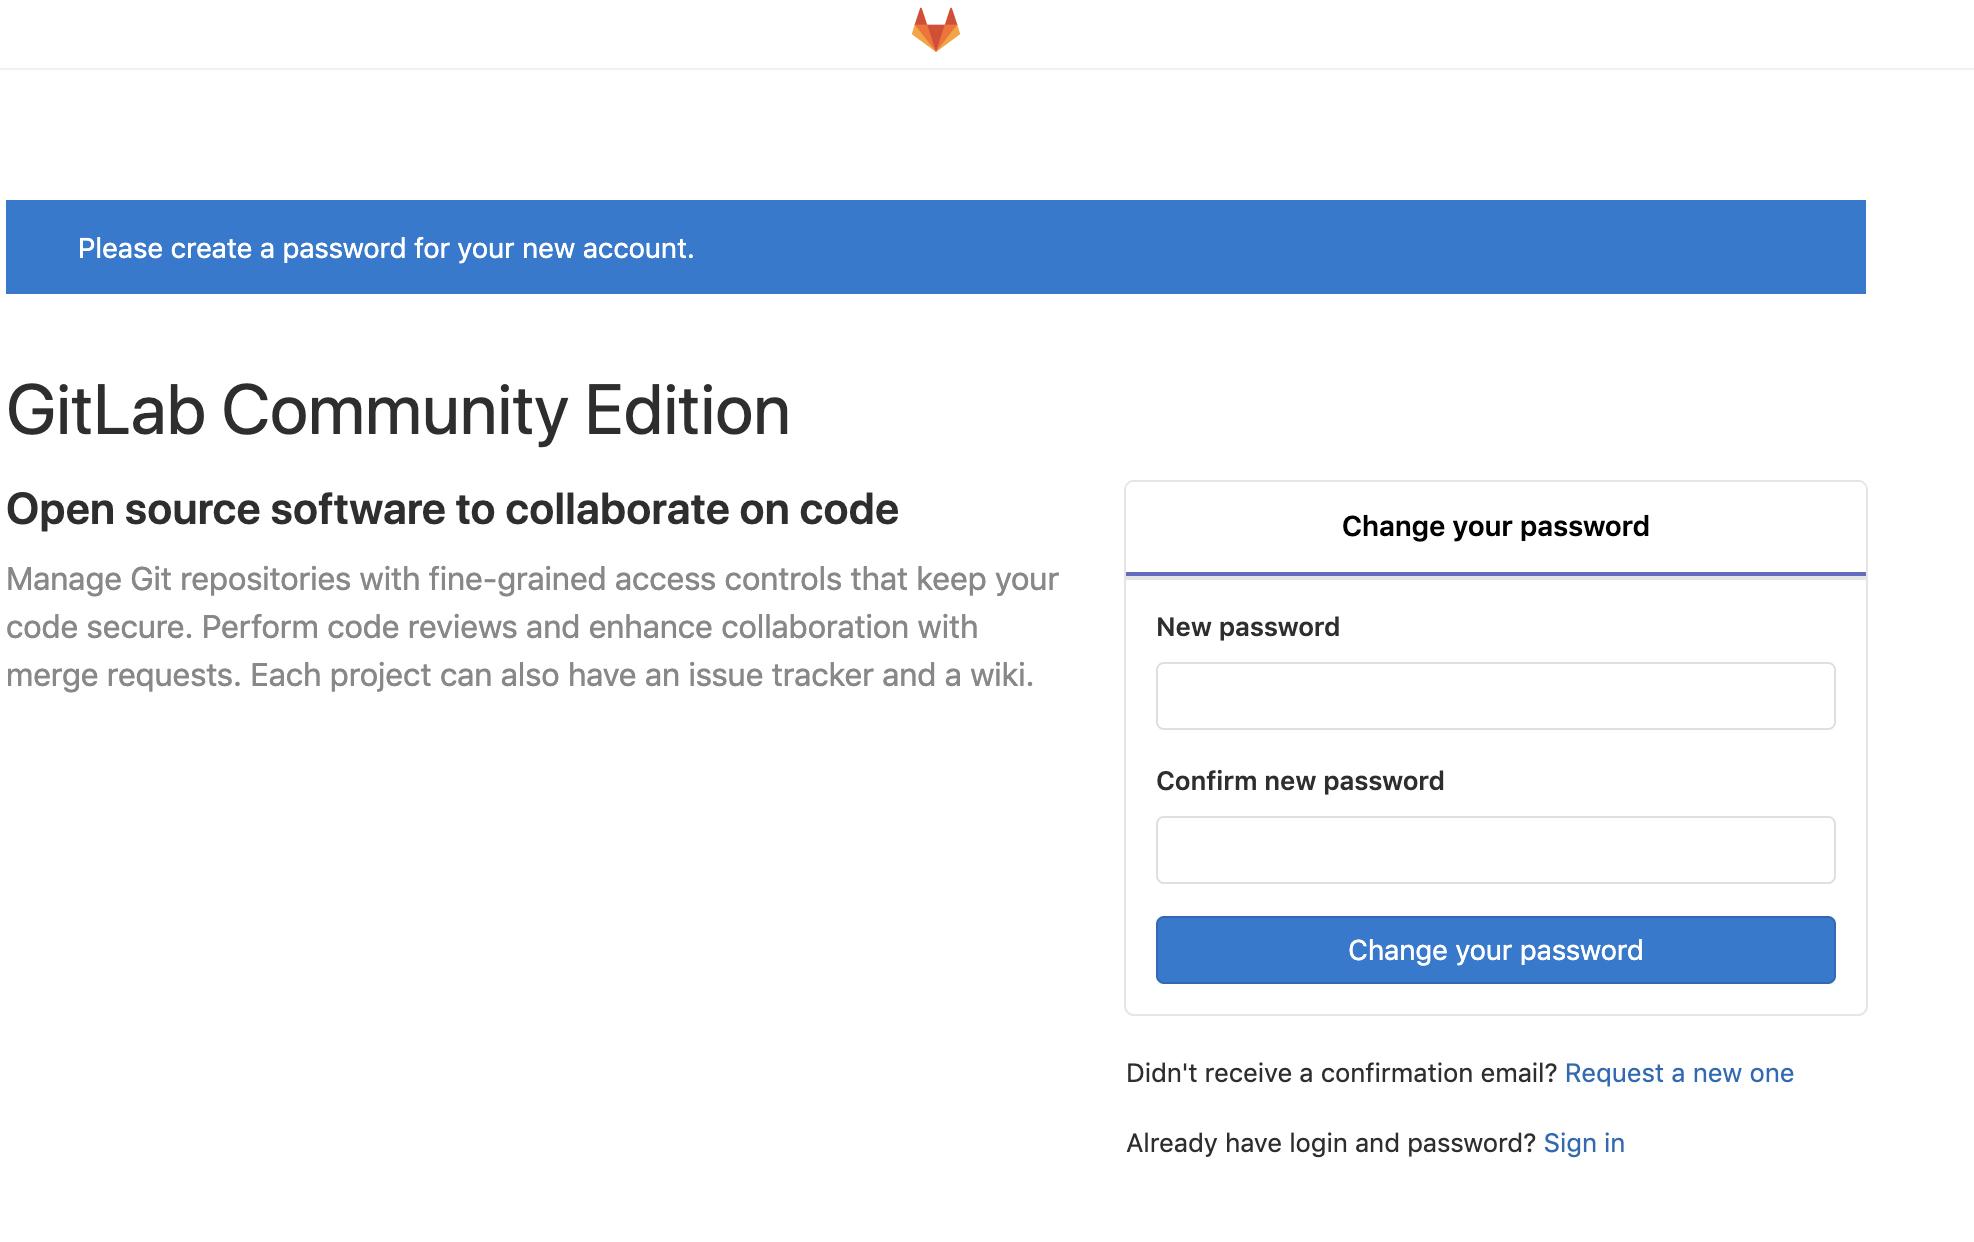
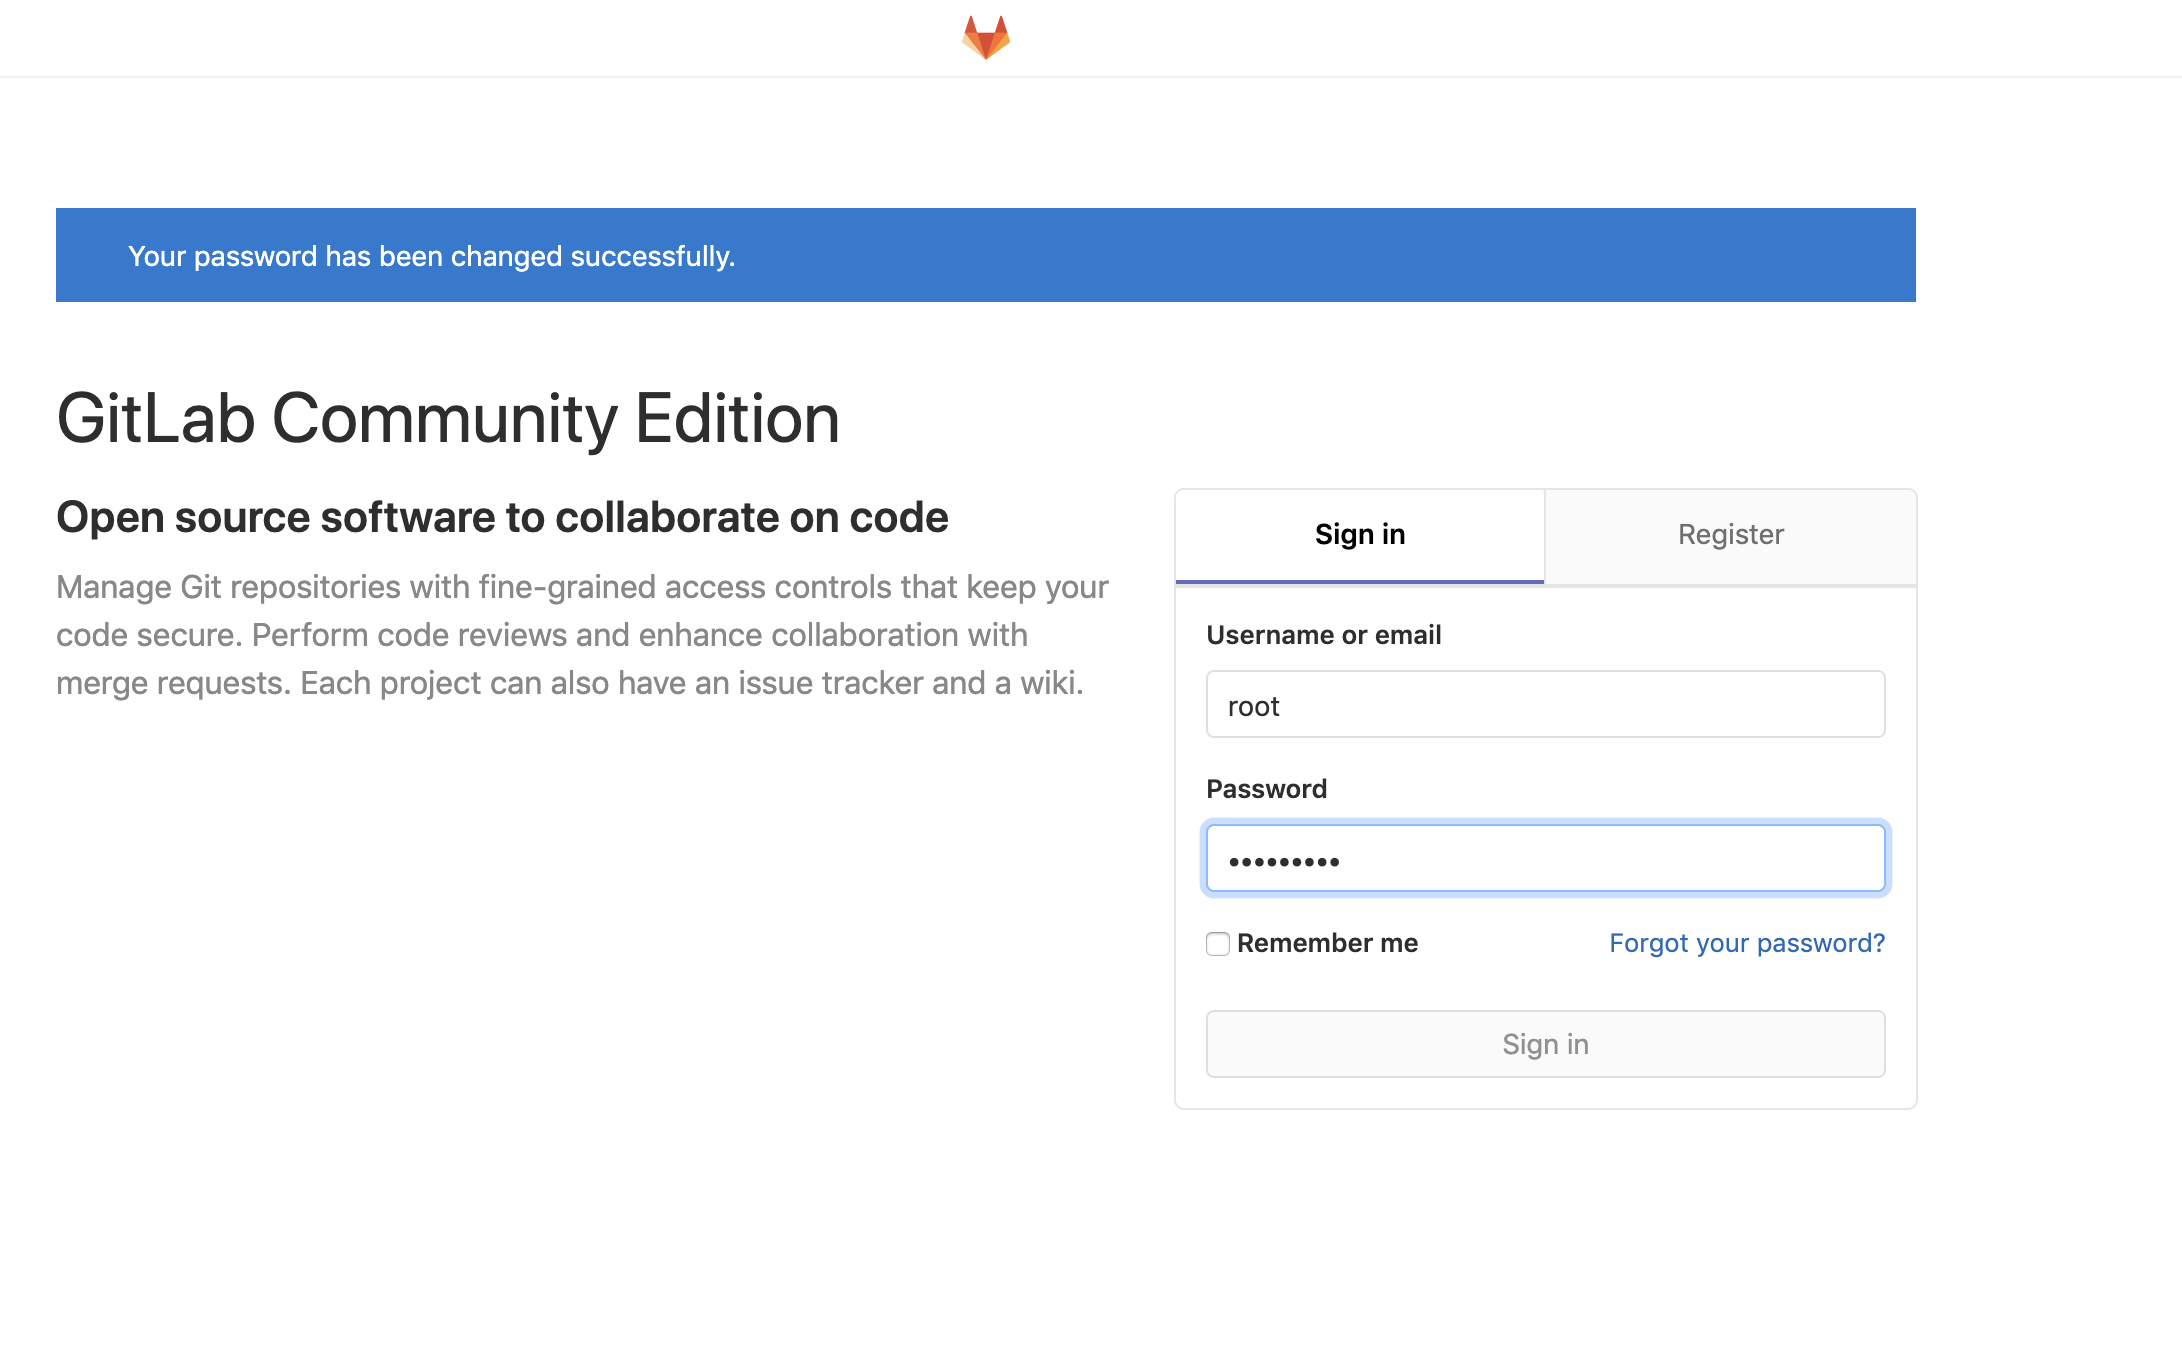
sudo gitlab-ctl reconfigure, 再gitlab start试试到浏览器访问: GitLab:http://192.168.1.125, 新建root密码
使用root的账号密码登录GitLab
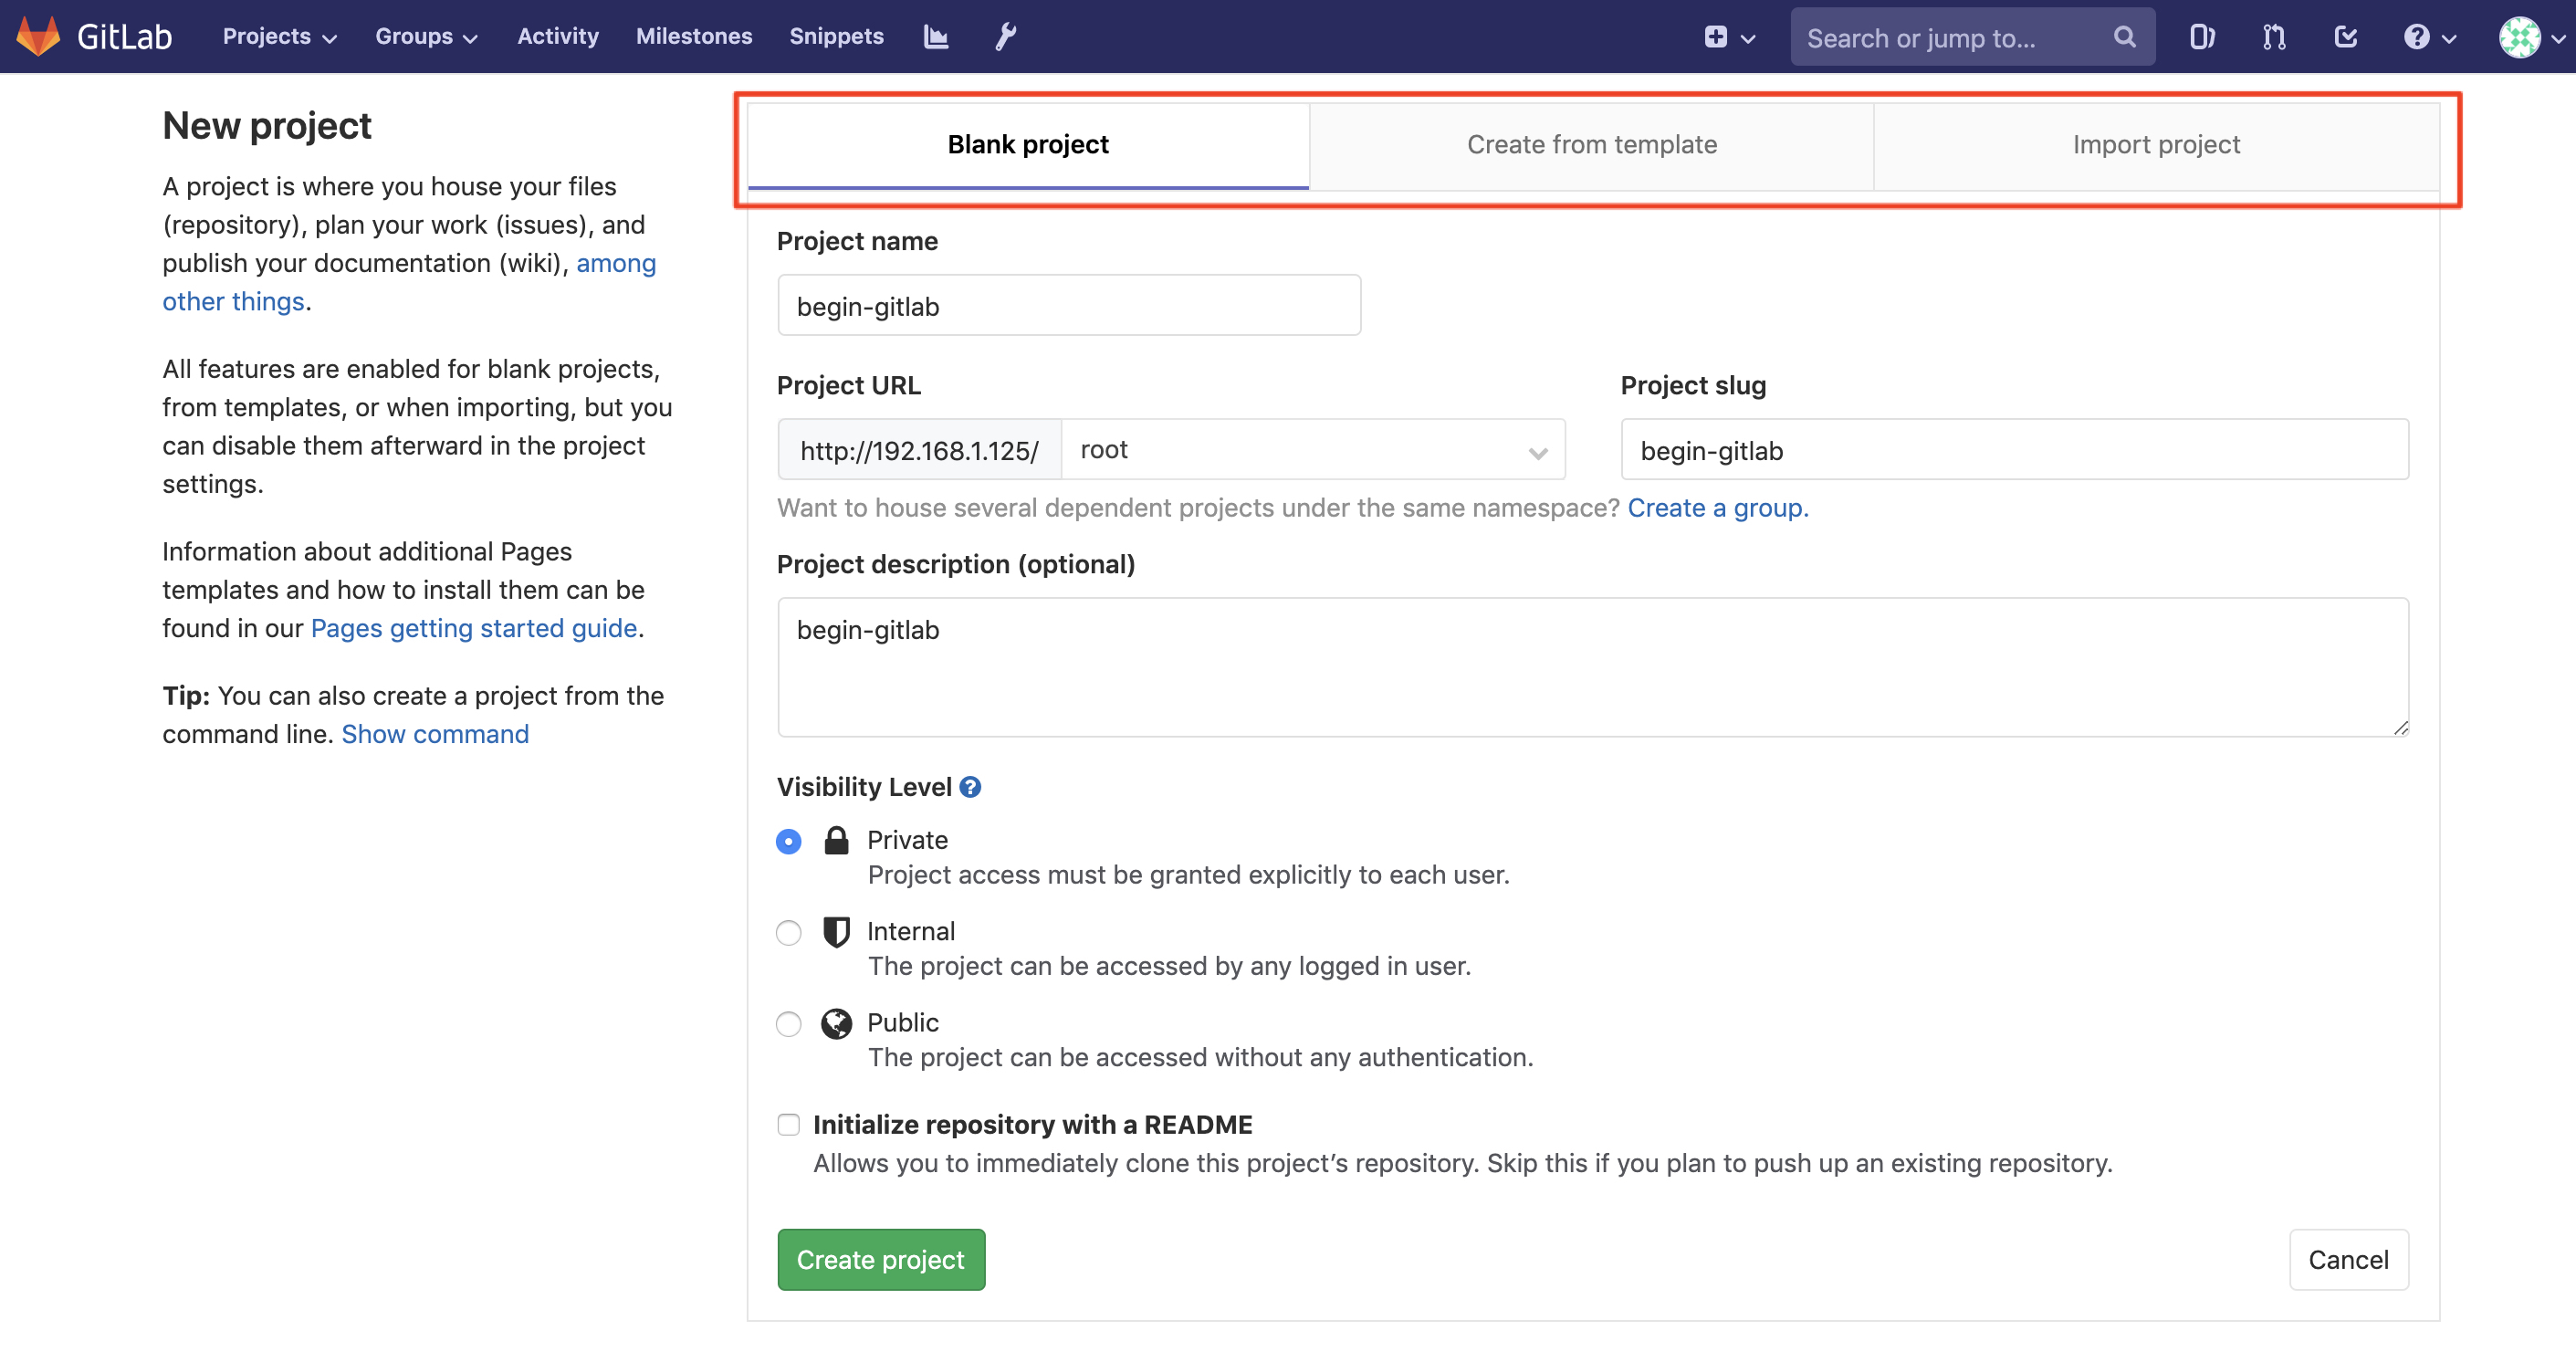
新增项目
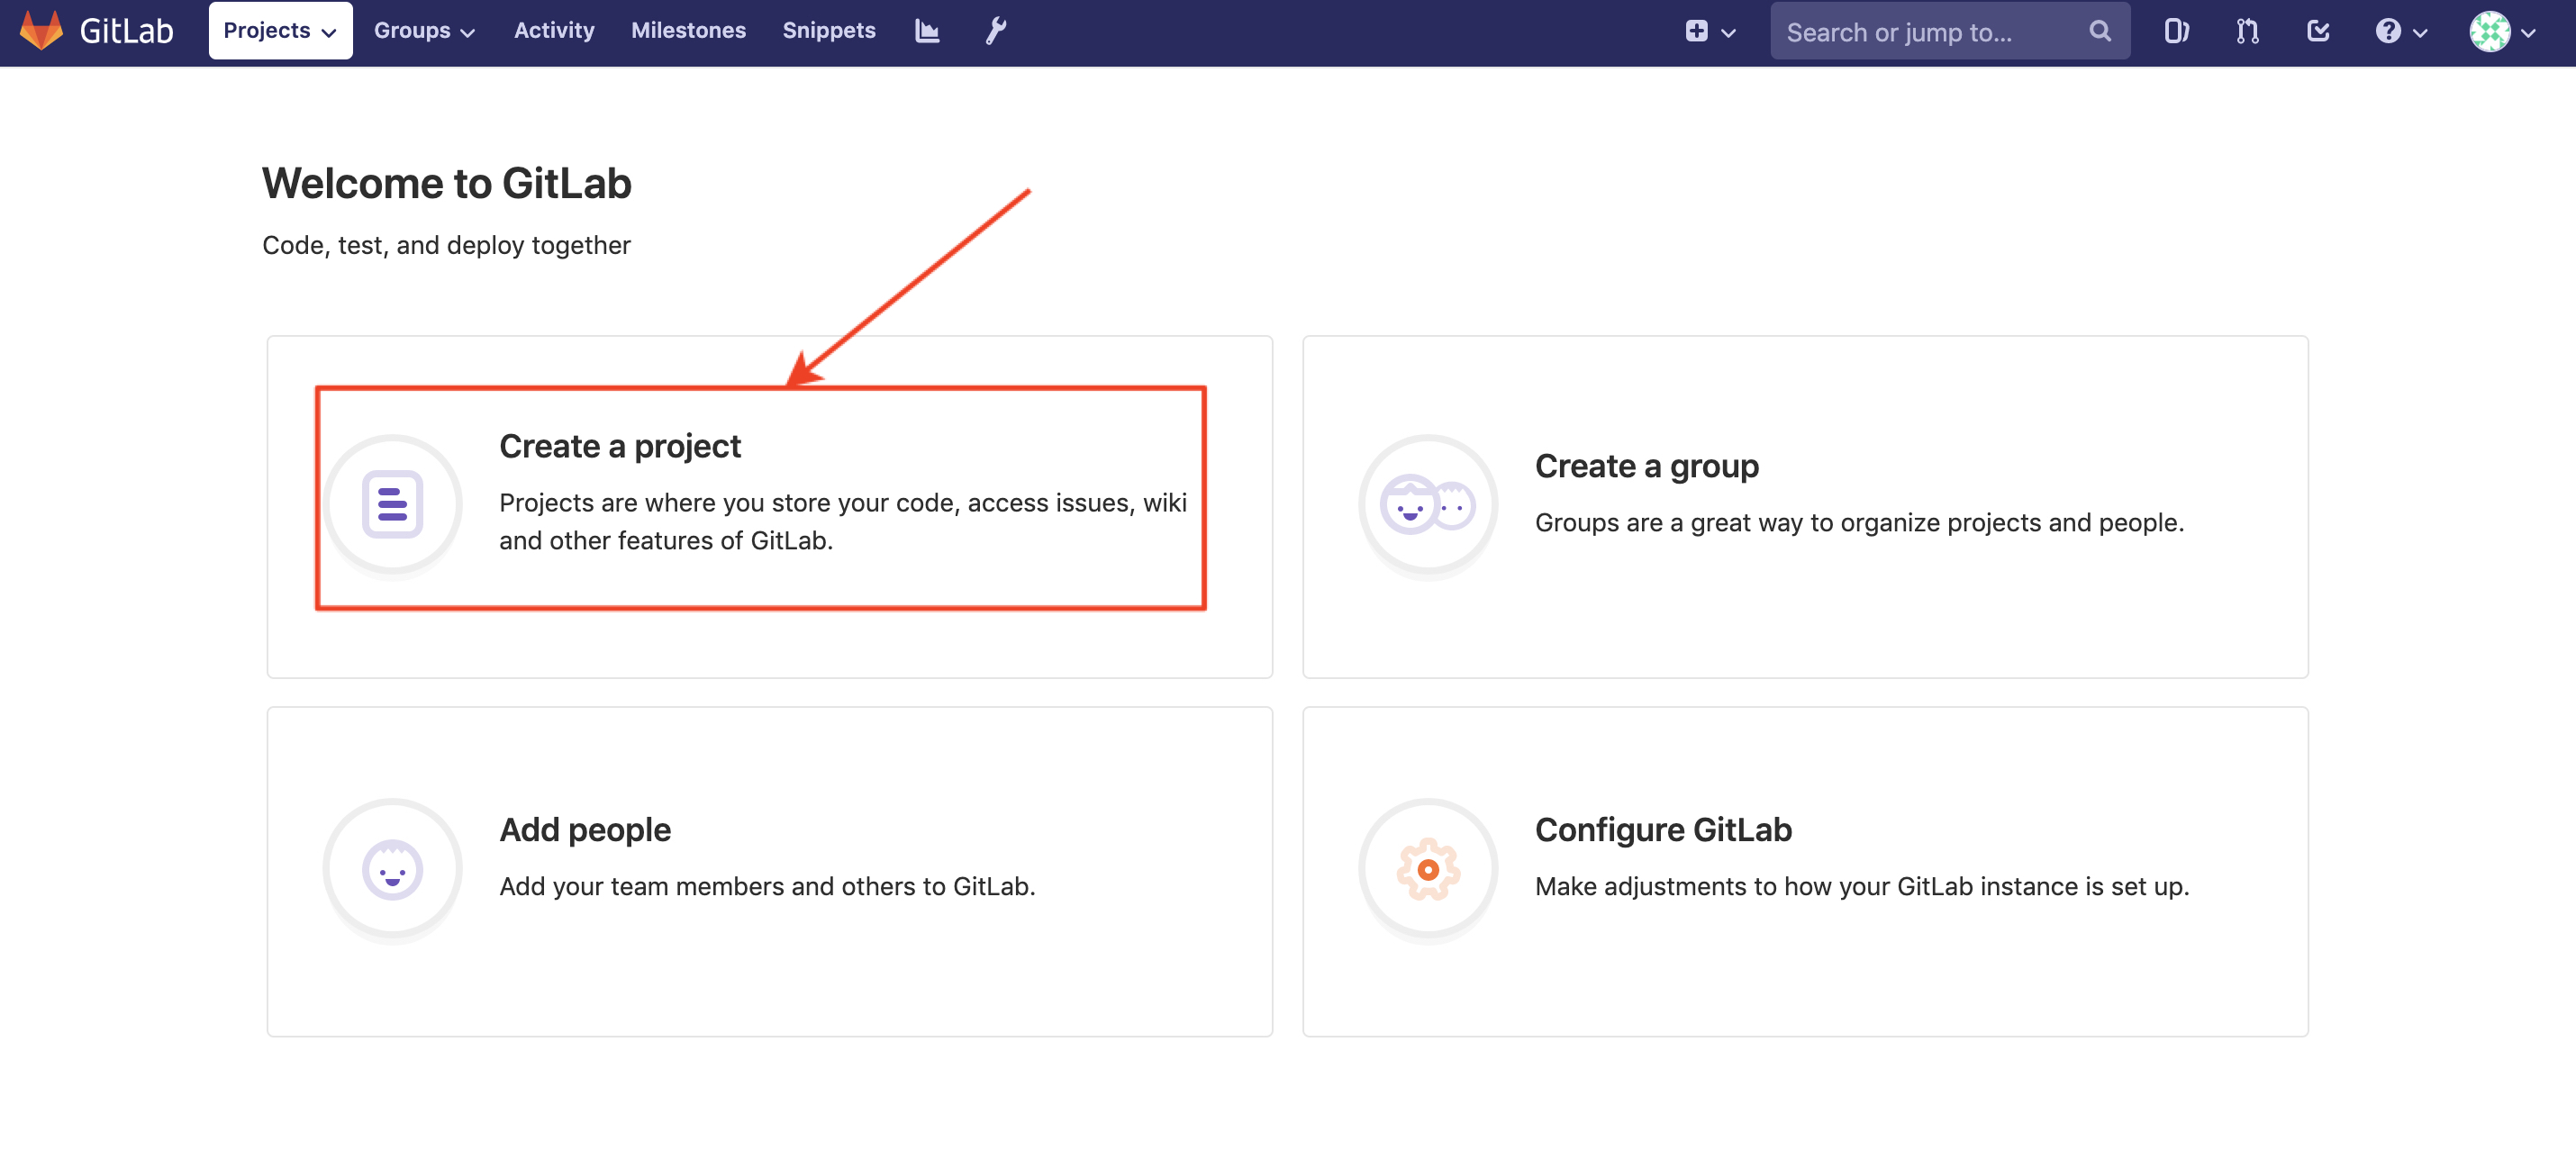
选择空白项目, 输入项目名, 新建即可

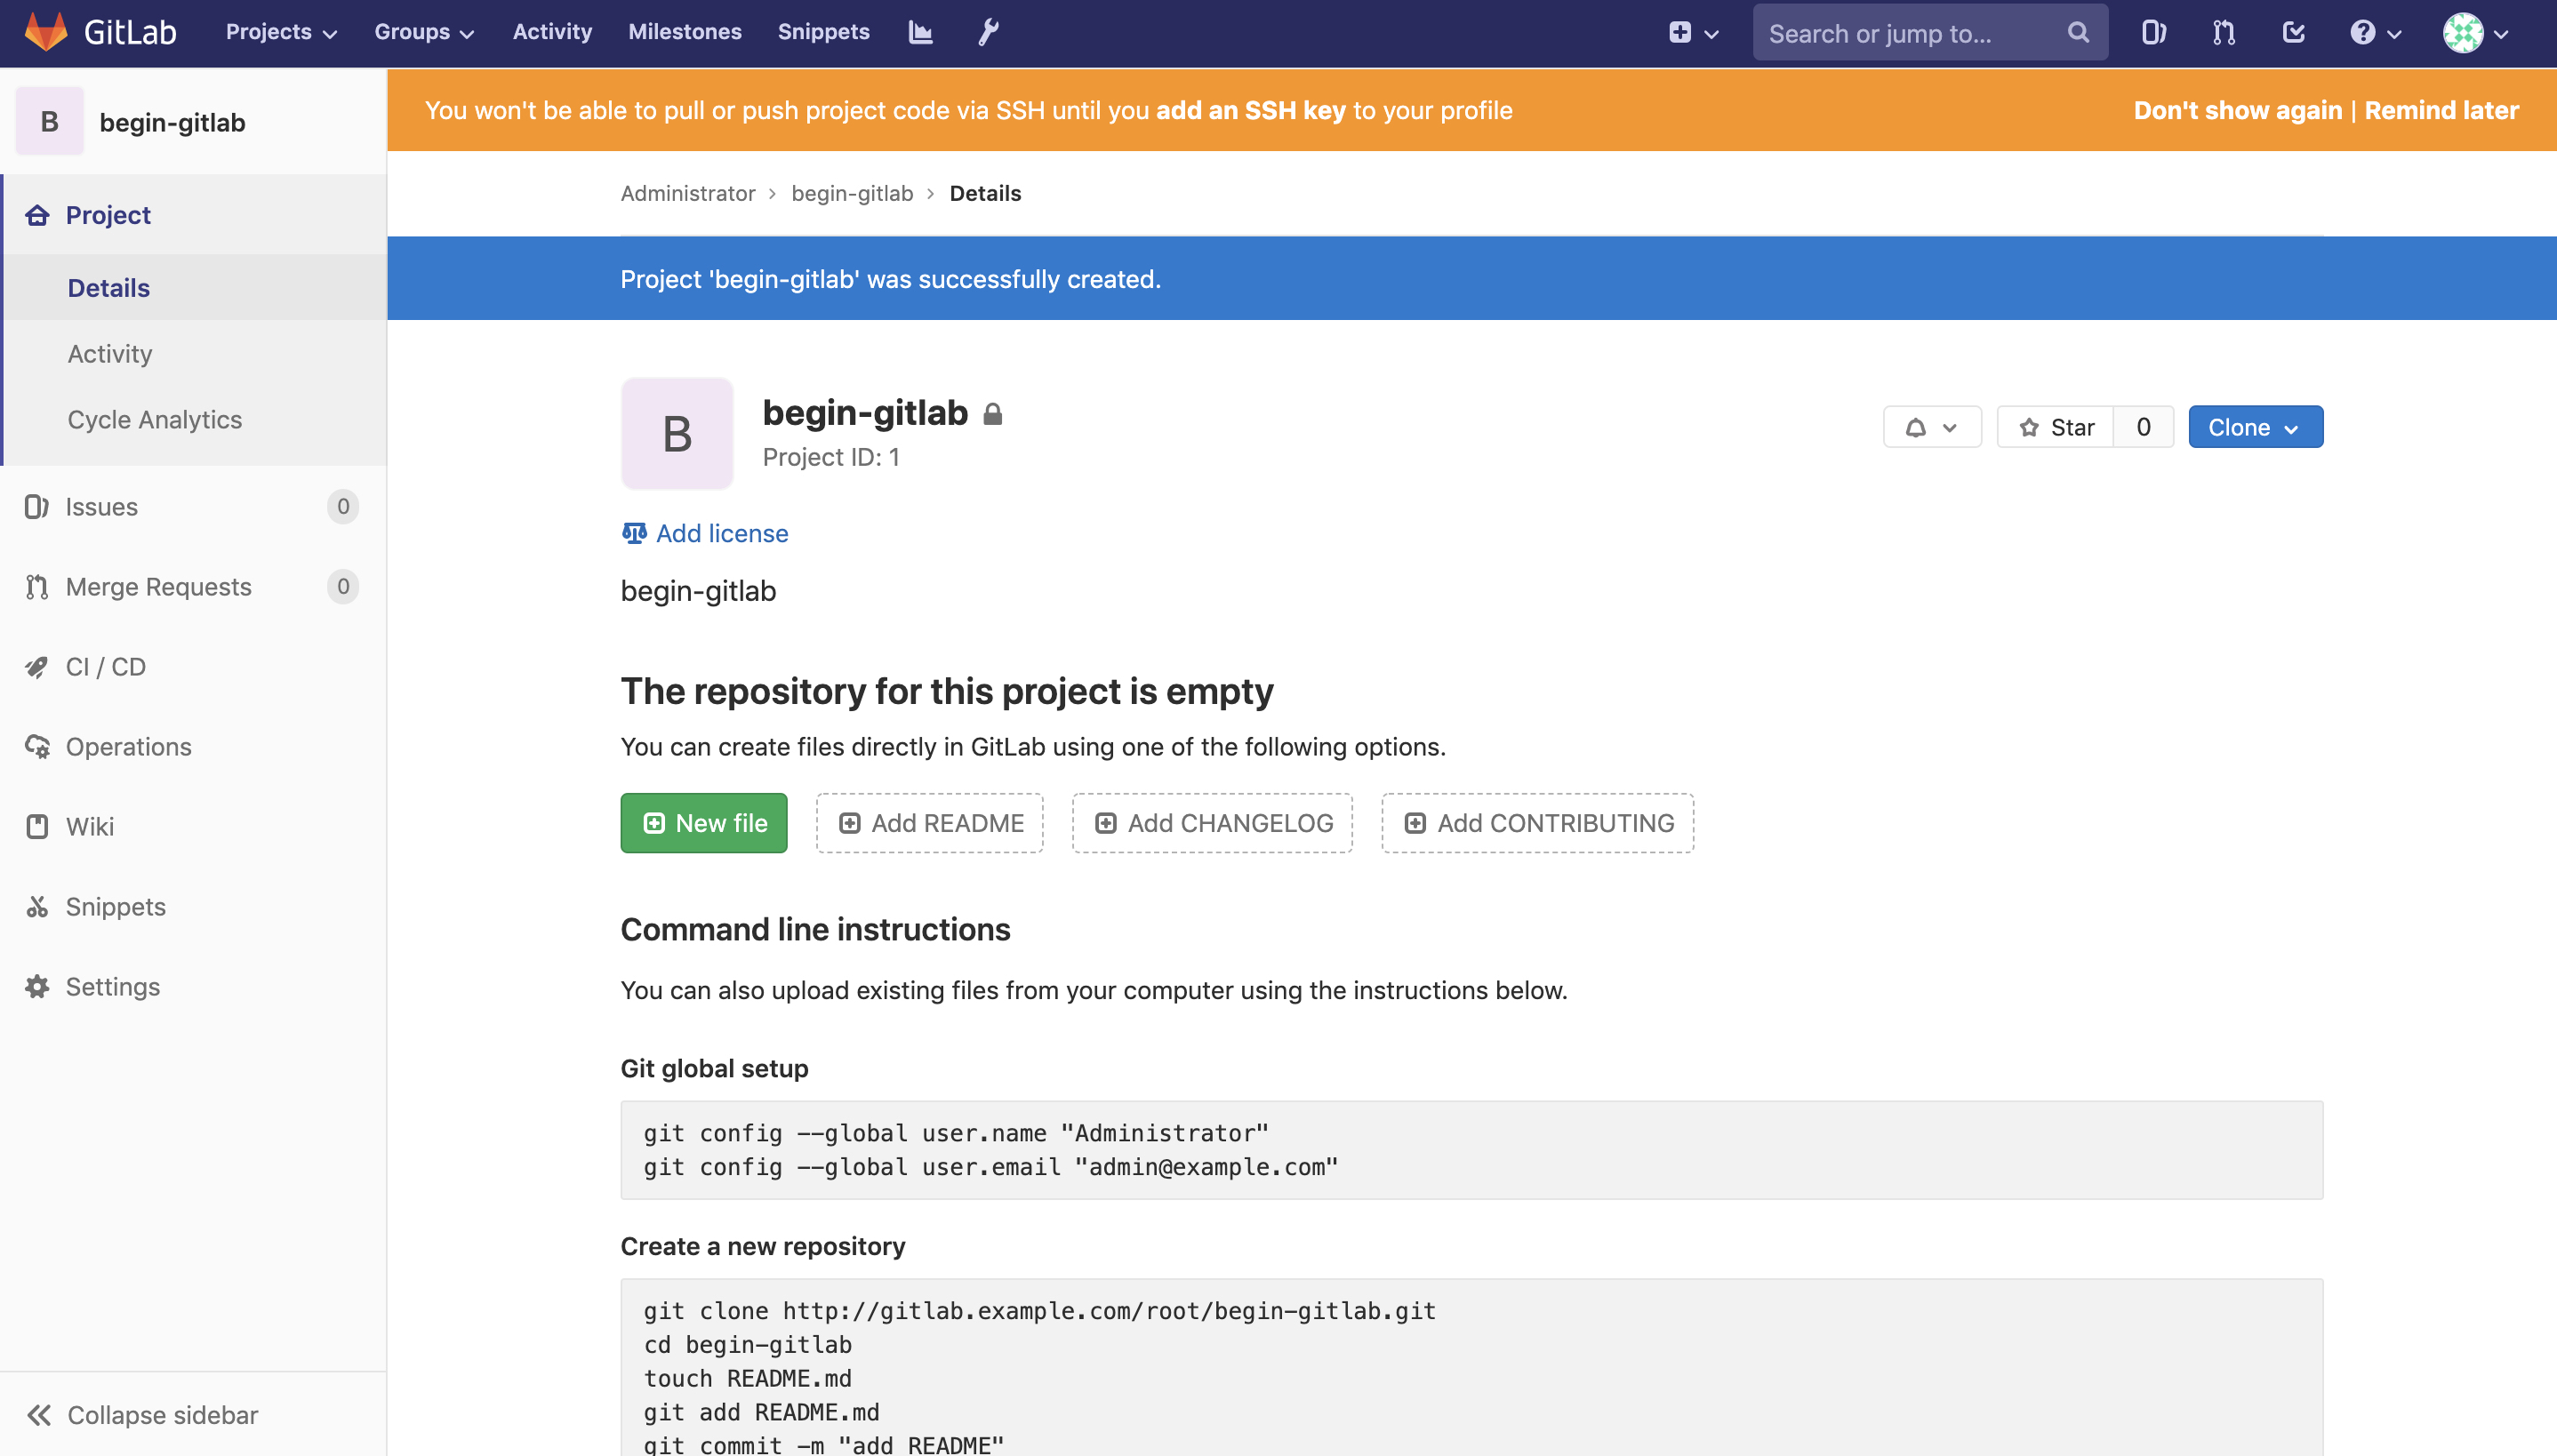
配置
刚新建的Git项目, 会发现clone项目的地址
http://gitlab.example.com/不对, 需要重新配置成自己服务器的地址
本人的服务器只有IP(192.168.1.125), 没有域名, 于是本人将域名部分的配置改成了IP地址
# 修改gitlab的配置文件, 路径: /etc/gitlab/gitlab.rb
vim /etc/gitlab/gitlab.rb

# 修改url为自己服务器的IP地址
external_url 'http://192.168.1.125'

# 保存退出后, 使新配置生效
sudo gitlab-ctl reconfigure

# 重启服务
gitlab-ctl restart
重新登录GitLab, 会发现, clone项目的地址为
http://192.168.1.125/....是正确的
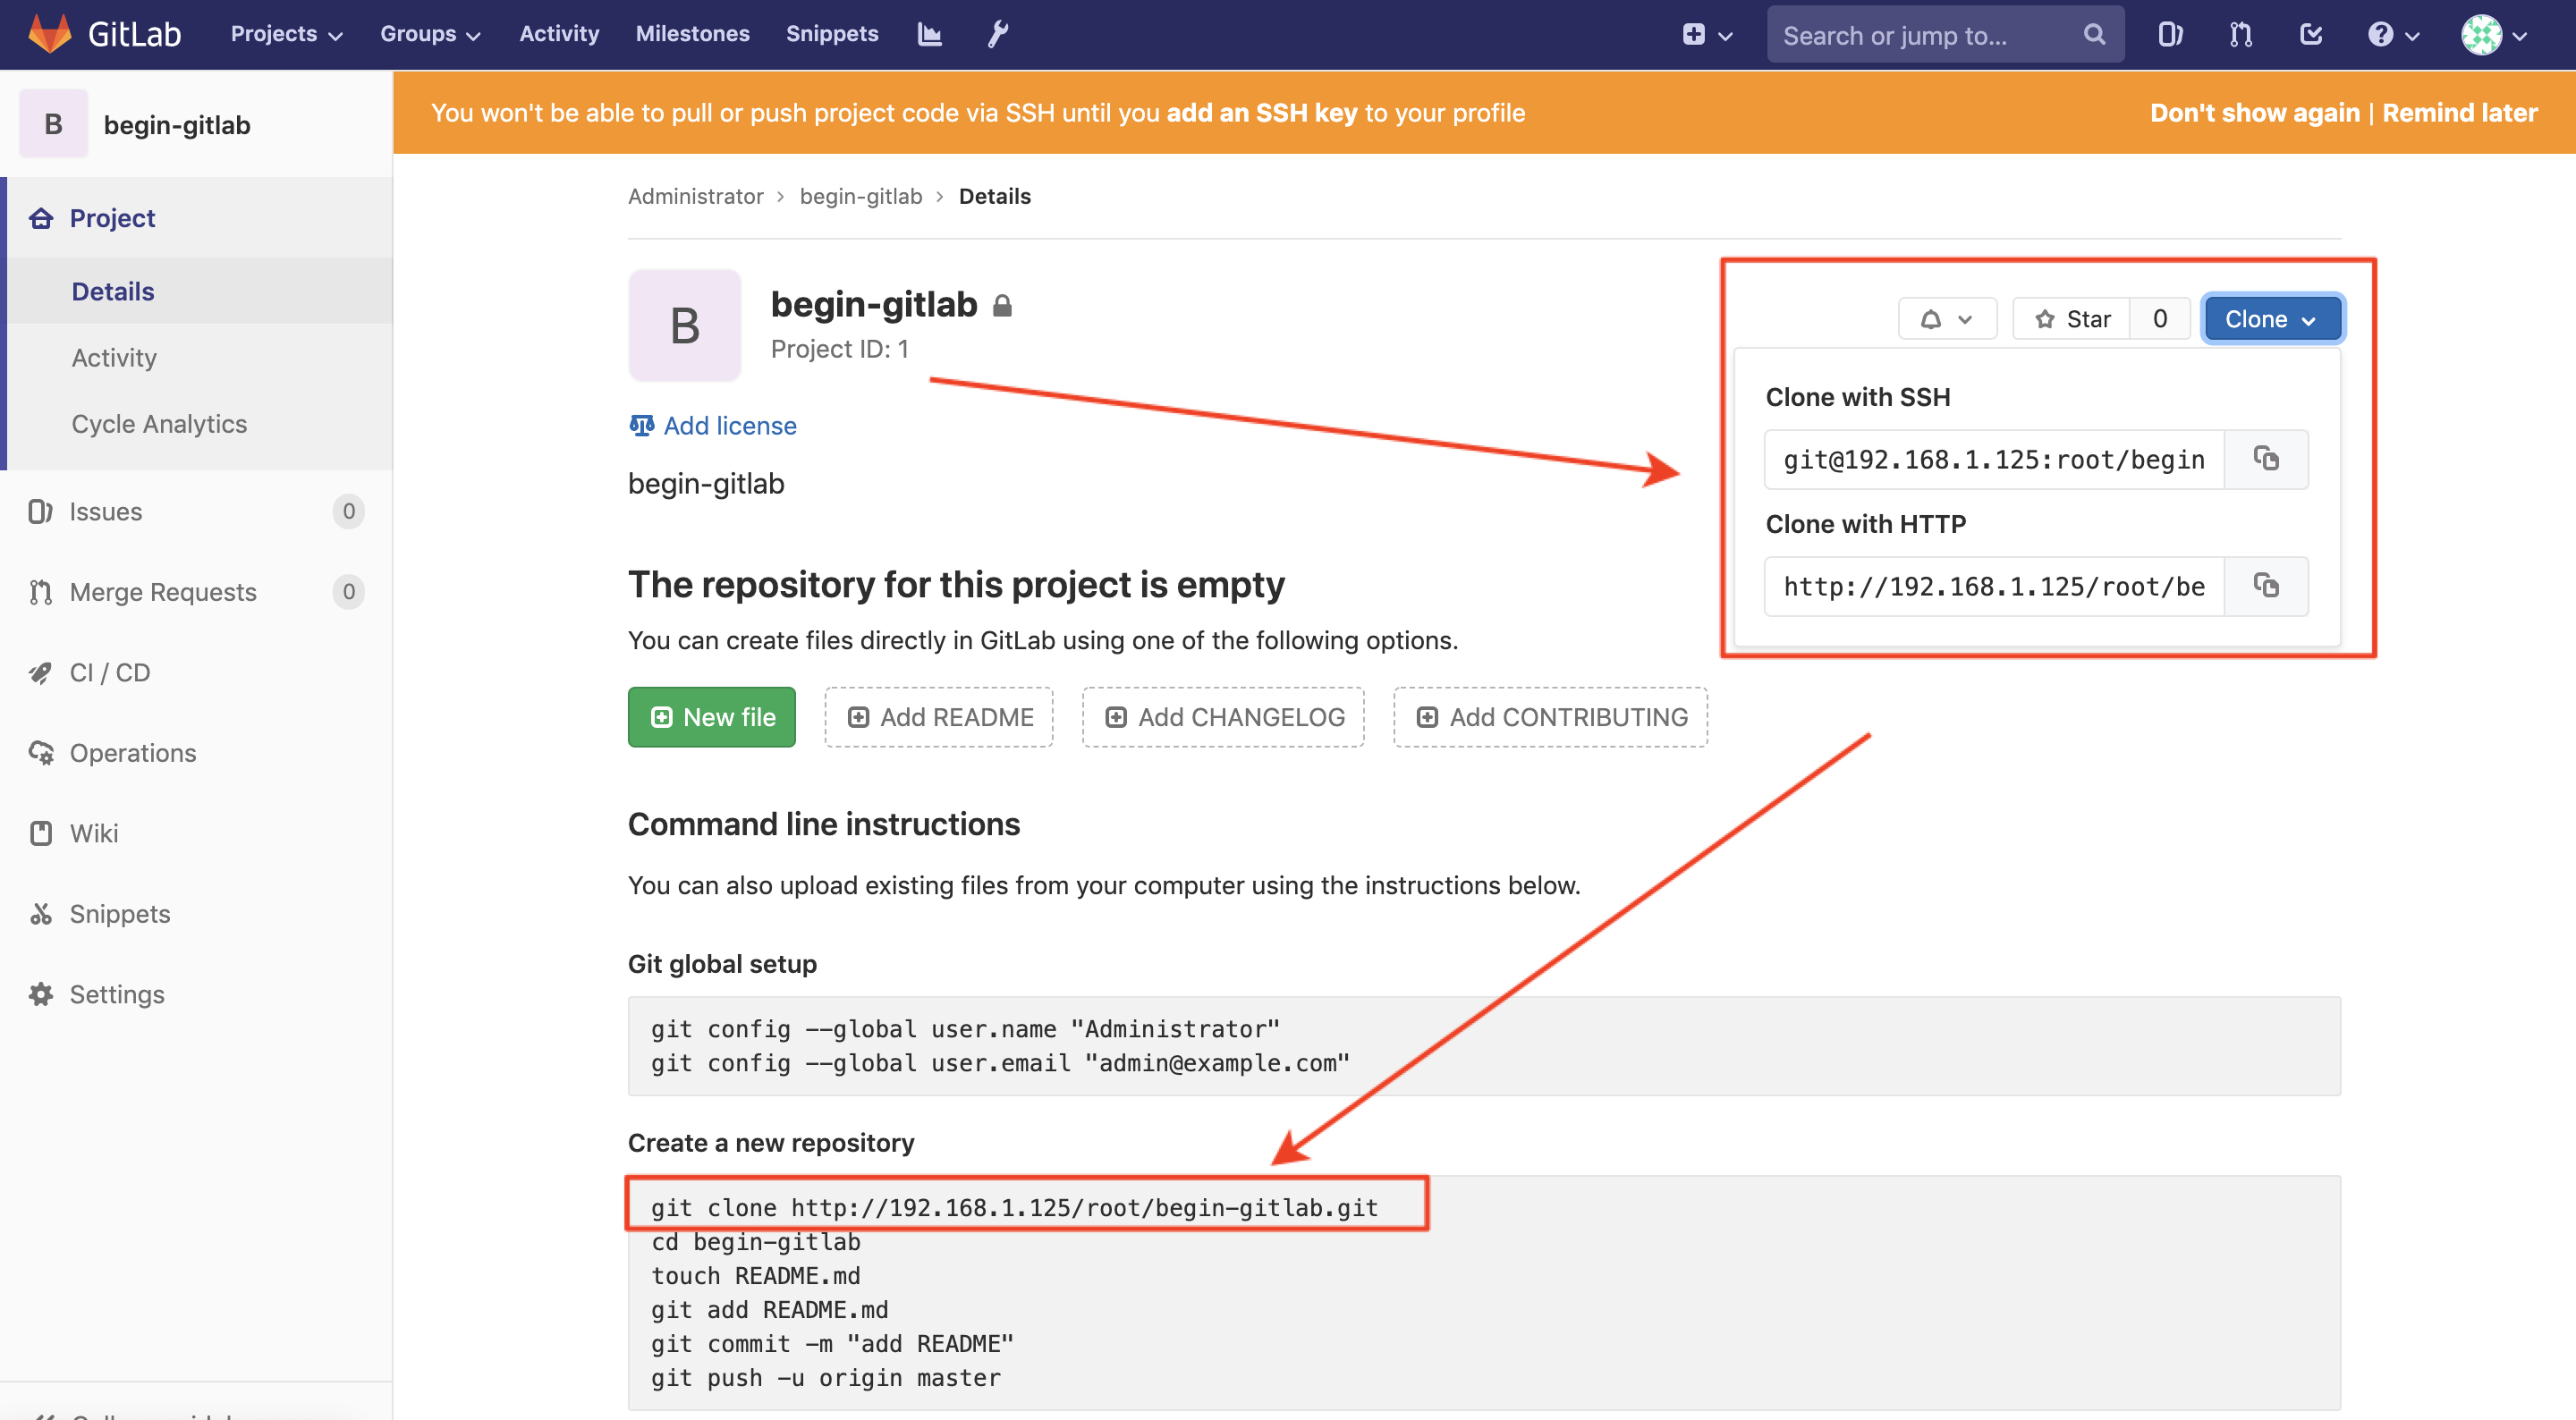
测试GitLab的项目clone是否能正常使用
// 在macbook终端使用命令clone项目
VitodeMacBook-Pro:git_project vito$ git clone http://192.168.1.125/root/begin-gitlab.git
Cloning into 'begin-gitlab'...
Username for 'http://192.168.1.125': root
Password for 'http://[email protected]':
warning: You appear to have cloned an empty repository.