环境配置:
系统版本:
[root@jumpserver ~]# cat /etc/redhat-release
CentOS Linux release 7.6.1810 (Core)
yum源:阿里源
[root@jumpserver ~]# ll /etc/yum.repos.d/
total 36
-rw-r--r--. 1 root root 2523 Jan  7 04:55 CentOS-Base.repo
-rw-r--r--. 1 root root 1309 Nov 23  2018 CentOS-CR.repo
-rw-r--r--. 1 root root  649 Nov 23  2018 CentOS-Debuginfo.repo
-rw-r--r--. 1 root root  314 Nov 23  2018 CentOS-fasttrack.repo
-rw-r--r--. 1 root root  630 Nov 23  2018 CentOS-Media.repo
-rw-r--r--. 1 root root 1331 Nov 23  2018 CentOS-Sources.repo
-rw-r--r--. 1 root root 5701 Nov 23  2018 CentOS-Vault.repo
-rw-r--r--. 1 root root  664 Jan  7 04:55 epel.repo
防火墙、selinux
[root@jumpserver ~]# getenforce
Permissive
[root@jumpserver ~]#
[root@jumpserver ~]#
[root@jumpserver ~]# systemctl  status  firewalld
● firewalld.service - firewalld - dynamic firewall daemon
   Loaded: loaded (/usr/lib/systemd/system/firewalld.service; disabled; vendor preset: enabled)
   Active: inactive (dead)
     Docs: man:firewalld(1)

Jan 07 12:28:30 localhost.localdomain systemd[1]: Starting firewalld - dynamic firewall .....
Jan 07 12:28:31 localhost.localdomain systemd[1]: Started firewalld - dynamic firewall d...n.
Jan 07 05:08:33 localhost.localdomain systemd[1]: Stopping firewalld - dynamic firewall .....
Jan 07 05:08:36 localhost.localdomain systemd[1]: Stopped firewalld - dynamic firewall d...n.
Hint: Some lines were ellipsized, use -l to show in full.
开始部署jumpserver
第一个历程:安装依赖
[root@jumpserver ~]# yum install -y epel-release
[root@jumpserver ~]# yum -y install git python-pip mariadb-devel gcc automake autoconf python-devel vim sshpass lrzsz readline-devel
软件依赖包功能说明:

第二个历程:下载jumpserver
进行jumpserver软件包的下载默认将此软件包放到opt目录中,可以根据需求进行变更
cd /opt git clone https://github.com/jumpserver/jumpserver.git
说明:如果从github上下载克隆jumpserver软件比较慢,可以利用下面的方法,从国内的github上进行下载软件 # 从国内的github上进行软件的下载:如下所示
[root@jumpserver ~]# cd /opt/
[root@jumpserver opt]# ll
total 0
[root@jumpserver opt]#
[root@jumpserver opt]#
[root@jumpserver opt]# git clone https://git.coding.net/jumpserver/jumpserver.git
说明:原则上如果网络条件好,可以从github上进行下载,github上是最新的,但conding上也会进行实时更新
第三个历程:更新pip源并且执行安装脚本
自己创建更新的pip源文件
[root@jumpserver .pip]# pwd
/root/.pip
[root@jumpserver .pip]# cat pip.conf
[global]
index-url=http:/mirrors.aliyun.com/pypi/simple/
[install]
trusted-host=mirrors.aliyun.com
[root@jumpserver .pip]#
执行脚本
cd jumpserver/install && pip install ‐r requirements.txt
查看安装
[root@localhost install]# pip freeze
ansible==1.9.4
backports-abc==0.5
backports.ssl-match-hostname==3.5.0.1
certifi==2019.11.28
configobj==4.7.2
decorator==3.4.0
Django==1.6
django-bootstrap-form==3.2
django-crontab==0.6.0
ecdsa==0.13
iniparse==0.4
ipaddress==1.0.16
Jinja2==2.11.1
MarkupSafe==1.1.1
MySQL-python==1.2.5
paramiko==1.16.0
passlib==1.6.5
perf==0.1
psutil==3.3.0
pycrypto==2.6.1
pycurl==7.19.0
pygobject==3.22.0
pygpgme==0.3
pyinotify==0.9.6
pyliblzma==0.5.3
python-linux-procfs==0.4.9
pyudev==0.15
pyxattr==0.5.1
PyYAML==5.3
schedutils==0.4
singledispatch==3.4.0.3
six==1.14.0
slip==0.4.0
slip.dbus==0.4.0
tornado==4.3
urlgrabber==3.10
xlrd==0.9.4
XlsxWriter==0.7.7
yum-metadata-parser==1.1.4
执行初始化设置
[root@localhost install]# python install.py
请务必先查看wiki https://github.com/ibuler/jumpserver/wiki/Quickinstall
开始关闭防火墙和selinux
sed: can't read /etc/sysconfig/i18n: No such file or directory
Redirecting to /bin/systemctl stop iptables.service
Failed to stop iptables.service: Unit iptables.service not loaded.

请输入您服务器的IP地址,用户浏览器可以访问 [10.0.0.62]:
数据库需要自己下载:
[root@localhost ~]# yum  install -y  mariadb-server
[root@localhost ~]# systemctl   start  mariadb
[root@localhost ~]# systemctl  status  mariadb
是否安装新的MySQL服务器? (y/n) [y]: y
开始安装设置mysql (请手动设置mysql安全)
默认用户名: jumpserver 默认密码: 5Lov@wife
Loaded plugins: fastestmirror
Loading mirror speeds from cached hostfile
 * base: mirrors.aliyun.com
 * extras: mirrors.aliyun.com
 * updates: mirrors.aliyun.com
No package mysql-server available.
Error: Nothing to do
Redirecting to /bin/systemctl start mysqld.service
Failed to start mysqld.service: Unit not found.
出现连接成功就可以了
连接数据库成功
请输入SMTP地址: smtp.163.com
请输入SMTP端口 [25]:
请输入账户: 17695691664@163.com
请输入密码: liushiya111

	请登陆邮箱查收邮件, 然后确认是否继续安装
是否继续? (y/n) [y]: y
开始写入配置文件
开始安装Jumpserver, 要求环境为 CentOS 6.5 x86_64
开始更新jumpserver
Creating tables ...
Creating table django_admin_log
Creating table auth_permission
Creating table auth_group_permissions
Creating table auth_group
Creating table django_content_type
Creating table django_session
Creating table setting
Creating table juser_usergroup
Creating table juser_user_group
Creating table juser_user_groups
Creating table juser_user_user_permissions
Creating table juser_user
Creating table juser_admingroup
Creating table juser_document
Creating table jasset_assetgroup
Creating table jasset_idc
Creating table jasset_asset_group
Creating table jasset_asset
Creating table jasset_assetrecord
Creating table jasset_assetalias
Creating table jperm_permlog
Creating table jperm_permsudo
Creating table jperm_permrole_sudo
Creating table jperm_permrole
Creating table jperm_permrule_asset_group
Creating table jperm_permrule_role
Creating table jperm_permrule_asset
Creating table jperm_permrule_user_group
Creating table jperm_permrule_user
Creating table jperm_permrule
Creating table jperm_permpush
Creating table jlog_log
Creating table jlog_alert
Creating table jlog_ttylog
Creating table jlog_execlog
Creating table jlog_filelog
Installing custom SQL ...
Installing indexes ...
Installed 0 object(s) from 0 fixture(s)

请输入管理员用户名 [admin]: admin
请输入管理员密码: [5Lov@wife]: admin
请再次输入管理员密码: [5Lov@wife]: admin
Starting jumpsever service:manage.py not running
run_websocket.py not running
                                                           [FAILED]

安装成功,请访问web, 祝你使用愉快。
请访问 https://github.com/ibuler/jumpserver 查看文档
[root@localhost install]# cd ..
[root@localhost jumpserver]#
[root@localhost jumpserver]#
执行到这里时,需要退回上一级目录
启动服务
[root@localhost jumpserver]# ./service.sh  start
Starting jumpsever service:                                [  OK  ]
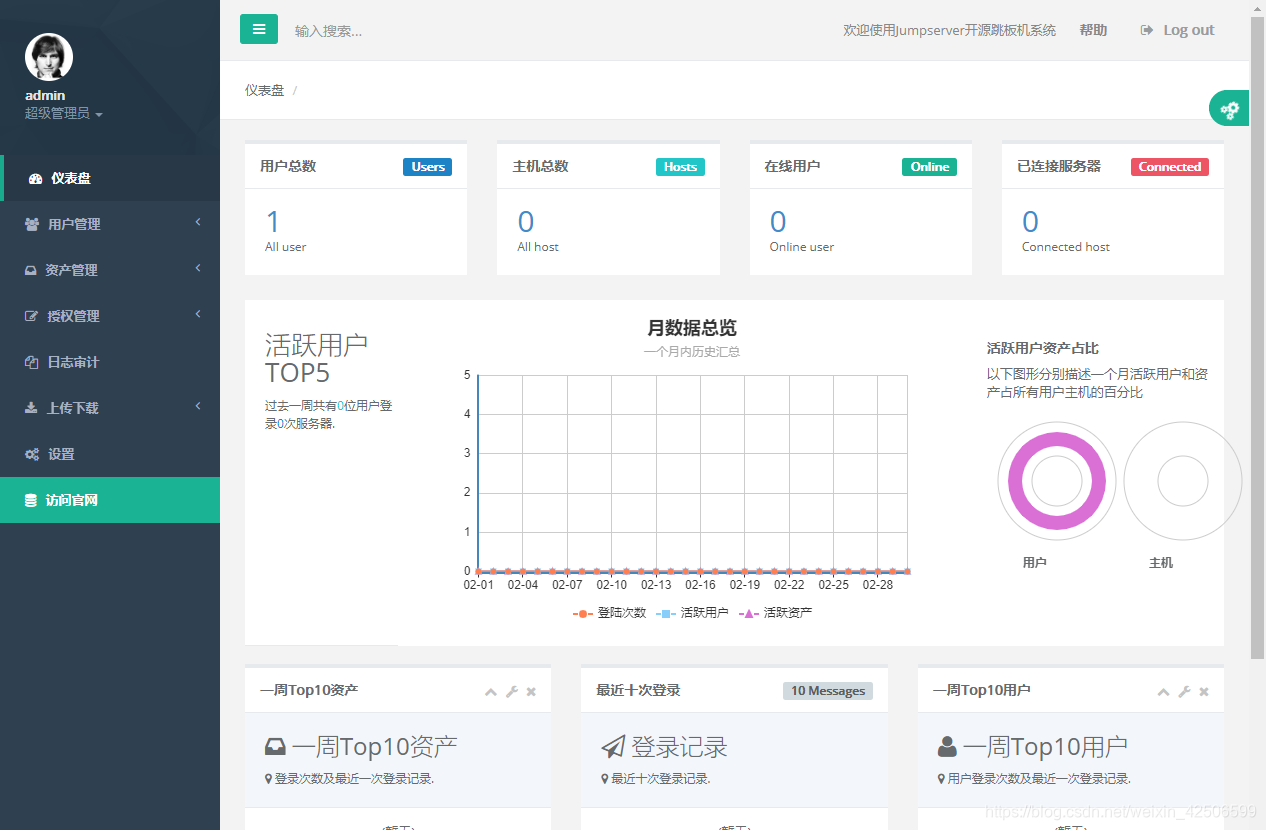
可以登录了: