$nbsp 小谷刚开始学习vue,可以说是完全不懂了。想要实现h5中的跳转,都成了是头疼的事,进过查资料,得出以下总结,希望能对大家有用,也是对知识的记载。
1.最简单的路由跳转方式。
<router-link to="/home">我的订单</router-link>
这种方法也是小谷最早实现的。
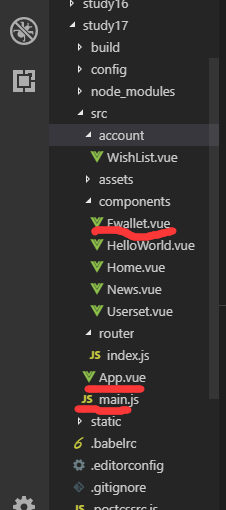
1.首先给大家看下我的目录(创建项目的时候已经默认安装的了router,如果没有安装的大家百度回来再看)
2.在main.js配置。
// The Vue build version to load with the `import` command
// (runtime-only or standalone) has been set in webpack.base.conf with an alias.
import Vue from 'vue'
import App from './App'

//导入并使用
import VueRouter from 'vue-router'
import ElementUI from 'element-ui'//这个无所谓
   import 'element-ui/lib/theme-chalk/index.css'
   Vue.use(ElementUI)

Vue.use(VueRouter)

Vue.config.productionTip = false

//1.创建组件
import Home from './components/Home.vue';
import News from './components/News.vue';
import Ewallet from './components/Ewallet.vue';
import Userset from './components/Userset.vue'

//2.配置路由  注意,名字一定不能错
const routes = [    //若这里是 xxx,那么第25行应是 routers:xxx
  { path: '/home', component: Home },
  { path: '/news', component: News },
  { path: '/ewallet', component: Ewallet },
  { path: '/userset', component: Userset},
  { path: '*', redirect: '/ewallet' }//默认跳转路由

]

//3.实例化VueRouter  注意,名字一定不能错
const router = new VueRouter({
  routes // (缩写)相当于 routes: routes
})

//4.挂载路由

/* eslint-disable no-new */
new Vue({
  el: '#app',
  router,
  components: { App },
  template: '<App/>'
})

//5.根组件的模板里放上这句话  <router-view></router-view>
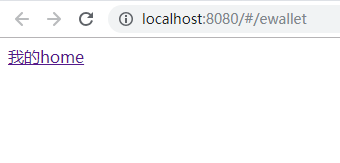
3.Ewallet.vue中添加<router-link to="/home">我的home</router-link>
<template>
  <div id="app-content">
          <router-link to="/home">我的home</router-link>

  </div>
</template>

<script>

</script>

<!-- Add "scoped" attribute to limit CSS to this component only -->
<style scoped>

</style>
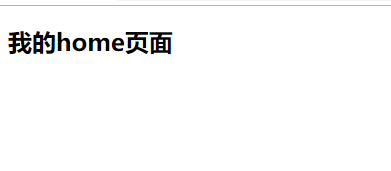
3.这里用Home.vue演示,就将路由跳转,如果你想在Home.vue再跳出来,就在这里面添加
<template>
  <div class="home">
    <h1>{{ msg }}</h1>
    <h2>Essential Links</h2>

  </div>
</template>

<script>
export default {
  name: 'HelloWorld',
  data () {
    return {
      msg: 'Welcome to Your Vue.js App'
    }
  }
}
</script>

<!-- Add "scoped" attribute to limit CSS to this component only -->
<style>

</style>
点击前
点击后