第一步:
<!-- mybatis启动器   自动包含jdbc所以不需要再次引入jdbc依赖  -->
<dependency>
    <groupId>org.mybatis.spring.boot</groupId>
    <artifactId>mybatis-spring-boot-starter</artifactId>
    <version>1.3.2</version>
</dependency>
第二步: 在yml文件中进行配置
#配置mybatis相关路径  在resources文件夹中创建mybatis文件夹以及
mybatis:
## #映射配置文件路径 mapper-locations: classpath:mybatis/mapper/*.xml
<?xml version="1.0" encoding="UTF-8" ?>
<!DOCTYPE mapper
        PUBLIC "-//mybatis.org//DTD Mapper 3.0//EN"
        "http://mybatis.org/dtd/mybatis-3-mapper.dtd">

<mapper namespace="com.tiangong.spring_boot_test.mapper.UserMapper">

    <select id="getUserByUsername" resultType="com.tiangong.spring_boot_10_bill.entities.User">
        <!--upper:将英文转化为大写进行校验-->
        select * from `user` where upper(username)= upper (#{username})
    </select>

    <select id="getUsers" resultType="com.tiangong.spring_boot_10_bill.entities.User">
        select * from `user` where  1=1
          <if test="username != null and username != ''">
              and username like '%${username}%'
          </if>
    </select>
</mapper>
##  #核心配置文件路径
   config-location: classpath:mybatis/mybatis-config.xml
mybatis-config.xml 文件见一下内容
<?xml version="1.0" encoding="UTF-8" ?>
<!DOCTYPE configuration
        PUBLIC "-//mybatis.org//DTD Config 3.0//EN"
        "http://mybatis.org/dtd/mybatis-3-config.dtd">

<configuration>
<!--    核心配置文件-->
    <settings>
    <!--开启驼峰命名规则-->
        <setting name="mapUnderscoreToCamelCase" value="true"/>
    </settings>
</configuration>
第三步:
在main方法中加入mapper扫描
import org.mybatis.spring.annotation.MapperScan;
import org.springframework.boot.SpringApplication;
import org.springframework.boot.autoconfigure.SpringBootApplication;

@MapperScan("com.tiangong.spring_boot_test.mapper")
@SpringBootApplication
public class SpringBoot10BillApplication {

    public static void main(String[] args) {
        SpringApplication.run(SpringBoot10BillApplication.class, args);
    }


}
用@Mapper 或者使用 @MapperScan("com.tiangong.spring_boot_test.mapper")
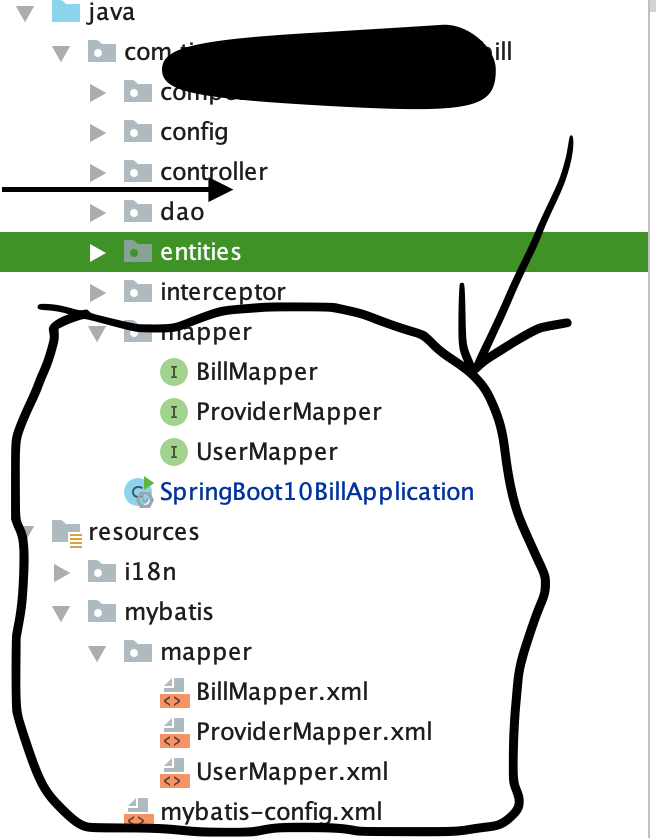
使用后者的话不用每次都使用mapper进行注解 mapper创建位置见下图