1.standard
这是默认模式,每次激活Activity时都会创建Activity实例,并放入任务栈中.
2.singleTop
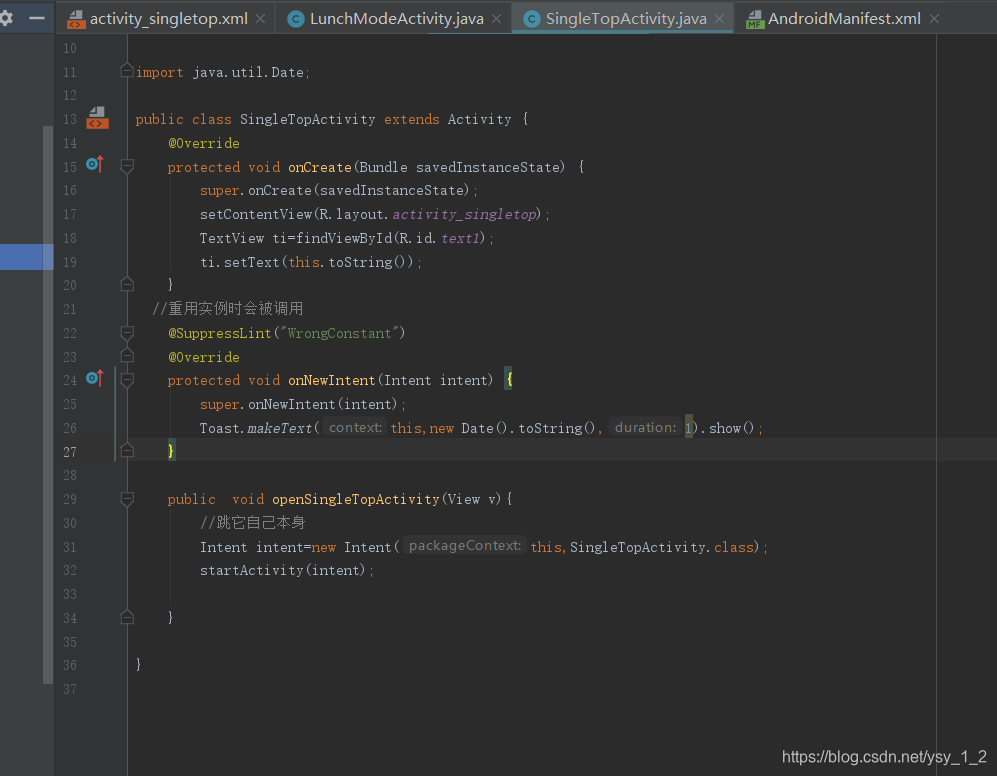
如果任务的栈顶正好存在该Activity的实例,就重用该实例(会调用实例的 onNewIntent()),否则就会创建实例并放入栈顶(即使栈中已经存在该Activity的实例,只要不在栈顶,都会创建实例).
3.singleTask
如果在栈中已经有该Activity实例,就重用该实例的onNewIntent().重用时,会让该实例回到栈顶,因此在它上面的实例将会被移除栈,如果栈中不存在该实例,将会创建新的实例放入栈中.
4.singleInstance
在一个新的栈中创建该Activity的实例,并让多个应用共享该栈中的该Activity实例,一旦该模式的Activity的实例已经存在某个栈中,任何应用在激活Activity时都会重用该栈中的实例(会调用实例的onNewIntent()其效果相当于多个应用共享一个应用,不管谁激活Activity都会进入同一个应用.)
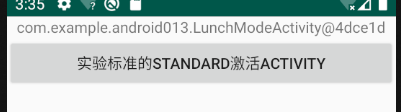
1.standard模式
每次点击会创建新的栈,返回的话会返回上一个栈.
AndroidManifest.xml
<?xml version="1.0" encoding="utf-8"?>
<manifest xmlns:android="http://schemas.android.com/apk/res/android"
    package="com.example.android013">

    <application
        android:allowBackup="true"
        android:icon="@mipmap/ic_launcher"
        android:label="@string/app_name"
        android:roundIcon="@mipmap/ic_launcher_round"
        android:supportsRtl="true"
        android:theme="@style/AppTheme">

        <activity android:name=".LunchModeActivity"
            android:launchMode="standard">

            <intent-filter>
                <action android:name="android.intent.action.MAIN" />

                <category android:name="android.intent.category.LAUNCHER" />
            </intent-filter>
        </activity>
    </application>

</manifest>
activity_lanchmode.xml
<?xml version="1.0" encoding="utf-8"?>
<LinearLayout xmlns:android="http://schemas.android.com/apk/res/android"
xmlns:app="http://schemas.android.com/apk/res-auto"
xmlns:tools="http://schemas.android.com/tools"
android:layout_width="match_parent"
android:layout_height="match_parent"
tools:context=".MainActivity"
android:orientation="vertical">
<TextView
android:id="@+id/text1"
android:layout_width="wrap_content"
android:layout_height="wrap_content"
android:text=""
android:layout_gravity="center"/>
<Button
android:layout_width="match_parent"
android:layout_height="wrap_content"
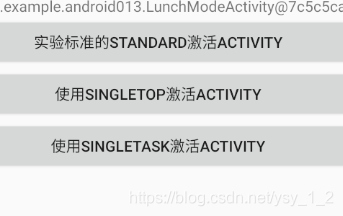
android:text="实验标准的standard激活Activity"
android:onClick="openStandardActivity"
tools:ignore="OnClick" />
</LinearLayout>
LunchModeActivtiy
package com.example.android013;

import android.app.Activity;
import android.content.Intent;
import android.os.Bundle;
import android.view.View;
import android.widget.TextView;

public class LunchModeActivity  extends Activity {
    @Override
    protected void onCreate(Bundle savedInstanceState) {
        super.onCreate(savedInstanceState);
        setContentView(R.layout.activity_lanchmode);
        TextView ti=findViewById(R.id.text1);
        ti.setText(this.toString());
    }
    public  void openStandardActivity(View v){
        //跳它自己本身
        Intent intent=new Intent(this,LunchModeActivity.class);
        startActivity(intent);

    }

}
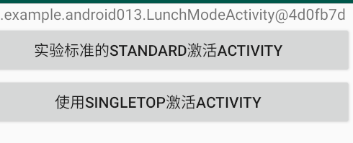
2.singleTop模式
先把LunchModeActivtiy放在栈顶,当打开下一个SingleTopActivity时会生成一个实例,往栈里面加,只有一个实例,如果说不在栈顶,会重新创建.点返回会返回栈顶.
LunchModeActivtiy
package com.example.android013;

import android.app.Activity;
import android.content.Intent;
import android.os.Bundle;
import android.view.View;
import android.widget.TextView;

public class LunchModeActivity  extends Activity {
    @Override
    protected void onCreate(Bundle savedInstanceState) {
        super.onCreate(savedInstanceState);
        setContentView(R.layout.activity_lanchmode);
        TextView ti=findViewById(R.id.text1);
        ti.setText(this.toString());
    }
    public  void openStandardActivity(View v){
        //跳它自己本身
        Intent intent=new Intent(this,LunchModeActivity.class);
        startActivity(intent);

    }

    public  void openSingleTopActivity(View v){
        Intent intent=new Intent(this,SingleTopActivity.class);
        startActivity(intent);

    }


}
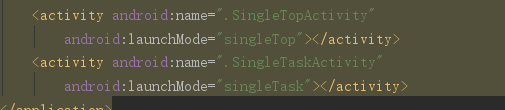
在AndroidManifest里面注册

SingleTopActivity

3.SingleTask模式
打开LunchModeActivity打开进入singleTask返回LunchModeActivity,在点击又进入singleTask,只有一个口,栈只能先进后出,
在AndroidManifest里注册
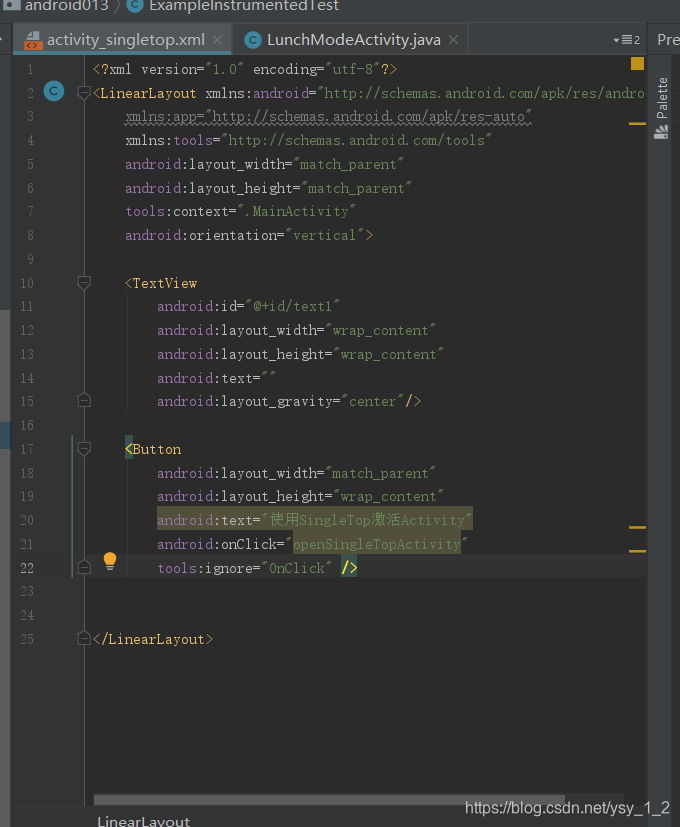
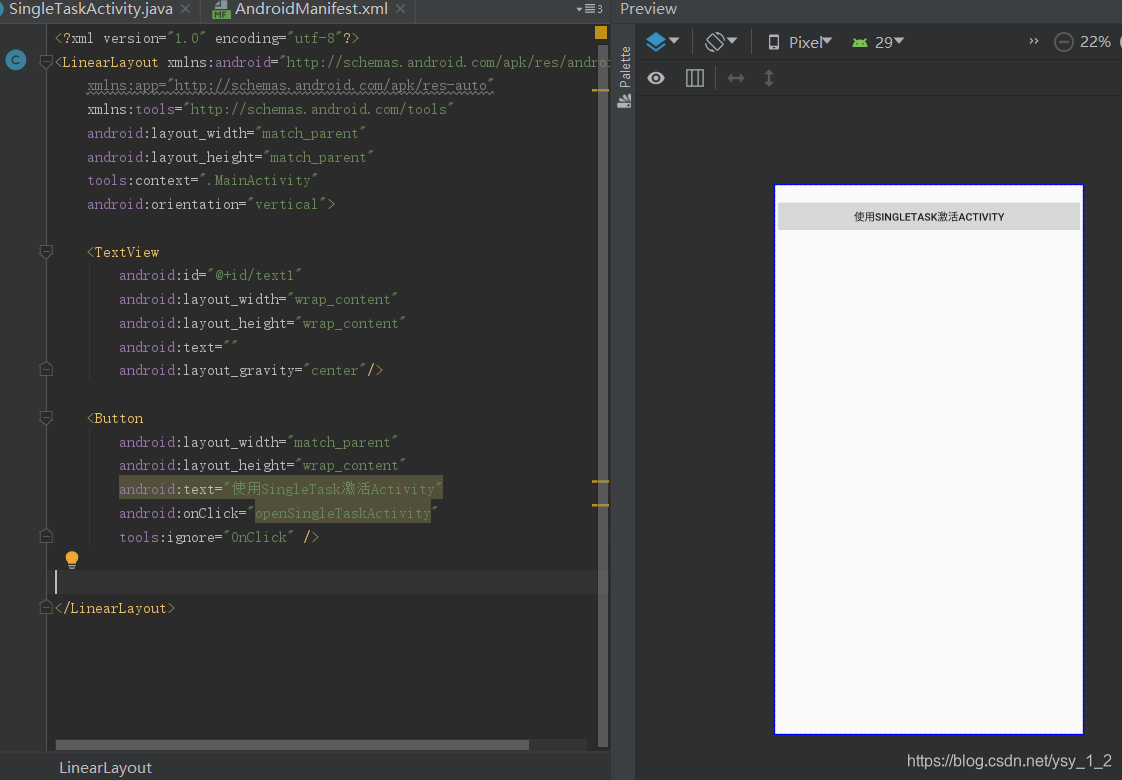
新建一个布局
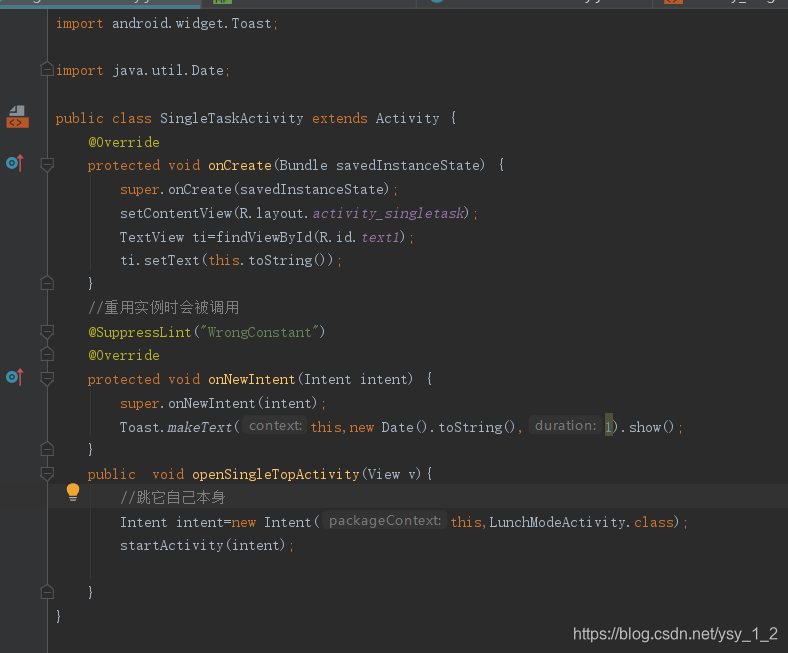
SingleTaskActivity
4.singleInstance
浏览器,多个app可以访问,只有有人访问就用有的,不用重新创建新的
用a打开SingleInstance回到桌面打开另一个SingleInstance,会的到一样的值.

