今天用空在学习SpringBoot框架,对照着资料在自己电脑上搭建第一个hellow
首先第一步新建一个maven项目,本人使用的是Myeclipse,右键new-->other-->MavenProject
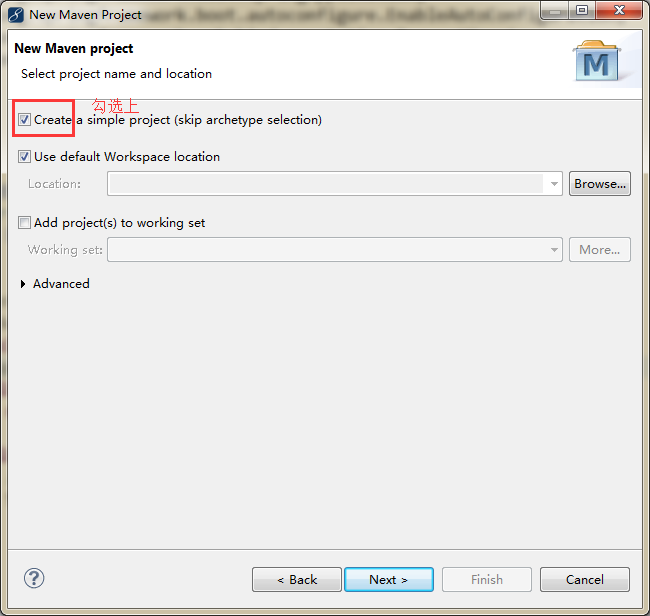
选择下一步,
新建Maven项目后的结构是:
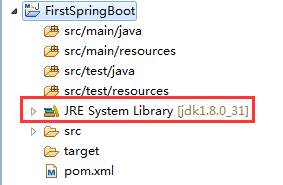
这里要注意下,SpringBoot只支持JDK1.7以上。之后再来配置pm.xml里面的配置文件
<project xmlns="http://maven.apache.org/POM/4.0.0" xmlns:xsi="http://www.w3.org/2001/XMLSchema-instance" xsi:schemaLocation="http://maven.apache.org/POM/4.0.0 http://maven.apache.org/xsd/maven-4.0.0.xsd">
<modelVersion>4.0.0</modelVersion>
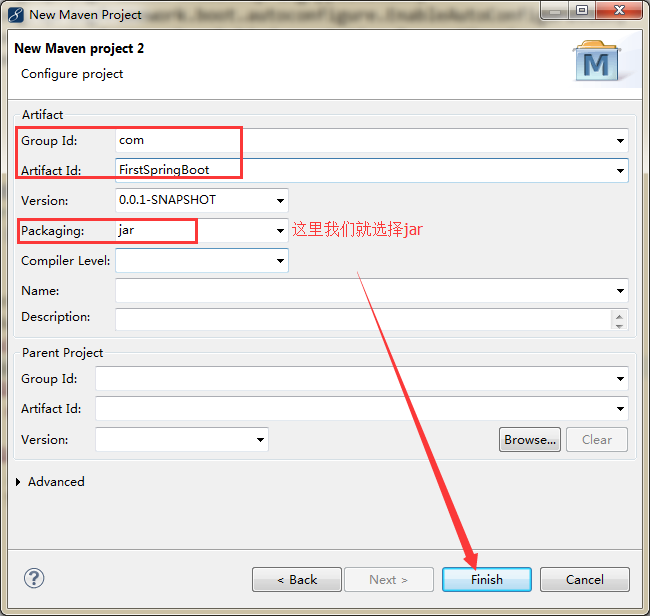
<groupId>com</groupId>
<artifactId>FirstSpringBoot</artifactId>
<version>0.0.1-SNAPSHOT</version>
<build/>
<!-- 引入继承SpringBoot,实现jar的依赖管理 -->
<parent>
<groupId>org.springframework.boot</groupId>
<artifactId>spring-boot-starter-parent</artifactId>
<version>1.3.3.RELEASE</version>
<relativePath/>
</parent>
<dependencies>
<!-- 引用web组件 -->
<dependency>
<groupId>org.springframework.boot</groupId>
<artifactId>spring-boot-starter-web</artifactId>
</dependency>
<dependency>
<groupId>org.springframework.boot</groupId>
<artifactId>spring-boot-starter-test</artifactId>
<scope>test</scope>
</dependency>
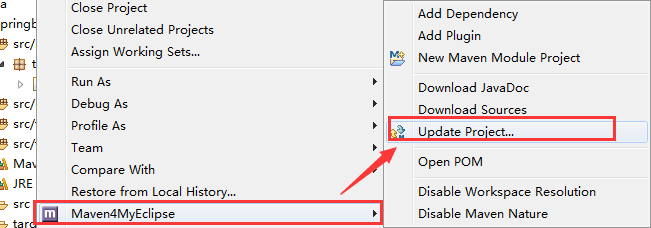
</dependencies> 到这里可能项目会有个小×,
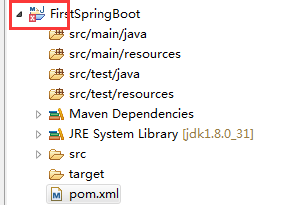
没事,把本项目update一下就好了。
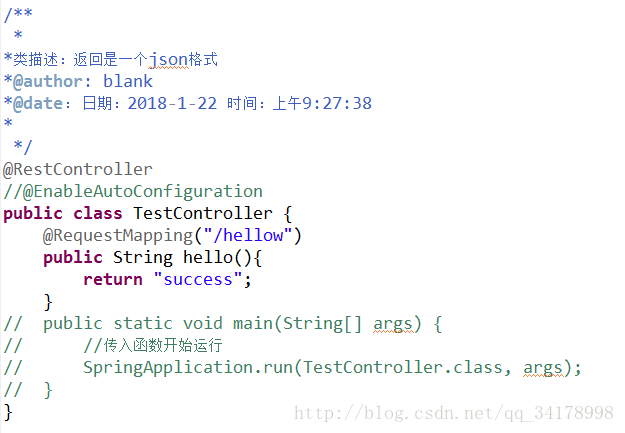
之后新建一个mian方法。
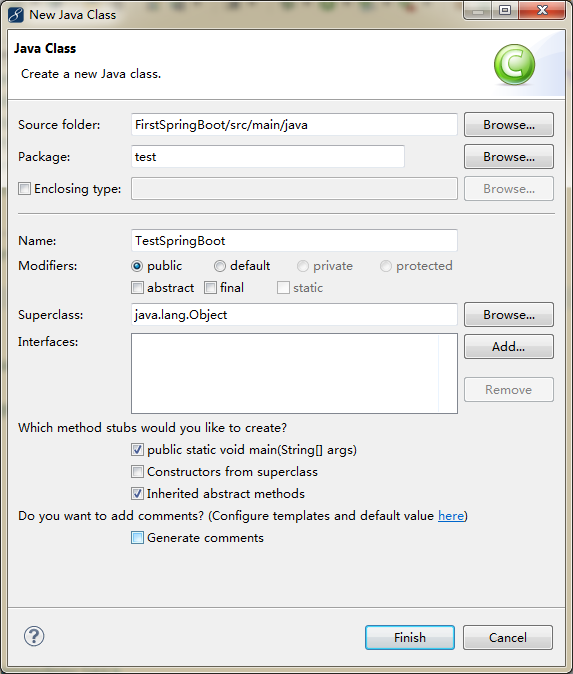
主函数的程序如下:
package test;

import org.springframework.boot.SpringApplication;
import org.springframework.boot.autoconfigure.EnableAutoConfiguration;
import org.springframework.web.bind.annotation.RequestMapping;
import org.springframework.web.bind.annotation.RestController;

@RestController
@EnableAutoConfiguration
public class TestSpringBoot {

	@RequestMapping("/hellow")
	public String hello(){
		return "success";
	}
	public static void main(String[] args) {
		//传入函数开始运行
		SpringApplication.run(TestSpringBoot.class, args);

	}

}
最后直接右键运行;

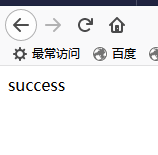
启动成功后,控制台,我们直接打开浏览器,输入:http://localhost:8080/hellow 回车直接运行:
补充:当运行两个的时候,先后启动就会报错,因为一次只能运行一个,不然会显示端口号被占用。接下来就要先一个用来公共管理的主程序。

在App.class中
package app;

import org.springframework.boot.SpringApplication;
import org.springframework.boot.autoconfigure.EnableAutoConfiguration;
import org.springframework.context.annotation.ComponentScan;

//有多个项目的时候,要加入这个注解,用来扫描包
@ComponentScan(basePackages="package testcontroller")
//只能使用者一个注解
@EnableAutoConfiguration
public class App {

	public static void main(String[] args) {
		SpringApplication.run(App.class, args);
	}
}
之前的两个主程序全部都注释掉:
2、
之后运行App中的主程序即可。