首先我已经有一个配置好的springmvc环境的项目如果还没有配置请到配置SpringMVC环境
1.ModelAndView实现前后端传值
发送请求的代码:
<%@ page contentType="text/html;charset=UTF-8" language="java" %>
<html>
<body>
<h2>测试</h2>
<form action="user/demo">
    参数:<input name="name"><br>
    <input type="submit" value="提交">
</form>
</body>
</html>
接收请求的代码
package cn.msg.controller;
import org.springframework.stereotype.Controller;
import org.springframework.web.bind.annotation.RequestMapping;
import org.springframework.web.servlet.ModelAndView;

//注解刚刚已经在springmvc.xml中开启过了,现在直接使用就行
@Controller
@RequestMapping("/user")//类访问地址
public class Controller01 {
    @RequestMapping("/demo")//方法访问地址
    public  ModelAndView demo(String name){//注意 参数要与请求时input标签的name属性值相同才能接收到

        ModelAndView mv = new ModelAndView();
        mv.addObject("msg",name);
        mv.setViewName("ok");

        return mv;
    }
}

响应页面
<%--
  Created by IntelliJ IDEA.
  User: l
  Date: 2020/1/9
  Time: 10:58
  To change this template use File | Settings | File Templates.
--%>
<%@ page contentType="text/html;charset=UTF-8" language="java" isELIgnored="false" %>
<html>
<head>
    <title>Title</title>
</head>
<body>
<h1>${msg}</h1>
</body>
</html>
演示: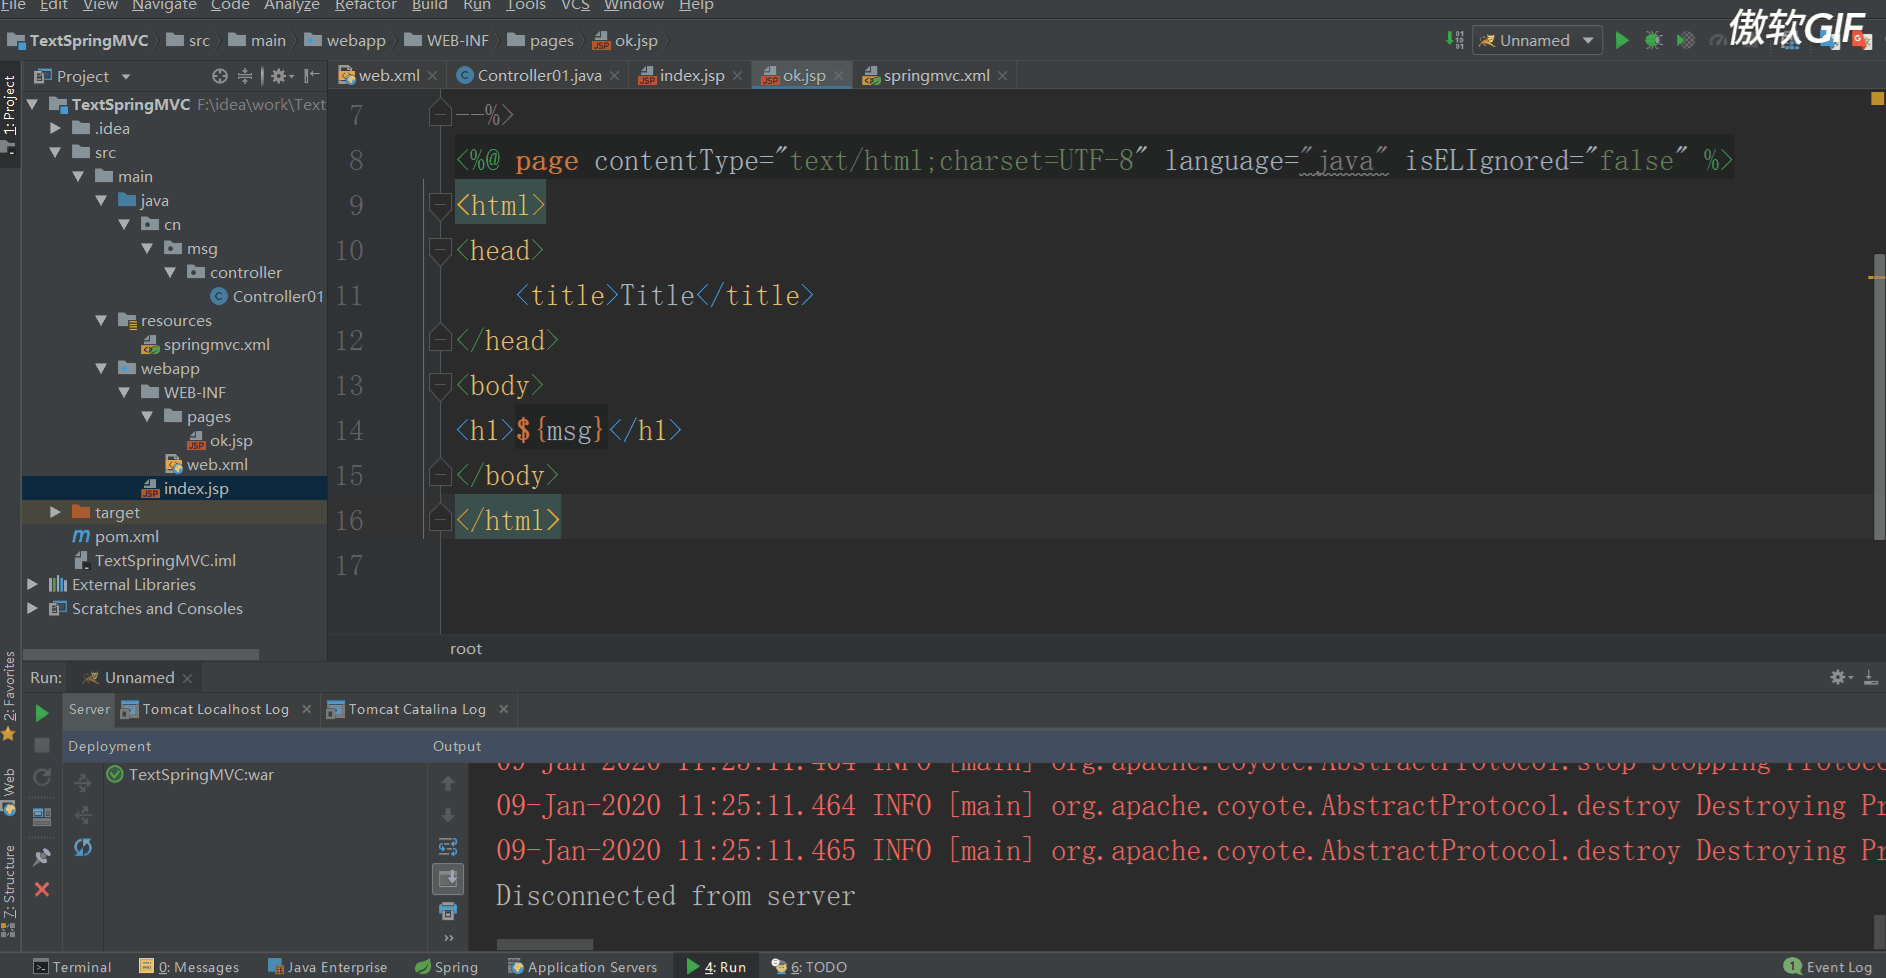
2.向后端传实体类
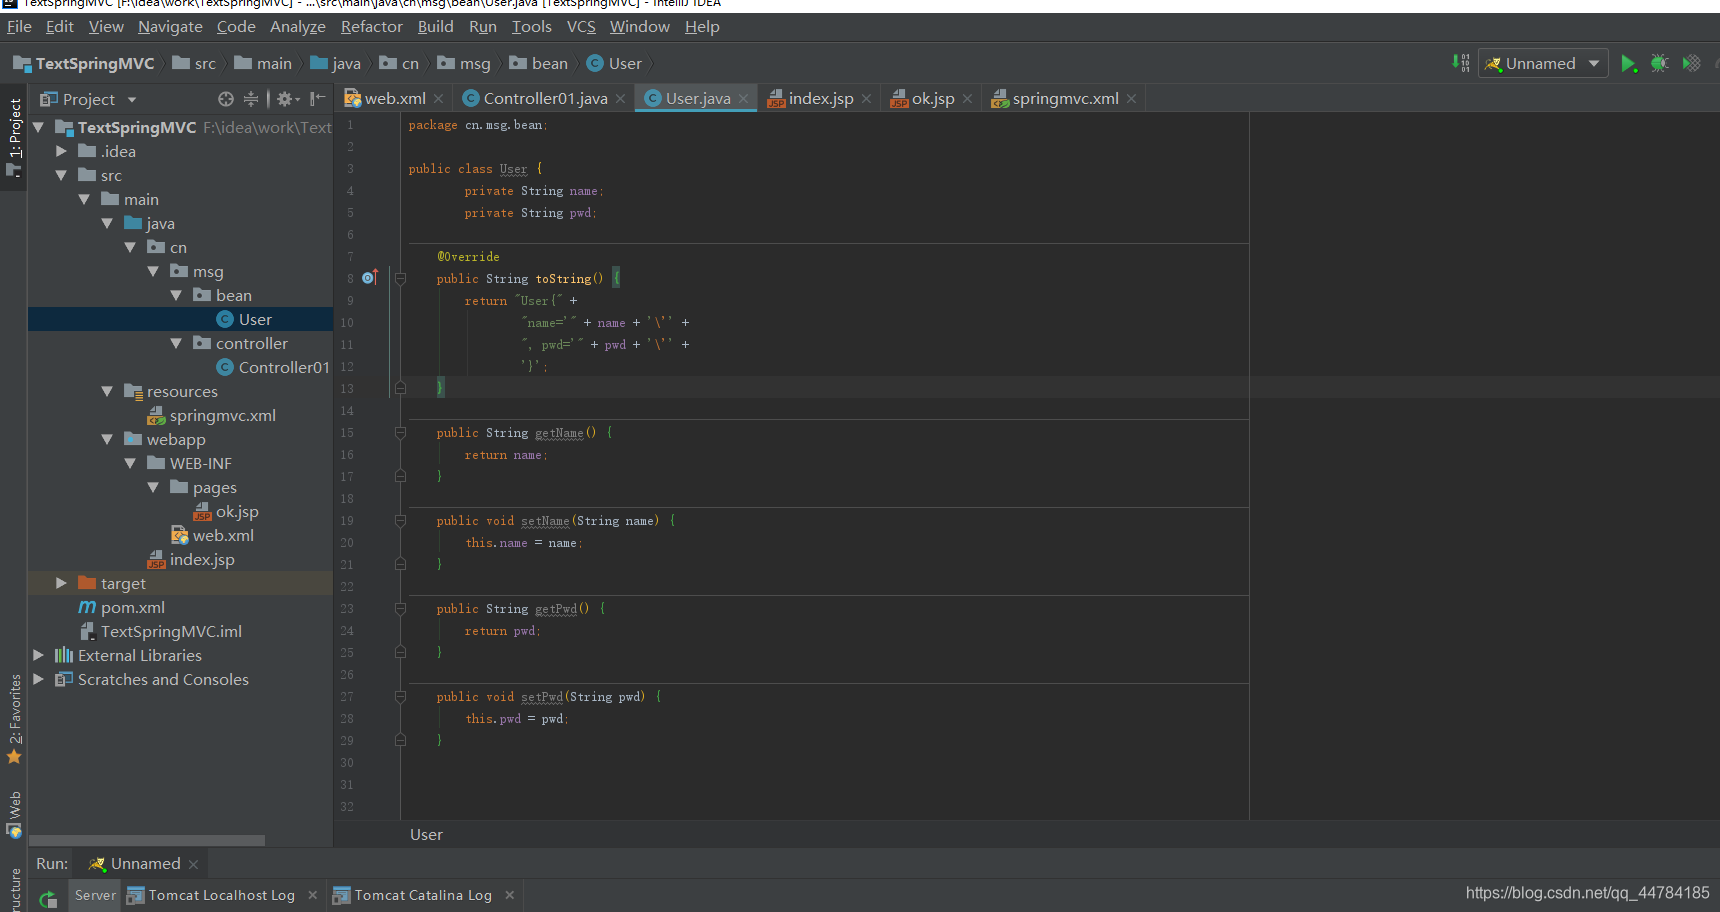
我的实体类
前端代码
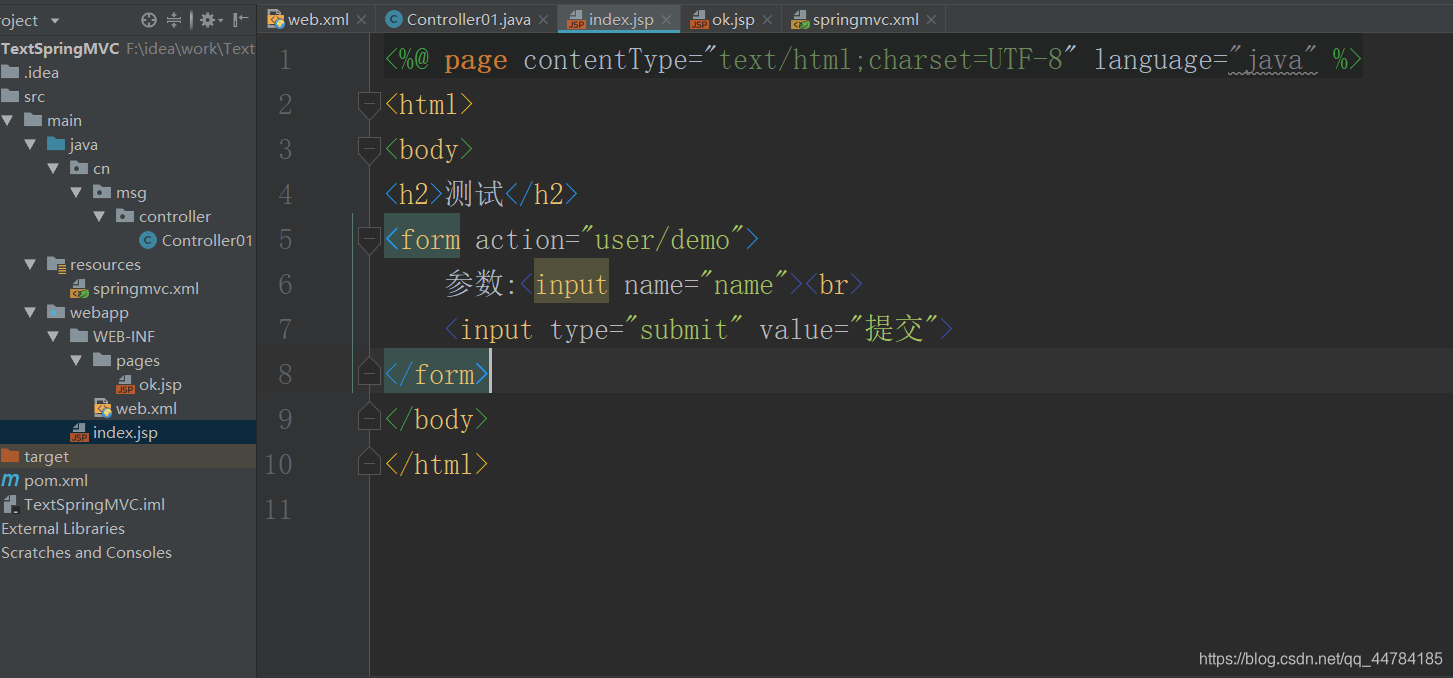
<%@ page contentType="text/html;charset=UTF-8" language="java" %>
<html>
<body>
<h2>测试</h2>
<form action="user/demo">
    姓名:<input name="name"><br>
    密码:<input name="pwd"><br>
    <input type="submit" value="提交">
</form>
</body>
</html>

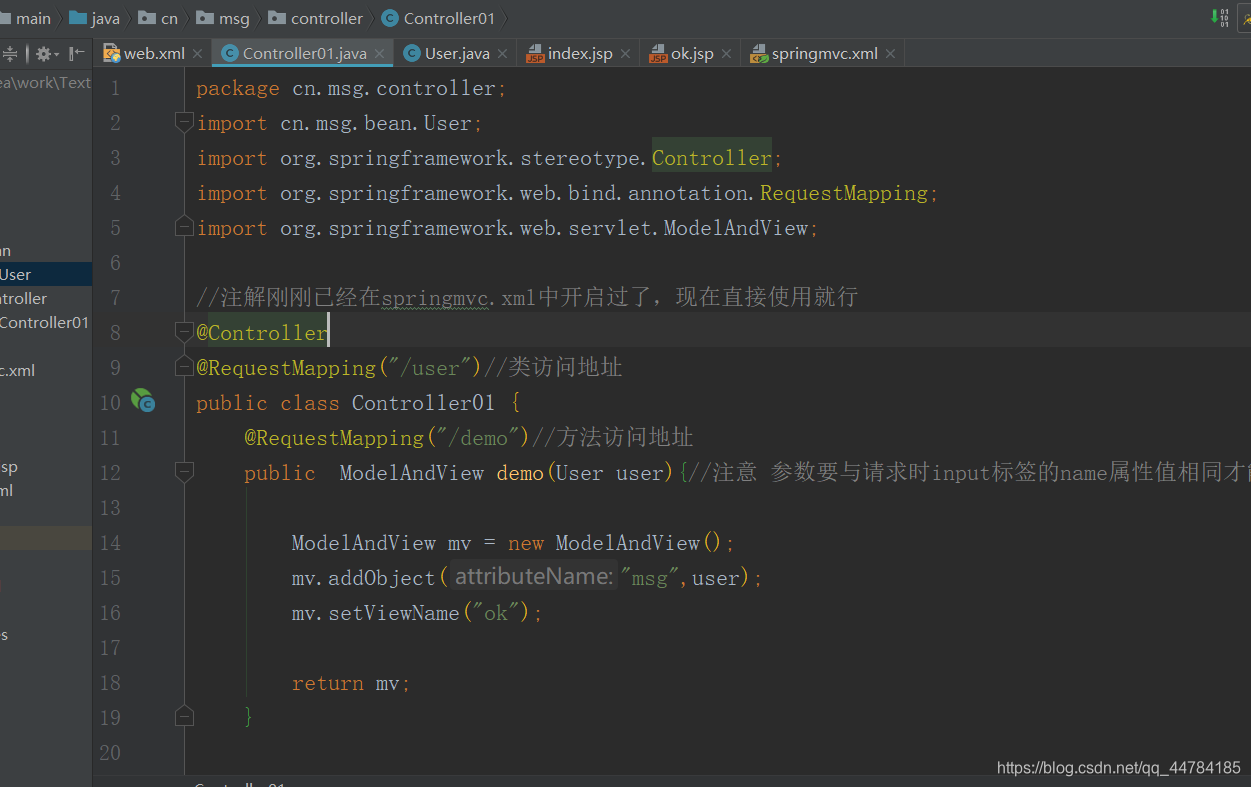
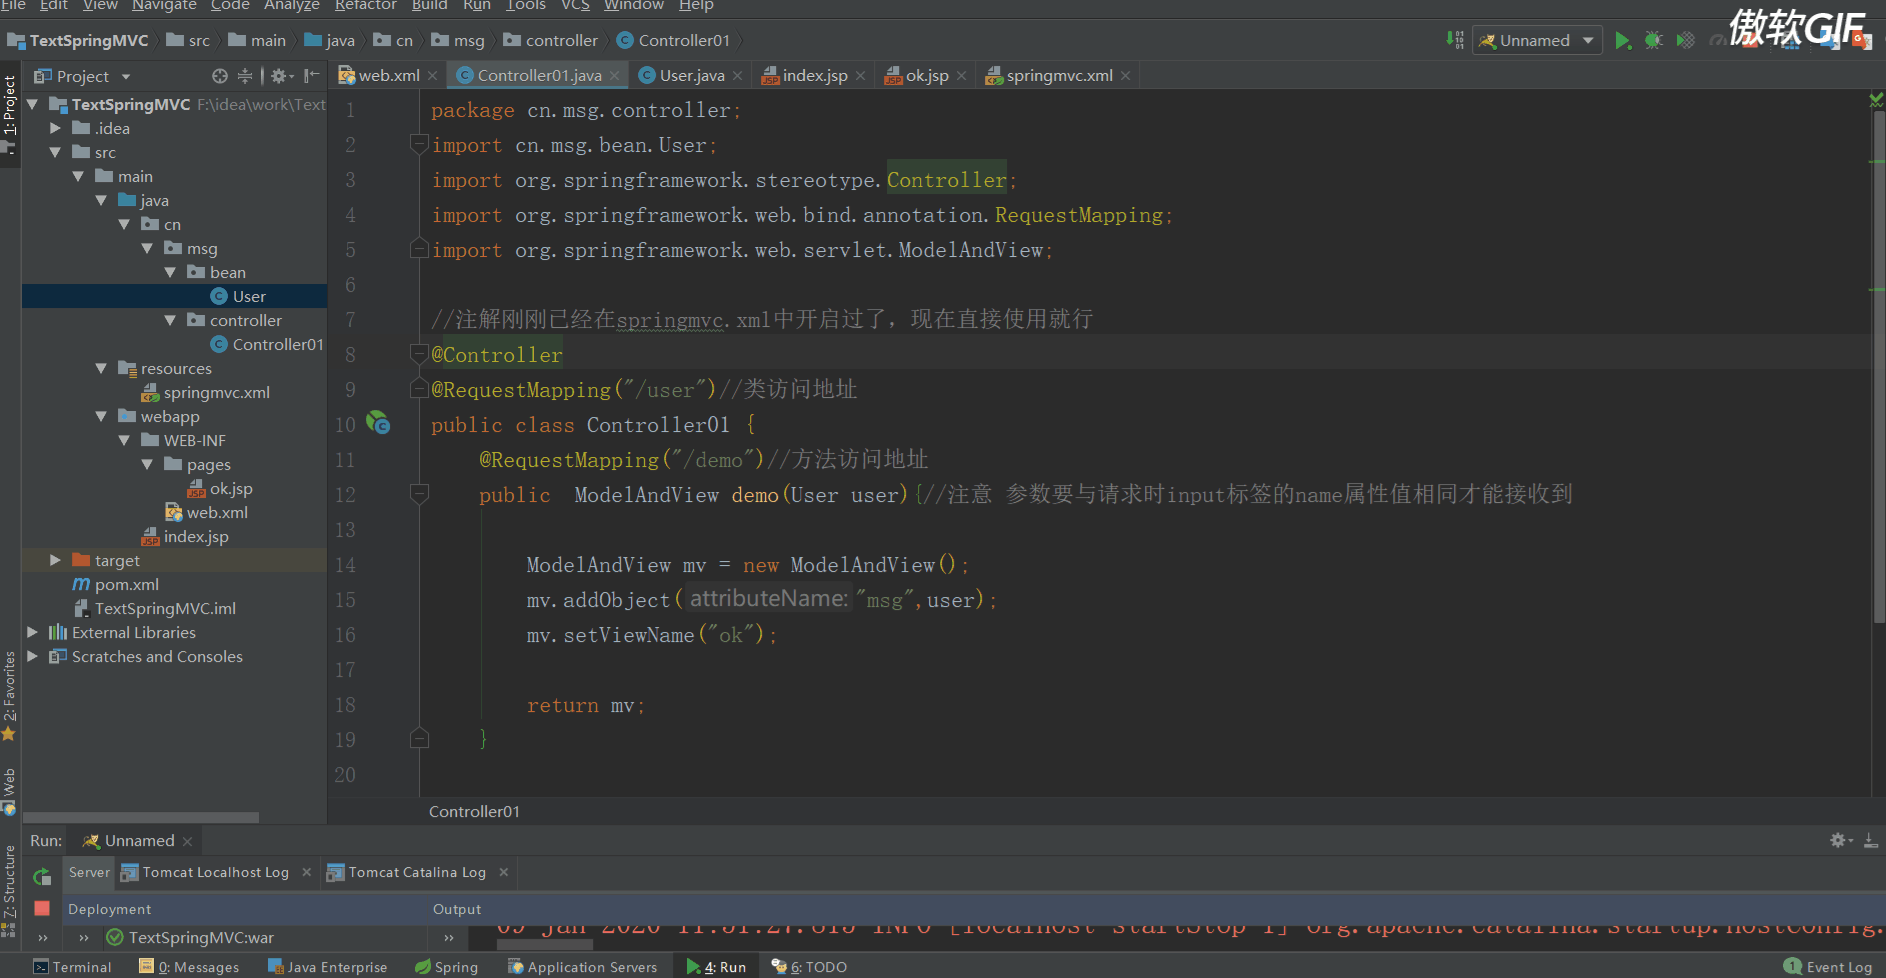
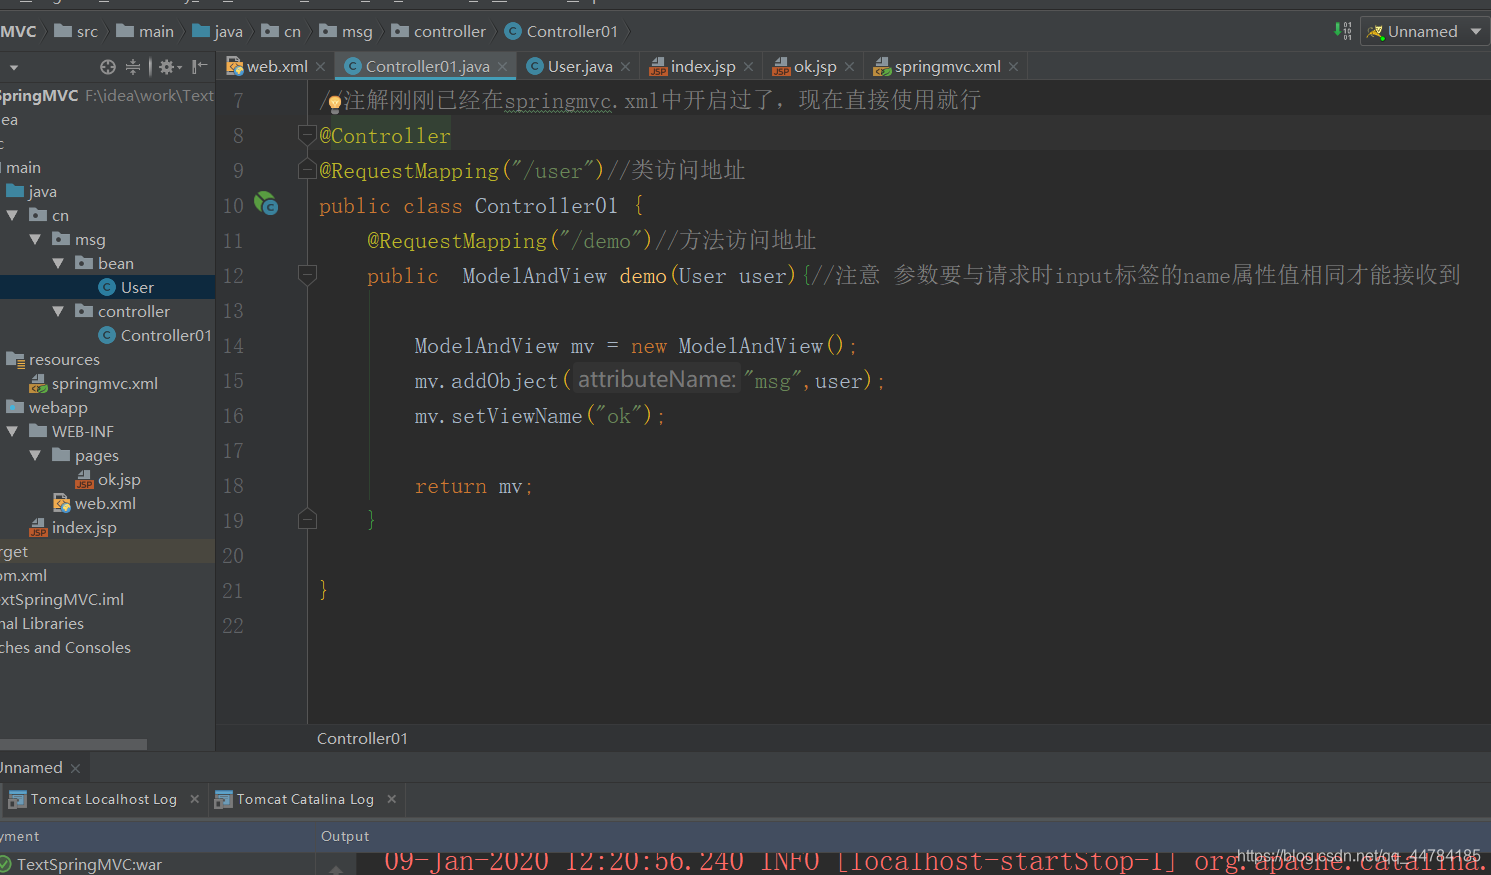
接收请求的代码
package cn.msg.controller;
import cn.msg.bean.User;
import org.springframework.stereotype.Controller;
import org.springframework.web.bind.annotation.RequestMapping;
import org.springframework.web.servlet.ModelAndView;

//注解刚刚已经在springmvc.xml中开启过了,现在直接使用就行
@Controller
@RequestMapping("/user")//类访问地址
public class Controller01 {
    @RequestMapping("/demo")//方法访问地址
    public  ModelAndView demo(User user){//注意 参数要与请求时input标签的name属性值相同才能接收到

        ModelAndView mv = new ModelAndView();
        mv.addObject("msg",user);
        mv.setViewName("ok");

        return mv;
    }

}
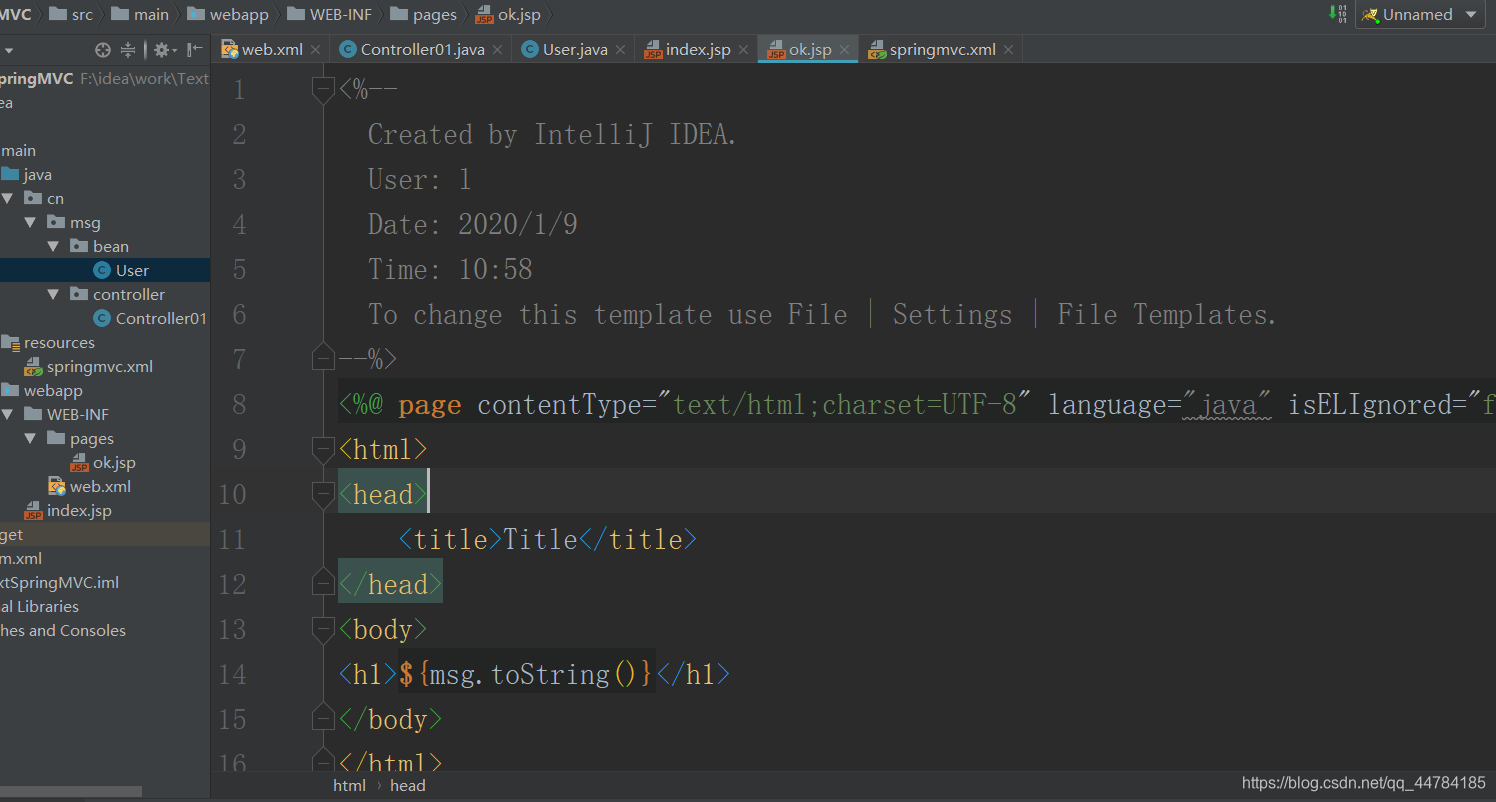
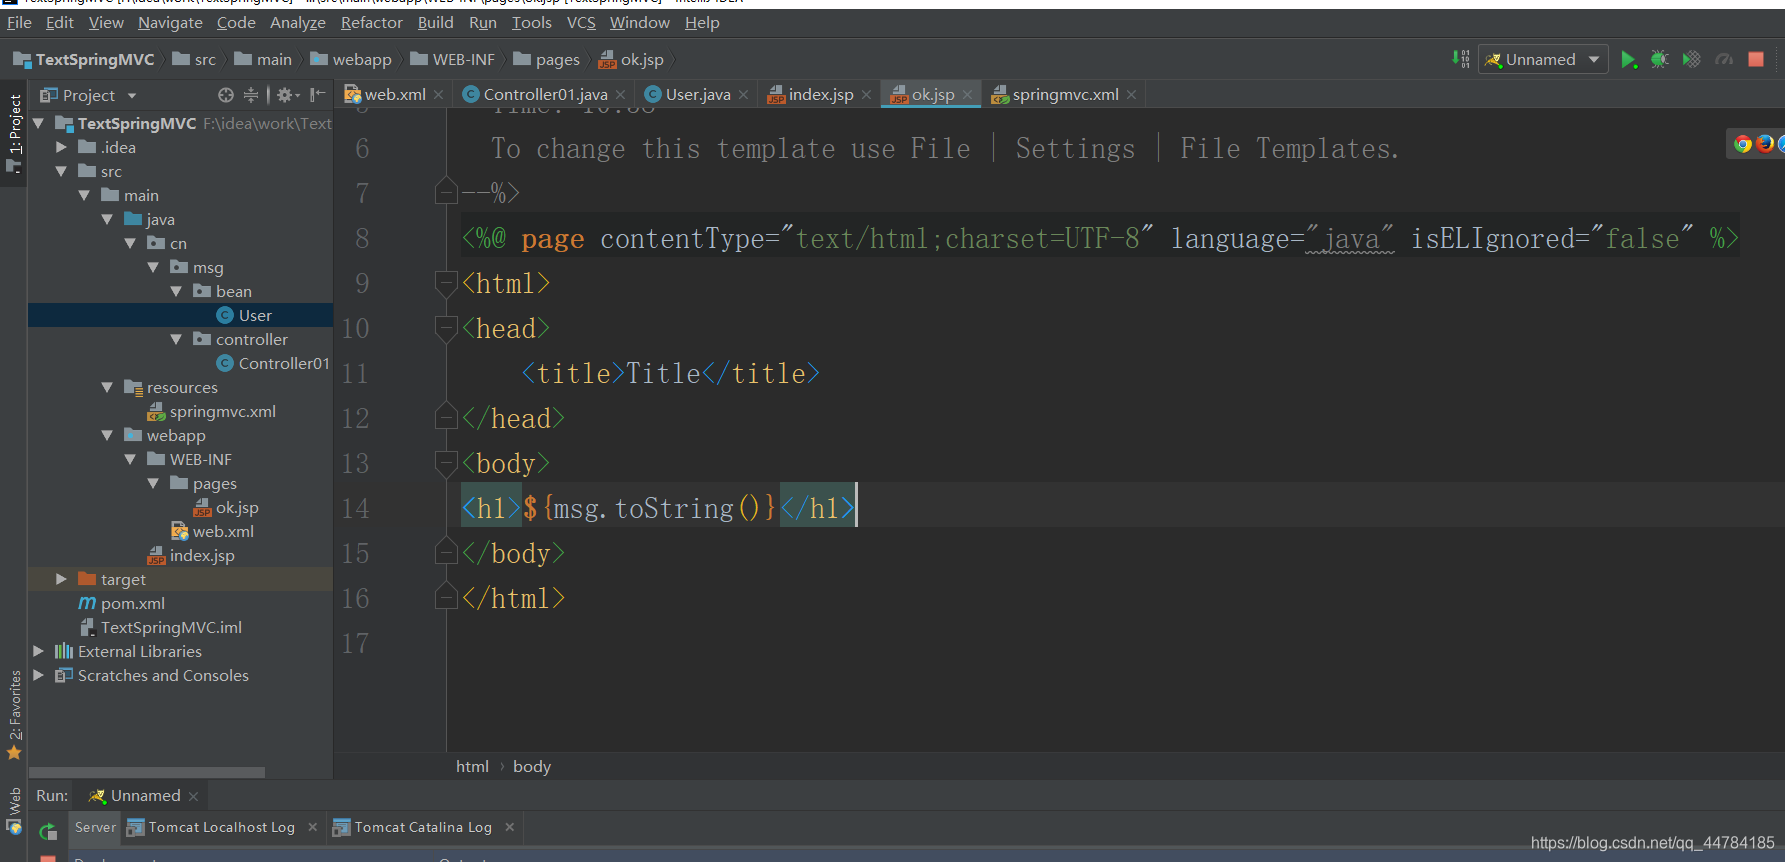
接收请求的代码
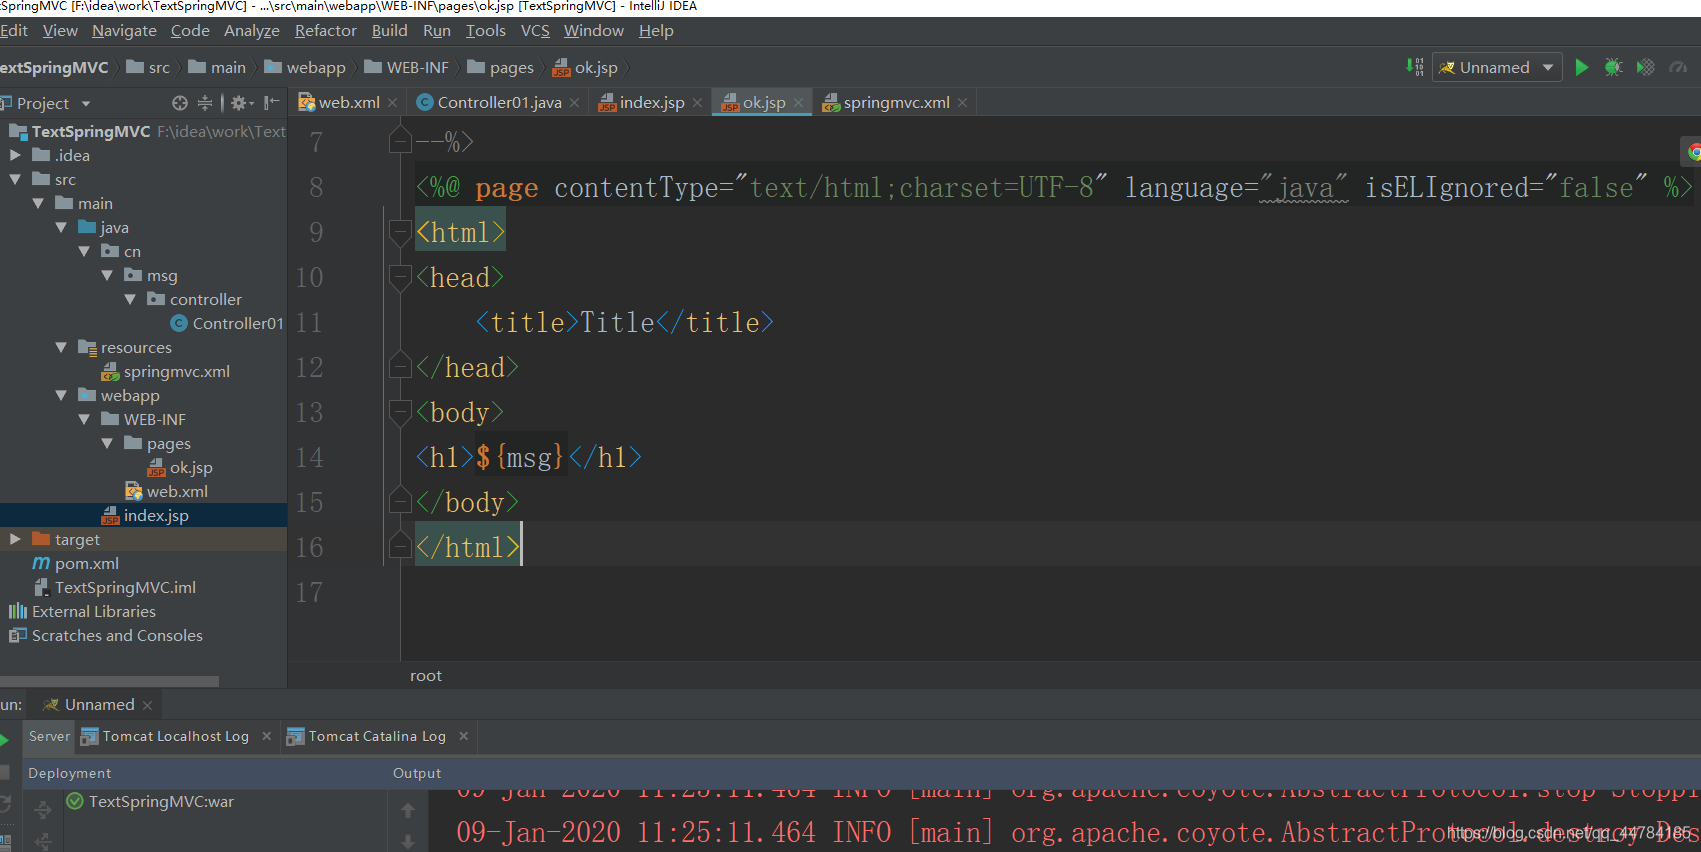
<%--
  Created by IntelliJ IDEA.
  User: l
  Date: 2020/1/9
  Time: 10:58
  To change this template use File | Settings | File Templates.
--%>
<%@ page contentType="text/html;charset=UTF-8" language="java" isELIgnored="false" %>
<html>
<head>
    <title>Title</title>
</head>
<body>
<h1>${msg.toString()}</h1>
</body>
</html>
测试
2.向后端传实体类—实体类中含有map集合和list集合
我的实体类 有get set 和toString方法

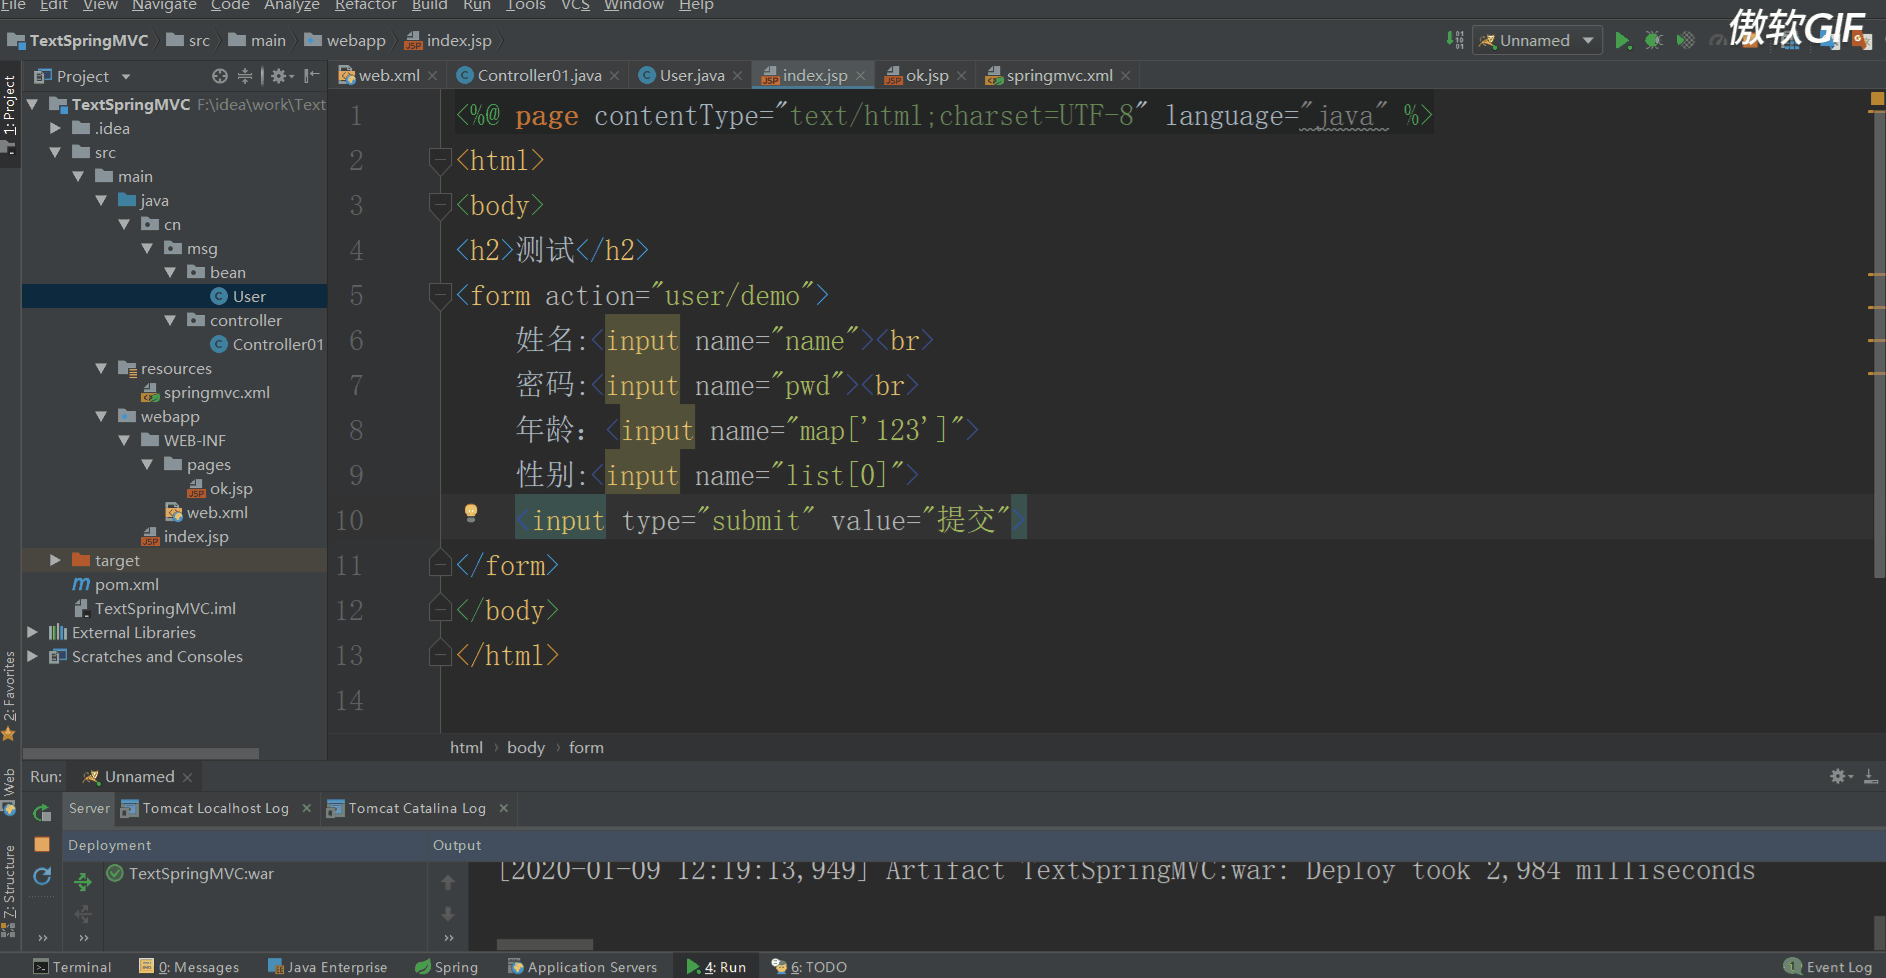
前端代码
如果map或list中要存储bean对象则要map[‘123’].属性值 或者 list[0].属性值 的格式来设置name的属性值
<%@ page contentType="text/html;charset=UTF-8" language="java" %>
<html>
<body>
<h2>测试</h2>
<form action="user/demo">
    姓名:<input name="name"><br>
    密码:<input name="pwd"><br>
    年龄:<input name="map['123']">
    性别:<input name="list[0]">
    <input type="submit" value="提交">
</form>
</body>
</html>
接收请求的代码
package cn.msg.controller;
import cn.msg.bean.User;
import org.springframework.stereotype.Controller;
import org.springframework.web.bind.annotation.RequestMapping;
import org.springframework.web.servlet.ModelAndView;

//注解刚刚已经在springmvc.xml中开启过了,现在直接使用就行
@Controller
@RequestMapping("/user")//类访问地址
public class Controller01 {
    @RequestMapping("/demo")//方法访问地址
    public  ModelAndView demo(User user){//注意 参数要与请求时input标签的name属性值相同才能接收到

        ModelAndView mv = new ModelAndView();
        mv.addObject("msg",user);
        mv.setViewName("ok");

        return mv;
    }

}
响应页面代码
<%--
  Created by IntelliJ IDEA.
  User: l
  Date: 2020/1/9
  Time: 10:58
  To change this template use File | Settings | File Templates.
--%>
<%@ page contentType="text/html;charset=UTF-8" language="java" isELIgnored="false" %>
<html>
<head>
    <title>Title</title>
</head>
<body>
<h1>${msg.toString()}</h1>
</body>
</html>
测试