最近在配置OpenCV的时候,由于使用的是VS2019,结果找不到Microsoft.Cpp.X64.user这个文件。导致每次新建项目都得重新配置一遍,后来特意下载了vs2017,把下面这些文件拷到对应目录,就解决了。
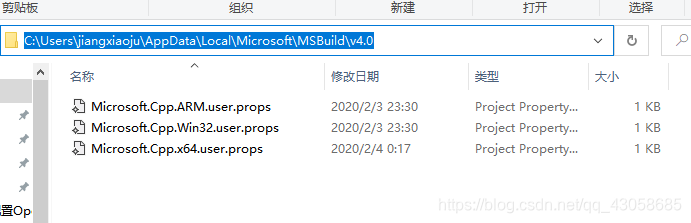
下面附上三个文件的内容,只要按照上面目录,把文件放进去就可以了。
Microsoft.Cpp.ARM.user.props
<?xml version="1.0" encoding="utf-8"?>
<Project DefaultTargets="Build" xmlns="http://schemas.microsoft.com/developer/msbuild/2003">
  <ImportGroup Label="PropertySheets">
  </ImportGroup>
  <PropertyGroup Label="UserMacros" />
  <PropertyGroup />
  <ItemDefinitionGroup />
  <ItemGroup />
</Project>
Microsoft.Cpp.Win32.user.props
<?xml version="1.0" encoding="utf-8"?>
<Project DefaultTargets="Build" xmlns="http://schemas.microsoft.com/developer/msbuild/2003">
  <ImportGroup Label="PropertySheets">
  </ImportGroup>
  <PropertyGroup Label="UserMacros" />
  <PropertyGroup />
  <ItemDefinitionGroup />
  <ItemGroup />
</Project>
Microsoft.Cpp.x64.user.props
下面的opencv路径可以清除掉。还有下面这里的opencv_world411d.lib也删除掉。不删除应该也行,到时候在vs里面配置完成后就会自动修改了。
<AdditionalDependencies>opencv_world411d.lib;%(AdditionalDependencies)</AdditionalDependencies>
<?xml version="1.0" encoding="utf-8"?>
<Project DefaultTargets="Build" xmlns="http://schemas.microsoft.com/developer/msbuild/2003">
  <ImportGroup Label="PropertySheets">
  </ImportGroup>
  <PropertyGroup Label="UserMacros" />
  <PropertyGroup>
    <IncludePath>D:\opencv\opencv\build\include;D:\opencv\opencv\build\include\opencv2;$(IncludePath)</IncludePath>
    <LibraryPath>D:\opencv\opencv\build\x64\vc14\lib;$(LibraryPath)</LibraryPath>
  </PropertyGroup>
  <ItemDefinitionGroup>
    <Link>
      <AdditionalDependencies>opencv_world411d.lib;%(AdditionalDependencies)</AdditionalDependencies>
    </Link>
  </ItemDefinitionGroup>
  <ItemGroup />
</Project>
