人物的旋转有很多种
这里介绍旋转使用四元数的方法
Quaternion.LookRotation(Vector3 dir);
Quaternion.Lerp(Quaternion a, Quaternion b, float t);
一、在介绍之前我们需要理解Unity的向量也就是Vector3
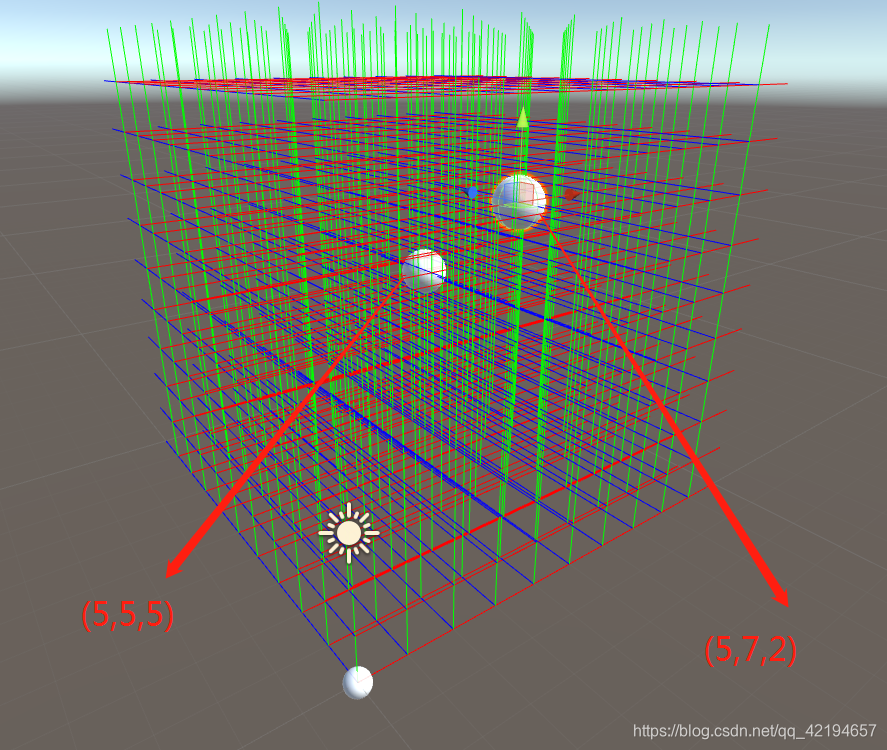
首先我们创建一个Unity的脚本,将坐标系用Unity画出来如下
图中白球的位置为0,0,0坐标的原点

代码如下:
using System.Collections;
using System.Collections.Generic;
using UnityEngine;

[ExecuteInEditMode]
public class DirTest : MonoBehaviour {

	// Update is called once per frame
	void Update () {
        for (int i = 0; i < 10; i++)
        {
            for (int j = 0; j < 10; j++)
            {
                Debug.DrawLine(new Vector3 (0, i, j), new Vector3 (10, i, j), Color.red);
                Debug.DrawLine(new Vector3 (i, j, 0), new Vector3 (i, j, 10), Color.blue);
                Debug.DrawLine(new Vector3 (i, 0, j), new Vector3 (i, 10, j), Color.green);
            }
        }
    }
}
二、下面我们创建两个小球f1,f2
左边的为f2 右边的为f1
三、我们将小球坐标用白色直线画出来,两个小球之间用黑色线画出来,两个小球的向量用黄线表示
脚本中添加两个Transform p1 ,p2
using System.Collections;
using System.Collections.Generic;
using UnityEngine;

[ExecuteInEditMode]
public class DirTest : MonoBehaviour {

    /// <summary>
    ///
    /// </summary>
    public Transform p1;

    /// <summary>
    ///
    /// </summary>
    public Transform p2;

	// Update is called once per frame
	void Update () {
        for (int i = 0; i < 10; i++)
        {
            for (int j = 0; j < 10; j++)
            {
                Debug.DrawLine(new Vector3 (0, i, j), new Vector3 (10, i, j), Color.red);
                Debug.DrawLine(new Vector3 (i, j, 0), new Vector3 (i, j, 10), Color.blue);
                Debug.DrawLine(new Vector3 (i, 0, j), new Vector3 (i, 10, j), Color.green);
            }
        }

        Debug.DrawLine(Vector3.zero, p1.position);
        Debug.DrawLine(Vector3.zero, p2.position);
        Debug.DrawLine(p1.position,p2.position, Color.black);

        Vector3 dir = p1.position - p2.position;
        Debug.DrawLine(Vector3.zero,dir, Color.black);

        Debug.DrawLine(Vector3.zero,dir, Color.yellow);
    }
}
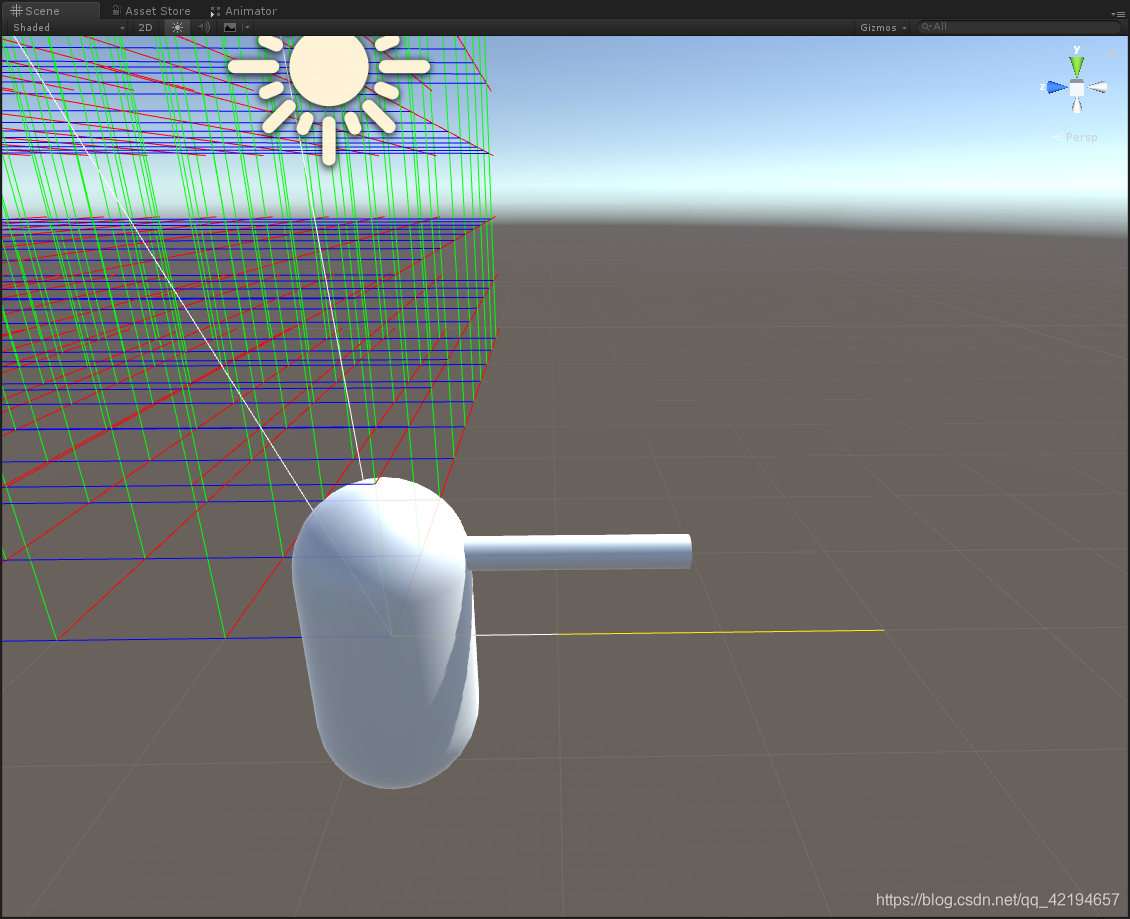
效果如下:
这里我们发现黑线和黄线的方向大小都是一致的只是位置不同而已

接下来我们需要做的就是创建一个物体将物体旋转到黄线的方向
这个黄线是有方向的:(0,0,0)到黄线的末端就是向量的方向
因为旋转不需要考虑向量的大小与坐标的y值所以这里我把黄线改为单位向量并将y改为0配置如下所示
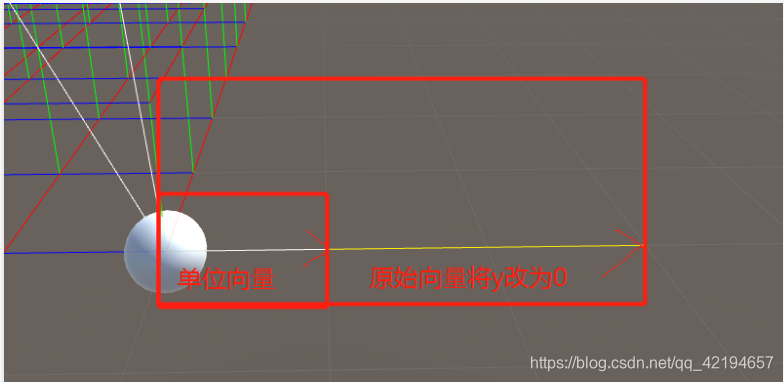
所以旋转时,这根白线的单位向量就是我们物体的朝向方向
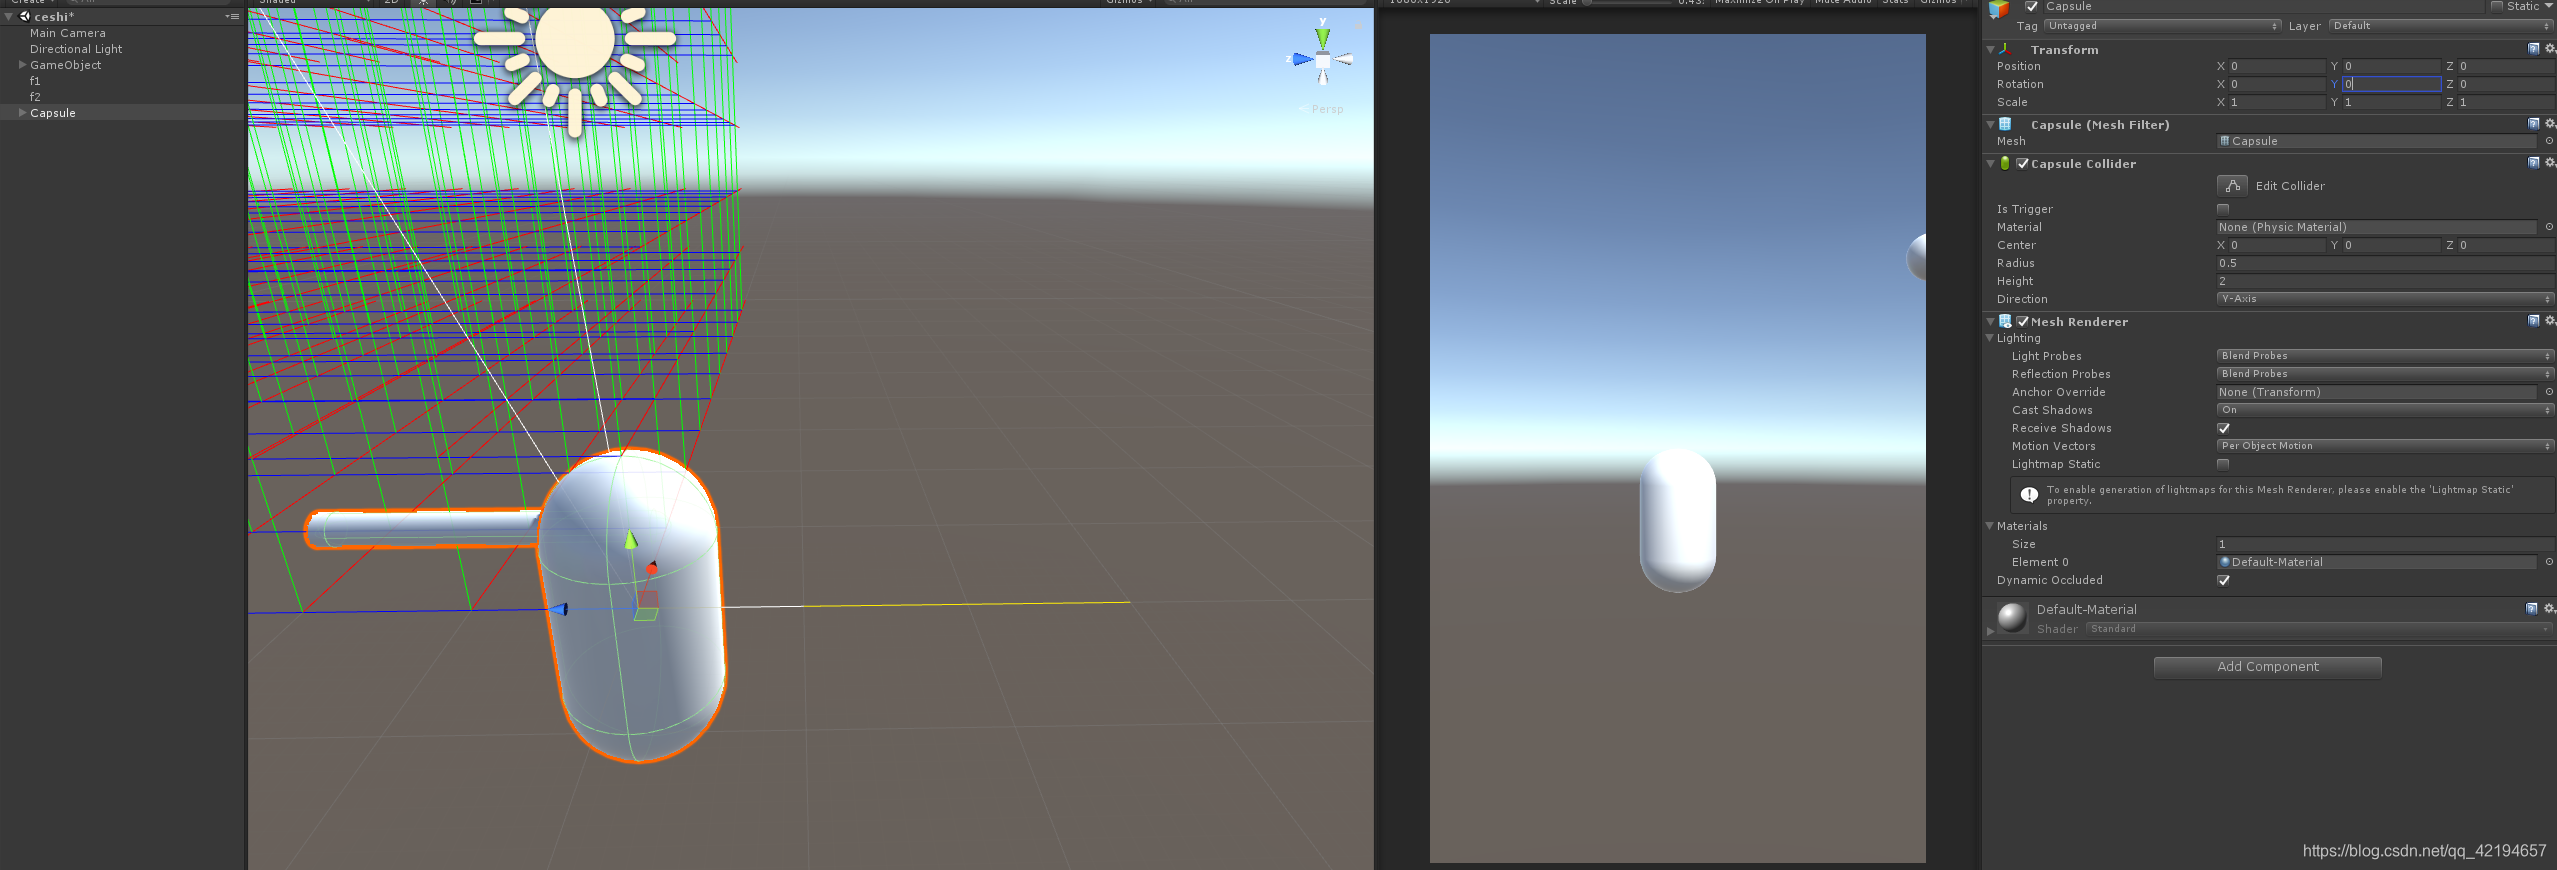
创建旋转的物体
代码如下:
using System.Collections;
using System.Collections.Generic;
using UnityEngine;

[ExecuteInEditMode]
public class DirTest : MonoBehaviour {

    /// <summary>
    ///
    /// </summary>
    public Transform p1;

    /// <summary>
    ///
    /// </summary>
    public Transform p2;

    /// <summary>
    /// 物体
    /// </summary>
    public Transform p3;

	// Update is called once per frame
	void Update () {
        for (int i = 0; i < 10; i++)
        {
            for (int j = 0; j < 10; j++)
            {
                Debug.DrawLine(new Vector3 (0, i, j), new Vector3 (10, i, j), Color.red);
                Debug.DrawLine(new Vector3 (i, j, 0), new Vector3 (i, j, 10), Color.blue);
                Debug.DrawLine(new Vector3 (i, 0, j), new Vector3 (i, 10, j), Color.green);
            }
        }

        Debug.DrawLine(Vector3.zero, p1.position);
        Debug.DrawLine(Vector3.zero, p2.position);
        Debug.DrawLine(p1.position,p2.position, Color.black);

        Vector3 dir = p1.position - p2.position;
        dir.y = 0;
        Debug.DrawLine(Vector3.zero,dir, Color.black);
        Debug.DrawLine(Vector3.zero,dir, Color.yellow);
        Debug.DrawLine(Vector3.zero,dir.normalized, Color.white);


        p3.rotation = Quaternion.Lerp(p3.rotation,Quaternion.LookRotation(dir.normalized),Time.deltaTime * 3f);
    }
}
此时运行场景无论该物体的旋转是多少都无所谓最后都会缓慢的转向白线的方向