Center (居中布局)
在Center布局中,子元素处于水平和垂直方向的中间位置。代码如下:
void main() => runApp(MyApp());

class MyApp extends StatelessWidget {
  // This widget is the root of your application.
  @override
  Widget build(BuildContext context) {
    return MaterialApp(
      title: 'Container 布局',
      home: LayoutDemo(),
    );
  }
}

class LayoutDemo extends StatelessWidget {
  @override
  Widget build(BuildContext context) {
    return new Scaffold(
      appBar: AppBar(
        title: Text('Center'),
      ),
      body: Center(
        child: Text(
          'Hello Flutter',
          style: TextStyle(fontSize: 36),
        ),
      ),
    );
  }
}
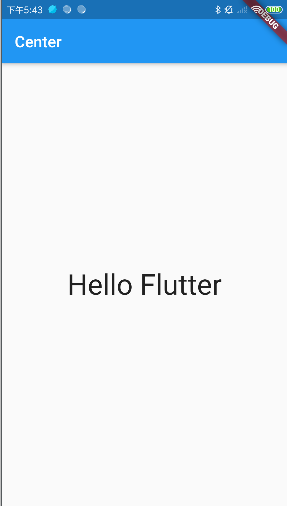
Center属性在通常情况下可直接添加子元素,不需要做额外属性设置。
上述代码的视图如下:
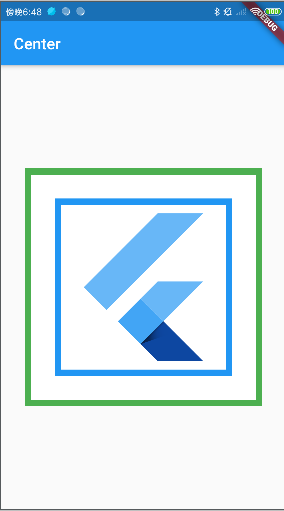
Padding (填充布局)
Padding 即为填充组件,用于处理容器与其子元素之间的间距,与 Padding 属性对应的是 margin 属性,margin 处理容器与其他组件之间的间距。Padding 使用如下:
void main() => runApp(MyApp());

class MyApp extends StatelessWidget {
  // This widget is the root of your application.
  @override
  Widget build(BuildContext context) {
    return MaterialApp(
      title: 'Container 布局',
      home: LayoutDemo(),
    );
  }
}

class LayoutDemo extends StatelessWidget {
  @override
  Widget build(BuildContext context) {
    return new Scaffold(
      appBar: AppBar(
        title: Text('Center'),
      ),
      body: Center(
        child: Container(
          decoration: BoxDecoration(
              color: Colors.white,
              border: Border.all(color: Colors.green, width: 8)),
          padding: EdgeInsets.all(30),
          width: 300,
          height: 300,
          child: Container(
            decoration: BoxDecoration(
                color: Colors.white,
                border: Border.all(color: Colors.blue, width: 8)),
            width: 200,
            height: 200,
            child: new FlutterLogo(),
          ),
        ),
      ),
    );
  }
}
上述代码结果如下:
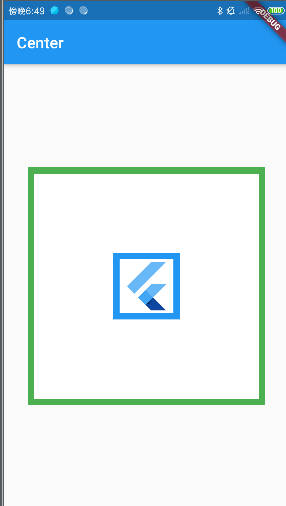
如果将 padding 值由30改为 100
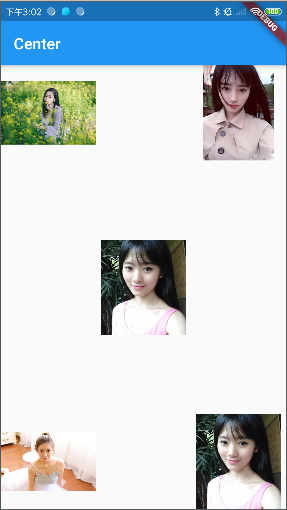
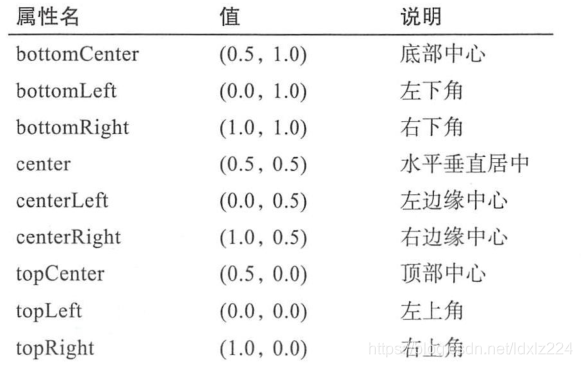
Align (对齐布局)
Align 组件即对齐组件,能将子组件按照指定方式对齐,并根据子组件的大小调整自己的大小。Align 组件的属性如下:
下面是一个例子:
- 在工程下新建一个 images 文件夹,然后放了几张图片
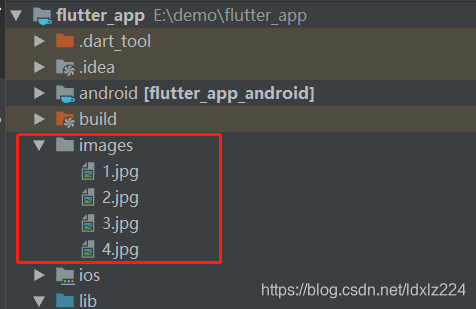
- 然后再配置文件 pubspec.yaml 文件下配置文件路径

下面是代码:
void main() => runApp(MyApp());

class MyApp extends StatelessWidget {
  // This widget is the root of your application.
  @override
  Widget build(BuildContext context) {
    return MaterialApp(
      title: 'Container 布局',
      home: LayoutDemo(),
    );
  }
}

class LayoutDemo extends StatelessWidget {
  @override
  Widget build(BuildContext context) {
    return new Scaffold(
      appBar: AppBar(
        title: Text('Center'),
      ),
      body: Stack(
        children: <Widget>[
          Align(
            alignment: FractionalOffset(0.5, 0.5),
            child: Image.asset(
              'images/1.jpg',
              width: 120,
              height: 120,
            ),
          ),
          Align(
            alignment: FractionalOffset(0, 0),
            child: Image.asset(
              'images/2.jpg',
              width: 120,
              height: 120,
            ),
          ),
          Align(
            alignment: FractionalOffset.topRight,
            child: Image.asset(
              'images/3.jpg',
              width: 120,
              height: 120,
            ),
          ),
          Align(
            alignment: FractionalOffset.bottomLeft,
            child: Image.asset(
              'images/4.jpg',
              width: 120,
              height: 120,
            ),
          ),
          Align(
            alignment: FractionalOffset.bottomRight,
            child: Image.asset(
              'images/1.jpg',
              width: 120,
              height: 120,
            ),
          ),
        ],
      ),
    );
  }
}
样式效果如下: