前面介绍了使用Maven的方式来创建一个SpringBoot应用,这已经很简单了,但还有更简单的方式,即使用向导快速创建。
1.安装Spring Initializr模块
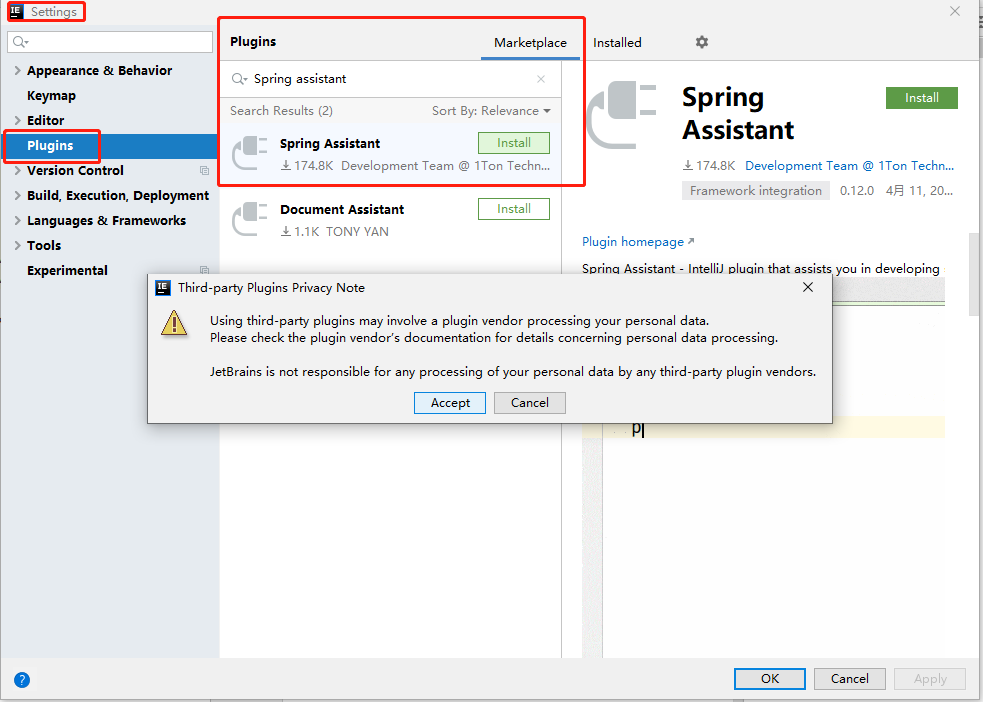
若在新建Spring项目时发现左侧没有Spring Initializr模块,就需要在Plugins中安装Spring assistant。

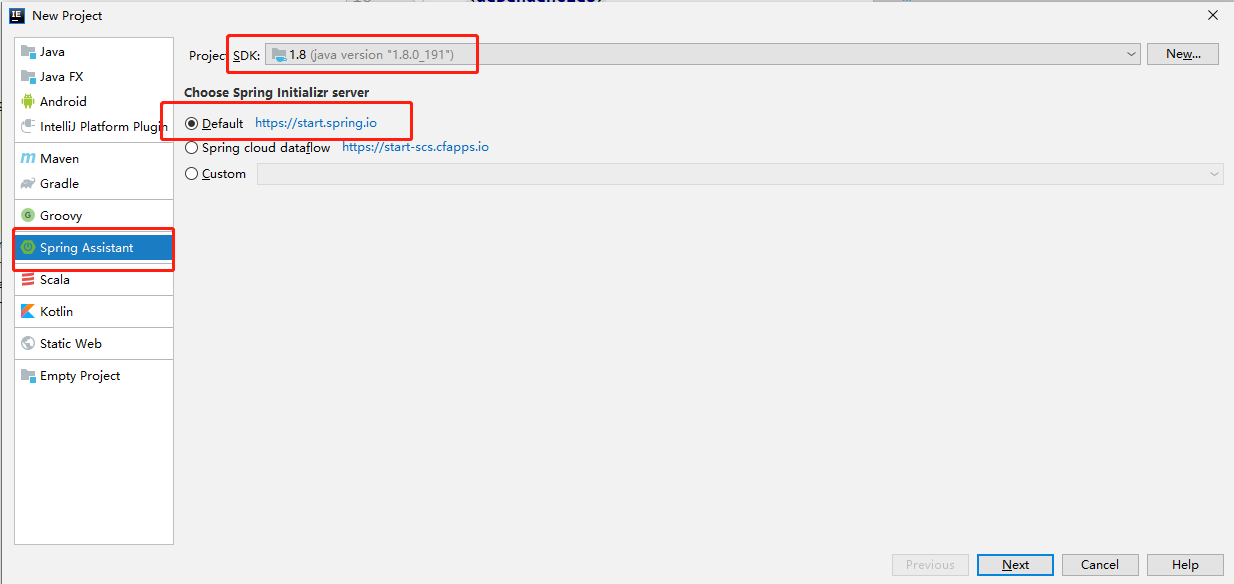
2.新建Spring Initializr项目


项目建立之后发现pom.xml自动添加了很多配置文件
 1 <?xml version="1.0" encoding="UTF-8"?>
 2 <project xmlns="http://maven.apache.org/POM/4.0.0" xmlns:xsi="http://www.w3.org/2001/XMLSchema-instance"
 3     xsi:schemaLocation="http://maven.apache.org/POM/4.0.0 https://maven.apache.org/xsd/maven-4.0.0.xsd">
 4     <modelVersion>4.0.0</modelVersion>
 5     <parent>
 6         <groupId>org.springframework.boot</groupId>
 7         <artifactId>spring-boot-starter-parent</artifactId>
 8         <version>2.2.4.RELEASE</version>
 9         <relativePath/> <!-- lookup parent from repository -->
10     </parent>
11     <groupId>com.atguigu</groupId>
12     <artifactId>spring-boot-01-helloworld-quick</artifactId>
13     <version>0.0.1-SNAPSHOT</version>
14     <name>spring-boot-01-helloworld-quick</name>
15     <description>Demo project for Spring Boot</description>
16
17     <!--java的版本号-->
18     <properties>
19         <java.version>1.8</java.version>
20     </properties>
21
22     <dependencies>
23         <dependency>
24             <groupId>org.springframework.boot</groupId>
25             <artifactId>spring-boot-starter-web</artifactId>
26         </dependency>
27         <!--进行单元测试的模块-->
28         <dependency>
29             <groupId>org.springframework.boot</groupId>
30             <artifactId>spring-boot-starter-test</artifactId>
31             <scope>test</scope>
32             <exclusions>
33                 <exclusion>
34                     <groupId>org.junit.vintage</groupId>
35                     <artifactId>junit-vintage-engine</artifactId>
36                 </exclusion>
37             </exclusions>
38         </dependency>
39     </dependencies>
40
41     <build>
42         <plugins>
43             <plugin>
44                 <groupId>org.springframework.boot</groupId>
45                 <artifactId>spring-boot-maven-plugin</artifactId>
46             </plugin>
47         </plugins>
48     </build>
49
50 </project>
与此同时,主程序也被自动生成了

3.测试该项目
3.1.建立一个Controller文件
3.1.1.最基本的,我们可以将Controller文件写成
 1 package com.example.demo.Controller;
 2
 3 import org.springframework.stereotype.Controller;
 4 import org.springframework.web.bind.annotation.RequestBody;
 5 import org.springframework.web.bind.annotation.RequestMapping;
 6 import org.springframework.web.bind.annotation.ResponseBody;
 7
 8 @Controller
 9 public class HelloController {
10
11     @ResponseBody
12     @RequestMapping("/hello")
13     public String hello(){
14         return "hello world quick";
15     }
16 }
3.1.2.为了方便,我们将@ResponseBody写在类的外面
 1 package com.example.demo.Controller;
 2
 3 import org.springframework.stereotype.Controller;
 4 import org.springframework.web.bind.annotation.RequestBody;
 5 import org.springframework.web.bind.annotation.RequestMapping;
 6 import org.springframework.web.bind.annotation.ResponseBody;
 7
 8 @ResponseBody//这个类的所有方法返回的数据直接写给浏览器
 9 @Controller
10 public class HelloController {
11 12     @RequestMapping("/hello")
13     public String hello(){
14         return "hello world quick";
15     }
16 }
3.1.3.进一步的,可以将@Controller和@ResponseBody简写为@RestController
 1 package com.example.demo.Controller;
 2
 3 import org.springframework.stereotype.Controller;
 4 import org.springframework.web.bind.annotation.RequestBody;
 5 import org.springframework.web.bind.annotation.RequestMapping;
 6 import org.springframework.web.bind.annotation.ResponseBody;
 7 import org.springframework.web.bind.annotation.RestController;
 8
 9 @RestController
10 public class HelloController {
11
12     @RequestMapping("/hello")
13     public String hello(){
14         return "hello world quick";
15     }
16 }
3.2.运行主程序


4.resources目录分析
4.1.static
用于保存所有静态资源:jss、css、images
4.2.templates
保存所有模板页面,
4.3.