从个人笔记中将一些内容稍加修整后搬运至此,如果有问题麻烦请指出!谢谢!
一、前言
本文章内容旨在使用yum方式将centos7服务器的内核给升级至当前4.4.191稳定版本
系统环境:
[root@docker-web-demo ~]# cat /etc/system-release
CentOS Linux release 7.4.1708 (Core)
[root@docker-web-demo ~]# uname -r
3.10.0-693.el7.x86_64
二、升级准备
查看Linux内核官网目前长期支持维护的稳定版本

红色框圈起来的是目前各个系列的版本
mainline: 主线版本
stable: 稳定版本
longterm: 长期支持版本
本次选择更新为longterm:4.4.191版本
三、详细升级流程:
1.安装并使用ELRepo的yum源安装
查看 ElRepo官网 ,本次使用ELRepo的yum源
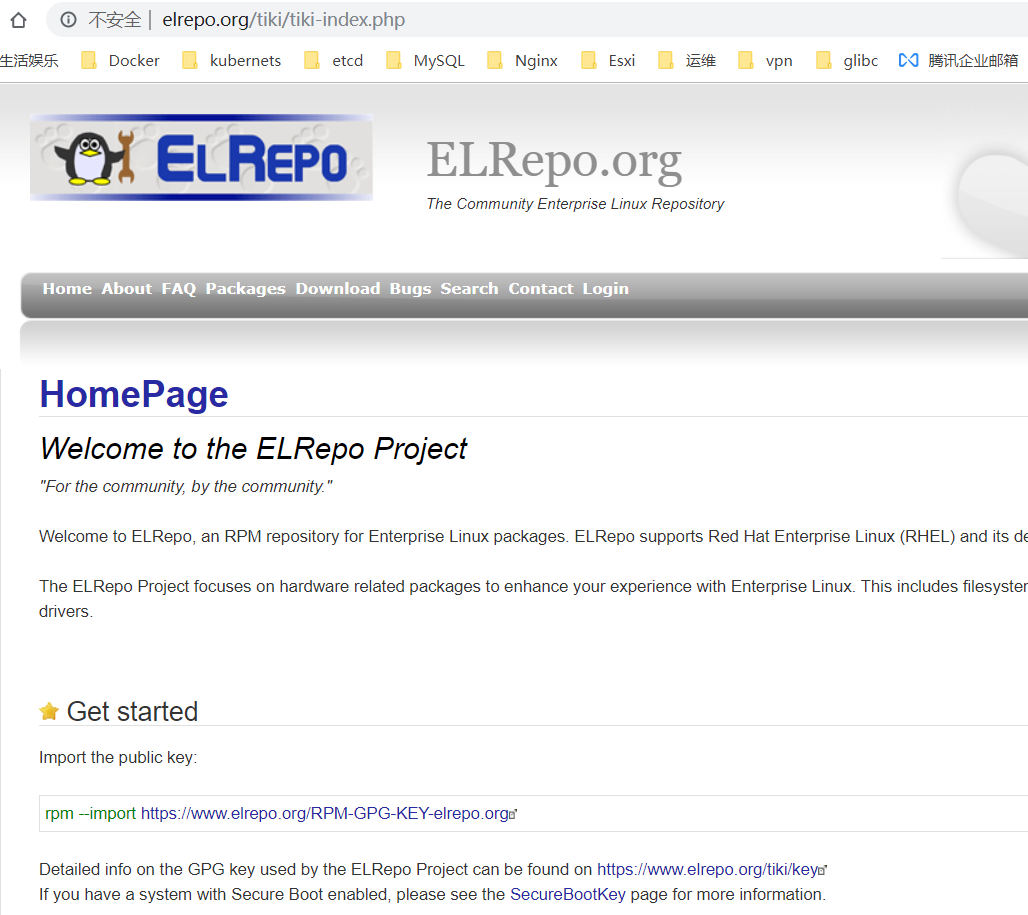
[root@docker-web-demo ~]#  rpm --import https://www.elrepo.org/RPM-GPG-KEY-elrepo.org
[root@docker-web-demo ~]#  yum -y install https://www.elrepo.org/elrepo-release-7.0-4.el7.elrepo.noarch.rpm
2.查看系统可用内核安装包
[root@docker-web-demo ~]# yum --disablerepo="*" --enablerepo="elrepo-kernel" list available
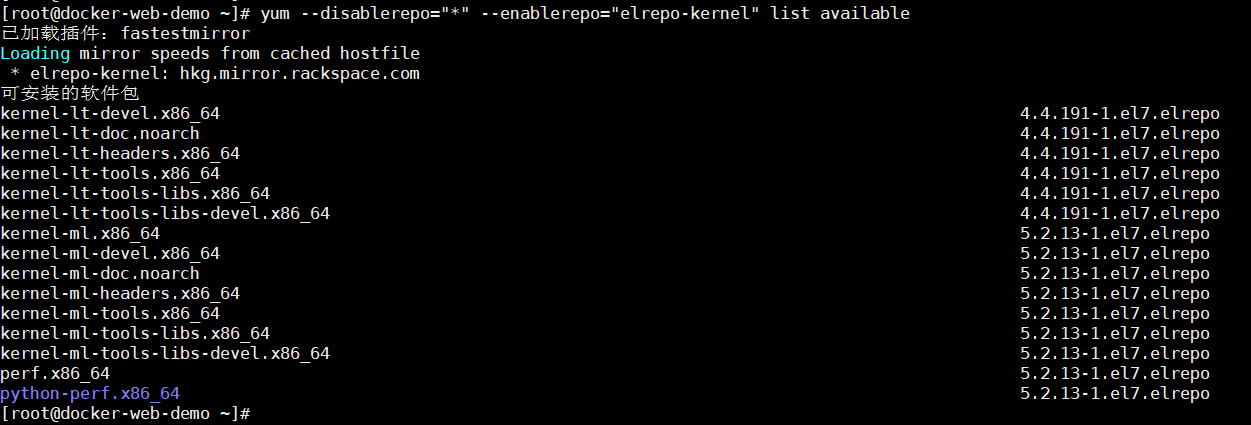
目前可用的有: kernel-lt为长期支持版本;kernel-ml为最新稳定版本
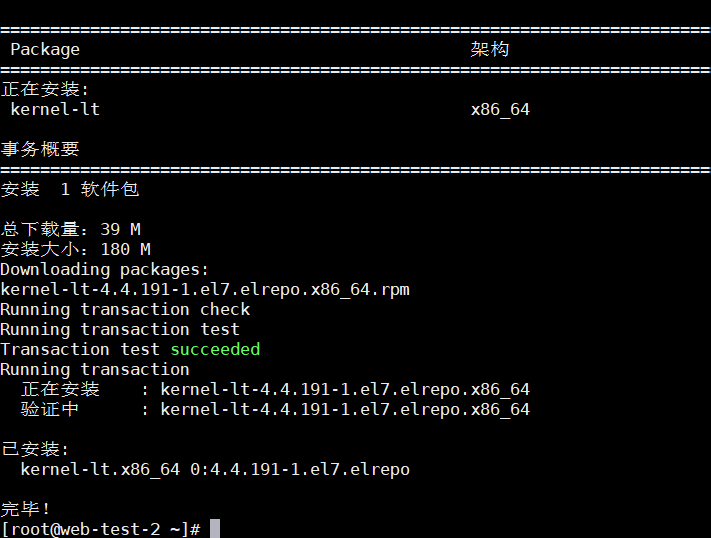
3.安装长期支持内核
[root@docker-web-demo ~]# yum -y install --enablerepo=elrepo-kernel kernel-lt
安装完成结果如下:
4.设置grub2
!!内核安装好后,需要设置为默认启动选项并重启后才会生效
查看当前可用内核版本
[root@web-demo ~]# awk -F\' '$1=="menuentry " {print i++ " : " $2}' /etc/grub2.cfg
0 : CentOS Linux (4.4.191-1.el7.elrepo.x86_64) 7 (Core)
1 : CentOS Linux (3.10.0-957.27.2.el7.x86_64) 7 (Core)
2 : CentOS Linux (3.10.0-693.el7.x86_64) 7 (Core)
3 : CentOS Linux (0-rescue-732e4d38c4f9475e9a84de117876ba84) 7 (Core)
编辑/etc/default/grub
[root@web-demo ~]# cat /etc/default/grub
GRUB_TIMEOUT=5
GRUB_DISTRIBUTOR="$(sed 's, release .*$,,g' /etc/system-release)"
GRUB_DEFAULT=0
GRUB_DISABLE_SUBMENU=true
GRUB_TERMINAL_OUTPUT="console"
GRUB_CMDLINE_LINUX="rd.lvm.lv=centos/root rd.lvm.lv=centos/swap rhgb quiet"
GRUB_DISABLE_RECOVERY="true"
修改GRUB_DEFAULT项为内核4.4.191版本的序号,所以此处填写0(序号为上方查询到的序列号)
生成 grub 配置文件并重启
[root@web-demo ~]# grub2-mkconfig -o /boot/grub2/grub.cfg
[root@web-demo ~]# reboot
验证
[root@web-demo ~]# uname -r
4.4.191-1.el7.elrepo.x86_64
!!恭喜!!内核升级成功!!!
