镜像仓库
如何理解仓库
1.镜像仓库这里主要存储的是不同版本的Image(镜像);
2.这个其实跟我们之前对于maven项目中不同版本的jar包,通过仓库进行管理,原理是一样的;
3.实际上这里的重点就是:
  	我们如何将我们自己的创建的本地Image,上传到指定的镜像仓库里面;
  	然后,不同的机器可以获取并运行相同的镜像image;
Docker Hub
镜像仓库地址
https://hub.docker.com/

备注
1.大家可以在这个网站注册一个账号试一下;
案例:将自己制作的image ,上传在DockerHub的镜像仓库中
[root@localhost ~]# docker images
REPOSITORY          TAG                         IMAGE ID            CREATED             SIZE
demo-tool-docker    latest                      79e08d8bb28b        22 hours ago        506MB
openjdk             8                           09df0563bdfc        3 days ago          488MB
tomcat              jdk8-adoptopenjdk-hotspot   50d274ef4fb3        2 weeks ago         324MB
tomcat              latest                      882487b8be1d        5 weeks ago         507MB
hello-world         latest                      fce289e99eb9        11 months ago       1.84kB
[root@localhost ~]# docker ps
1.我们现在以操作demo-tool-docker 镜像为例,去上传镜像仓库中
1.在本地制作自己项目的image
1.这个参考下面的地址,这里不再赘述
https://blog.csdn.net/u014636209/article/details/103258297
2.登录你的DockerHub账户
[root@localhost ~]# docker login
Login with your Docker ID to push and pull images from Docker Hub. If you don't have a Docker ID, head over to https://hub.docker.com to create one.
Username: gaoxinfu
Password:
WARNING! Your password will be stored unencrypted in /root/.docker/config.json.
Configure a credential helper to remove this warning. See
https://docs.docker.com/engine/reference/commandline/login/#credentials-store

Login Succeeded
1.这里注意下,因为我们docker安装设置镜像的时候,就是用的dockerhub官网的这个镜像地址
  这个地址的设置,可以参考我们docker安装的链接
  https://blog.csdn.net/u014636209/article/details/103052261#53centosdocker_181
3.针对镜像image 进行定义版本
[root@localhost ~]# docker tag demo-tool-docker gaoxinfu/demo-tool-docker:v1.0.0
[root@localhost ~]# docker images
REPOSITORY                  TAG                         IMAGE ID            CREATED             SIZE
gaoxinfu/demo-tool-docker   v1.0.0                      79e08d8bb28b        26 hours ago        506MB
demo-tool-docker            latest                      79e08d8bb28b        26 hours ago        506MB
openjdk                     8                           09df0563bdfc        3 days ago          488MB
tomcat                      jdk8-adoptopenjdk-hotspot   50d274ef4fb3        2 weeks ago         324MB
tomcat                      latest                      882487b8be1d        5 weeks ago         507MB
hello-world                 latest                      fce289e99eb9        11 months ago       1.84kB
备注
1.设置分支版本的命令格式:
  docker tag [本地镜像名字] [远程的dockerhub账户名]/[本地镜像名字]:版本号]
  docker tag demo-tool-docker gaoxinfu/demo-tool-docker:v1.0.0
4.开始推送到仓库
[root@localhost ~]# docker push gaoxinfu/demo-tool-docker:v1.0.0
The push refers to repository [docker.io/gaoxinfu/demo-tool-docker]
90416f43051e: Pushed
2ee490fbc316: Pushed
b18043518924: Pushed
9a11244a7e74: Pushed
5f3a5adb8e97: Pushed
73bfa217d66f: Pushed
91ecdd7165d3: Pushed
e4b20fcc48f4: Pushed
v1.0.0: digest: sha256:83cc20142ff6f628cbef49b5d2fe09a16d53b3ce5b24ebf5b8e6fafb1bec2f55 size: 2007
1.这里注意下:由于DockerHub的远程仓库是在国外的站点,所以会比较慢,大家可以稍微耐心等待一下
  为了节约时间,大家操作的时候,可以弄一个比较小的镜像去演示;
5.查看仓库是否有该版本镜像
1.如下,可以看到仓库中已经存在该版本的镜像
[外链图片转存失败,源站可能有防盗链机制,建议将图片保存下来直接上传(img-PHKnRfdF-1575168926734)(/Users/gaoxinfu/Library/Application Support/typora-user-images/image-20191127160735510.png)]
[外链图片转存失败,源站可能有防盗链机制,建议将图片保存下来直接上传(img-N5T9eNqp-1575168926734)(/Users/gaoxinfu/Library/Application Support/typora-user-images/image-20191127160827949.png)]
6.测试拉取
1.我们拉取一下我们刚刚上传的镜像
  首先我们先删掉本地的这个版本的镜像;

[root@localhost ~]# docker rmi -f gaoxinfu/demo-tool-docker:v1.0.0
Untagged: gaoxinfu/demo-tool-docker:v1.0.0
Untagged: gaoxinfu/demo-tool-docker@sha256:83cc20142ff6f628cbef49b5d2fe09a16d53b3ce5b24ebf5b8e6fafb1bec2f55
[root@localhost ~]#
开始拉取
[root@localhost ~]# docker pull gaoxinfu/demo-tool-docker:v1.0.0
v1.0.0: Pulling from gaoxinfu/demo-tool-docker
Digest: sha256:83cc20142ff6f628cbef49b5d2fe09a16d53b3ce5b24ebf5b8e6fafb1bec2f55
Status: Downloaded newer image for gaoxinfu/demo-tool-docker:v1.0.0
docker.io/gaoxinfu/demo-tool-docker:v1.0.0
[root@localhost ~]# docker images
REPOSITORY                  TAG                         IMAGE ID            CREATED             SIZE
gaoxinfu/demo-tool-docker   v1.0.0                      79e08d8bb28b        27 hours ago        506MB
demo-tool-docker            latest                      79e08d8bb28b        27 hours ago        506MB
openjdk                     8                           09df0563bdfc        3 days ago          488MB
tomcat                      jdk8-adoptopenjdk-hotspot   50d274ef4fb3        2 weeks ago         324MB
tomcat                      latest                      882487b8be1d        5 weeks ago         507MB
hello-world                 latest                      fce289e99eb9        11 months ago       1.84kB
[root@localhost ~]#
1.这里注意下,
  docker pull gaoxinfu/demo-tool-docker:v1.0.0
  后面可以跟版本 :v1.0.0
  docker pull gaoxinfu/demo-tool-docker
  相当于拉取最新版本的镜像;
7.启动服务,验证
[root@localhost ~]# docker run -d --name demo01 -p 8080:8080 gaoxinfu/demo-tool-docker:v1.0.0
11f9c829b342523a649eeedb5fa24d6dc8c39249d6d49627c897652e485286a7
[root@localhost ~]# curl localhost:8080
curl: (6) Could not resolve host: localhost?; Unknown error
[root@localhost ~]# curl localhost:8080
{"timestamp":"2019-11-27T08:12:07.849+0000","status":404,"error":"Not Found","message":"No message available","path":"/"}[root@localhost ~]#
成功
阿里云Docker Hub
镜像仓库地址
1.如果大家想直接用阿里云的Dockerhub,那么就需要你这边有阿里云的账号以及服务器等;
  像我的地址如下
  https://cr.console.aliyun.com/cn-hangzhou/instances/repositories

使用Docker登录指定阿里云的镜像仓库
[root@localhost ~]# docker login --username=XXXXX https://vuwks9eu.mirror.aliyuncs.com
Password:
WARNING! Your password will be stored unencrypted in /root/.docker/config.json.
Configure a credential helper to remove this warning. See
https://docs.docker.com/engine/reference/commandline/login/#credentials-store

Login Succeeded
[root@localhost ~]#
1.这里注意下,我们需要输入密码;
关于阿里云镜像仓库的说明
命名空间

镜像仓库

命名空间和镜像仓库的区别
1.命名空间相对于镜像仓库来讲是比较大的一个分组
2.镜像仓库是属于某个命名空间;
3.镜像仓库都是保存的各个版本的镜像;
备注
1.相关的推送拉取等案例,我们不再赘述,命令大同小异;
私有服务器搭建Docker Hub
harbor概述
1.实际上就是在我们自己的机器上去搭建Dccker 镜像仓库,对我们的镜像进行管理
2.这里我们搭建自己的镜像仓库,使用的是Harbor 官方地址:
https://github.com/goharbor/harbor
安装搭建手册
需要提前安装 docker compose安装
可以先看看我们的系统当前是不是已经安装了docker compose
[root@iZwz91h49n3mj8r232gqweZ opt]# docker-compose --version
如果没有,则需要下面的安装步骤
参考安装地址
https://docs.docker.com/compose/install/
[root@iZwz91h49n3mj8r232gqweZ opt]# sudo curl -L "https://github.com/docker/compose/releases/download/1.25.0/docker-compose-$(uname -s)-$(uname -m)" -o /usr/local/bin/docker-compose
  % Total    % Received % Xferd  Average Speed   Time    Time     Time  Current
                                 Dload  Upload   Total   Spent    Left  Speed
100   617    0   617    0     0    932      0 --:--:-- --:--:-- --:--:--   933
100 16.2M  100 16.2M    0     0   839k      0  0:00:19  0:00:19 --:--:-- 1268k
这里我们下载到/usr/local/bin/docker-compose文件夹下了
[root@iZwz91h49n3mj8r232gqweZ opt]# sudo chmod +x /usr/local/bin/docker-compose
[root@iZwz91h49n3mj8r232gqweZ opt]# docker-compose --version
docker-compose version 1.25.0, build 0a186604
harbor安装
下载harbor安装包
百度网盘
版本:harbor-offline-installer-v1.7.1.tgz
链接:https://pan.baidu.com/s/18oQ_xtpEMhzp4vt_2Qrr6Q
密码:9gpc
下面的安装我们用的是网盘中的这个版本
官方最新版本
https://github.com/goharbor/harbor/releases
安装手册
1.上传压缩包
[root@iZwz91h49n3mj8r232gqweZ opt]# pwd
/opt
[root@iZwz91h49n3mj8r232gqweZ opt]# ls -la
-rw-r--r--   1 root root 597857483 Dec  1 09:43 harbor-offline-installer-v1.7.1.tgz
[root@iZwz91h49n3mj8r232gqweZ opt]#
2.解压压缩包
[root@iZwz91h49n3mj8r232gqweZ opt]# tar -zxvf harbor-offline-installer-v1.7.1.tgz
......
[root@iZwz91h49n3mj8r232gqweZ opt]# ls -la
total 765172
drwxr-xr-x.  5 root root      4096 Dec  1 10:05 .
dr-xr-xr-x. 18 root root      4096 Nov 28 13:55 ..
drwxr-xr-x   3 root root      4096 Dec  1 10:06 harbor
-rw-r--r--   1 root root 597857483 Dec  1 09:43 harbor-offline-installer-v1.7.1.tgz
[root@iZwz91h49n3mj8r232gqweZ opt]#
[root@iZwz91h49n3mj8r232gqweZ opt]# pwd
/opt
[root@iZwz91h49n3mj8r232gqweZ opt]# cd harbor
[root@iZwz91h49n3mj8r232gqweZ harbor]# ll
total 590244
drwxr-xr-x 3 root root      4096 Dec  1 10:05 common
-rw-r--r-- 1 root root       939 Jan  4  2019 docker-compose.chartmuseum.yml
-rw-r--r-- 1 root root       975 Jan  4  2019 docker-compose.clair.yml
-rw-r--r-- 1 root root      1434 Jan  4  2019 docker-compose.notary.yml
-rw-r--r-- 1 root root      5608 Jan  4  2019 docker-compose.yml
-rw-r--r-- 1 root root      8033 Jan  4  2019 harbor.cfg
-rw-r--r-- 1 root root 603562385 Jan  4  2019 harbor.v1.7.1.tar.gz
-rwxr-xr-x 1 root root      5739 Jan  4  2019 install.sh
-rw-r--r-- 1 root root     11347 Jan  4  2019 LICENSE
-rw-r--r-- 1 root root    748160 Jan  4  2019 open_source_license
-rwxr-xr-x 1 root root     36337 Jan  4  2019 prepare
[root@iZwz91h49n3mj8r232gqweZ harbor]#
3.修改配置 harbor.cfg:修改本机访问IP和admin的登录密码
harbor.cfg的ip和密码 默认配置如下:
hostname = reg.mydomain.com
harbor_admin_password = Harbor12345
修改之后(密码我们暂时还用 Harbor12345)
hostname = 你得ip地址,如123.151.0.13
harbor_admin_password = Harbor12345
4.启动
[root@iZwz91h49n3mj8r232gqweZ harbor]# sh install.sh
.......
 ✔ ----Harbor has been installed and started successfully.----

Now you should be able to visit the admin portal at http://你的IP.
For more details, please visit https://github.com/goharbor/harbor .
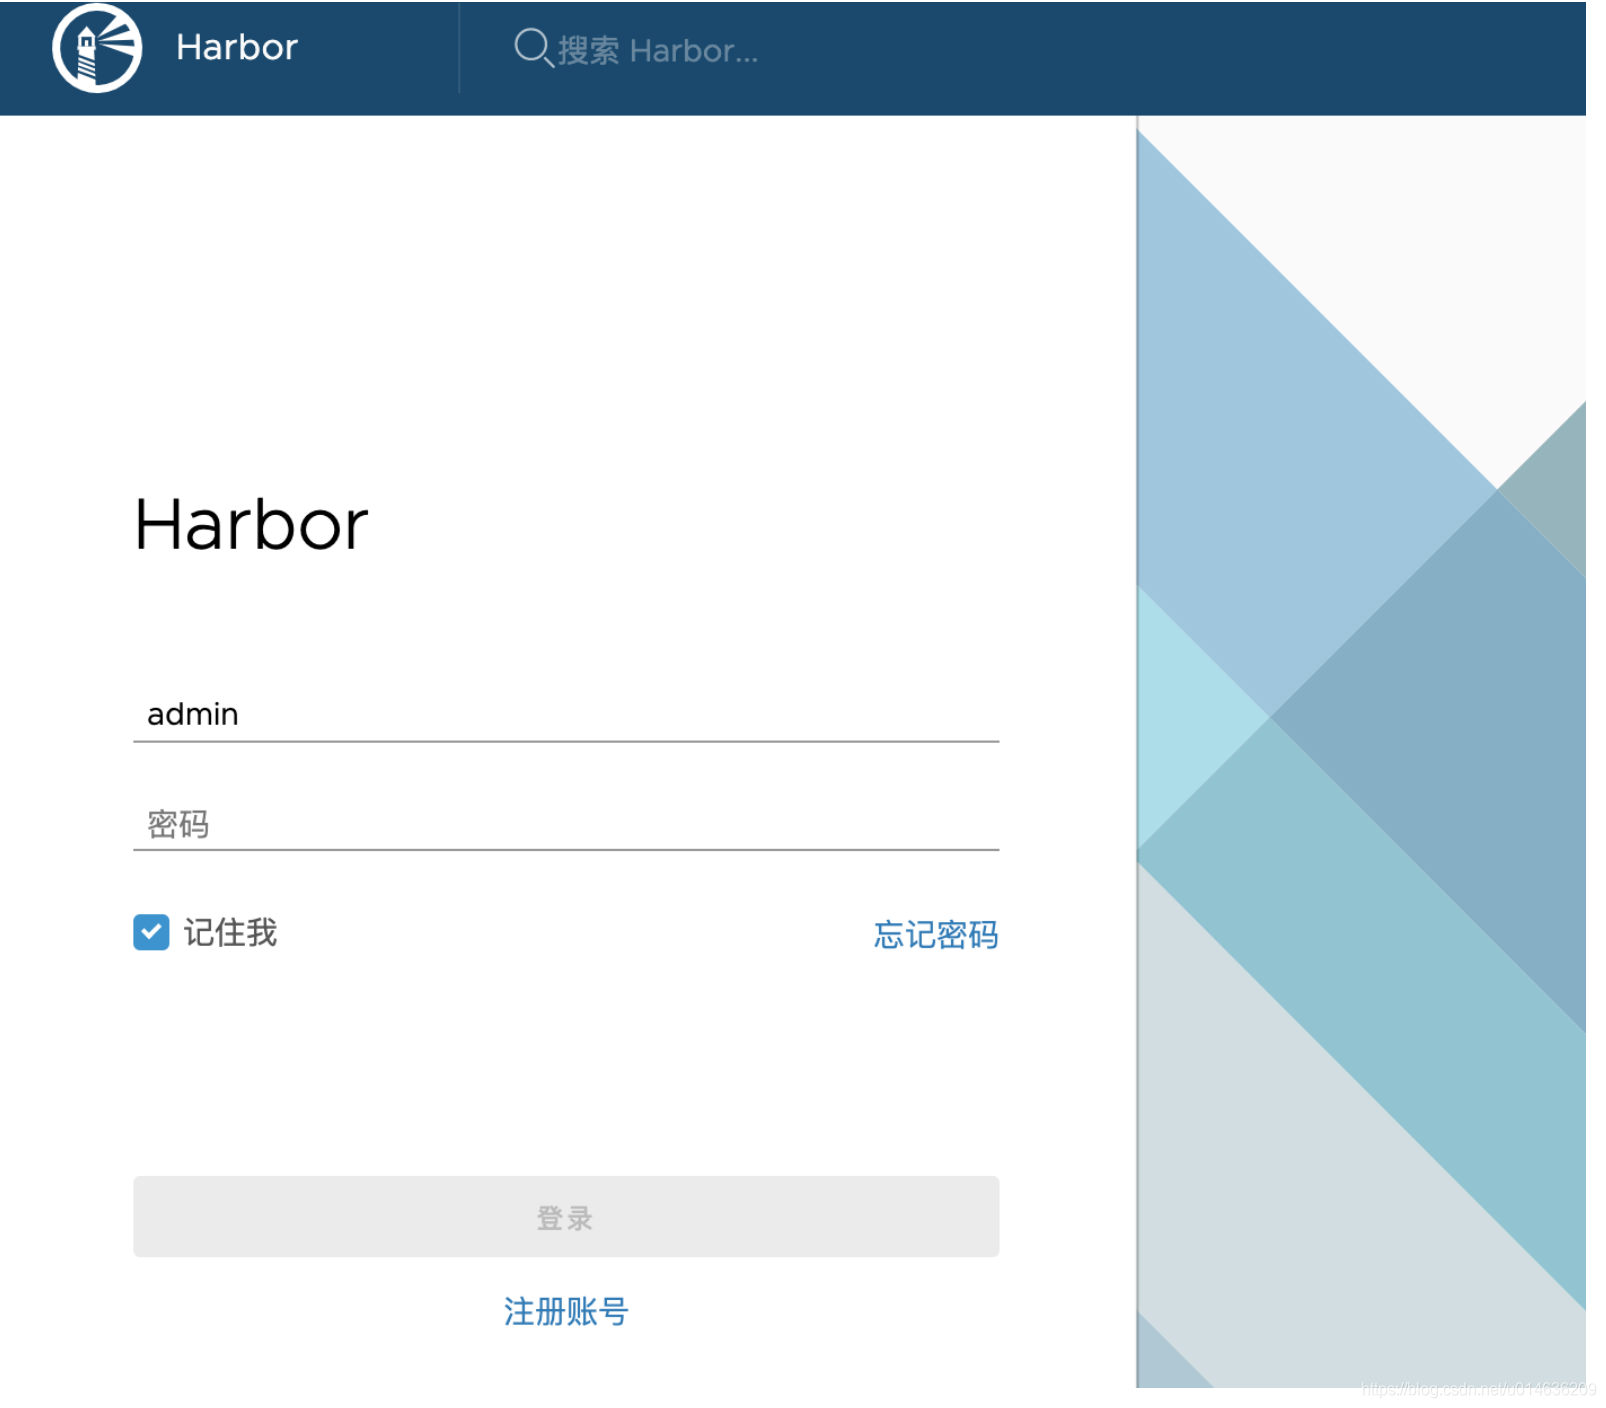
开始访问:

附harbor默认配置文件
## Configuration file of Harbor

#This attribute is for migrator to detect the version of the .cfg file, DO NOT MODIFY!
_version = 1.7.0
#The IP address or hostname to access admin UI and registry service.
#DO NOT use localhost or 127.0.0.1, because Harbor needs to be accessed by external clients.
#DO NOT comment out this line, modify the value of "hostname" directly, or the installation will fail.
hostname = reg.mydomain.com

#The protocol for accessing the UI and token/notification service, by default it is http.
#It can be set to https if ssl is enabled on nginx.
ui_url_protocol = http

#Maximum number of job workers in job service
max_job_workers = 10

#Determine whether or not to generate certificate for the registry's token.
#If the value is on, the prepare script creates new root cert and private key
#for generating token to access the registry. If the value is off the default key/cert will be used.
#This flag also controls the creation of the notary signer's cert.
customize_crt = on

#The path of cert and key files for nginx, they are applied only the protocol is set to https
ssl_cert = /data/cert/server.crt
ssl_cert_key = /data/cert/server.key

#The path of secretkey storage
secretkey_path = /data

#Admiral's url, comment this attribute, or set its value to NA when Harbor is standalone
admiral_url = NA

#Log files are rotated log_rotate_count times before being removed. If count is 0, old versions are removed rather than rotated.
log_rotate_count = 50
#Log files are rotated only if they grow bigger than log_rotate_size bytes. If size is followed by k, the size is assumed to be in kilobytes.
#If the M is used, the size is in megabytes, and if G is used, the size is in gigabytes. So size 100, size 100k, size 100M and size 100G
#are all valid.
log_rotate_size = 200M

#Config http proxy for Clair, e.g. http://my.proxy.com:3128
#Clair doesn't need to connect to harbor internal components via http proxy.
http_proxy =
https_proxy =
no_proxy = 127.0.0.1,localhost,core,registry

#NOTES: The properties between BEGIN INITIAL PROPERTIES and END INITIAL PROPERTIES
#only take effect in the first boot, the subsequent changes of these properties
#should be performed on web ui

#************************BEGIN INITIAL PROPERTIES************************

#Email account settings for sending out password resetting emails.

#Email server uses the given username and password to authenticate on TLS connections to host and act as identity.
#Identity left blank to act as username.
email_identity =

email_server = smtp.mydomain.com
email_server_port = 25
email_username = sample_admin@mydomain.com
email_password = abc
email_from = admin <sample_admin@mydomain.com>
email_ssl = false
email_insecure = false

##The initial password of Harbor admin, only works for the first time when Harbor starts.
#It has no effect after the first launch of Harbor.
#Change the admin password from UI after launching Harbor.
harbor_admin_password = Harbor12345

##By default the auth mode is db_auth, i.e. the credentials are stored in a local database.
#Set it to ldap_auth if you want to verify a user's credentials against an LDAP server.
auth_mode = db_auth

#The url for an ldap endpoint.
ldap_url = ldaps://ldap.mydomain.com

#A user's DN who has the permission to search the LDAP/AD server.
#If your LDAP/AD server does not support anonymous search, you should configure this DN and ldap_search_pwd.
#ldap_searchdn = uid=searchuser,ou=people,dc=mydomain,dc=com

#the password of the ldap_searchdn
#ldap_search_pwd = password

#The base DN from which to look up a user in LDAP/AD
ldap_basedn = ou=people,dc=mydomain,dc=com

#Search filter for LDAP/AD, make sure the syntax of the filter is correct.
#ldap_filter = (objectClass=person)

# The attribute used in a search to match a user, it could be uid, cn, email, sAMAccountName or other attributes depending on your LDAP/AD
ldap_uid = uid

#the scope to search for users, 0-LDAP_SCOPE_BASE, 1-LDAP_SCOPE_ONELEVEL, 2-LDAP_SCOPE_SUBTREE
ldap_scope = 2

#Timeout (in seconds)  when connecting to an LDAP Server. The default value (and most reasonable) is 5 seconds.
ldap_timeout = 5

#Verify certificate from LDAP server
ldap_verify_cert = true

#The base dn from which to lookup a group in LDAP/AD
ldap_group_basedn = ou=group,dc=mydomain,dc=com

#filter to search LDAP/AD group
ldap_group_filter = objectclass=group

#The attribute used to name a LDAP/AD group, it could be cn, name
ldap_group_gid = cn

#The scope to search for ldap groups. 0-LDAP_SCOPE_BASE, 1-LDAP_SCOPE_ONELEVEL, 2-LDAP_SCOPE_SUBTREE
ldap_group_scope = 2

#Turn on or off the self-registration feature
self_registration = on

#The expiration time (in minute) of token created by token service, default is 30 minutes
token_expiration = 30

#The flag to control what users have permission to create projects
#The default value "everyone" allows everyone to creates a project.
#Set to "adminonly" so that only admin user can create project.
project_creation_restriction = everyone

#************************END INITIAL PROPERTIES************************

#######Harbor DB configuration section#######

#The address of the Harbor database. Only need to change when using external db.
db_host = postgresql

#The password for the root user of Harbor DB. Change this before any production use.
db_password = root123

#The port of Harbor database host
db_port = 5432

#The user name of Harbor database
db_user = postgres

##### End of Harbor DB configuration#######

##########Redis server configuration.############

#Redis connection address
redis_host = redis

#Redis connection port
redis_port = 6379

#Redis connection password
redis_password =

#Redis connection db index
#db_index 1,2,3 is for registry, jobservice and chartmuseum.
#db_index 0 is for UI, it's unchangeable
redis_db_index = 1,2,3

########## End of Redis server configuration ############

##########Clair DB configuration############

#Clair DB host address. Only change it when using an exteral DB.
clair_db_host = postgresql
#The password of the Clair's postgres database. Only effective when Harbor is deployed with Clair.
#Please update it before deployment. Subsequent update will cause Clair's API server and Harbor unable to access Clair's database.
clair_db_password = root123
#Clair DB connect port
clair_db_port = 5432
#Clair DB username
clair_db_username = postgres
#Clair default database
clair_db = postgres

#The interval of clair updaters, the unit is hour, set to 0 to disable the updaters.
clair_updaters_interval = 12

##########End of Clair DB configuration############

#The following attributes only need to be set when auth mode is uaa_auth
uaa_endpoint = uaa.mydomain.org
uaa_clientid = id
uaa_clientsecret = secret
uaa_verify_cert = true
uaa_ca_cert = /path/to/ca.pem


### Harbor Storage settings ###
#Please be aware that the following storage settings will be applied to both docker registry and helm chart repository.
#registry_storage_provider can be: filesystem, s3, gcs, azure, etc.
registry_storage_provider_name = filesystem
#registry_storage_provider_config is a comma separated "key: value" pairs, e.g. "key1: value, key2: value2".
#To avoid duplicated configurations, both docker registry and chart repository follow the same storage configuration specifications of docker registry.
#Refer to https://docs.docker.com/registry/configuration/#storage for all available configuration.
registry_storage_provider_config =
#registry_custom_ca_bundle is the path to the custom root ca certificate, which will be injected into the truststore
#of registry's and chart repository's containers.  This is usually needed when the user hosts a internal storage with self signed certificate.
registry_custom_ca_bundle =

#If reload_config=true, all settings which present in harbor.cfg take effect after prepare and restart harbor, it overwrites exsiting settings.
#reload_config=true
#Regular expression to match skipped environment variables
#skip_reload_env_pattern=(^EMAIL.*)|(^LDAP.*)
