一、安装httpd服务
apache在centos7中是Apache HTTP server。如下对httpd的解释就是Apache HTTP Server。所以想安装apache其实是要安装httpd。
httpd.x86_64 : Apache HTTP Server
安装:
# yum install httpd
设置httpd服务开机启动
[root@yl-web httpd]# /sbin/chkconfig httpd on
Note: Forwarding request to 'systemctl enable httpd.service'. ln -s '/usr/lib/systemd/system/httpd.service' '/etc/systemd/system/multi-user.target.wants/httpd.service'
启动httpd服务
[root@yl-web httpd]# /sbin/service httpd start
Redirecting to /bin/systemctl start  httpd.service
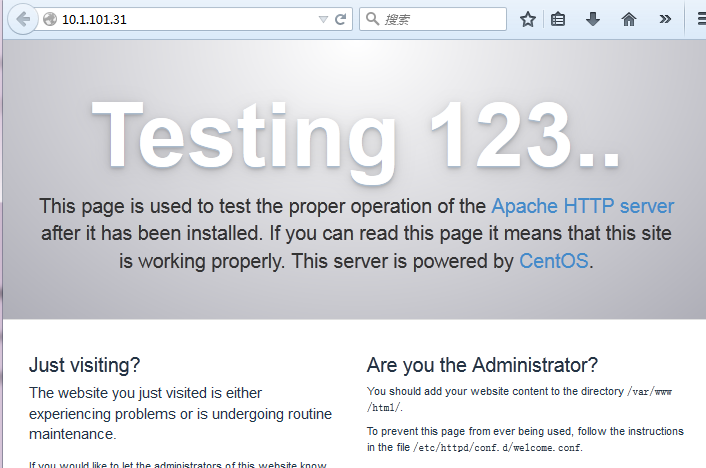
访问ip验证一下,成功!
二、配置
httpd默认的配置文件目录为
[root@yl-web httpd]# cd /etc/httpd/
[root@yl-web httpd]# ls
conf  conf.d  conf.modules.d  logs  modules  run
主配置文件是/etc/httpd/conf/httpd.conf。
配置存储在的/etc/httpd/conf.d/目录。
1、主配置文件
看一下主配置文件httpd.conf里有用的配置项

#服务器根目录
ServerRoot "/etc/httpd"

#端口
#Listen 12.34.56.78:80
Listen 80

#域名+端口来标识服务器,没有域名用ip也可以
#ServerName www.example.com:80

#不许访问根目录
<Directory />
    AllowOverride none
    Require all denied
</Directory>

# 文档目录
DocumentRoot "/var/www/html"

# 对 /var/www目录访问限制
<Directory "/var/www">
    AllowOverride None
    # Allow open access:
    Require all granted
</Directory>

# 对/var/www/html目录访问限制
<Directory "/var/www/html">
   Options Indexes FollowSymLinks
   AllowOverride None
   Require all granted
</Directory>

# 默认编码
AddDefaultCharset UTF-8

#EnableMMAP off
EnableSendfile on
# include进来其它配置文件

IncludeOptional conf.d/*.conf
2、下载配置mod_wsgi
安装mod_wsgi前先进行apache的apxs扩展
http-devel 是为了apxs,yum后你可以whereis apxs去寻找他,然后后边编译使用。
# yum install -y httpd-devel
下载
[root@yl-web collectedstatic]# yum install mod_wsgi
3、django项目部署到apache
首先,我把文件放在了Apache的默认目录下,名字叫buglist。
1 /var/www/html
对文件进行修改
1 vim /var/www/html/buglist/buglist/wsgi.py
import os
from os.path import join,dirname,abspath
PROJECT_DIR = dirname(dirname(abspath(__file__)))
import sys
sys.path.insert(0,PROJECT_DIR)
from django.core.wsgi import get_wsgi_application
os.environ.setdefault("DJANGO_SETTINGS_MODULE","buglist.settings")
application = get_wsgi_application()
from os.path import join,dirname,abspath
PROJECT_DIR = dirname(dirname(abspath(__file__)))
import sys
sys.path.insert(0,PROJECT_DIR)
from django.core.wsgi import get_wsgi_application
os.environ.setdefault("DJANGO_SETTINGS_MODULE","buglist.settings")
application = get_wsgi_application()
1 vim /var/www/html/buglist/buglist/settings.py
1 ALLOWED_HOSTS = [www.example.com',] ----添加自己的域名
 1 STATICFILES_FINDERS = (
 2               'django.contrib.staticfiles.finders.FileSystemFinder',
 3               'django.contrib.staticfiles.finders.AppDirectoriesFinder',
 4               #'django.contrib.staticfiles.finders.DefaultStorageFinder',
 5 )
 6 STATICFILES_DIRS = ('/var/www/html/buglist/static/css',            -----此处将之前的相对路径改成绝对路径
 7               '/var/www/html/buglist/static/bootstrap',
 8                '/var/www/html/buglist/static/images',
 9                '/var/www/html/buglist/static/js',
10 )
执行命令
1 python manage.py collectstatic ---对静态文件进行处理
此时,静态文件都会copy到static下面,下面就要去修改我们的Apache服务器的配置文件了
需要安装mod_wsgi 命令如下
1 yum install mod_wsgi
1 vim /etc/httpd/conf/httpd.conf
LoadModule wsgi_module modules/mod_wsgi.so ---添加
<VirtualHost *:80>
DocumentRoot "/var/www/html/buglist"
WSGIScriptAlias / "/var/www/html/buglist/buglist/wsgi.py"
Alias /static/ /var/www/html/buglist/static/ ---不能加引号
<Directory /var/www/html/buglist/static>
Require all granted
</Directory>
<Directory "/var/www/html/buglist">
AllowOverride All
Require all granted
</Directory>
</VirtualHost>
重启服务器,就可以看到大功告成
如果服务器调试没有问题了,记得把setting里面的debug进行关闭