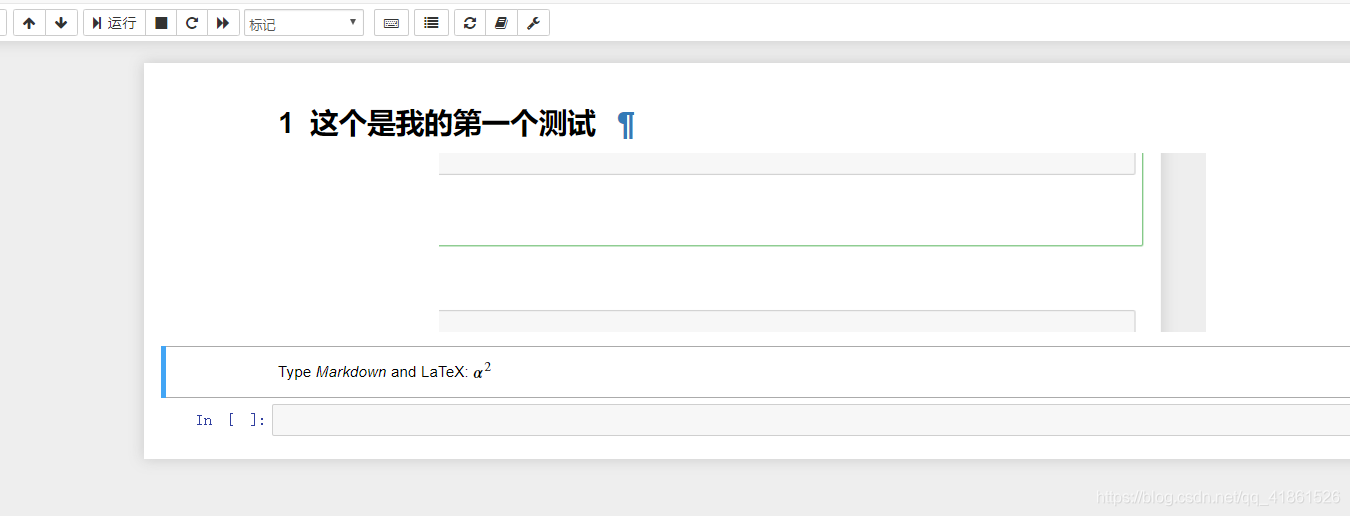
前段时间使用jupyter notebook感觉不错,但是在使用markdown编辑方式的时候还是感觉不是很好。其中很大一个原因就是不能ctrl+v自动把代码贴上去。粘上去之后是这样子的。
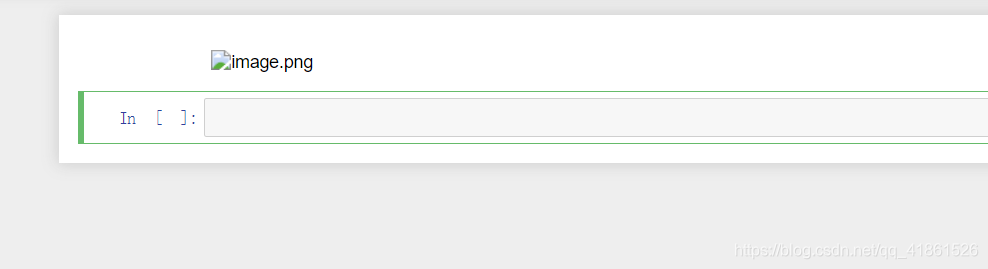
这就很尴尬了。所以百度了一些资料后,发现ctrl+v上传粘贴板中图片的原理,所以就打开f12 搜索一下
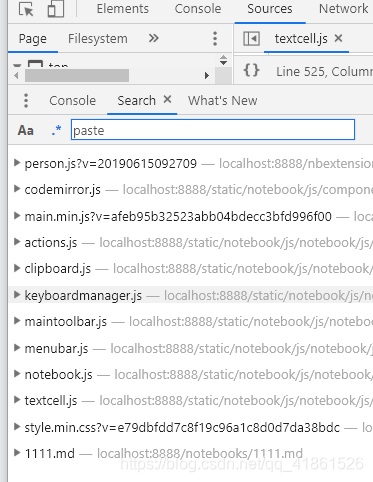
然后一个个排查,最后终于找到了jupter notebook实现ctrl+v粘贴图片的地方这个地方,文件名是main.min.js文件。
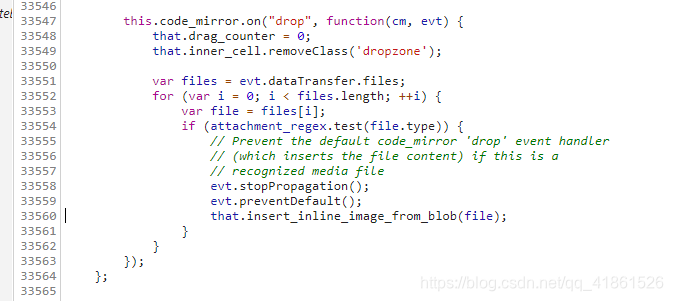
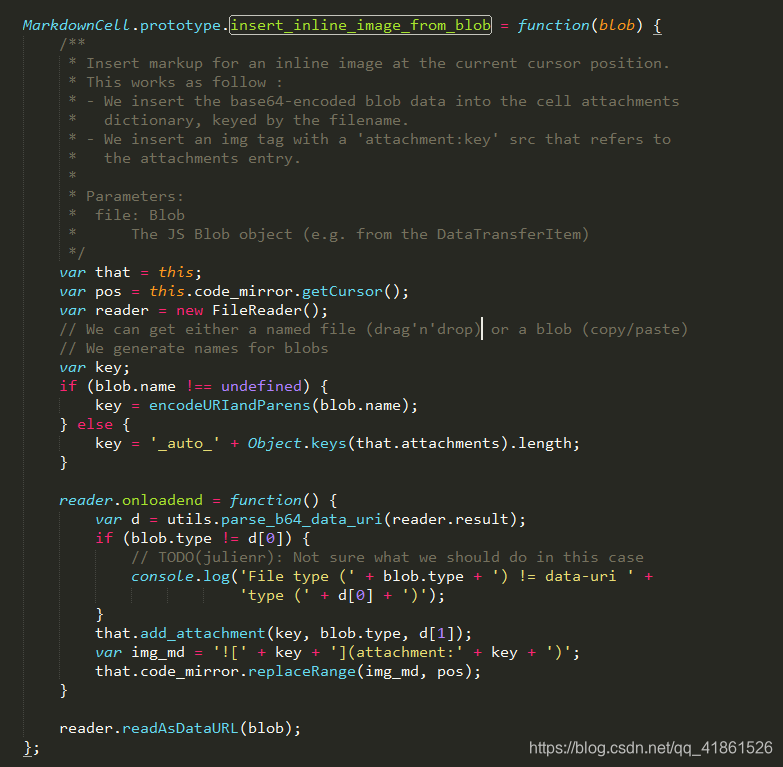
然后搜索相对应的insert_inline_image_blob函数就可以看到该文件下有一个函数。修改这个函数中的
var img_md = '';
就可以成功
我的修改是直接放在同一个文件夹下的pictures文件夹中。替代当然如果你有云图的话,可以直接在这里写ajax来上传图片。就可以实现ctrl+v上传图片
下面是代码实现,我重新写了一遍,但是兼容性肯定不是很好
MarkdownCell.prototype.insert_inline_image_from_blob = function(blob) {
/**
* Insert markup for an inline image at the current cursor position.
* This works as follow :
* - We insert the base64-encoded blob data into the cell attachments
* dictionary, keyed by the filename.
* - We insert an img tag with a 'attachment:key' src that refers to
* the attachments entry.
*
* Parameters:
* file: Blob
* The JS Blob object (e.g. from the DataTransferItem)
*/
function GetPicturepath()
{
var url = document.location.toString();
var arrUrl = url.split("//");
var start = arrUrl[1].indexOf("/");
var relUrl = arrUrl[1].substring(start);//stop省略,截取从start开始到结尾的所有字符
relUrl = relUrl.replace('\/notebooks\/','')
if(relUrl.indexOf("?") != -1){
relUrl = relUrl.split("?")[0];
}
var re2Url=relUrl.split("/");
re2Url.pop();
relUrl = re2Url.join("/")+'/pictures/';
return relUrl;
}
var that = this;
var pos = this.code_mirror.getCursor();
var reader = new FileReader();
// We can get either a named file (drag'n'drop) or a blob (copy/paste)
// We generate names for blobs
var key;
if (blob.name !== undefined) {
key = encodeURIandParens(blob.name);
} else {
key = '_auto_' + Object.keys(that.attachments).length;
}
reader.onloadend = function() {
var d = utils.parse_b64_data_uri(reader.result);
if (blob.type != d[0]) {
// TODO(julienr): Not sure what we should do in this case
console.log('File type (' + blob.type + ') != data-uri ' +
'type (' + d[0] + ')');
}
if(blob.name=='image.png'){
var picture_name=Math.random().toString(36).substr(2)+'.png';
}else{
var picture_name=blob.name
}
var api_url = 'http://'+document.domain+'/api/contents/'+GetPicturepath()+picture_name;
$.ajax({
type: 'PUT',
url: api_url,
contentType:"application/json",
// date:JSON.parse('{"format":"base64","name":"picture_name"}'),
data: JSON.stringify({'content':d[1],'format':"base64",'name':picture_name,'path':GetPicturepath()+picture_name,'type':'file'}),
beforeSend:function(jqXHR,options){
var _xsrf = (/_xsrf=[^;]+;?/i).exec(document.cookie)[0];
_xsrf = _xsrf.replace(/(_xsrf=)/,'');
jqXHR.setRequestHeader("X-XSRFToken",_xsrf) ; // 增加一个自定义请求头
},
success: function (data) {
var image_url = 'http://'+document.domain+'/files/'+data['path']
var img_md = '';
that.code_mirror.replaceRange(img_md, pos);
},
});
}
reader.readAsDataURL(blob);
};
重启jupyter notebook。
查看效果
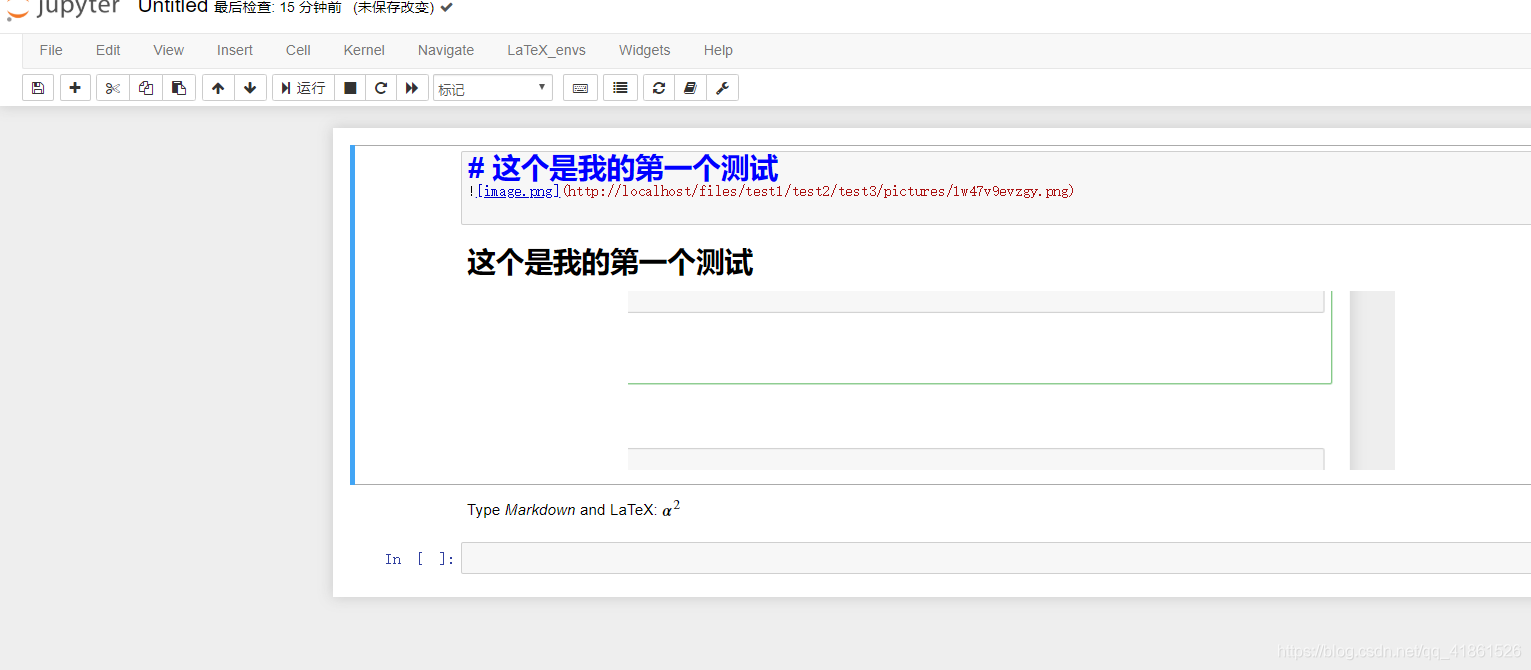
渲染markdown