Tornado项目的两个示例
第一个是一个简单的Tornado Server项目
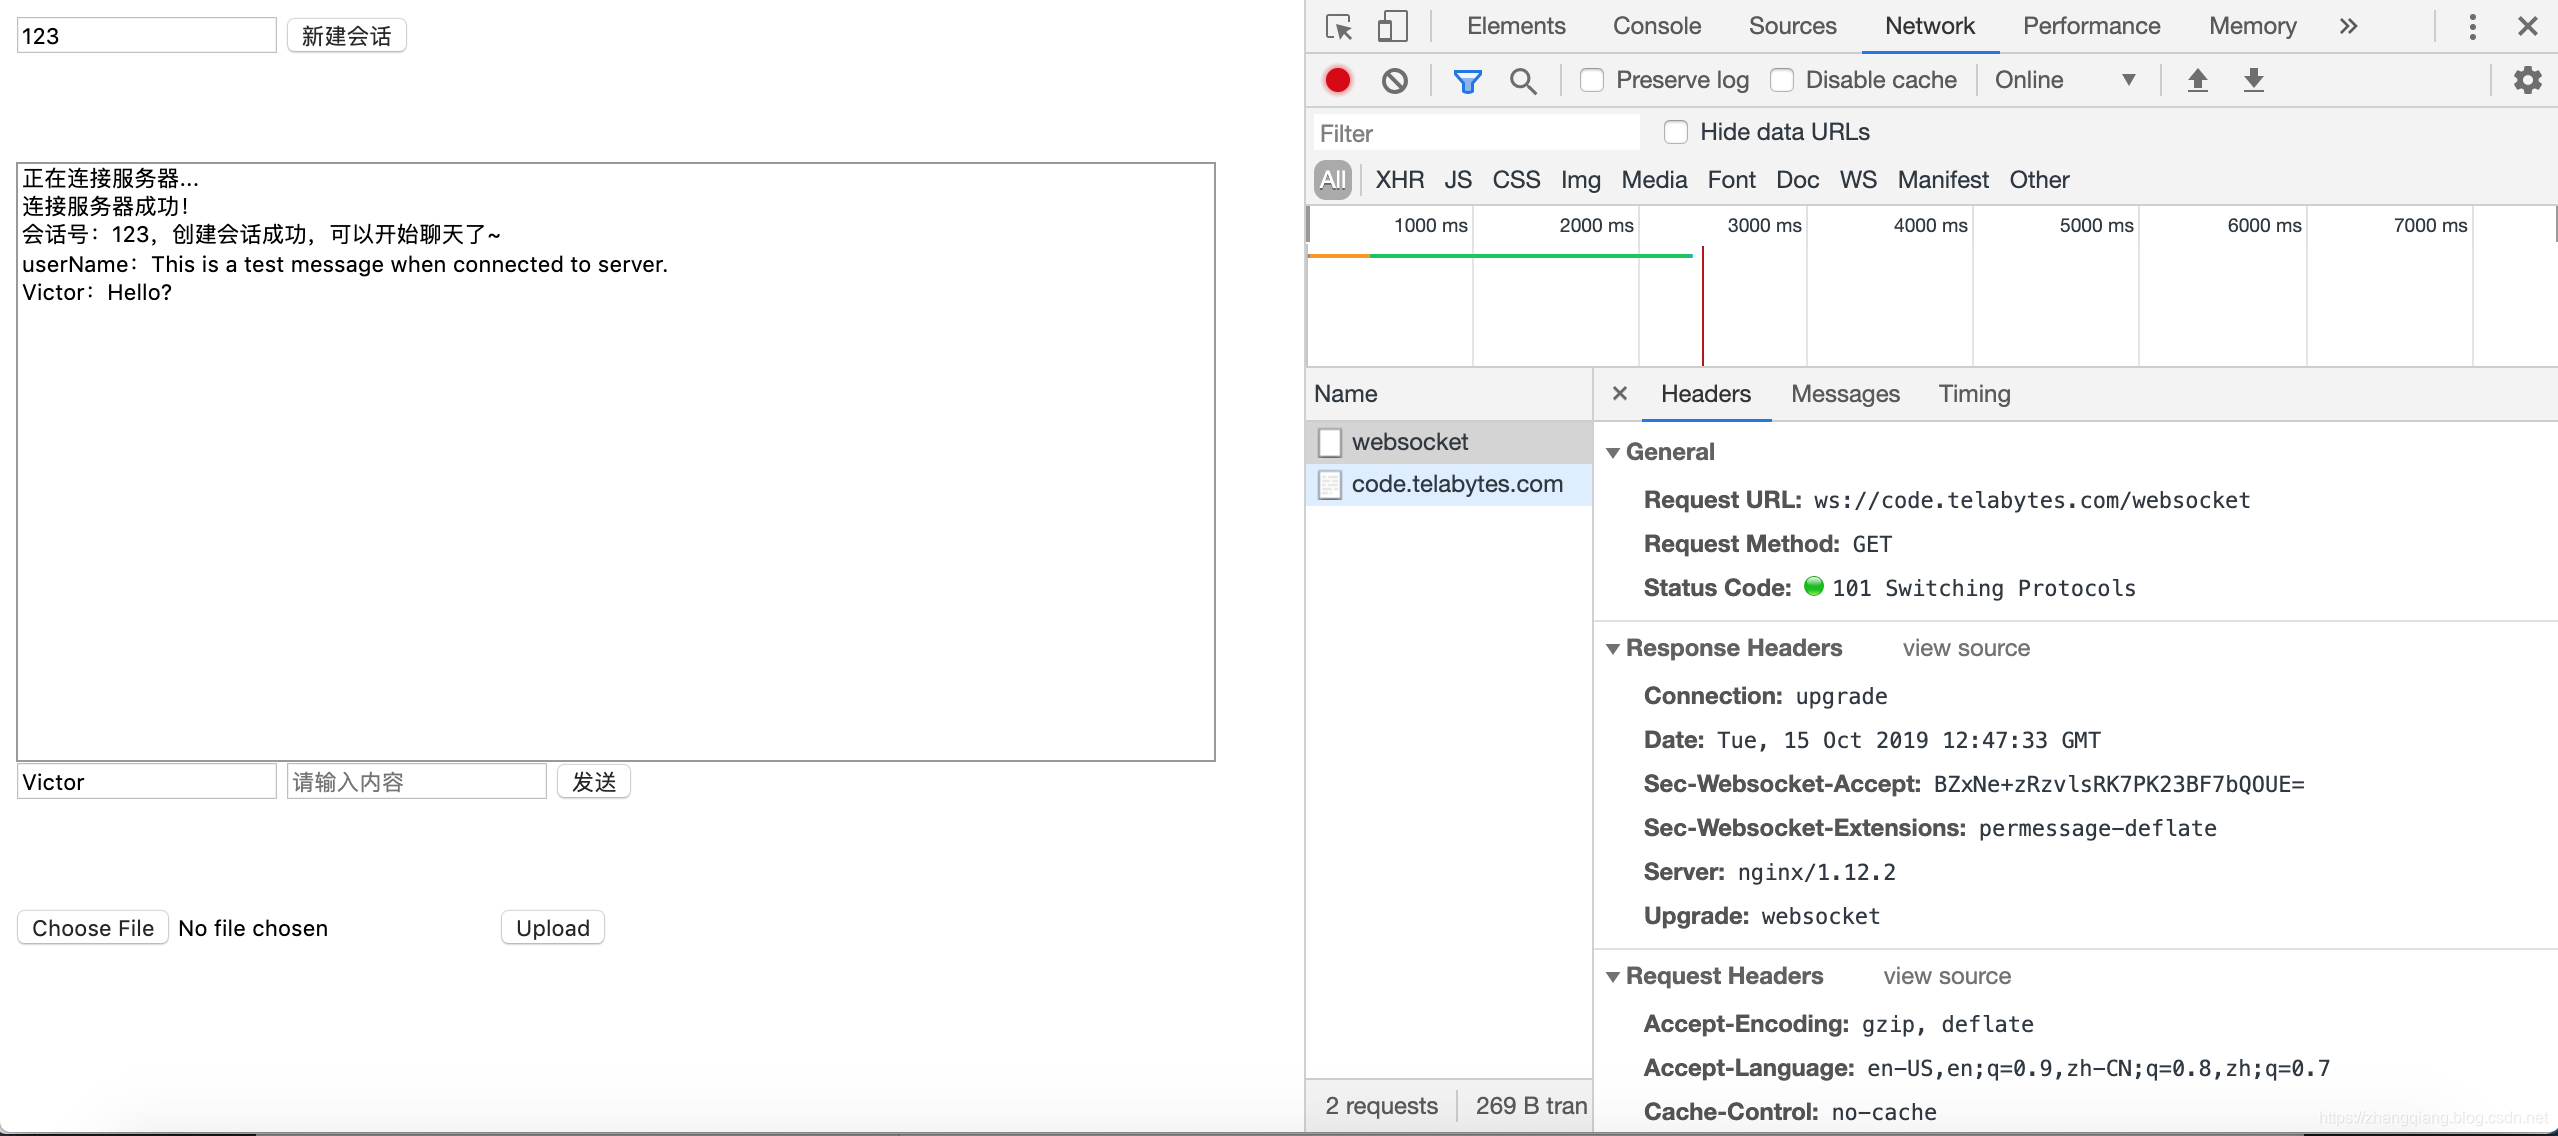
第二个是一个Tornado WebSocket项目
1.简单的Tornado Server项目示例
这个etc文件夹是nginx和supervisorctl的配置.
这个nginx.conf文件专为nginx的配置.
/etc/nginx.conf
这个tornado.conf文件是supervisorctl专为进程管理的配置.
/etc/supervisor/tornado.conf
你可以通过main.py文件来启动一个Tornado Server的配置,它的代码内容如下:
import tornado.ioloop
import tornado.web
import os

from tornado.options import define, options
define("port", default=8100, help="run on the given port", type=int)

class MainHandler(tornado.web.RequestHandler):

    def get(self):
        # 这个`index.html`文件位于`templates`文件夹
        self.render("index.html")

def make_app():
    settings = dict(
        # 表示静态的html模板文件目录
        template_path=os.path.join(os.path.dirname(__file__), "templates"),
        # 表示静态的js,css,图片等文件目录
        static_path=os.path.join(os.path.dirname(__file__), "static"),
    )
    return tornado.web.Application(
        [(r"/", MainHandler)],
        **settings
    )

if __name__ == "__main__":
    tornado.options.parse_command_line()
    app = make_app()
    http_server = tornado.httpserver.HTTPServer(app)
    http_server.listen(options.port)
    tornado.ioloop.IOLoop.instance().start()
最后,使用命令python main.py在本地启动, 打开浏览器,输入网址:http://localhost:8100 既可看到index.html页面里的内容。
2.简单的Tornado WebSocket项目示例
这个etc文件夹是专为nginx和supervisorctl的配置。
这个nginx.conf文件是专为nginx的配置。
/etc/nginx.conf
这个ws.example.com.conf文件是专为nginx的websocket的配置。
/etc/nginx/vhost/ws.example.com.conf
这个WebSocketProject.conf文件是专为supervisorctl进程管理工具。
/etc/supervisor/WebSocketProject.conf
由于我们要配置的网站是有WebSocket服务功能的,所以这里有一点小区别,主要是在nginx配置文件里。因为默认情况下,Nginx对http/https的配置不是长连接,而websocket是需要长连接的,所以了?我们对配置文件修改如下:
因为这个配置文件是针对WebSocket的,所以’ nginx '文件有一点不同。所以在nginx.conf文件中,对代理服务器的请求中的Connection报头字段的值取决于客户端请求报头中“Upgrade”字段的呈现:
http {
    map $http_upgrade $connection_upgrade {
        default upgrade;
        ''      close;
    }
逐跳请求头,包含Upgrade和Connection并不是从客户端传递到代理服务器,因此,为了让服务器知道客户端将协议(switch protocol)切换到WebSocket意图,必须显示的传递这些标头:
    server {
        ...

        location /chatsocket {
            proxy_pass http://localhost:9090;
            proxy_http_version 1.1;
            proxy_set_header Upgrade $http_upgrade;
            proxy_set_header Connection $connection_upgrade;
            proxy_set_header Origin '';
            proxy_read_timeout 300s;
        }
    }
Nginx WebSocket Proxying的官方文档解释: https://nginx.org/en/docs/http/websocket.html
Nginx的主要配置
Nginx配置
http {
  map $http_upgrade $connection_upgrade {
       default upgrade;
       ''      close;
  }

  server {
       location ~ ^/stream/ws/gchat/([0-9a-z]+)$ {
           proxy_pass http://localhost:8100;
           proxy_http_version 1.1;
           proxy_set_header Upgrade $http_upgrade;
           proxy_set_header Connection "upgrade";
           proxy_set_header Origin '';
           proxy_read_timeout 300s;
       }
   }
}
其中URL的正则匹配 ~ ^/stream/ws/gchat/([0-9a-z]+)$ 表示路径的最后一位是字母或者数字组合 比如:http://localhost:9090/stream/ws/gchat/you123
请注意
如果你在云服务器上启动服务,webapp可能不会自动重启,那么你需要去确认发生了什么问题,输入以下命令:
supervisorctl status
就会告诉你发生的错误信息在哪里,比如:unix:///tmp/supervisor.sock refused connection,然后解决方案是:
sudo supervisord -c /etc/supervisord.conf

sudo supervisorctl status  # see is it running well?

sudo service nginx restart # restart your nginx
https://stackoverflow.com/questions/20067116/supervisorctl-error-unix-var-run-supervisord-sock-refused-connection
