2017-2018-2 20155228 《网络对抗技术》 实验八:Web基础
1. 实践内容
1.1 Web前端HTML
能正常安装、启停Apache。理解HTML,理解表单,理解GET与POST方法,编写一个含有表单的HTML。
1.2 Web前端javascipt
理解JavaScript的基本功能,理解DOM。编写JavaScript验证用户名、密码的规则。
1.3 Web后端:MySQL基础:正常安装、启动MySQL,建库、创建用户、修改密码、建表
1.4 Web后端:编写PHP网页,连接数据库,进行用户认证
1.5 最简单的SQL注入,XSS攻击测试
功能描述:用户能登陆,登陆用户名密码保存在数据库中,登陆成功显示欢迎页面。
2. 基础问题回答
2.1 什么是表单
2.2 浏览器可以解析运行什么语言。
2.3 WebServer支持哪些动态语言
3. 实践总结与体会
4. 实践过程记录
4.1 Apache的安装和使用
sudo apt-get install apache2//安装Apache2
service apache2 start//启动Apache2服务
gedit /etc/apache2/port.conf//编辑apache的端口配置文件
打开port.conf文件,将listen后面的端口号80修改为5228,以防止于其他进程形成端口冲突,保存退出
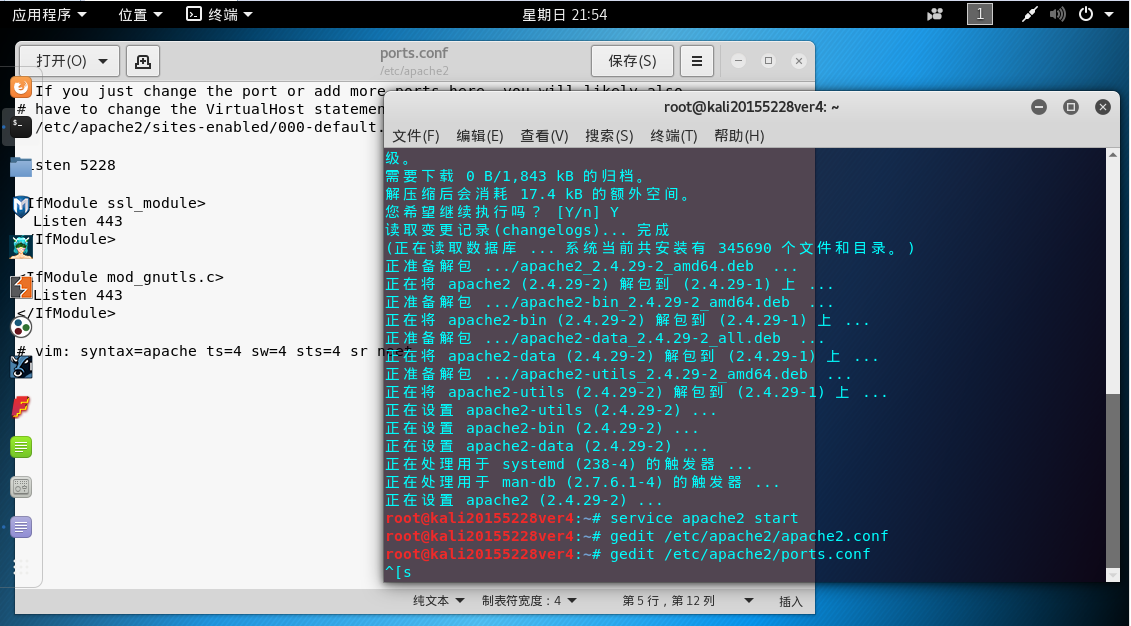
service apache2 restart//重启Apache2服务
netstat -aptn//查看端口使用情况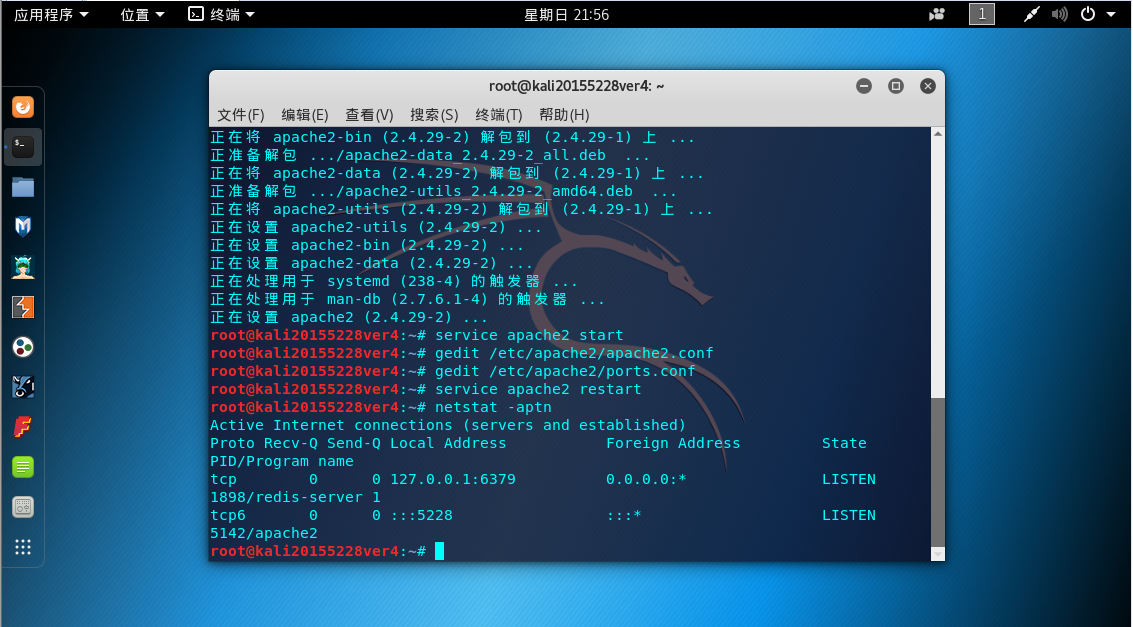
cd /var/www/html//进入apache2的工作目录
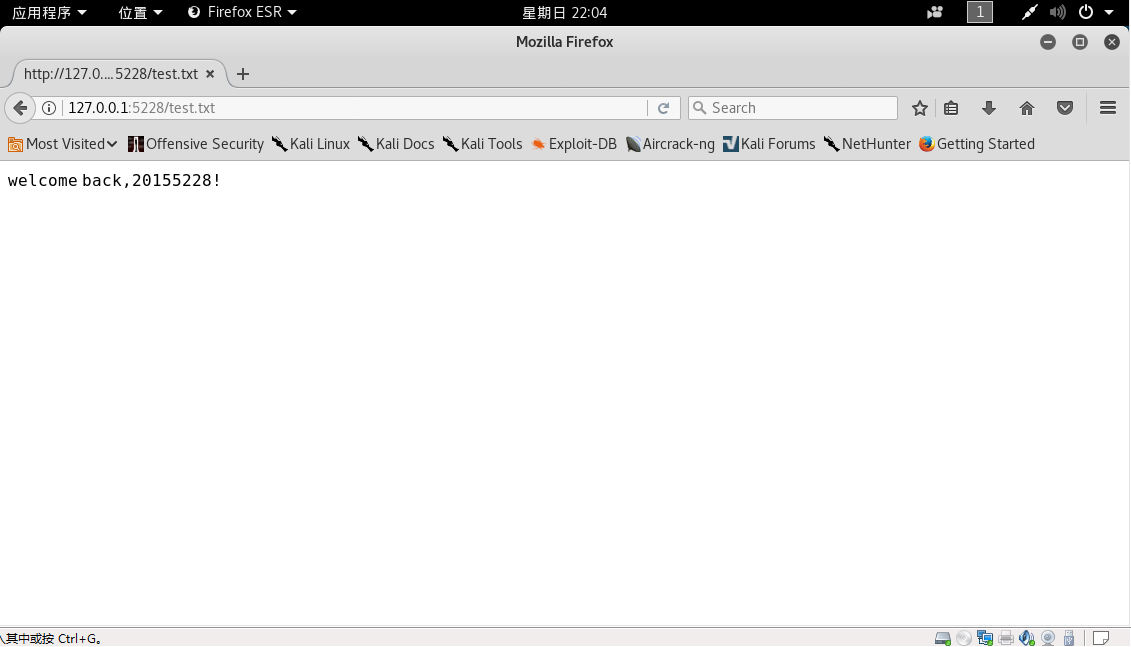
gedit test.txt//新建名为test的txt文件打开test.txt文件,随便写一点内容
welcome back,20155228!保存退出
打开浏览器输入
127.0.0.1:5228/test.txt可以看到之前在test.txt写的内容
4.2 前端编程
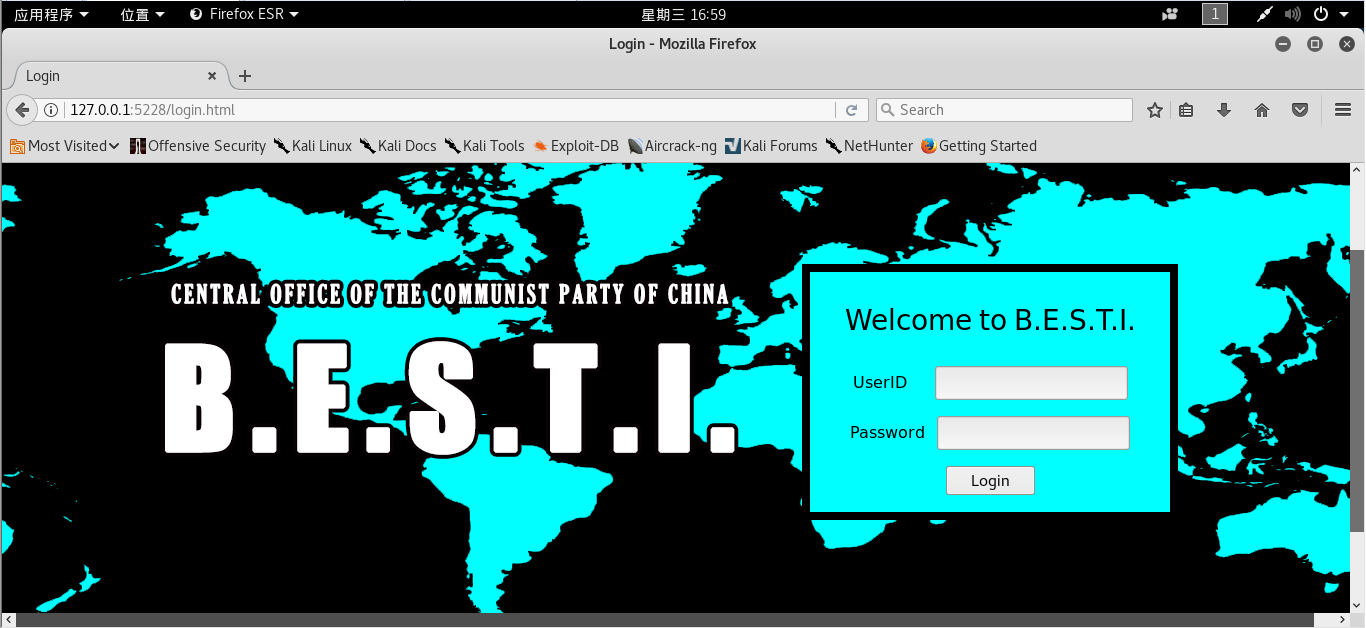
要求:编写一个简单网页,包含一个表单,输出用户名、密码然后提交
4.2.1 使用gedit新建名为login.html文件
<html>
<head>
<meta http-equiv="Content-Type" content="text/html; charset=gb2312">
<title>Login</title>
<script src="MarqueeEffect.js"></script>
<link href="MarqueeEffect.css" rel="stylesheet" type="text/css">
<script>
function inputTest(){
if (document.getElementById("password").value.length>0){
return true
} else {
return false;
}
}
</script>
</head>
<body>
<div class="GeneralDiv">
<div class="Symbol" id="symbol">
<img src="title.png" width=1366 height=640 alt=FailedToLoadTitle>
</div>
<div class="Backgorund" id="backgorund1">
<img src="BackGround.jpg">
</div>
<div class="Backgorund" id="backgorund2">
<img src="BackGround.jpg">
</div>
<div class="Form" id="form">
<center>
<p style="font-size: 28px;color: #000000;">Welcome to B.E.S.T.I.</p>
<form action="login.php" method="GET" onsubmit="return inputTest()">
<p style="font-size: 16px; color: #000000;">
UserID <input type="text" name="username" id="username">
</p>
<p style="font-size: 16px; color: #000000;">
Password <input type="password" name="password" id="password">
</p>
<input style="font-size: 16px;color: #000000;" type="submit" value="Login">
</form>
</center>
</div>
</div>
</body>
</html>4.2.2 使用gedit新建名为MarqueeEffect.css文件
div.GeneralDiv
{
        position:absolute;
        overflow: hidden;
        left:0;
        top:0;
        width:1366px;
        height:640px;
}
div.Backgorund
{
        position: absolute;
        width:100%;
        height:100%;
        z-index:-1;
}
div.Symbol
{
       position:absolute;
       z-index:1;
       left:0px;
       top:0px;
}
div.Form
{
       position:absolute;
       z-index:1;
       left:800px;
       top:200px;

       width:360px;
       height:240px;
       background:#00ffff;
       border:8px solid #000000;

       color:#ffffff;


}
4.2.3 使用gedit新建名为MarqueeEffect.js文件
window.onload = function(){
        var _box1 = document.getElementById("backgorund1");
        var _box2 = document.getElementById("backgorund2");

        var x = 0;
        var y = 0;
        var fun = function(){
            _box1.style.left = x + 'px';
            _box2.style.left = x+1366+'px';

            x--;
            y++;

            if((x+1366) == 0){
                x = 0;
            }


            if((y-1366) == 0){
                y = 0;
            }
        }

        setInterval(fun,40);

    }
注意:这三个文件都要保存在/var/www/html目录下,如果要放在其他目录下的话要相应地调整login.html中的ScriptSrc和LinkHref
打开浏览器输入
http://127.0.0.1:5228/login.html可以看到登录界面
4.3 后端编程PHP
4.3.1 PHP的安装和测试
sudo apt-get install php//安装php
cd /var/www/html//进入apache2的工作目录
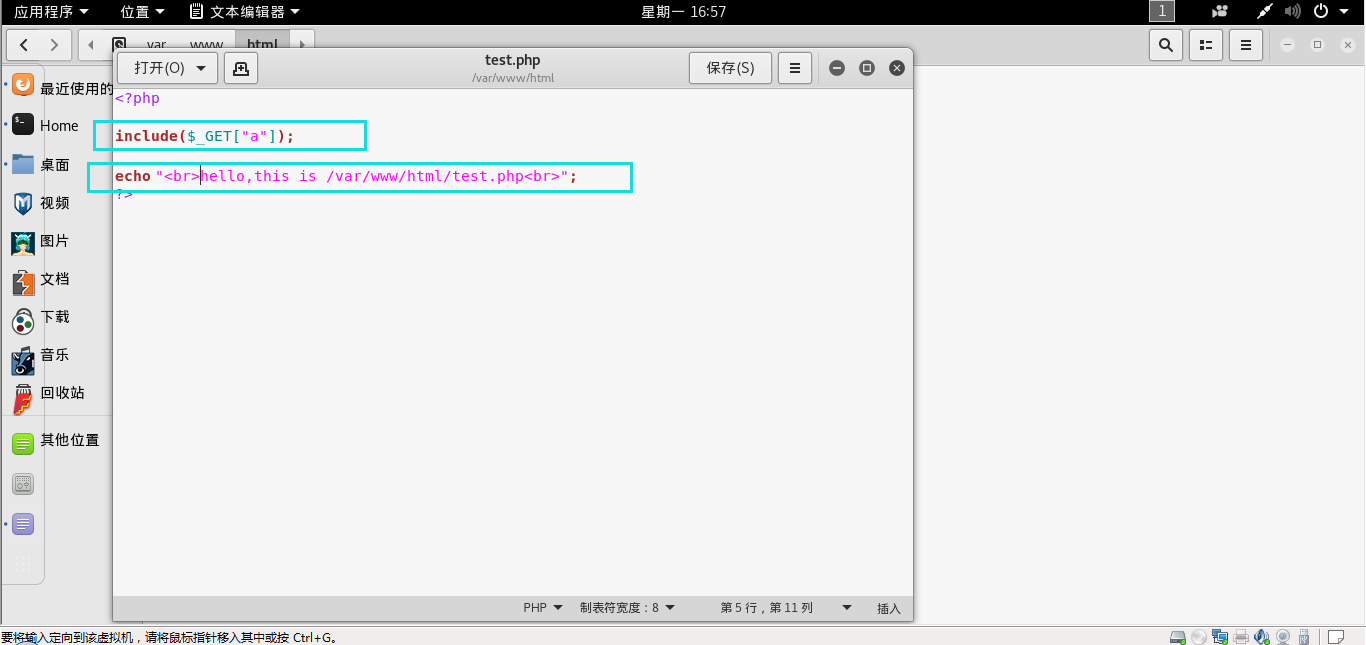
gedit test.php//新建名为test的php文件打开test.php文件,随便写一点内容
<?php

include($_GET["a"]);

echo "<br>hello,this is /var/www/html/test.php<br>";
?>
保存退出
打开test.txt文件,把内容修改为
hello,this is /var/www/html/text.txt!保存退出
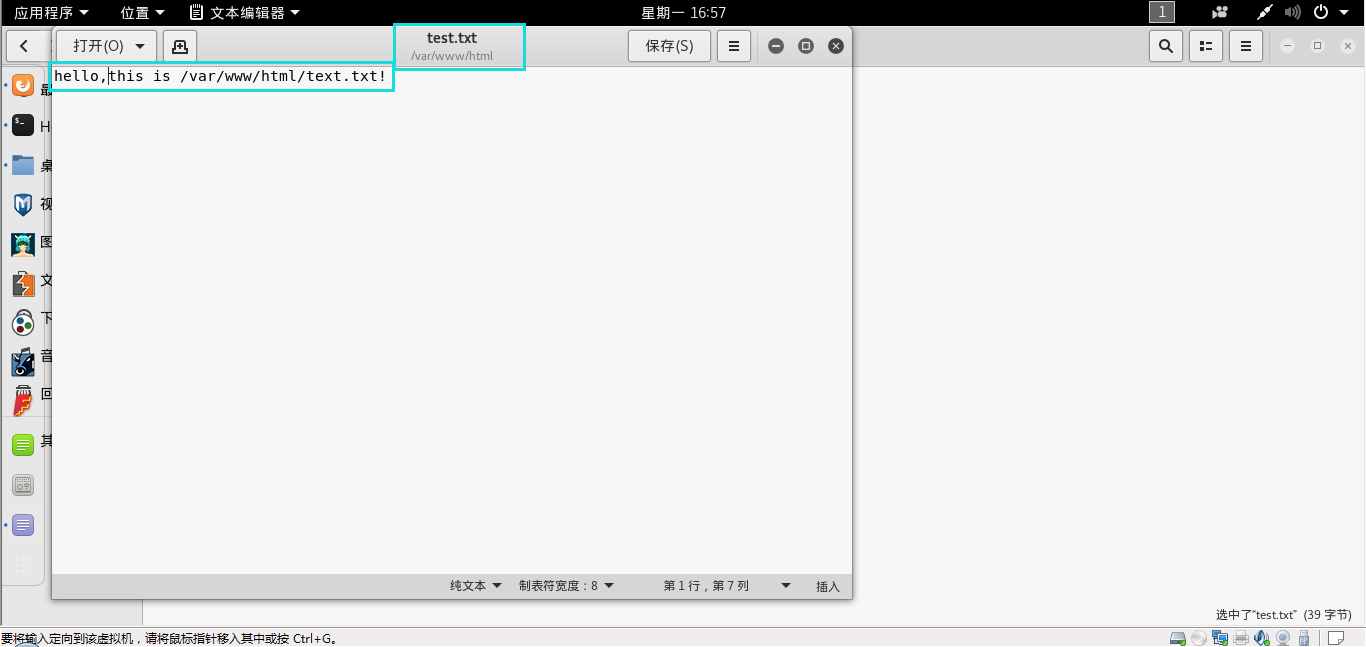
打开浏览器输入
127.0.0.1:5228/test.php?a=/var/www/html/text.txt可以看到之前在test.php和test.txt写的内容

4.4 数据库MYSQL的测试和使用
/etc/init.d/mysql start//启动mysql
mysql -u root -p//以名为root的用户的身份登录数据库
p@ssw0rd//输入用户root的默认密码
use mysql;//进入名为mysql的数据库,注意有分号
select user, password, host from user;//在名为user的数据表中搜索所有user,password,host信息
UPDATE user SET password=PASSWORD("123456") WHERE user='root';//重新设置名为root的用户的密码为123456
flush privileges;//更新权限使修改生效
quit;//退出mysql
mysql -u root –p//重新以名为root的用户的身份登录数据库
123456//输入用户root的新密码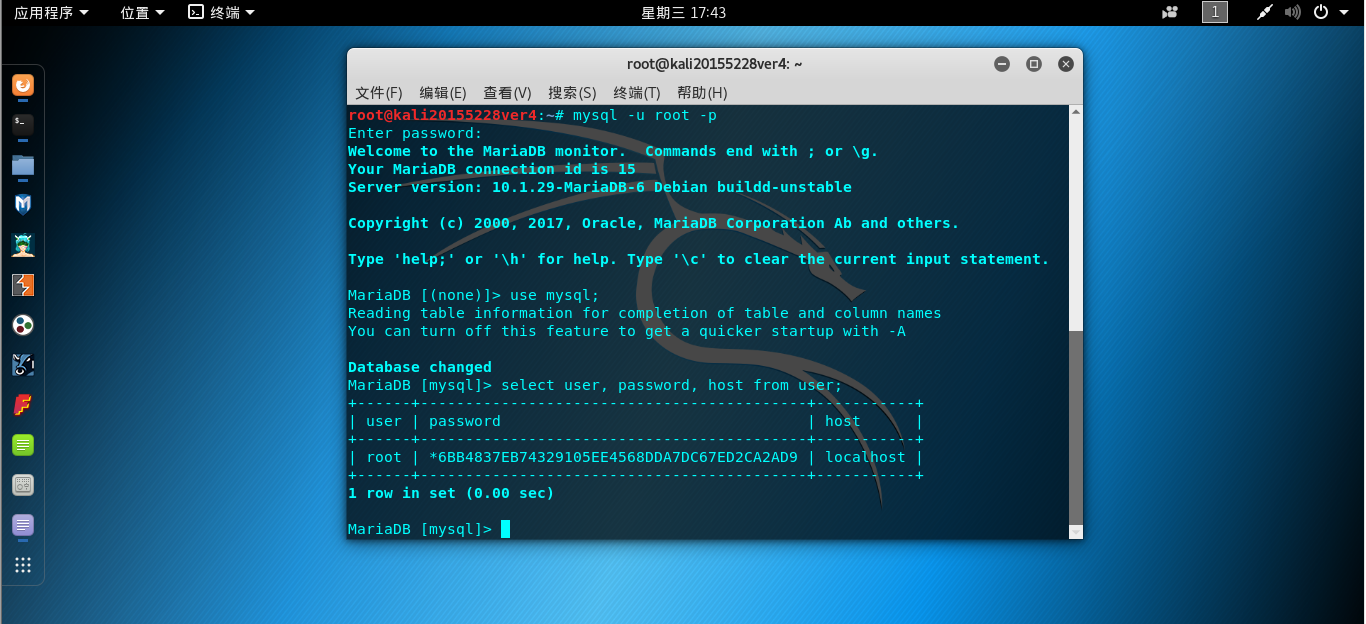
CREATE SCHEMA `database5228`;//新建一个名为database5228的数据库
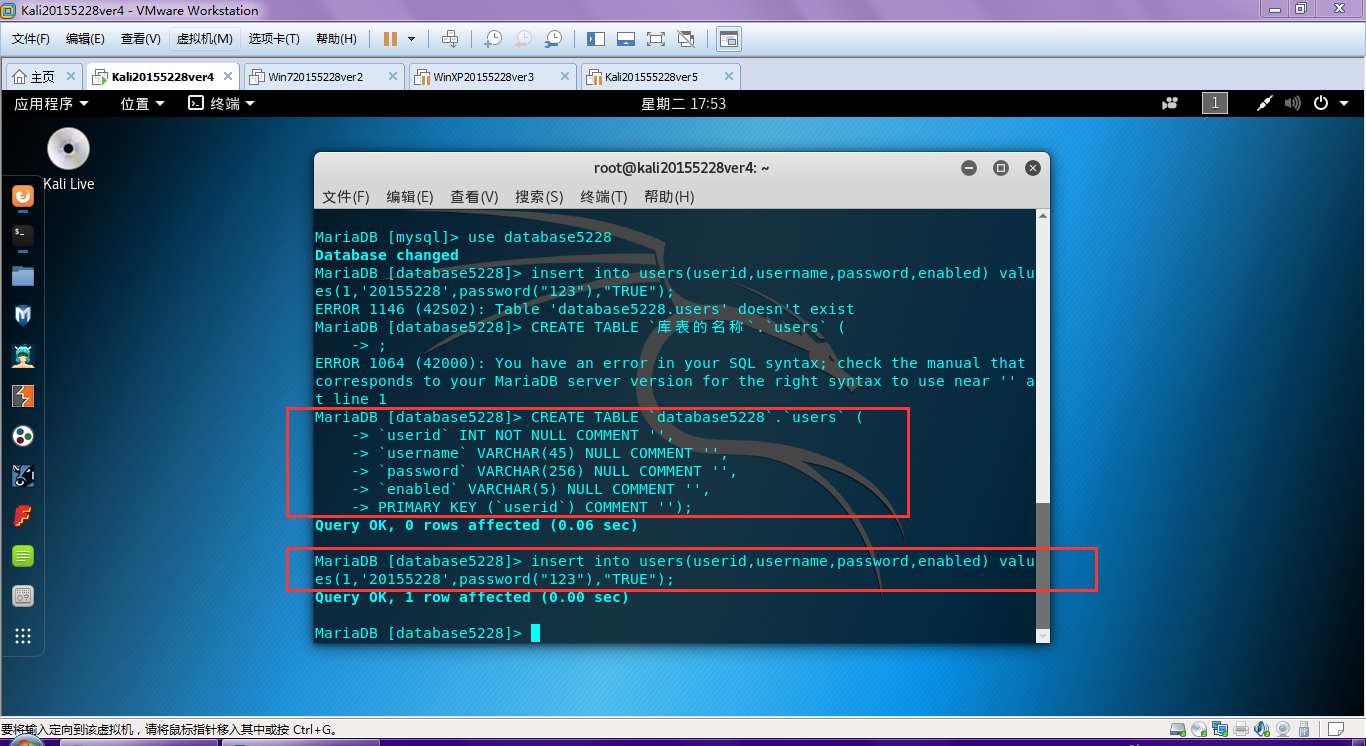
CREATE TABLE `database5228`.`users` (`userid` INT NOT NULL COMMENT '',`username` VARCHAR(45) NULL COMMENT '',`password` VARCHAR(256) NULL COMMENT '',`enabled` VARCHAR(5) NULL COMMENT '',PRIMARY KEY (`userid`) COMMENT '');//在数据库database5228新建一个名为user的数据表,每一条记录的内容有userid、username、password、enabled,设置主键为userid
insert into users(userid,username,password,enabled) values(1,'20155228',password("123"),"TRUE");//在数据表database5228中插入一条记录userid为1、username为20155228、password为123、enabled为true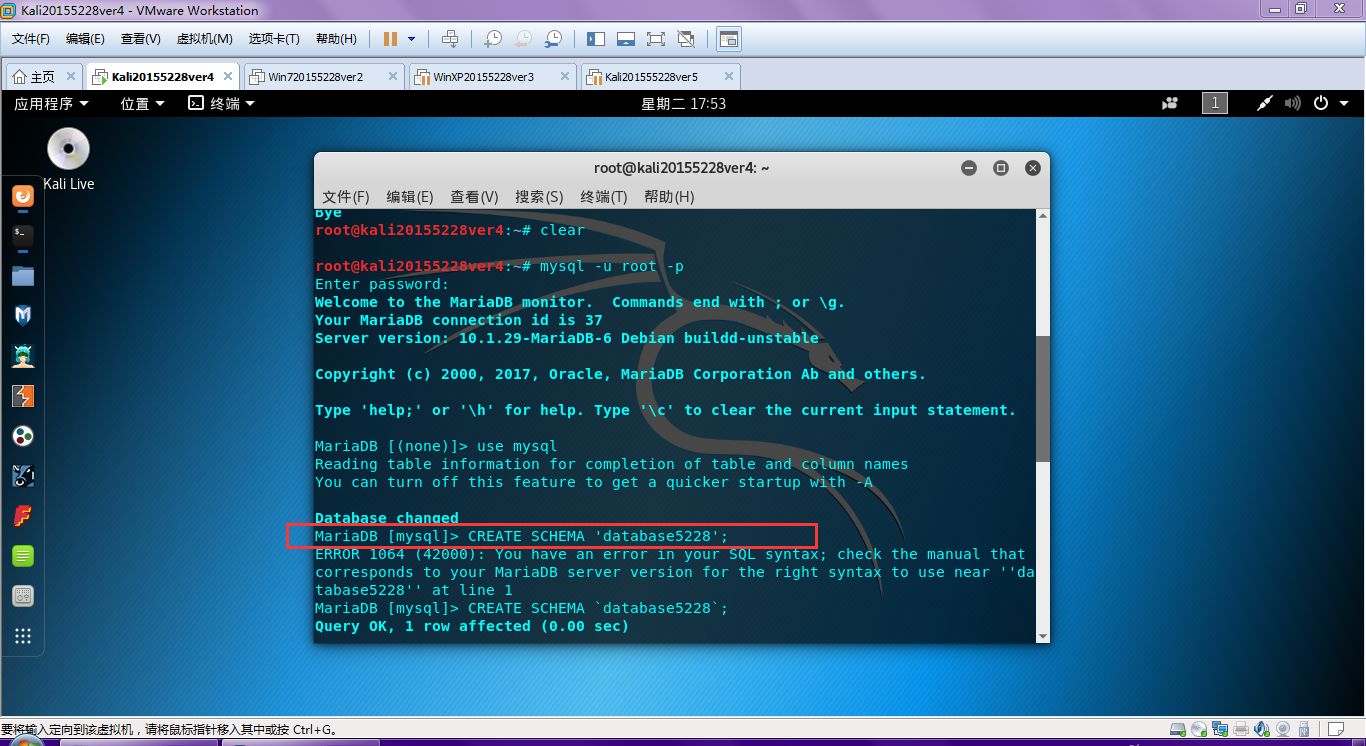
注意这一步非常重要!忽略这一步将导致之后登陆时无法连接到数据库
注意这一步非常重要!忽略这一步将导致之后登陆时无法连接到数据库
注意这一步非常重要!忽略这一步将导致之后登陆时无法连接到数据库
grant all privileges on *.* to 'root'@'localhost' identified by '123456' with grant option;//设置授权4.5 web编程
4.5.1 使用gedit新建名为login.php文件
<?php
$uname=$_GET['username'];
$pwd=$_GET['password'];
$query_str="SELECT * FROM users WHERE username='{$uname}' and password=password('{$pwd}');";
$mysqli = new mysqli("127.0.0.1", "root", "123456", "database5228");
/* check connection */
if ($mysqli->connect_errno) {
printf("Connect failed: %s\n", $mysqli->connect_error);
exit();
}
echo "Connect to server successfully,please wait for a moment";
/* Select queries return a resultset */
if ($result = $mysqli->query($query_str)){
if ($result->num_rows > 0 ){
header("Refresh:1;url=welcome.html");
} else {
header("Refresh:1;url=failed.html");}
/* free result set */
$result->close();
}
$mysqli->close();
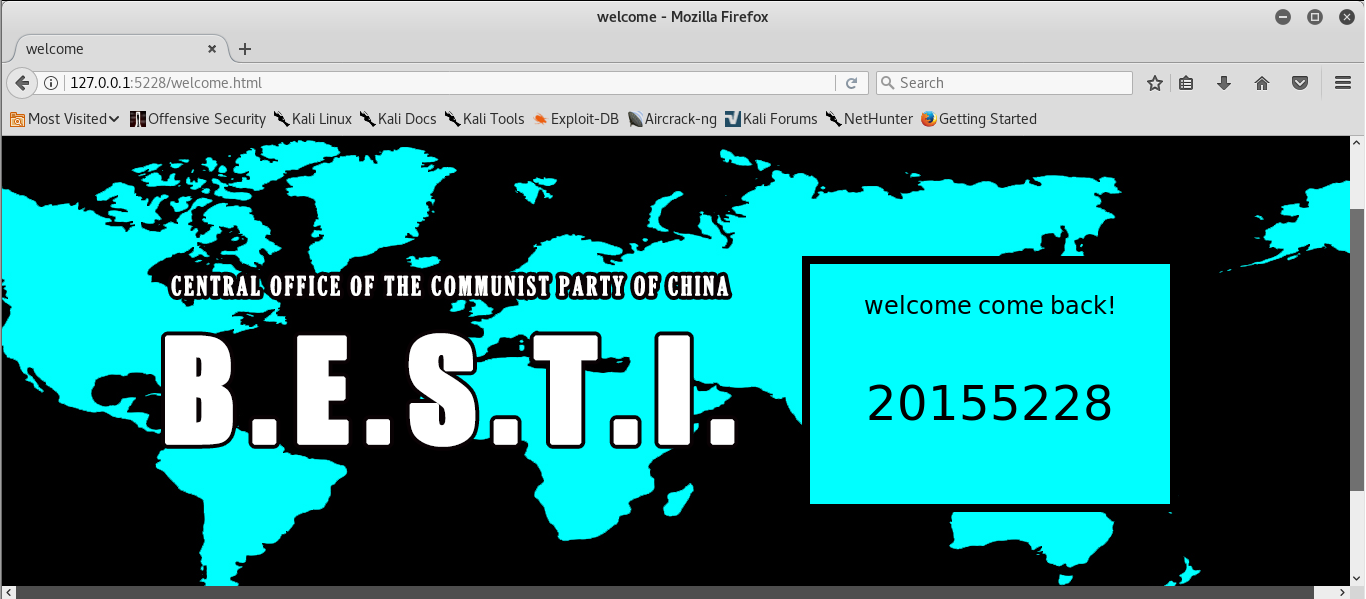
?>4.5.2 使用gedit新建名为welcome.html文件
<html>

<head>
<meta http-equiv="Content-Type" content="text/html; charset=gb2312">
<title>welcome</title>
<script src="MarqueeEffect.js"></script>
<link href="MarqueeEffect.css" rel="stylesheet" type="text/css">
</head>
<body>
    <div class="GeneralDiv">

        <div class="Symbol" id="symbol">
            <img src="title.png" width=1366 height=640 alt=FailedToLoadTitle>
        </div>

        <div class="Backgorund" id="backgorund1">
            <img src="BackGround.jpg">
        </div>

        <div class="Backgorund" id="backgorund2">
            <img src="BackGround.jpg">
        </div>


        <div class="Form" id="form">
                                        <center>
                <p style="font-size:24;color:#000000">welcome come back!</p>
                                <p style="font-size:48;color:#000000">20155228</p>
            </center>
        </div>


    </div>
</body>
</html>
4.5.3 使用gedit新建名为Failed.html文件
<html>

<head>
<meta http-equiv="Content-Type" content="text/html; charset=gb2312">
<title>LoginFailed</title>
<script src="MarqueeEffect.js"></script>
<link href="MarqueeEffect.css" rel="stylesheet" type="text/css">

</head>
<body>
    <div class="GeneralDiv">

        <div class="Symbol" id="symbol">
            <img src="title.png" width=1366 height=640 alt=FailedToLoadTitle>

        </div>

        <div class="Backgorund" id="backgorund1">
            <img src="BackGround.jpg">
        </div>

        <div class="Backgorund" id="backgorund2">
            <img src="BackGround.jpg">
        </div>


        <div class="Form" id="form">
                                        <center>
             <BR>
                <p style="font-size:36;color:#000000">LOGIN FAILED!</p>

                <a href="login.html" style="font-size:18;color:#000000;text-decoration : none;">CLICK HERE BACK TO LOGIN PAGE</a>
            </center>
        </div>


    </div>
</body>
</html>
打开浏览器输入
http://127.0.0.1:5228/login.html可以看到登录界面

用户密码输入正确的界面
用户密码输入不正确的界面

值得一提的是设置了链接可以回到登录界面
4.5 SQL注入和XSS攻击
4.5.1 SQL注入
在登录界面的用户名输入框中输入以下内容,密码输入框输入内容随意
' or 1=1#在用户名输入框中输入的内容会被发送到后台放入以下语句执行数据库查询
$query_str="SELECT * FROM users WHERE username='{$uname}' and password=password('{$pwd}');";输入' or 1=1#语句得到
select * from users where username='' or 1=1#' and password=md5('')' and password=password('{$pwd}');";注意#代表注释后面的内容
select * from users where username='' or 1=1因为1=1永远为真,所以对账号密码的验证返回结果永远为成功


4.5.1 XSS攻击
为了更好地体现效果,在进行攻击之前对login.php进行修改
<?php
$uname=$_GET['username'];
$pwd=$_GET['password'];
echo $uname;
$query_str="SELECT * FROM users WHERE username='{$uname}' and password=password('{$pwd}');";
$mysqli = new mysqli("127.0.0.1", "root", "123456", "database5228");
/* check connection */
if ($mysqli->connect_errno) {
    printf("Connect failed: %s\n", $mysqli->connect_error);
    exit();
}
echo "Connect to server successfully";
/* Select queries return a resultset */
if ($result = $mysqli->query($query_str)) {
        if ($result->num_rows > 0 ){
                echo "<br> Wellcome login Mr/Mrs:{$uname} <br> ";
        } else {
                echo "<br> login failed <br> " ; }
    /* free result set */
    $result->close();
}
$mysqli->close();
?>
用户密码输入不正确的界面

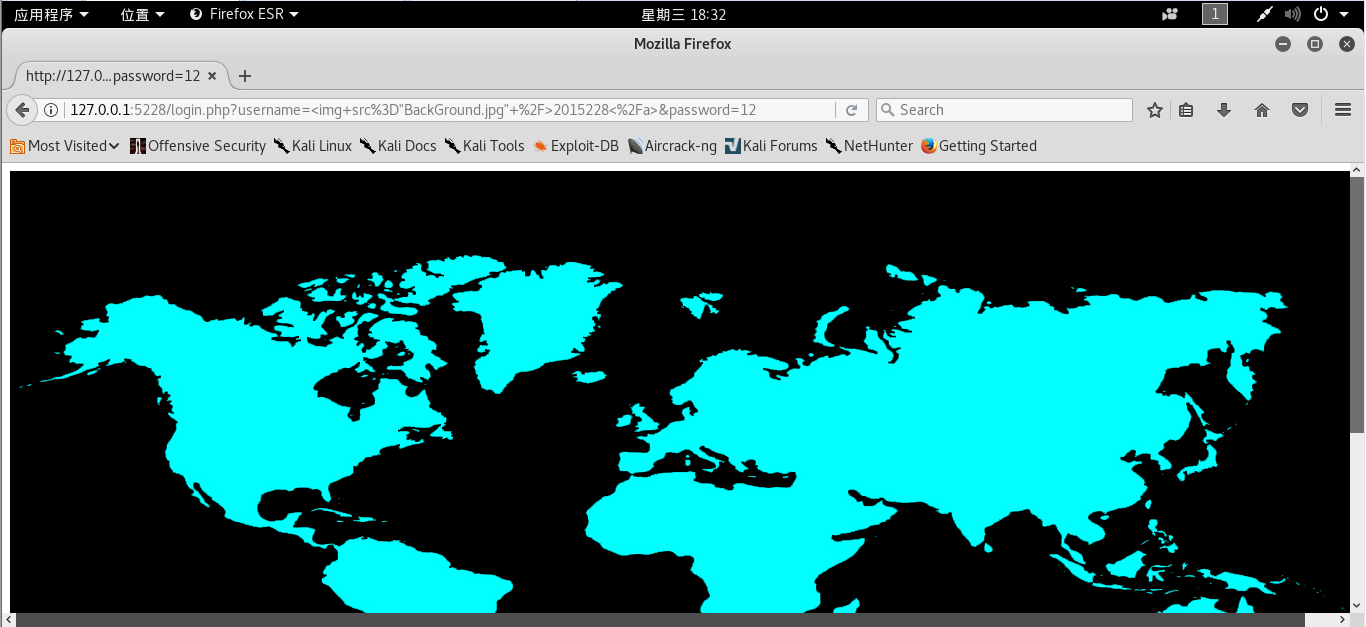
在登录界面的用户名输入框中输入以下内容,密码输入框输入内容随意
<img src="BackGround.jpg" />2015228</a>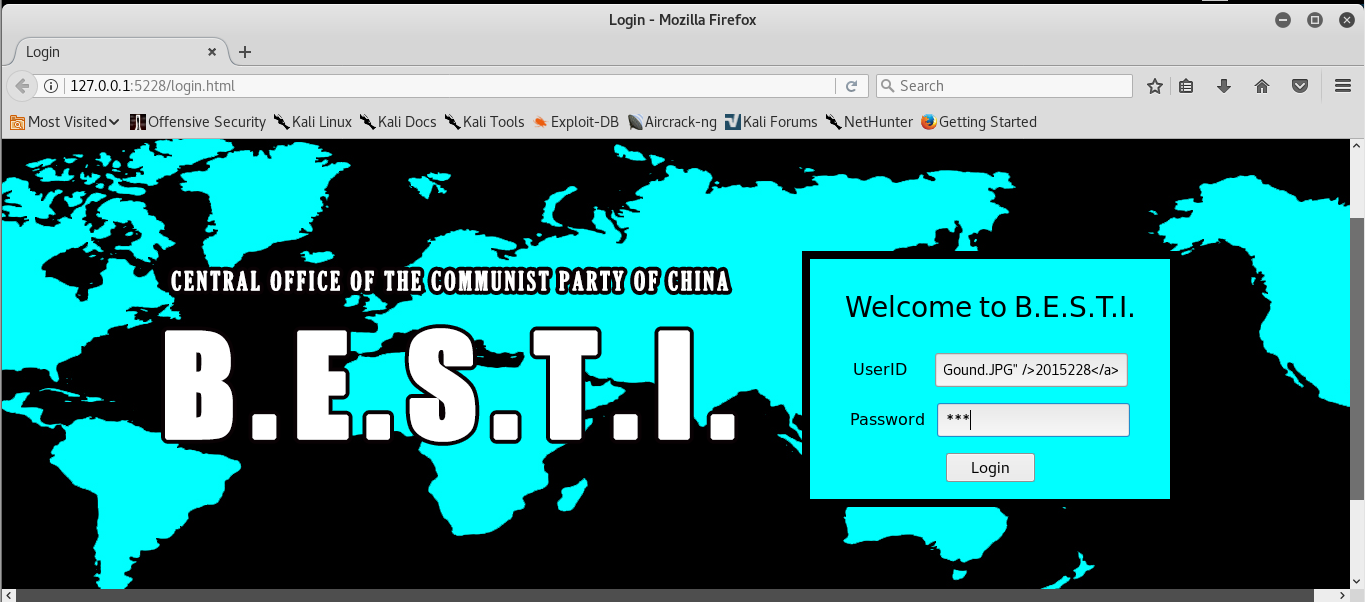
在用户名输入框中输入的内容会被赋值给uname然后被打印出来
$uname=$_GET['username'];
echo $uname;输入<img src="BackGround.jpg" />2015228</a>语句得到
echo <img src="BackGround.jpg" />2015228</a>会导致BackGround.jpg被打印出来