1、快速搭建一个spring MVC项目
来开头来个Hello World先吧,
第一步,上官网,进行项目原始jar 包的选取,官网在线搭建地址如下:https://start.spring.io/
看图:
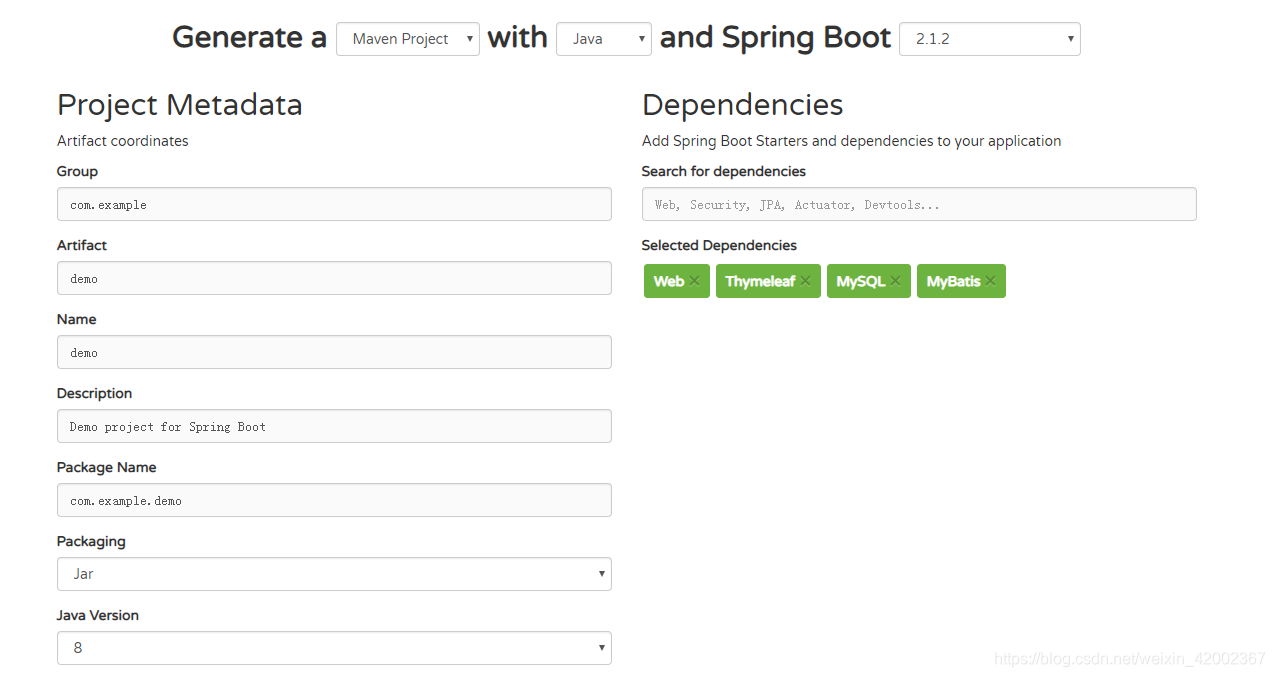
特别说明下:在选择你要的jar 包中,一般包括三部分:web部分–包含 了spring、springboot 等常用的web开发必须jar包;spring提供的访问网页的Thymeleaf;数据库部分,spring boot自动可以帮你继承各种数据库框架,我这里以mybatis 为演示例子,最后选完jar包的效果如下,项目名可改为helloSpringboot:
第二步、下载项目并导入ecplice,当然,需要版本管理工具的支持,,具体看下面截图:
解压后得到项目文件,然后,找到file–>import–>Maven->Existising Maven Project 的路径,选择刚才解压的文件-》finish即可,
第三步、hello spring项目打开项目之后,maven 会加载必须的jar包,在右下角会看到下载条,你会看到下面这样的典型maven目录结构:
HelloSpringbootApplication是整个项目的入口,我们启动项目不再是启动tomcat,而是运行这个类,这个类的main方法就是整个项目的main方法即执行入口,
第四步,在hellospringboot下新建一个文件夹,点击hellospringboot->右击-》new-》folder,文件名controller(控制层),然后新建一个类HelloController,写入以下代码
@Controller
public class HelloController {
@RequestMapping(path = {"/hi"})
public String HelloSpring (){
System.out.println(“hello spring boot”);
return “hello spring boot”;
}
}
}
在启动网站前,由于spring boot 是默认自动注册加载数据库相关的类文件的,所以为了不报错,我们需要打开数据库并在resource目录下的application.properties中加入数据库配置相关文件,这里以mysql为例子,配置文件如下(注意一行是一个配置):
spring.datasource.url=jdbc:mysql://localhost:3306/数据库名?useUnicode=true&characterEncoding=utf8&useSSL=false
spring.datasource.username=root
spring.datasource.password=root
以下是HelloSpringbootApplication 的代码主程序入口类
@SpringBootApplication()
public class HelloSpringbootApplication {
public static void main(String[] args) {
    SpringApplication.run(HelloSpringbootApplication.class, args);
}
}
然后,我们所有的工作就完成了,但是要将HelloSpringbootApplication 放到controller同级,也就是hellospringboot文件下,因为他要扫描子目录或同级目录下的注解,直接手动拖动即可,然后修改一下他的package即可。
找到 HelloSpringbootApplication类,双击打卡,右击鼠标,run as-》java application,然后项目就启动了。
启动网站之后,输入http://localhost:8080/hi即可访问对应的方法。即可看到对应字符。

第五步:
访问web网页。
1,在resources文件夹下的templates,新建index.Html文件。点击templates-》右击-》new-》other-》web-》html file-》next-》文件名为index。
Index.html代码如下:
第六部:分别在controller同级创建service(服务层),dao(接口),model(实体类)问件夹
1,在model新建数据库对应实体类User,点击model文件夹右击-》new-》other-》class-》文件名User-》finish
代码如下:
public class User {
private   String name;
private   String age;
public String getName() {
	return name;
}
public void setName(String name) {
	this.name = name;
}
public String getAge() {
	return age;
}
public void setAge(String age) {
	this.age = age;
}
}
2,在dao(接口)新建接口,点击dao文件夹右击-》new-》other-》interface-》文件名UserDao-》finish,代码如下:
@Mapper
public interface UserDao {
@Select({"SELECT * FROM USER  WHERE NAME= #{name} "})
User finduserByname(User user);
}
3,在service(服务层)新建类Service类,代码如下:
@Component
public class Service {
@Autowired
UserDao userdao;

  public String finduser(String name) {
	  User user=new User();
	  user.setName(name);
	  User user2=new User();
      user2=userdao.finduserByname(user);
	  return user2.getAge();
  }
}
3,在helloController中新增方法,登录方法:这里的path对应index页面中from表单中的action的值。
@RequestMapping(path = {"/ulogin"},method = { RequestMethod.POST})
@ResponseBody
public String login(HttpServletRequest request,HttpSession session){
String username=request.getParameter(“username”);
String password=request.getParameter(“password”);
System.out.println(username +“login spring boot”);
String s=“fail”;
s=service.finduser(username);
System.out.println(s);
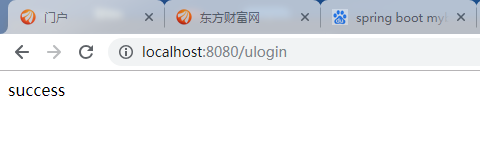
if(s.equals(password)) s=“success”;
return s;
}
第七步:
连接数据库调配:
1.,在resources文件夹下,新建mybatis-config.xml文件,点击resources-》右击-》new-》file-》输入mybatis-config.xml-》finish,其中代码如下不要更改:
<settings>
    <!-- Globally enables or disables any caches configured in any mapper under this configuration -->
    <setting name="cacheEnabled" value="true"/>
    <!-- Sets the number of seconds the driver will wait for a response from the database -->
    <setting name="defaultStatementTimeout" value="3000"/>
    <!-- Enables automatic mapping from classic database column names A_COLUMN to camel case classic Java property names aColumn -->
    <setting name="mapUnderscoreToCamelCase" value="true"/>
    <!-- Allows JDBC support for generated keys. A compatible driver is required.
    This setting     forces generated keys to be used if set to true,
     as some drivers deny compatibility but still work -->
    <setting name="useGeneratedKeys" value="true"/>
</settings>

<!-- Continue going here -->
然后在application.properties新增一条配置:
mybatis.config-location=classpath:mybatis-config.xml
代表将配置文件引入
2,然后启动项目,在浏览器中输入:http://localhost:8080/index,
后输入数据即可完成验证,成功后如下图: