Spring Date是Spring的一个子项目,它的诞生用于简化数据库访问,即支持NoSql数据也支持关系型数据库,让数据库数据的操作变得更加简单,下面主要实现的是Spring Date操作redis数据库.
为什么要共享session? 传统的部署项目,两个相同的项目部署到不同的服务器上,Nginx负载均衡后会导致用户在A上登陆了,经过负载均衡后,在B上要重新登录,因为A上有相关session信息,而B没有。这种情况也称为“有状态”服务。而“无状态”服务则是:在一个公共的地方存储session,每次访问都会统一到这个地方来拿。这样我们用redis进行session的储存,集群中所有的服务器共享redis储存的session信息,这样就避免了用户信息不统一的尴尬情况.
为什么要用redis作为储存的数据库呢?redis是非关系型数据库,也就是nosql数据库,此类数据库最大特点是,不会受到sql数据的限制,存取速度快,且吞吐量高,非常适合在高并发的集群中作为储存Session首选数据库
shiro的亮点之一就是会话管理,所以我们用其管理session数据
1.添加所需的Jar包
在jar包的选择上切记要版本兼容,笔者在实验中,半天的时间浪费在错误的查找中,最后知晓是jar包版本不兼容问题,下面我给出大家jar版本参考
| 序号 | jar |
|---|---|
| 1 | spring-data-commons-1.8.4 |
| 2 | jedis-2.9.0 |
| 3 | spring-data-redis-1.8.3 |
| 4 | commons-pool2-2.4.2 |
2.配置spring-redis.xml
此配置文件主要是把redis-cluster集群的连接与设置交由spring容器完成
<?xml version="1.0" encoding="UTF-8"?>
<beans xmlns="http://www.springframework.org/schema/beans"
       xmlns:xsi="http://www.w3.org/2001/XMLSchema-instance"
       xmlns:context="http://www.springframework.org/schema/context"
       xsi:schemaLocation="http://www.springframework.org/schema/beans http://www.springframework.org/schema/beans/spring-beans.xsd http://www.springframework.org/schema/context
                          http://www.springframework.org/schema/context/spring-context.xsd">

    <!--引入配置文件-->
    <bean id="configBean" class="org.springframework.beans.factory.config.PropertyPlaceholderConfigurer">
        <property name="location">
            <value>
                classpath:redis.properties
            </value>
        </property>
    </bean>
    <!--配置redisClusterconfigure也就是关于rediscluster的连接信息存放与配置-->
    <bean id="redisClusterConfiguration" class="org.springframework.data.redis.connection.RedisClusterConfiguration">
        <property name="maxRedirects" value="${redis.cluster.max.redirect}"/>
        <property name="clusterNodes">
            <!--clsternode要注入一个redisNode的set集合-->
            <list>
            <bean class="org.springframework.data.redis.connection.RedisClusterNode">
                <!--constructor-arg是注入构造方法中的值-->
                <constructor-arg index="0" value="${redis.cluster.node1.host}"/>
                <constructor-arg index="1" value="${redis.cluster.node1.port}"/>
            </bean>
            <bean class="org.springframework.data.redis.connection.RedisClusterNode">
                <constructor-arg index="0" value="${redis.cluster.node2.host}"/>
                <constructor-arg index="1" value="${redis.cluster.node2.port}"/>
            </bean>
                <bean class="org.springframework.data.redis.connection.RedisClusterNode">
                    <constructor-arg index="0" value="${redis.cluster.node3.host}"/>
                    <constructor-arg index="1" value="${redis.cluster.node3.port}"/>
                </bean>
                <bean class="org.springframework.data.redis.connection.RedisClusterNode">
                    <constructor-arg index="0" value="${redis.cluster.node4.host}"/>
                    <constructor-arg index="1" value="${redis.cluster.node4.port}"/>
                </bean>
                <bean class="org.springframework.data.redis.connection.RedisClusterNode">
                    <constructor-arg index="0" value="${redis.cluster.node5.host}"/>
                    <constructor-arg index="1" value="${redis.cluster.node5.port}"/>
                </bean>
                <bean class="org.springframework.data.redis.connection.RedisClusterNode">
                    <constructor-arg index="0" value="${redis.cluster.node6.host}"/>
                    <constructor-arg index="1" value="${redis.cluster.node6.port}"/>
                </bean>
                <bean class="org.springframework.data.redis.connection.RedisClusterNode">
                    <constructor-arg index="0" value="${redis.cluster.node7.host}"/>
                    <constructor-arg index="1" value="${redis.cluster.node7.port}"/>
                </bean>
                <bean class="org.springframework.data.redis.connection.RedisClusterNode">
                    <constructor-arg index="0" value="${redis.cluster.node8.host}"/>
                    <constructor-arg index="1" value="${redis.cluster.node8.port}"/>
                </bean>
            </list>
        </property>
    </bean>
    <!--SpringData主要功能是用于序列化和反序列化,将对象变为可读的二进制数据,存取与redis,方便在实际开发中
        进行数据的交互,序列化和反序列化是springdata进行自动处理,配置自带的redis操作模板即可,在redis中
        只有hash和基本类型可以处理,所以只要配置这两个类型的key和value操作即可-->
    <bean id="redisTemplate" class="org.springframework.data.redis.core.RedisTemplate">
       <!--取得连接工厂(操作对象)-->
        <property name="connectionFactory" ref="jedisConnection"/>
        <!--定义序列化处理的类,用的是stringRedisSerializer,表明key用String的序列化处理-->
        <property name="keySerializer">
            <bean id="stringRedisSerializer" class="org.springframework.data.redis.serializer.StringRedisSerializer"/>
        </property>
        <!--定义value的处理的类,用的是对象处理序列化-->
        <property name="valueSerializer">
            <bean id="jdkSerializationRedisSerializer" class="org.springframework.data.redis.serializer.JdkSerializationRedisSerializer"/>
        </property>
        <!--配置hash类型value操作-->
        <property name="hashValueSerializer" >
            <bean id="hashjdkSerializationRedisSerializer" class="org.springframework.data.redis.serializer.JdkSerializationRedisSerializer"/>
        </property>
        <!--配置hash类型的key-->
        <property name="hashKeySerializer">
            <bean id="hashstringRedisSerializer" class="org.springframework.data.redis.serializer.StringRedisSerializer"/>
        </property>
    </bean>
    <!--Jedis连接池相关属性的注入-->
    <bean id="jedisPoolConfig" class="redis.clients.jedis.JedisPoolConfig">
        <property name="testOnBorrow" value="true"/>
        <property name="maxWaitMillis" value="${redis.pool.maxWaitMills}"/>
        <property name="maxTotal" value="${redis.pool.maxTotal}"/>
        <property name="maxIdle" value="${redis.pool.maxIdle}"/>
    </bean>
    <!--Jedis连接池的配置,交由SpringDate进行配置-->
    <!--jedis连接工厂类由Springdata提供,用于处理连接池配置,主要将属性注入构造方法-->
    <bean id="jedisConnection" class="org.springframework.data.redis.connection.jedis.JedisConnectionFactory">
        <property name="poolConfig" ref="jedisPoolConfig"/>
        <!--注入构造方法中名字为clusterconfig的节点参数-->
        <constructor-arg name="clusterConfig" ref="redisClusterConfiguration"/>
    </bean>
</beans>
3.重写shiro会话管理类EnterpriseCacheSessionDAO
public class RedisSessionDao extends EnterpriseCacheSessionDAO {
    @Resource
    private RedisTemplate<String,Object> redisTemplate;
    //创建session并返回session数据

    @Override
    protected Serializable doCreate(Session session){
        System.out.println("doCreate"+session+"*******");
        Serializable sessionID= super.doCreate(session);
        //将创建好的sessionID序列传入redis数据库
        redisTemplate.opsForValue().set(sessionID.toString(),session,1800);
        return sessionID;
    }

    //根据sessionID读取session数据,此方法主要目的在于先去本地址读取session,如果没有
    //那么还有一种可能是此数据在别的服务器上,那么我们不能跨服务器读session,只能从redis
    //数据中查看是否有此sessionID,如果还没有表示时间到期,无session需要重新登陆
    @Override
    protected Session doReadSession(Serializable sessionId) {
        System.out.println("doreadsession"+sessionId);
        Session session =super.doReadSession(sessionId);
        if (session==null){
            return (Session) redisTemplate.opsForValue().get(sessionId.toString());
        }
        return null;
    }

    //session有个存储时间,更新session的更新
    @Override
    protected void doUpdate(Session session) {
        System.out.println("doUpdate"+session+"*******");
        if (session!=null){ //如果更新的时候session还存在,那么还需要再去存数据库一次
            redisTemplate.opsForValue().set(session.getId().toString(),session,1800);
        }
        super.doUpdate(session);
    }

    //执行session的删除处理
    @Override
    protected void doDelete(Session session) {
        System.out.println("doDelete"+session+"**********");
        super.doDelete(session);
        redisTemplate.delete(session.getId().toString());
    }

}
4.配置spring-shiro.xml
此配置文件主要完成配置sessionID生成器,并将其交给Dao类进行处理
<?xml version="1.0" encoding="UTF-8"?>
<beans xmlns="http://www.springframework.org/schema/beans"
       xmlns:xsi="http://www.w3.org/2001/XMLSchema-instance"
       xmlns:context="http://www.springframework.org/schema/context"
       xsi:schemaLocation="http://www.springframework.org/schema/beans http://www.springframework.org/schema/beans/spring-beans.xsd http://www.springframework.org/schema/context
                          http://www.springframework.org/schema/context/spring-context.xsd">
<!--Session ID 生成器 -->
     <bean id="sessionIdGenerator" class="org.apache.shiro.session.mgt.eis.JavaUuidSessionIdGenerator"></bean>

    <!--自定义session处理类-->
      <bean id="RedisSessionDao" class="cn.travel.Session.RedisSessionDao">
          <!--将ID生成器放入自定义Session类,因为继承了父类,父类需要一个sessionID生成器-->
          <property name="sessionIdGenerator" ref="sessionIdGenerator"/>
      </bean>
    <!--session管理 -->
    <bean id="sessionManager" class="org.apache.shiro.web.session.mgt.DefaultWebSessionManager">
        <property name="globalSessionTimeout" value="1800000"></property>
        <property name="deleteInvalidSessions" value="true"></property>
        <property name="sessionDAO" ref="RedisSessionDao"></property>
        <!-- sessionIdCookie的实现,用于重写覆盖容器默认的JSESSIONID -->
        <!--<property name="sessionIdCookie" ref="sharesession" />-->
    </bean>


    <!--配置安全管理器-->
    <bean id="scurityManage" class="org.apache.shiro.web.mgt.DefaultWebSecurityManager">
        <!--配置你需要使用的Realms-->
        <property name="realm" ref="empRealm"/>
        <property name="sessionManager" ref="sessionManager"/>
    </bean>


    <!--配置shiro过滤器-->
    <bean id="shiroFilter" class="org.apache.shiro.spring.web.ShiroFilterFactoryBean">
        <!--配置一个安全过滤器-->
        <property name="securityManager" ref="scurityManage"/>
        <!--认证成功后跳转的路径-->
        <property name="successUrl" value="/ListAll.action"/>
        <!--出现错误的时候跳转路径-->
        <property name="loginUrl" value="/login.jsp"/>

        <!--shiro里面需要针对所有的路径进行配置,所有的配置都要经过文本的形式设置
        本质上也就是shiro.ini中的[urls]-->
        <property name="filterChainDefinitions">
            <!--在此shiro过滤路径中,authc代表必须登陆才可以,rememberMe无效-->
            <!--user,代表只要登陆过,记住密码也可以-->
            <value>
                /emp-add.jsp=user
                /emp-list.jsp=user
                /travel-creat.jsp=user
                /ListAll.action=user
                /LimitEmp.action=user
                 /TravelsList.action=user
            </value>
        </property>
    </bean>

    <!--配置shiro的生命周期由Spring进行控制-->
    <bean id="lifecycleBeanPostProcessor" class="org.apache.shiro.spring.LifecycleBeanPostProcessor"/>

    <!--shiro框架配置annotation操作,项目为了方便操作,普遍annotation只在控制层控制方法进行使用
    很少在项目网页路径上检测-->
    <!--1.启动Annotation在shiro中相关操作-->
    <bean id="defaultAdvisorAutoProxyCreator"
          class="org.springframework.aop.framework.autoproxy.DefaultAdvisorAutoProxyCreator"
          depends-on="lifecycleBeanPostProcessor">
        <!--进行目标代理类处理控制-->
        <property name="proxyTargetClass" value="true"/>
    </bean>
    <!--2.针对安全管理Aop实现也就是启动spring代理shiro的scurityManager-->
    <bean id="authorizationAttributeSourceAdvisor"
          class="org.apache.shiro.spring.security.interceptor.AuthorizationAttributeSourceAdvisor">
        <property name="securityManager" ref="scurityManage"/>
    </bean>
</beans>
4.启动tomcat和redis-cluster集群
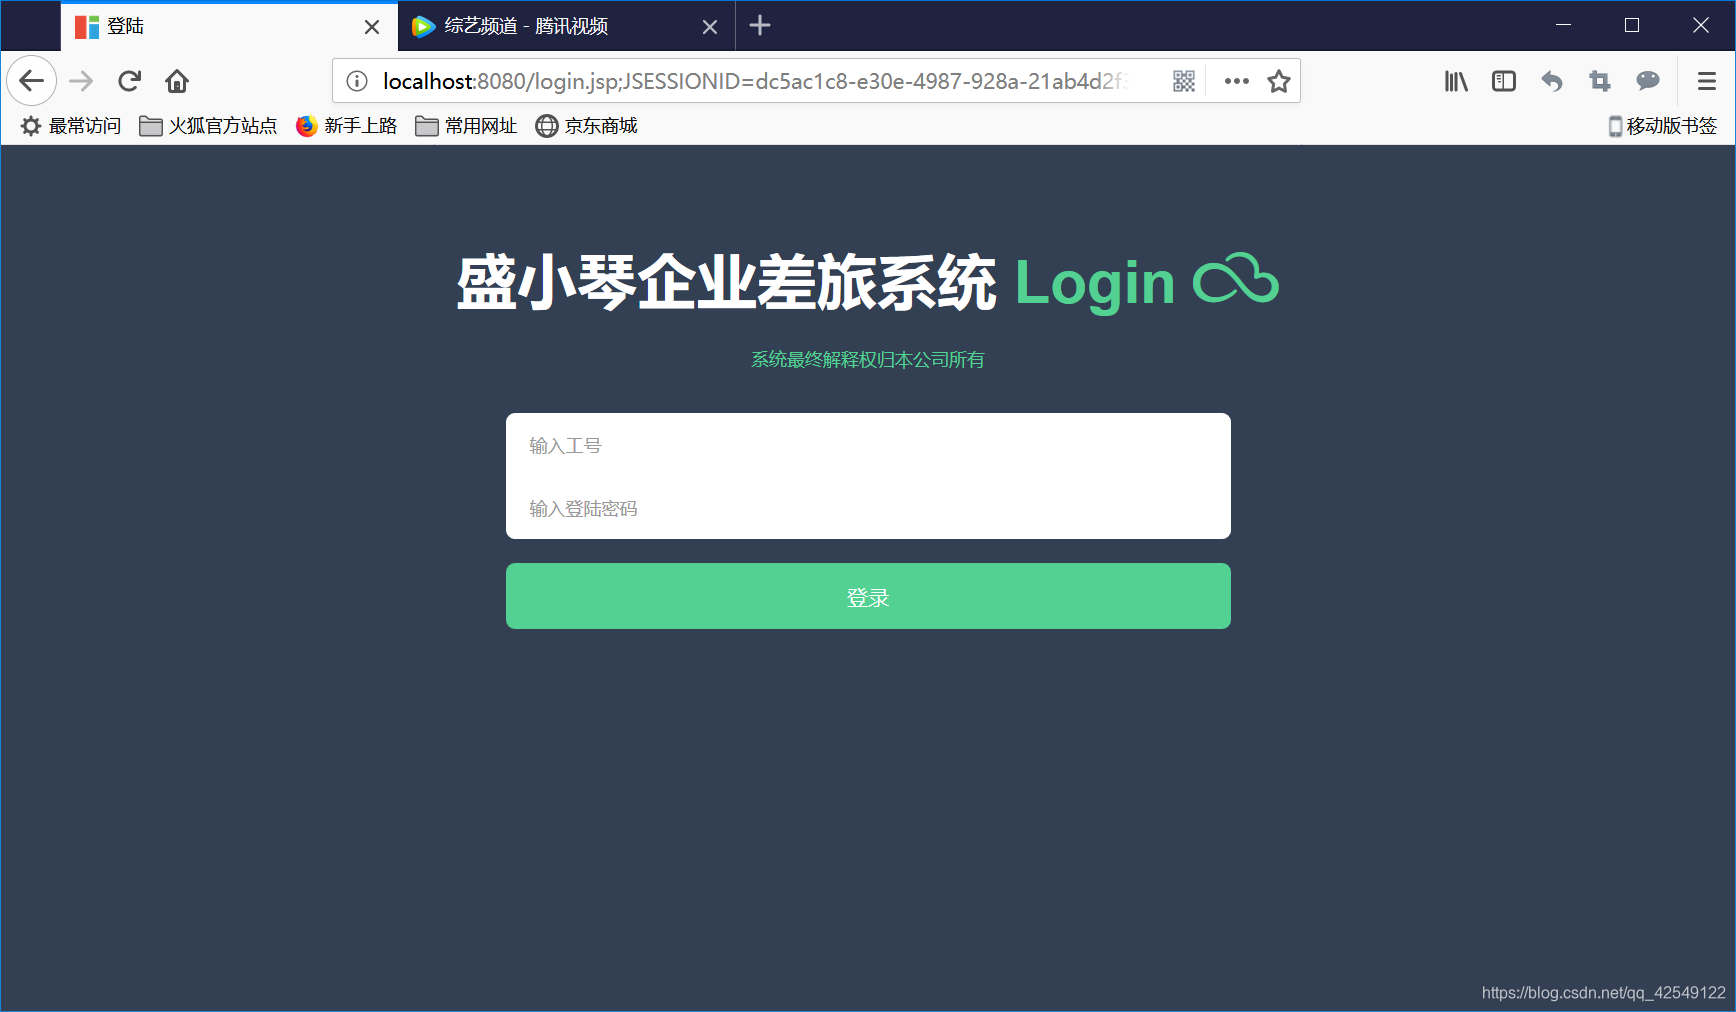
启动后进行测试,当进入登陆页面后,发现此时shiro会分配一个sessionID

登陆后去redis-cluster集群中查看是否有session相关数据被存入

查看此session的二进制数据
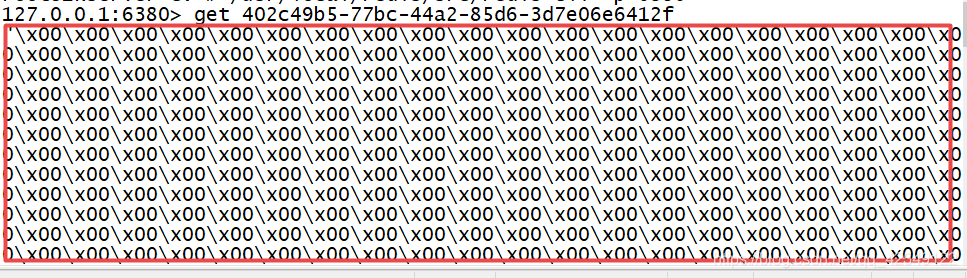
成功!!!
