1.创建springboot项目
2.配置application的静态资源
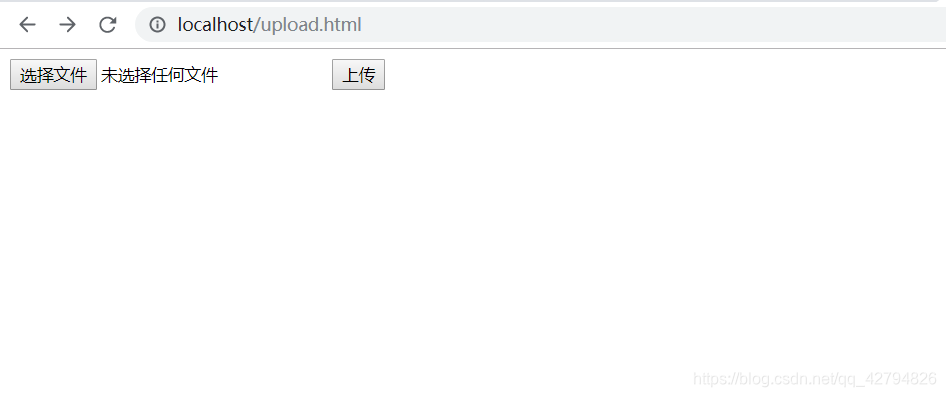
3.在static中创建upload.html
<!DOCTYPE html>
<html lang="en">
<head>
    <meta charset="UTF-8">
    <title>Title</title>
</head>
<body>
    <form action="/upload" method="post" enctype="multipart/form-data">
        <input type="file" name="uploadFile" value="请选择文件">
        <input type="submit" value="上传">
    </form>
</body>
</html>
4.创建upload接口
@RestController
public class FileUploadController {
SimpleDateFormat sdf =new SimpleDateFormat("yyyy/MM/dd/");
@PostMapping("/upload")
public String upload(MultipartFile uploadFile, HttpServletRequest req){
String realPath=req.getSession().getServletContext().getRealPath("/uploadFile/");
String format=sdf.format(new Date());
File folder=new File(realPath+format);
if(!folder.isDirectory()){
folder.mkdirs();
}
String oldName=uploadFile.getOriginalFilename();
System.out.println(oldName);
String newName= UUID.randomUUID().toString()+
oldName.substring(oldName.lastIndexOf("."),oldName.length());
try{
uploadFile.transferTo(new File(folder,newName));
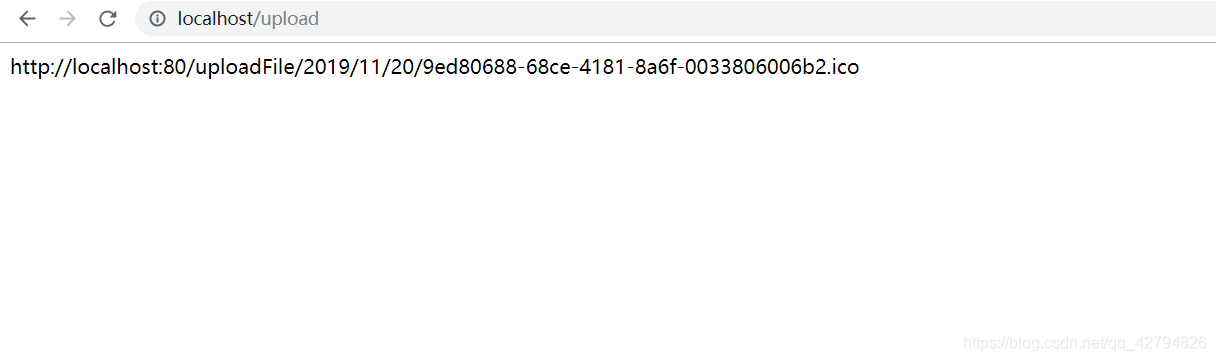
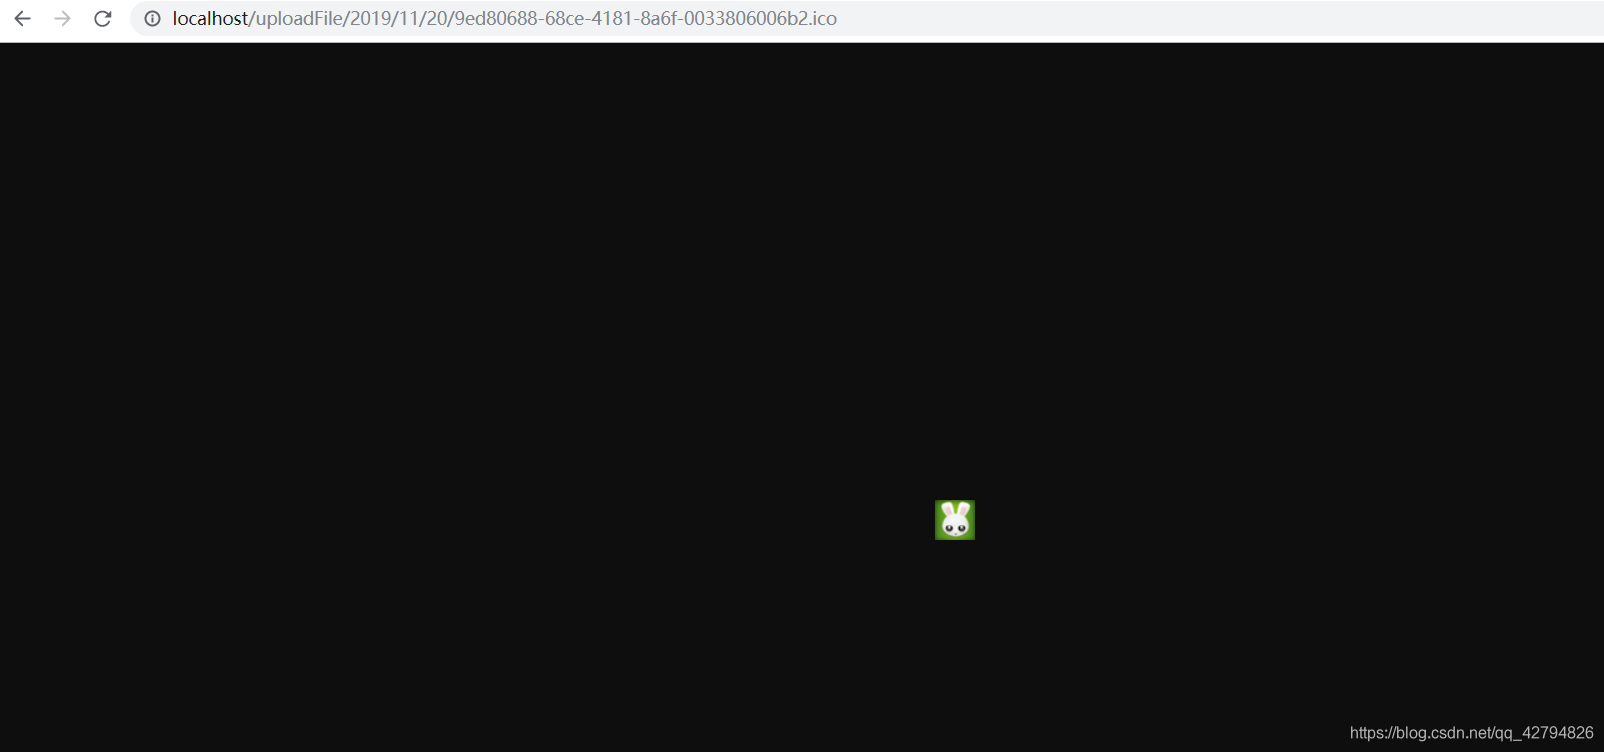
String filePath=req.getScheme()+"://"+req.getServerName()+":"+
req.getServerPort()+"/uploadFile/"+format+newName;
return filePath;
} catch (IOException e) {
e.printStackTrace();
}
return "上传失败!";
}
}
5.测试