高亮验证区域
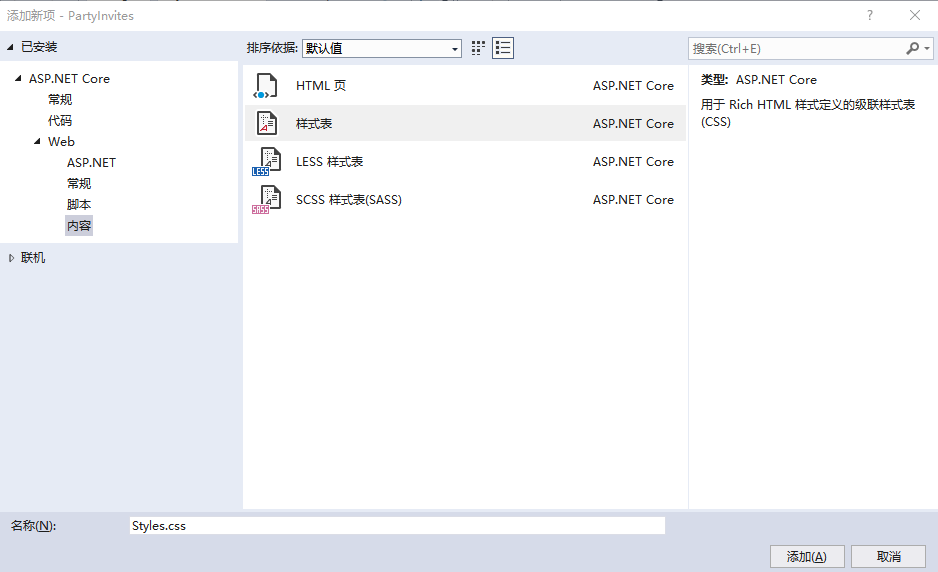
创建样式文件:wwwroot-->css文件夹右击-->添加新建项
样式文件的内容为:
.field-validation-error {
    color: #f00;
}

.field-validation-valid {
    display: none;
}

.input-validation-error {
    border: 1px solid #f00;
    background-color: #fee;
}

.validation-summary-errors {
    font-weight: bold;
    color: #f00;
}

.validation-summary-valid {
    display: none;
}
在RsvpForm视图的头部添加对样式文件的引用:
<head>
    <meta name="viewport" content="width=device-width"/>
    <title>RsvpForm</title>
    <link href="~/css/Styles.css" rel="stylesheet" />
</head>
对于
 <input asp-for="Phone" />
等效于
<input type="text" data-val="true" data-val-required="please enter your phone number"
id="phone" name="Phone" value="" />
当验证错误时,相当于添加样式如下:
<input type="text" class="input-validation-error" data-val="true"
data-val-required="please enter your phone number" id="phone" name="Phone" value="" />
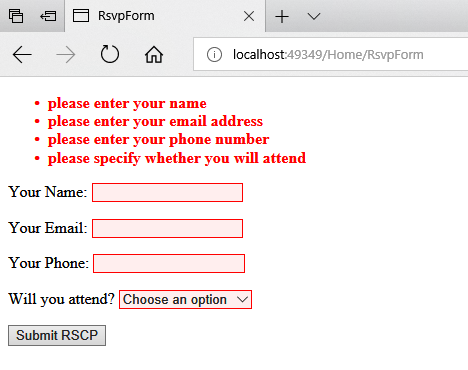
重新运行程序,测试数据验证效果如下:
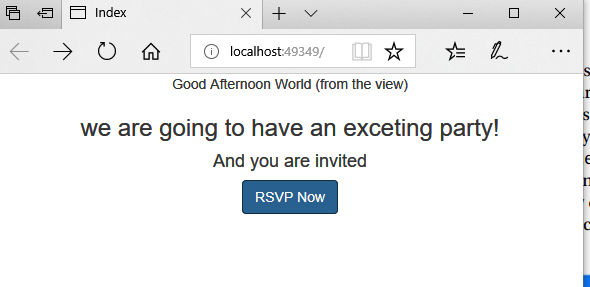
欢迎视图添加样式
<html >
<head>
    <meta name="viewport" content="width=device-width"/>
    <title>Index</title>
    <link href="~/lib/bootstrap/dist/css/bootstrap.css" rel="stylesheet" />
</head>
<body>
    <div class="text-center">
        @ViewBag.Greeting World (from the view)
        <h3>we are going to have an exceting party!</h3>
        <h4>And you are invited</h4>
        <a class="btn btn-primary" asp-action="RsvpForm">RSVP Now</a>
    </div>
</body>
</html>
效果图如下: