Ontology Wasm 一直以来都受到了社区开发人员的广泛关注,而目前 Ontology Wasm 也即将上线本体主网。在上期的技术视点中,我们简要介绍了如何进行相关环境搭建和使用合约模板来进行开发。本期我们将开始初步尝试从零开始开发 Ontology Wasm 合约。

新建合约
$ cargo new --lib helloworld
	 Created library `helloworld` package
新建的合约目录结构如下:
.
├── Cargo.toml
└── src
	└── lib.rs
一个 Rust 版本的 Wasm 合约包含两部分组成,一部分是Cargo.toml配置文件,用于配置项目信息,一部分是src/lib.rs用于编写合约逻辑。
引入Ontology Wasm合约开发工具库
在生成的Cargo.toml文件中引入 Ontology Wasm 合约开发工具库ontio-std,使用[dependencies]配置项来完成引入该工具库的动作。
[package]
name = "helloworld"
version = "0.1.0"
authors = ["Lucas <[email protected]>"]

edition = "2018"

# See more keys and their definitions at https://doc.rust-lang.org/cargo/reference/manifest.html

[dependencies]
ontio-std = {git="https://github.com/ontio/ontology-Wasm-cdt-rust.git"}
由于我们合约要以库的形式进行编译,所以还需要在Cargo.toml文件里加上[lib]配置信息,一个完整的 Cargo.toml 配置文件如下:
[package]
name = "helloworld"
version = "0.1.0"
authors = ["Lucas <[email protected]>"]

edition = "2018"

# See more keys and their definitions at https://doc.rust-lang.org/cargo/reference/manifest.html
[lib]
crate-type = ["cdylib"]
path = "src/lib.rs"
[dependencies]
ontio-std = {git="https://github.com/ontio/ontology-Wasm-cdt-rust.git"}

[features]
mock = ["ontio-std/mock"]
- [features]用于开启一些不稳定特性,只可在 nightly
版的编译器中使用。此处我们引入了ontio-std/mock模块,该模块模拟了与链交互的接口,也就是可以通过该模块进行合约中与链交互的模拟测试,主要方便了合约开发者在本地测试合约中与链交互的功能是否正常,无需部署到链上,就可以实现测试的功能,在后面的章节中我们会详细介绍该模块的使用方法。
生成ontio-std库API文件
虽然我们引入了开发 Ontology Wasm 合约需要的工具库,但是我们还不知道该工具库中都有哪些 API 可以用,我们可以通过下面的命令生成该库的 API 文档。
cargo doc
执行成功后的目录结构如下:
.
├── Cargo.lock
├── Cargo.toml
├── src
│   └── lib.rs
└── target
	├── debug
	└── doc
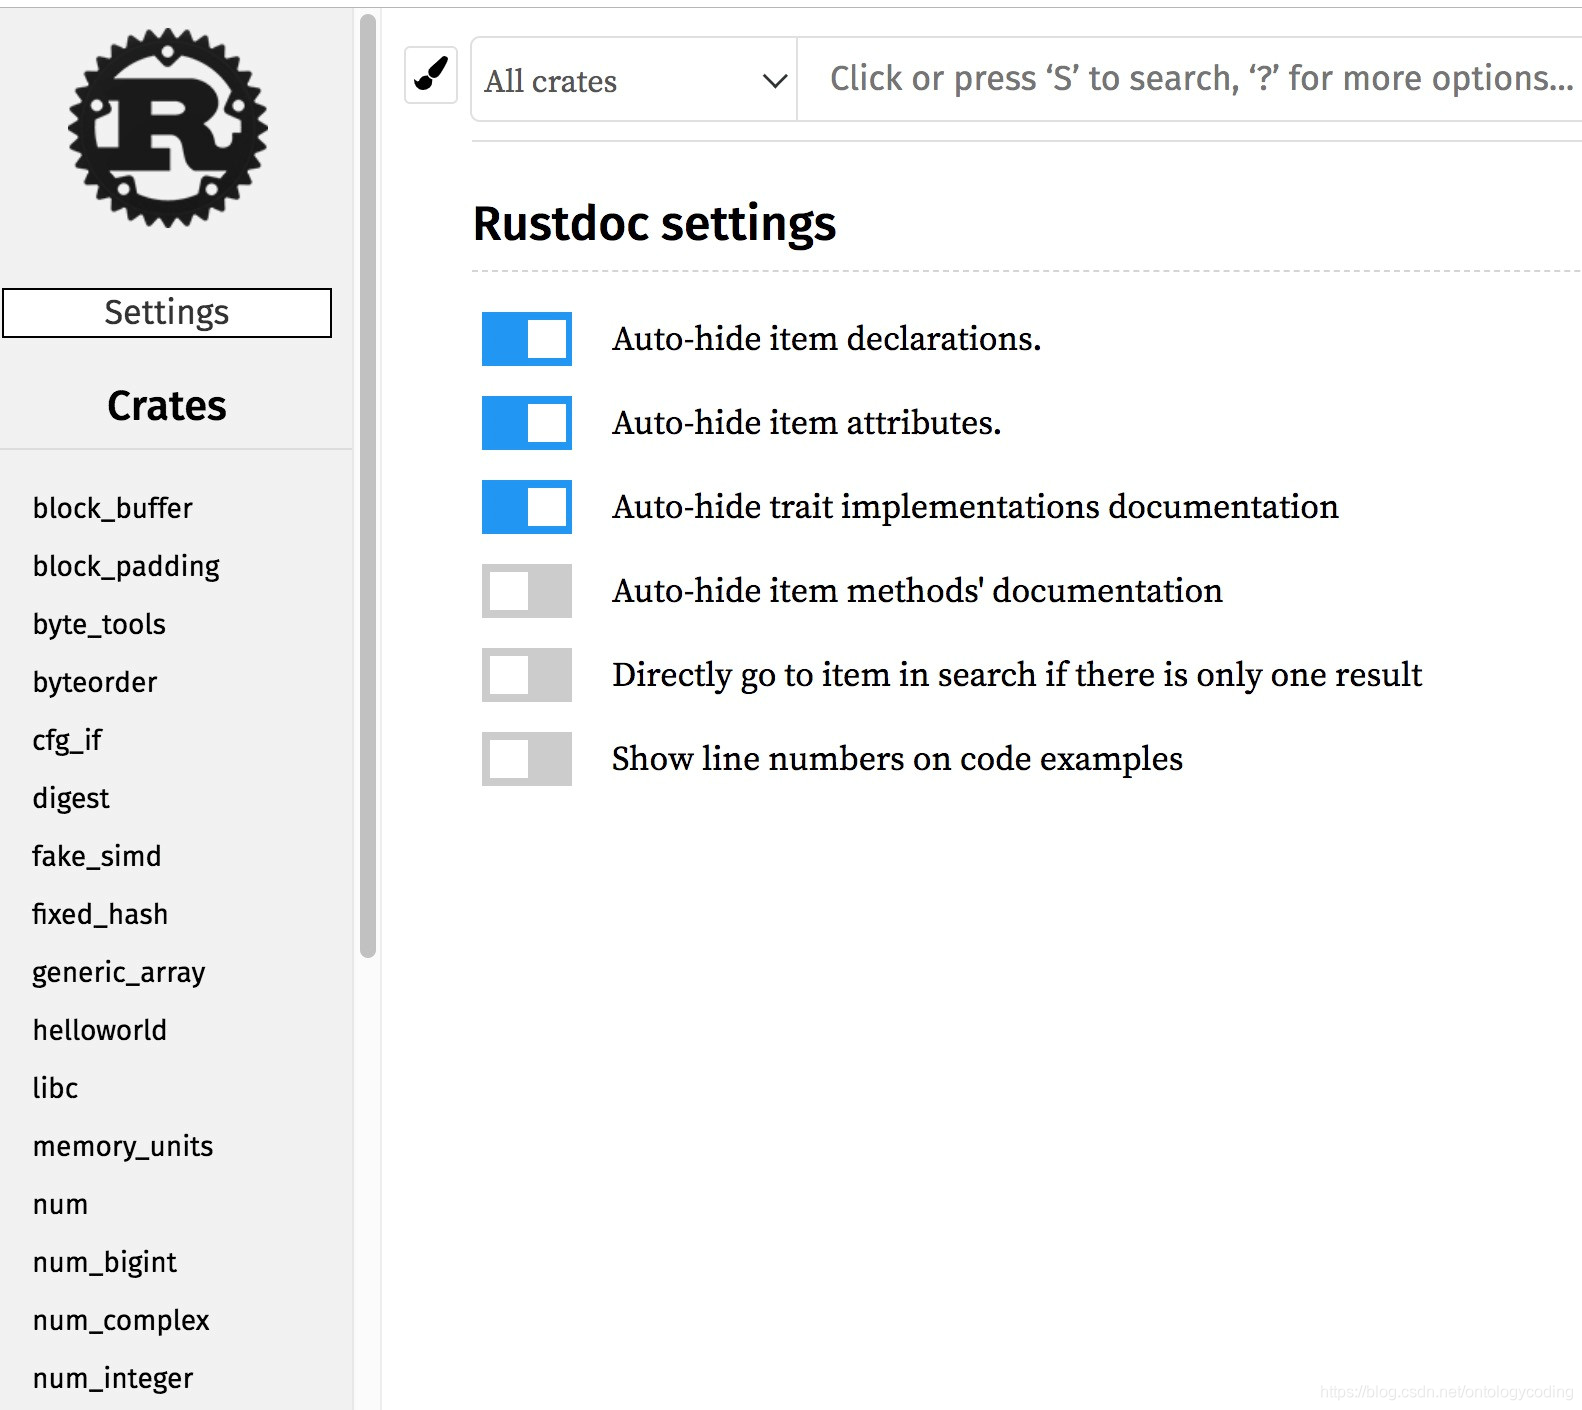
生成的 API 接口文档在 doc 目录下。我们可以通过浏览器打开 settings.html 文件查看。如下图所示:
请在左侧目录栏找到 ontio_std 库,点击该选项,如下图:
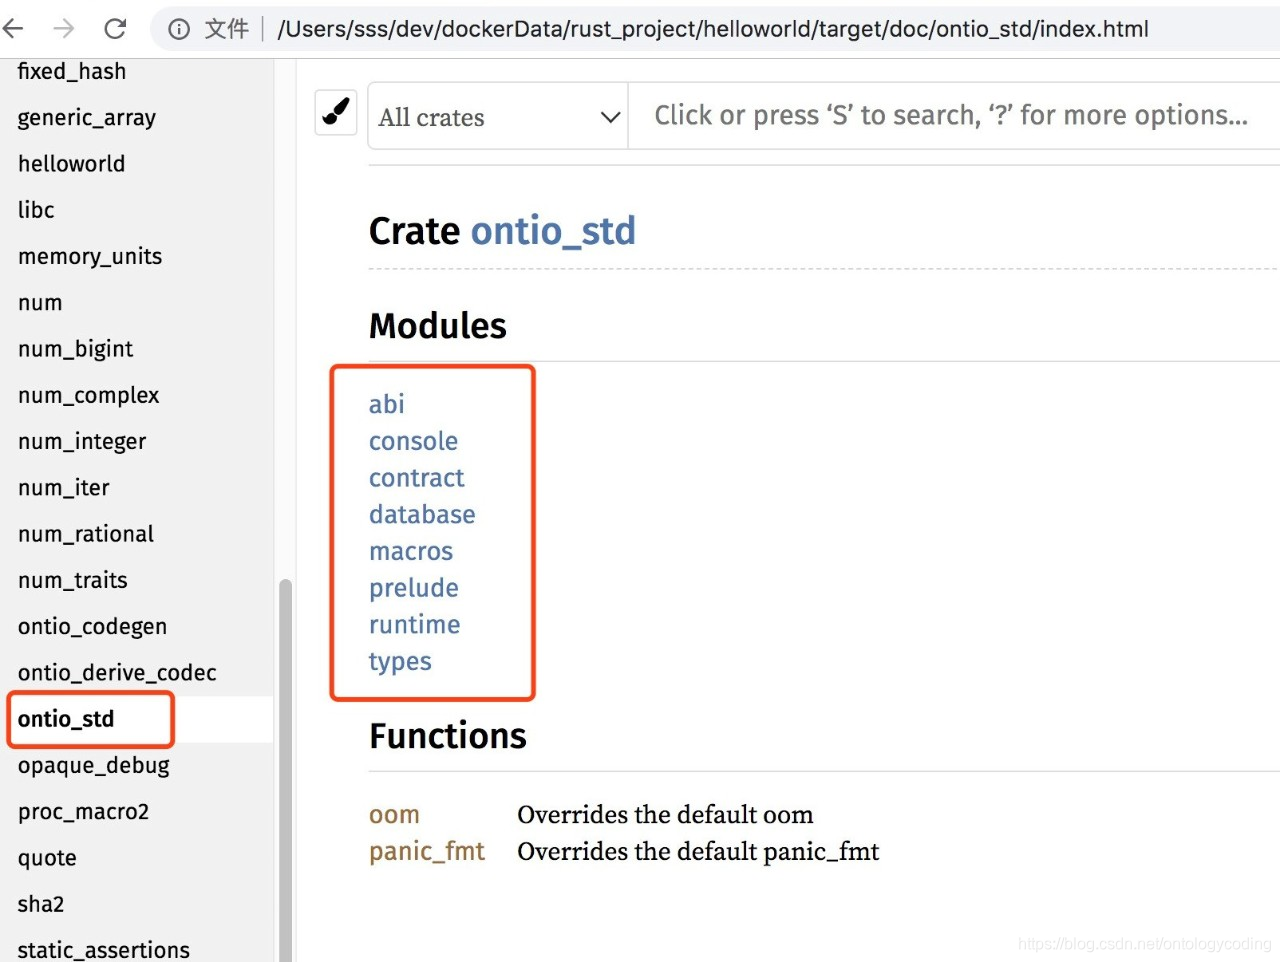
上面列出了ontio_std库中封装好的所有模块,在开发合约的过程中,可以使用这些模块中的功能。
编写合约逻辑
新建的 helloworld 合约lib.rs文件内容仅有一个测试代码,在项目根目录下,执行cargo test 来执行该测试代码。
#[cfg(test)]
mod tests {
	#[test]
	fn it_works() {
		assert_eq!(2 + 2, 4);
	}
}
下面开始编写合约逻辑:
第一步:在lib.rs文件中引入刚才在Cargo.toml配置文件中添加的ontio-std依赖,为了屏蔽rust标准库中的方法,我们加上#![no_std]注解。
#![no_std]
extern crate ontio_std as ostd;

#[cfg(test)]
mod tests {
   ...
}
第二步:添加invoke函数,该函数是 Ontology Wasm 默认的入口函数,在这个合约中,我们实现一个方法获得调用的参数并将参数返回出去,代码如下:
#![no_std]
extern crate ontio_std as ostd;
use ostd::abi::{Sink, Source};
use ostd::prelude::*;
use ostd::runtime;

fn say_hello(msg: &str) -> String {
	return msg.to_string();
}

#[no_mangle]
fn invoke() {
	let input = runtime::input();
	let mut source = Source::new(&input);
	let action: &[u8] = source.read().unwrap();
	let mut sink = Sink::new(12);
	match action {
		b"hello" => {
		let msg = source.read().unwrap();
		sink.write(say_hello(msg));
		},
		_ => panic!("unsupported action!"),
	}
	runtime::ret(sink.bytes())
}

#[test]
fn test_hello() {
	let res = say_hello("hello world");
	assert_eq!(res, "hello world".to_string());
}
在合约中,我们引入了ontio-std库里面abi模块的Sink和Source数据类型。Source用于读取外部调用合约中的方法时传进来的方法名和方法参数信息,Sink用于合约中不同类型的数据序列化成 bytearray。ontio-std库里面的prelude模块提供了一些常用的数据类型,比如Address、U128和String等。把合约执行的结果返回给调用合约的程序,需要使用runtime::ret()方法,runtime模块封装与链交互的接口。
至此,一个简单的返回传入参数的合约已经完成。
编译合约
用 Rust 编写的合约源代码需要编译成Wasm字节码,才能部署到链上,执行下面的命令编译合约:
RUSTFLAGS="-C link-arg=-zstack-size=32768" cargo build --release --target Wasm32-unknown-unknown
在上面的命令中,RUSTFLAGS="-C link-arg=-zstack-size=32768"表示设置 rustc 编译时使用的栈大小为32kb,rustc 编译默认设置的栈内存大小是1MB,对合约来说是巨大的浪费,因此在编译时设置下栈的大小,32kb 对于绝大多数合约来说是够用的。 Wasm32-unknown-unknown 表示在编译目标。
该代码执行后,会生成target文件夹,目录结构如下:
.
├── release
│   ├── build
│   ├── deps
│   ├── examples
│   └── incremental
└── Wasm32-unknown-unknown
	└── release
编译好的合约字节码文件为 target/Wasm32-unknown-unknown/release/ 目录下名为helloworld.Wasm的文件。
优化合约字节码
编译好的Wasm字节码文件会比较大,部署到链上需要的存储空间会比较多,费用也会比较高,但是我们可以使用ontio-Wasm-build工具将 Wasm 字节码减小。
执行下面的命令优化该合约字节码:
ontio-Wasm-build ./target/Wasm32-unknown-unknown/release/hellloworld.Wasm
该命令执行完后,会在./target/Wasm32-unknown-unknown/release/生成的文件如下:
helloworld_optimized.Wasm 优化后的Wasm合约字节码;
helloworld_optimized.Wasm.str 优化后的Wasm合约字节码的hex编码格式。
测试合约
我们将在本地测试网络中测试刚刚编写的合约。
首先,生成钱包文件,本地测试网启动需要钱包文件,执行如下的命令:
./ontology account add
其次,启动我们搭建好的本地测试网节点,执行下面的命令:
./ontology --testmode --loglevel 1
–testmode表示以测试的模式启动。
–loglevel 1 表示将日志级别设置为 debug 模式。
然后,部署合约:
$ ./ontology contract deploy --vmtype 3 --code ./helloworld.Wasm.str --name helloworld --author "author" --email "email" --desc "desc" --gaslimit 22200000
Password:
Deploy contract:
  Contract Address:913ea5298565123847ffe61ec93986a52e824a1b
  TxHash:8386410c2ccdc5127e5bd893072a152afaa5dcf20c9b736583f803cba4f461e6

Tip:
  Using './ontology info status 8386410c2ccdc5127e5bd893072a152afaa5dcf20c9b736583f803cba4f461e6' to query transaction status.
–vmtype 3 表示部署的合约类型是Wasm合约,目前 Ontology 链除了支持Wasm合约还支持NeoVM合约,部署的时候要注明合约类型。 --name helloworld 表示部署合约名字是helloworld。 --author “author” 表示部署合约作者是author。 --email “email” 表示部署合约 email 是email。 --gaslimit 22200000表示部署合约需要的费用 gaslimit 上限是22200000。
最后,调用合约中的方法。由于我们在 invoke 函数里仅定义了hello方法,并且该方法将输入的参数内容直接返回。所以,调用合约的时候,第一个参数是方法名,第二个参数是合约中的该方法需要的参数。
因为我们调用的方法没有更新链上的数据,仅仅是把输入的参数返回,我们在调用合约的时候,要加上预执行标签–prepare,否则,我们看不到合约返回的结果。
根据合约地址调用合约中的方法。该部分详细信息请参考命令行合约调用。
$ ./ontology contract invoke --address 913ea5298565123847ffe61ec93986a52e824a1b --vmtype 3 --params 'string:hello,string:hello world' --version 0 --prepare
Invoke:1b4a822ea58639c91ee6ff473812658529a53e91 Params:["hello","hello world"]
Contract invoke successfully
  Gas limit:20000
  Return:0b68656c6c6f20776f726c64 (raw value)
合约中我们的返回值是hello world,就像上一篇技术视点中提到的那样,执行结果返回了该值的hex编码68656c6c6f20776f726c64。
至此,我们在不依赖模板的情况下,完成了一个简单的 Ontology Wasm 合约,并进行了部署和调试。
结语
在本期技术视点中,我们简单介绍了如何在不依赖模板的情况下,完成一个简单的 Ontology Wasm 合约的开发,并进行了测试。同时,我们也介绍了 Ontology Wasm 工具库 API 文档的生成方式,方便开发者查询和调用已提供的功能。相信你一定会有所收获。下期我们将会介绍 Ontology Wasm 合约获得调用参数以及合约中数据的序列化和反序列化。欢迎关注!
