elasticsearch操作
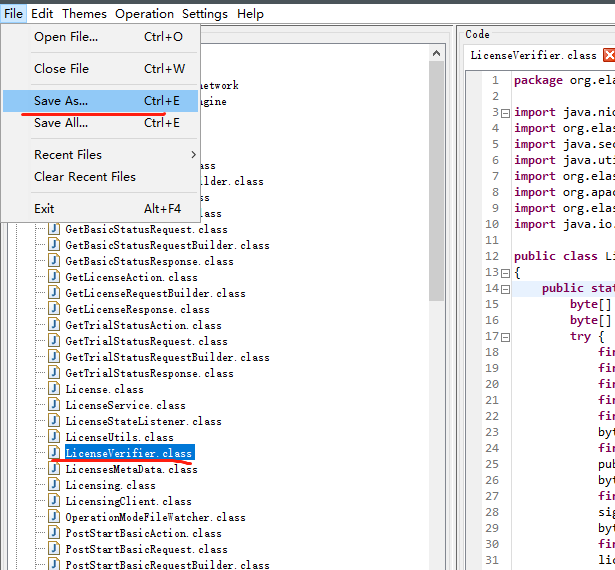
文件:LicenseVerifier.java
路径:elasticsearch/x-pack/plugin/core/src/main/java/org/elasticsearch/license/
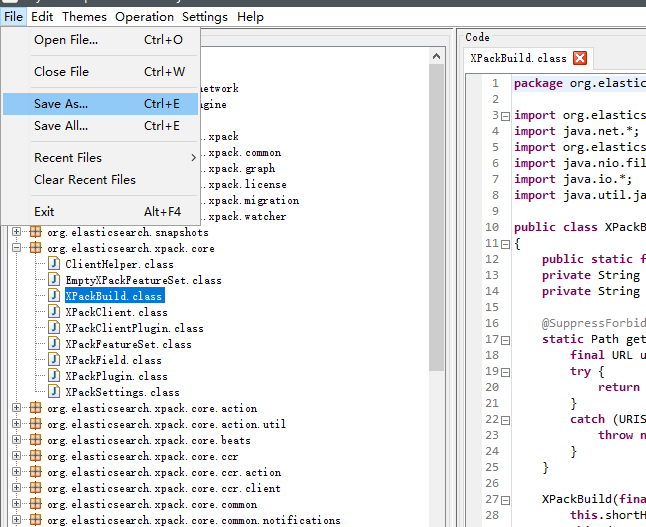
文件:XPackBuild.java
路径:elasticsearch/x-pack/plugin/core/src/main/java/org/elasticsearch/xpack/core
1. ES安装前进行破解
软件名称:elasticsearch-7.3.0-linux-x86_64.tar.gz
操作环境:
系统:windows 10系统
解压缩软件:7z
反编译工具:Luyten
操作步骤:
- 解压缩文件elasticsearch-7.3.0-linux-x86_64.tar.gz,得到elasticsearch-7.3.0-linux-x86_64.tar文件夹,进入该文件夹,解压缩elasticsearch-7.3.0-linux-x86_64.tar,得到目录elasticsearch-7.3.0-linux-x86_64,再进入该文件夹,里面有一个elasticsearch-7.3.0文件夹,进入.
这些操作在linux系统下操作的话就很简单:tar -zxv -f elasticsearch-7.3.0-linux-x86_64.tar.gz 直接得到文件夹elasticsearch-7.3.0
- 进入modules\x-pack-core文件夹内,找到x-pack-core-7.3.0.jar文件,这个就是要操作的文件
2. 下载反编译工具Luyten
破解x-pack-core-7.3.0.jar需要反编译工具Luyten(https://github.com/deathmarine/Luyten/releases),我们可以前往下载地址下载Luyten工具。
我们这里下载Luyten.exe windows版本,下载下来后打开,并将x-pack-core-7.3.0.jar文件拖进去,即可展开jar包的源代码了。
3. 修改X-Pack源码文件
在Luyten工具中我们需要把2个文件提取出来进行修改。org.elasticsearch.license.LicenseVerifier和org.elasticsearch.xpack.core.XPackBuild。
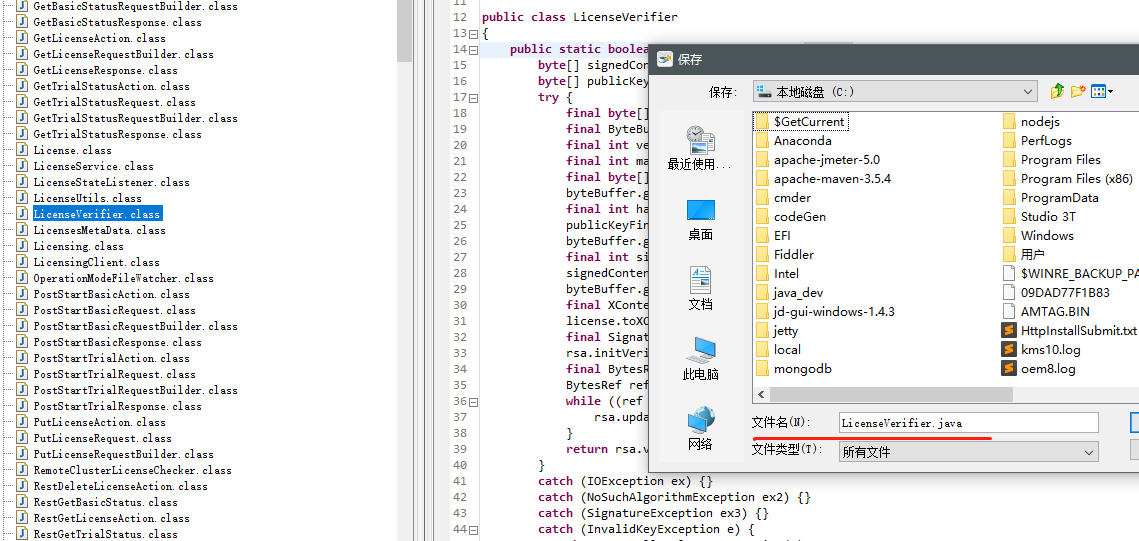
导出LicenseVerifier.class文件为LicenseVerifier.java源码文件,导出XPackBuild.class文件为XPackBuild.java源码文件
导出步骤


1. 修改LicenseVerifier.java
LicenseVerifier中有两个静态方法,这就是验证授权文件是否有效的方法,把它修改为全部返回true.
修改后的文档如下:
package org.elasticsearch.license;

import java.nio.*;
import org.elasticsearch.common.bytes.*;
import java.security.*;
import java.util.*;
import org.elasticsearch.common.xcontent.*;
import org.apache.lucene.util.*;
import org.elasticsearch.core.internal.io.*;
import java.io.*;

public class LicenseVerifier
{
    public static boolean verifyLicense(final License license, final byte[] publicKeyData) {
        return true;
    }

    public static boolean verifyLicense(final License license) {
        return true;
    }
}
2. 修改XPackBuild.java
XPackBuild中最后一个静态代码块中try的部分全部删除,这部分会验证jar包是否被修改.
修改后的文档如下:
package org.elasticsearch.xpack.core;

import org.elasticsearch.common.io.*;
import java.net.*;
import org.elasticsearch.common.*;
import java.nio.file.*;
import java.io.*;
import java.util.jar.*;

public class XPackBuild
{
    public static final XPackBuild CURRENT;
    private String shortHash;
    private String date;

    @SuppressForbidden(reason = "looks up path of xpack.jar directly")
    static Path getElasticsearchCodebase() {
        final URL url = XPackBuild.class.getProtectionDomain().getCodeSource().getLocation();
        try {
            return PathUtils.get(url.toURI());
        }
        catch (URISyntaxException bogus) {
            throw new RuntimeException(bogus);
        }
    }

    XPackBuild(final String shortHash, final String date) {
        this.shortHash = shortHash;
        this.date = date;
    }

    public String shortHash() {
        return this.shortHash;
    }

    public String date() {
        return this.date;
    }

    static {
        CURRENT = new XPackBuild("Unknown", "Unknown");
    }
}
或者这样的:
package org.elasticsearch.xpack.core;

import org.elasticsearch.common.io.*;
import java.net.*;
import org.elasticsearch.common.*;
import java.nio.file.*;
import java.io.*;
import java.util.jar.*;

public class XPackBuild
{
    public static final XPackBuild CURRENT;
    private String shortHash;
    private String date;

    @SuppressForbidden(reason = "looks up path of xpack.jar directly")
    static Path getElasticsearchCodebase() {
        final URL url = XPackBuild.class.getProtectionDomain().getCodeSource().getLocation();
        try {
            return PathUtils.get(url.toURI());
        }
        catch (URISyntaxException bogus) {
            throw new RuntimeException(bogus);
        }
    }

    XPackBuild(final String shortHash, final String date) {
        this.shortHash = shortHash;
        this.date = date;
    }

    public String shortHash() {
        return this.shortHash;
    }

    public String date() {
        return this.date;
    }

    static {
        final Path path = getElasticsearchCodebase();
        String shortHash = null;
        String date = null;
        Label_0109: {
            shortHash = "Unknown";
            date = "Unknown";
        }
        CURRENT = new XPackBuild(shortHash, date);
    }
}
3. 生成.class文件
上述LicenseVerifier.java和XPackBuild.java两个文件在本地电脑windows修改完成后,需要将其复制到elasticsearch服务器上并编译成class文件,然后打包到x-pack-core-7.3.0.jar中。这里将这2个文件放到了/opt目录下。
# 生成LicenseVerifier.class文件
javac -cp "/opt/elasticsearch-7.3.0/lib/elasticsearch-7.3.0.jar:/opt/elasticsearch-7.3.0/lib/lucene-core-8.1.0.jar:/opt/elasticsearch-7.3.0/modules/x-pack-core/x-pack-core-7.3.0.jar:/opt/elasticsearch-7.3.0/modules/x-pack-core/netty-common-4.1.36.Final.jar:/opt/elasticsearch-7.3.0/lib/elasticsearch-core-7.3.0.jar" /opt/LicenseVerifier.java

# 生成XPackBuild.class文件
javac -cp "/opt/elasticsearch-7.3.0/lib/elasticsearch-7.3.0.jar:/opt/elasticsearch-7.3.0/lib/lucene-core-8.1.0.jar:/opt/elasticsearch-7.3.0/modules/x-pack-core/x-pack-core-7.3.0.jar:/opt/elasticsearch-7.3.0/lib/elasticsearch-core-7.3.0.jar" /opt/XPackBuild.java

# 查看编译后的文件
LicenseVerifier.class
XPackBuild.class
4. 替换LicenseVerifier.class和XPackBuild.class
把/opt/elasticsearch-7.3.0/modules/x-pack-core/目录下的x-pack-core-7.3.0.jar提取出来,放到/opt/tmp目录中。
cp /opt/elasticsearch-7.3.0/modules/x-pack-core/x-pack-core-7.3.0.jar /opt/tmp
cd /opt/tmp
# 解压x-pack-core-7.3.0.jar
jar -xvf x-pack-core-7.3.0.jar

# 替换.class文件
cp /opt/XPackBuild.class /opt/tmp/org/elasticsearch/xpack/core/
cp /opt/LicenseVerifier.class /opt/tmp/org/elasticsearch/license/
5. 打包新x-pack-core-7.3.0.jar文件
cd /opt/tmp
rm -rf x-pack-core-7.3.0.jar   # 删除临时拷贝过来的源文件
jar cvf x-pack-core-7.3.0.jar .
至此在/opt/tmp目录下会新生成一个x-pack-core-7.3.0.jar文件,也就是破解后的文件。
6. 替换x-pack-core-7.3.0.jar文件
cp /opt/tmp/x-pack-core-7.3.0.jar /opt/elasticsearch-7.3.0/modules/x-pack-core/ 7. 申请License
完成以上步骤后,还需要去elastic官网申请一个license, License申请地址,申请完成后,下载下来的License格式为json格式。并将该License的type、expiry_date_in_millis、max_nodes分别修改成platinum、2524579200999、1000。如下:
{"license":
    {
        "uid":"537c5c48-c1dd-43ea-ab69-68d209d80c32",
        "type":"platinum",
        "issue_date_in_millis":1558051200000,
        "expiry_date_in_millis":2524579200999,
        "max_nodes":1000,
        "issued_to":"hkd",
        "issuer":"Web Form",
        "signature":"AAAAAwAAAA3fIq7NLN3Blk2olVjbAAABmC9ZN0hjZDBGYnVyRXpCOW5Bb3FjZDAxOWpSbTVoMVZwUzRxVk1PSmkxaktJRVl5MUYvUWh3bHZVUTllbXNPbzBUemtnbWpBbmlWRmRZb25KNFlBR2x0TXc2K2p1Y1VtMG1UQU9TRGZVSGRwaEJGUjE3bXd3LzRqZ05iLzRteWFNekdxRGpIYlFwYkJiNUs0U1hTVlJKNVlXekMrSlVUdFIvV0FNeWdOYnlESDc3MWhlY3hSQmdKSjJ2ZTcvYlBFOHhPQlV3ZHdDQ0tHcG5uOElCaDJ4K1hob29xSG85N0kvTWV3THhlQk9NL01VMFRjNDZpZEVXeUtUMXIyMlIveFpJUkk2WUdveEZaME9XWitGUi9WNTZVQW1FMG1DenhZU0ZmeXlZakVEMjZFT2NvOWxpZGlqVmlHNC8rWVVUYzMwRGVySHpIdURzKzFiRDl4TmM1TUp2VTBOUlJZUlAyV0ZVL2kvVk10L0NsbXNFYVZwT3NSU082dFNNa2prQ0ZsclZ4NTltbU1CVE5lR09Bck93V2J1Y3c9PQAAAQCjNd8mwy8B1sm9rGrgTmN2Gjm/lxqfnTEpTc+HOEmAgwQ7Q1Ye/FSGVNIU/enZ5cqSzWS2mY8oZ7FM/7UPKVQ4hkarWn2qye964MW+cux54h7dqxlSB19fG0ZJOJZxxwVxxi8iyJPUSQBa+QN8m7TFkK2kVmP+HnhU7mGUrqXt3zTk5d3pZw3QBQ/Rr3wmSYC5pxV6/o2UHFgu1OPDcX+kEb+UZtMrVNneR+cEwyx7o5Bg3rbKC014T+lMtt69Y080JDI5KfHa7e9Ul0c3rozIL975fP45dU175D4PKZy98cvHJgtsCJF3K8XUZKo2lOcbsWzhK2mZ5kFp0BMXF3Hs",
        "start_date_in_millis":1558051200000
    }
}
文件存为license.json
将过期时间写到2049年,type改为platinum 白金版,这样我们就会拥有全部的x-pack功能。
8. 配置elasticsearch安全协议
完成以上所有操作在启动elasticsearch前,需要配置elasticsearch的SSL/TLS安全协议,如果不配置的话,需要禁止security才能配置License。
当License配置完成后我们需要再开启security,并开启SSL\TLS。
# 加载License到elasticsearch之前操作
echo "xpack.security.enabled: false" >> /opt/elasticsearch-7.3.0/config/elasticsearch.yml
# 加载License到elasticsearch之后操作
echo "xpack.security.transport.ssl.enabled: true" >> /opt/elasticsearch-7.3.0/config/elasticsearch.yml
./bin/elasticsearch -d   # 启动elasticsearch
9. 加载License到elasticsearch
curl -XPUT 'http://localhost:9200/_xpack/license' -H "Content-Type: application/json" -d @license.json
{"acknowledged":true,"license_status":"valid"}    # license写入成功

# 在es日志中可以查看到如下信息,
license [65eafbab-c360-4f64-900d-449499b3d530] mode [basic] - valid
Active license is now [BASIC]; Security is disabled
license [537c5c48-c1dd-43ea-ab69-68d209d80c32] mode [platinum] - valid
Active license is now [PLATINUM]; Security is enabled
但是再次查看证书信息的话会报错,因为没有开启ssl/tls
curl 'http://localhost:9200/_xpack/license'
`{"error":{"root_cause":[{"type":"security_exception","reason":"missing authentication credentials for REST request [/_xpack/license]","header":{"WWW-Authenticate":"Basic realm=\"security\" charset=\"UTF-8\""}}],"type":"security_exception","reason":"missing authentication credentials for REST request [/_xpack/license]","header":{"WWW-Authenticate":"Basic realm=\"security\" charset=\"UTF-8\""}},"status":401}`# 开启ssl/tls,打开认证
sed -i 's/xpack.security.enabled: false/xpack.security.enabled: true/g' /opt/elasticsearch-7.3.0/config/elasticsearch.yml
# 如果需要重新设置密码,手动设置密码
./bin/elasticsearch-setup-passwords interactive
# 自动生成密码:
./bin/elasticsearch-setup-passwords auto
Initiating the setup of passwords for reserved users elastic,apm_system,kibana,logstash_system,beats_system,remote_monitoring_user.
The passwords will be randomly generated and printed to the console.
Please confirm that you would like to continue [y/N]y
Changed password for user apm_system
PASSWORD apm_system = 7zkIYUXQpq8xZdaapTuQ
Changed password for user kibana
PASSWORD kibana = aQi7k57swBAaDOtvzdm2
Changed password for user logstash_system
PASSWORD logstash_system = CboSzpSIq60Zkk0SgpAo
Changed password for user beats_system
PASSWORD beats_system = ZErooCE4ybll3UcLTsAP
Changed password for user remote_monitoring_user
PASSWORD remote_monitoring_user = EDYQShIhk5P1vjvpeijI
Changed password for user elastic
PASSWORD elastic = 3tdAyUIFLMdg79EBnrsg
10. 查看License
curl -XGET -u elastic:3tdAyUIFLMdg79EBnrsg http://localhost:9200/_license
{
  "license" : {
    "status" : "active",
    "uid" : "537c5c48-c1dd-43ea-ab69-68d209d80c32",
    "type" : "platinum",
    "issue_date" : "2019-05-17T00:00:00.000Z",
    "issue_date_in_millis" : 1558051200000,
    "expiry_date" : "2049-12-31T16:00:00.999Z",
    "expiry_date_in_millis" : 2524579200999,
    "max_nodes" : 1000,
    "issued_to" : "hkd",
    "issuer" : "Web Form",
    "start_date_in_millis" : 1558051200000
  }
}
由结果可以看出x-pack到期时间为2049-12-31,破解完成。也可以在kibana web页面管理中查看破解详情。
kibana操作
useradd kibana
cd /opt
tar -zxv -f kibana-7.3.0-linux-x86_64.tar.gz
chown -R kibana:kibana kibana-7.3.0-linux-x86_64
su - kibana
cd /opt/kibana-7.3.0-linux-x86_64

cat  config/kibana.yml
    server.port: 5601
    server.host: "192.168.0.253"
    elasticsearch.hosts: ["http://localhost:9200"]
    elasticsearch.username: "kibana"
    elasticsearch.password: "aQi7k57swBAaDOtvzdm2"
浏览器访问:http://192.168.0.253:5601
左侧导航查看

ES安装后操作
之前已经开启ssl/tls并设置账号等
停用es,关闭security验证,替换jar包,开启es,导入license,启动es
破解文件和license下载地址:https://files.cnblogs.com/files/sanduzxcvbnm/7.3.0%E7%A0%B4%E8%A7%A3%E6%96%87%E4%BB%B6%E5%92%8Clicense.7z
ES版本升级操作
先按照上述步骤生成破解文件,然后再替换操作