1、安装jwt
pip install djangorestframwork-jwt
2、修改配置文件dev.py
REST_FRAMEWORK = {
    'DEFAULT_AUTHENTICATION_CLASSES': (
        'rest_framework_jwt.authentication.JSONWebTokenAuthentication',
        'rest_framework.authentication.SessionAuthentication',
        'rest_framework.authentication.BasicAuthentication',
    ),
}
import datetime
JWT_AUTH = {
    'JWT_EXPIRATION_DELTA': datetime.timedelta(days=1),    # 设置jwt的认证过期时间
}
3、注册路由
from rest_framework_jwt.views import obtain_jwt_token

urlpatterns = [
    path('login/', obtain_jwt_token),   # jwt中提供了一个认证,直接导入后使用obtain_jwt_token视图即可
]
4、此时可以使用postman 进行接口测试
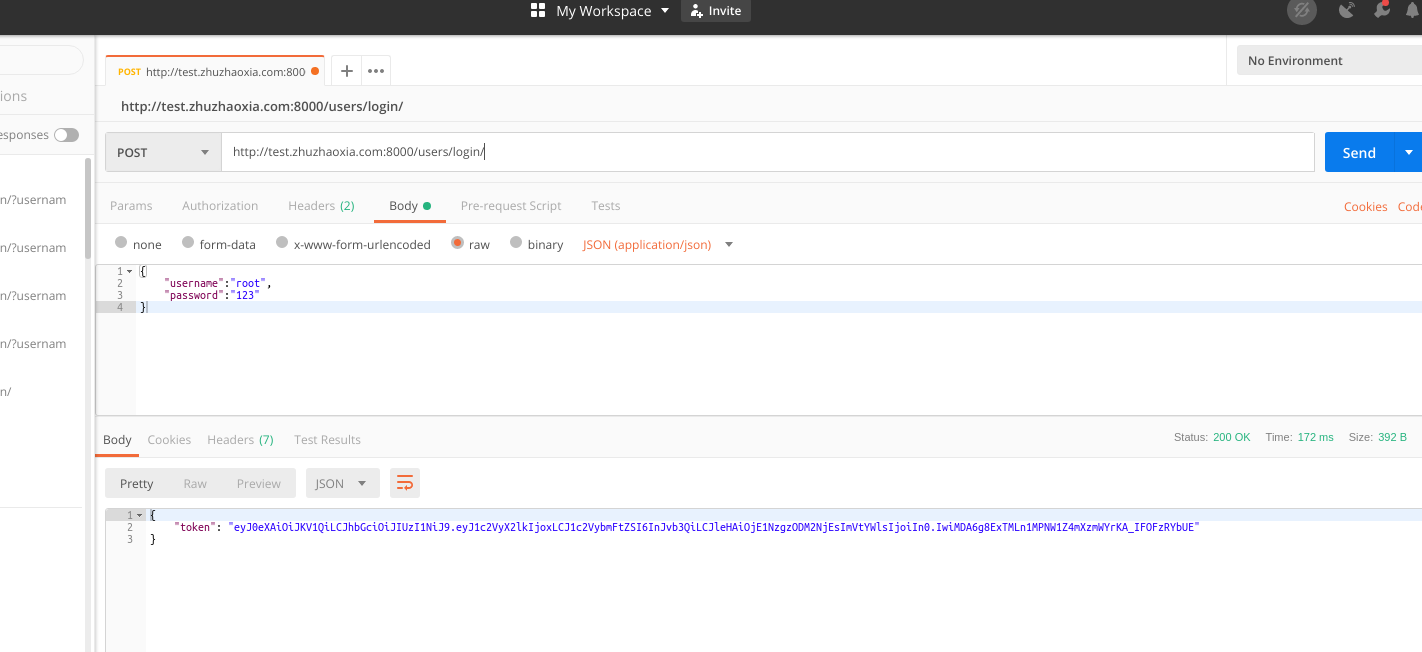
如上图即,后台接口已经ok
5、jwt的返回只提供了一个token返回,如果想要返回其他字段,需要进行改造
再对应模块下面的utils文件中改写jwt_response_payload_handler方法
def jwt_response_payload_handler(token, user=None, response=None):   # 如果不知道为啥要带这三个参数,可以ctrl+shift+f全局搜索,再jwt得post方法有
    """
    自定义jwt认证成功返回对象
    :param token: token
    :param user: 用户对象
    :param request:
    :return: 用户token,id,户名username,用户头像
    """
    return {
        "id": user.id,
        "username": user.username,
        "avatar": user.avatar.url,
        "token": token,
        "nickname": user.nickname
    }
修改配置文件dev.py,指定处理得方法:
JWT_AUTH = {
    ...
    "JWT_RESPONSE_PAYLOAD_HANDLER": "users.utils.jwt_response_payload_handler",
}
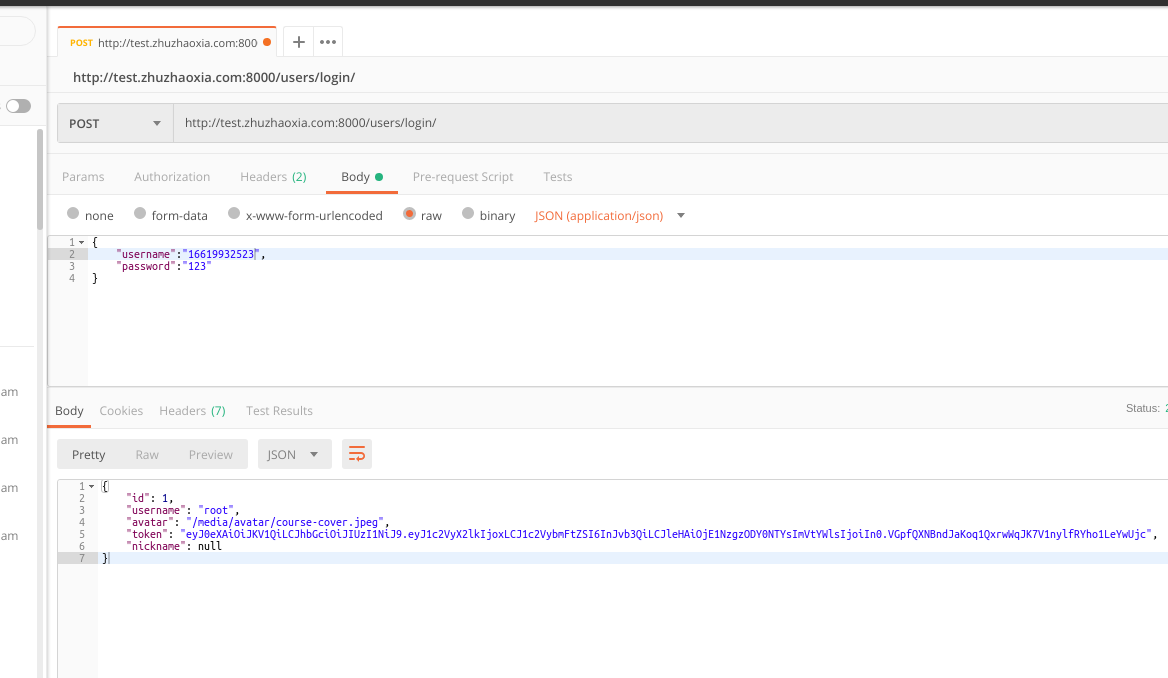
6、如下图返回结果,即为改造成功

7、改造authentication 实现多条件登录
django.auth提供得登录,仅限于使用username 和password 进行认证登录,如果想要使用多条件(例如:手机号+密码; 邮箱+密码)登录,此时需要改写authentication方法
django.auth得认证可以查看:from django.contrib.auth.backends import ModelBackend得authentication方法
在模块(users)得utils文件中重新写
from django.contrib.auth.backends import ModelBackend
from .models import User
from django.db.models import Q


def get_user_by_other_info(account):
    """
    根据不同的账号类型来获取用户
    :param username:  用户信息,可以是用户名,也可以是邮箱或者手机号码
    :return:
    """
    try:
        user = User.objects.get(Q(username=account) | Q(mobile=account) | Q(email=account))
    except User.DoesNotExist:
        user = None
    return user


class UserInfoModelBackend(ModelBackend):
    def authenticate(self, request, username=None, password=None, **kwargs):
        """
        重写authentication, 以支持多条件登录
        :param request:
        :param username: 用户名或者手机号码或者用户邮箱
        :param password:  登录密码
        :param kwargs:
        :return: 认证后的用户对象
        """
        user = get_user_by_other_info(username)
        if isinstance(user, User) and user.check_password(password) and self.user_can_authenticate(user):
            return user
修改配置文件,指定authenticate处理方法:
AUTHENTICATION_BACKENDS = [
    "users.utils.UserInfoModelBackend",
]
8、出现下图,则多条件登录,后端配置成功