1. npm init -y
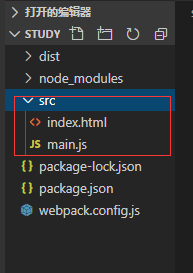
2. 创建src
2.1 创建index.html
2.2 main .js
3. 创建配置 webpack.config.js
var path = require('path')

module.exports = {
    entry: path.join(__dirname, './src/main.js'),  //入口
    output: {
        path: path.join(__dirname, './dist'),  //输出路径
        filename: 'bundle.js'  //指定文件名称
    }
}
4. npm install webpack webpack-cli --save-dev (webpack 4 之后 webpack 和 webpack-cli 是分离的,都需要安装)
5. npm i webpack-dev-server -D
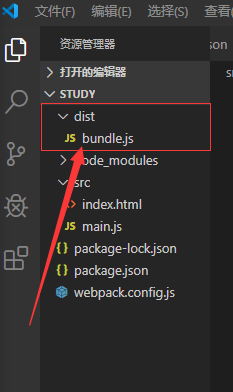
6. 编译打包 ./node_modules/.bin/webpack ,打包后会生成 bundle.js
7. 安装好 webpack-dev-server 后 配置 package.json 添加 dev:
"dev": "webpack-dev-server --open --port 3000 --contentBase src --hot"
{
  "name": "study",
  "version": "1.0.0",
  "description": "",
  "main": "index.js",
  "scripts": {
    "test": "echo \"Error: no test specified\" && exit 1",
    "dev": "webpack-dev-server --open --port 3000 --contentBase src --hot"
  },
  "keywords": [],
  "author": "",
  "license": "ISC",
  "devDependencies": {
    "webpack": "^4.41.5",
    "webpack-cli": "^3.3.10",
    "webpack-dev-server": "^3.10.1"
  }
}
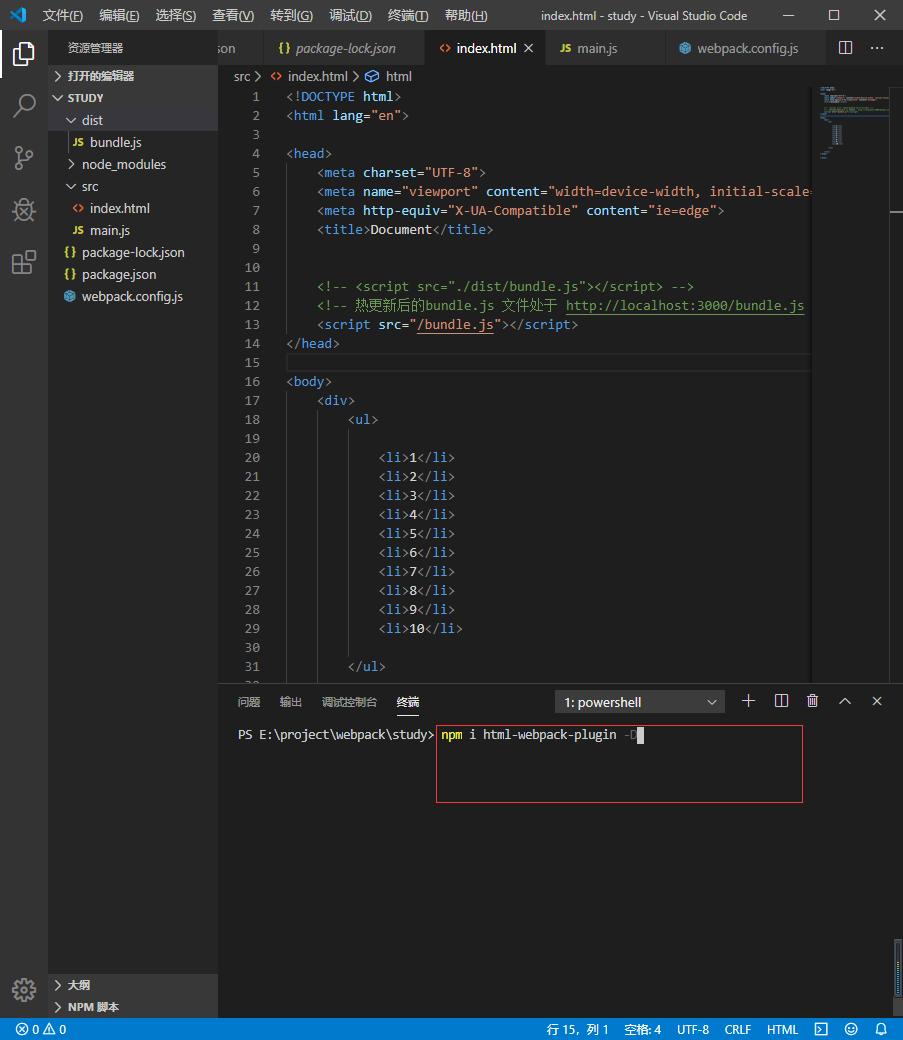
8. 因为使用 dev 运行,热更新后的 bundle.js 文件处于 http://localhost:3000/bundle.js (内存中运行),script 文件需要改路径
<!DOCTYPE html>
<html lang="en">

<head>
    <meta charset="UTF-8">
    <meta name="viewport" content="width=device-width, initial-scale=1.0">
    <meta http-equiv="X-UA-Compatible" content="ie=edge">
    <title>Document</title>


    <!-- <script src="./dist/bundle.js"></script> -->
    <!-- 热更新后的bundle.js 文件处于 http://localhost:3000/bundle.js -->
    <script src="/bundle.js"></script>
</head>

<body>
    <div>
        <ul>

            <li>1</li>
            <li>2</li>
            <li>3</li>
            <li>4</li>
            <li>5</li>
            <li>6</li>
            <li>7</li>
            <li>8</li>
            <li>9</li>
            <li>10</li>

        </ul>

    </div>
</body>

</html>
9.这时候保存代码后发现需要手动刷新页面,可以安装 html-webpack-plugin 插件。(安装了html-webpack-plugin 后内存中的html会自动调用script)