准备linux服务器或虚拟机,这里是虚拟机,操作系统CentOS 6.4
Tracker 和 Storage 安装在一台机器上
FastDFS 5.08版本
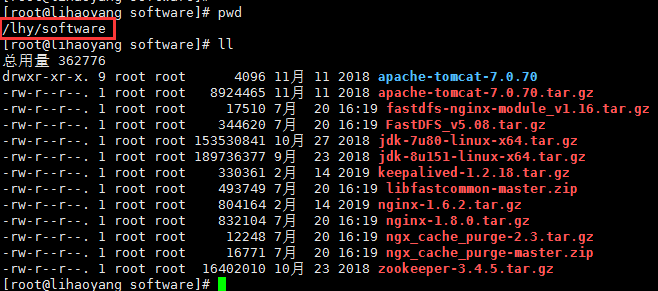
1,准备软件

软件下载:http://sourceforge.net/projects/fastdfs/files/
文中用到的 https://pan.baidu.com/s/1IeZqzt6Gc5Yc34RMwew3nQ 提取码:7dvf
2,安装gcc
FastDFS是C语言开发的应用。安装必须使用make、cmake和gcc编译器。
命令:yum install make cmake gcc gcc-c++

(1)进行解压libfastcommon-master.zip,命令:unzip libfastcommon-master.zip -d /usr/local/fastdfs
(2)进入目录 cd /usr/local/fastdfs/libfastcommon-master
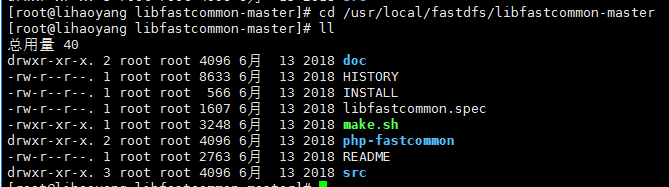
(3)进行编译安装
命令: ./make.sh
命令: ./make.sh install
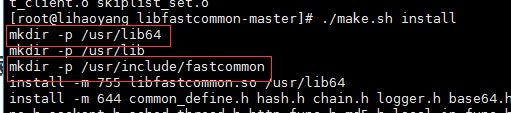
注意安装的路径:也就是说,我们的libfastcommon默认安装到了/usr/lib64/这个位置。
(4)创建软连接
FastDFS主程序设置的目录为/usr/local/lib/,所以我们需要创建/usr/lib64/下的一些核心执行程序的软连接文件。
ln -s /usr/lib64/libfastcommon.so /usr/local/lib/libfastcommon.so
ln -s /usr/lib64/libfastcommon.so /usr/lib/libfastcommon.so
ln -s /usr/lib64/libfdfsclient.so /usr/local/lib/libfdfsclient.so
ln -s /usr/lib64/libfdfsclient.so /usr/lib/libfdfsclient.so
4,安装FastDFS
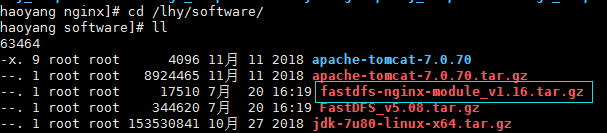
4.1 进入到cd /lhy/software/ 下,
解压 FastDFS_v5.08.tar.gz,命令:tar -zxf FastDFS_v5.08.tar.gz -C /usr/local/fastdfs
4.2 编译安装
命令:cd /usr/local/fastdfs/FastDFS/
编译:./make.sh
安装:./make.sh install
4.3 采用默认安装方式脚本文件说明
(1)服务脚本在
/etc/init.d/fdfs_storaged
/etc/init.d/fdfs_trackerd

(2)配置文件在
/etc/fdfs/client.conf.sample - 跟踪器服务配置文件模板
/etc/fdfs/storage.conf.sample - 存储服务器配置文件模板
/etc/fdfs/tracker.conf.sample -- FastDFS提供的命令行客户端配置文件模板。可以通过命令行测试FastDFS有效性。

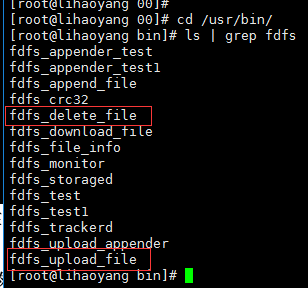
(3)命令行工具在/usr/bin/目录下,是一些可执行文件

5,
1,进入到 /etc/fdfs/ 目录,执行命令: 把tracker.conf.sample复制一份
命令:cd /etc/fdfs/
命令:cp tracker.conf.sample tracker.conf

2,修改tracker.conf
命令 :vim /etc/fdfs/tracker.conf
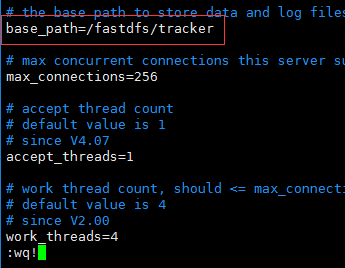
3,配置中的路径需要先创建好才能启动服务
命令:mkdir -p /fastdfs/tracker 递归创建目录

4,启动追踪器
命令:/etc/init.d/fdfs_trackerd start

启动成功后,配置文件中base_path指向的目录中出现FastDFS服务相关数据目录(data目录、logs目录)

启动tracker命令:/etc/init.d/fdfs_trackerd start
查看进程命令:ps -el | grep fdfs
停止tracker命令:/etc/init.d/fdfs_trackerd stop
重启服务:/etc/init.d/fdfs_trackerd restart
5 可以设置开机启动跟踪器
(一般生产环境需要开机启动一些服务,如keepalived、linux、tomcat等等)命令:vim /etc/rc.d/rc.local加入配置:/etc/init.d/fdfs_trackerd start
6,配置FastDFS存储(Storage)
1, 进入到 /etc/fdfs/ ,进行copy storage文件一份
命令:cd /etc/fdfs/
命令:cp storage.conf.sample storage.conf

2,修改storage.conf文件
命令:vim /etc/fdfs/storage.conf
修改内容:
base_path=/fastdfs/storage/base ( base_path - 基础路径。用于保存storage server基础数据内容和日志内容的目录)
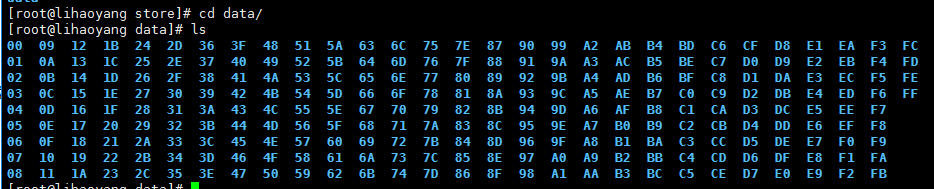
store_path0=/fastdfs/storage/store (store_path0 - 存储路径。是用于保存FastDFS中存储文件的目录,就是要创建256*256个子目录的位置。base_path和store_path0可以使用同一个目录。)
tracker_server=192.168.1.172:22122 (tracker_server - 跟踪服务器位置。就是跟踪服务器的ip和端口。)


3,递归创建存储目录(上个步骤中的目录)
命令 :mkdir -p /fastdfs/storage/base
命令:mkdir -p /fastdfs/storage/store

4,启动服务 (要求tracker服务必须已启动)
命令:/etc/init.d/fdfs_storaged start
启动成功后,配置文件中base_path指向的目录中出现FastDFS服务相关数据目录(data目录、logs目录)

配置文件中的store_path0指向的目录中同样出现FastDFS存储相关数据录(data目录)

5,查看FastDFS storage 是否启动成功

查看服务状态:/etc/init.d/fdfs_storaged status

停止服务:/etc/init.d/fdfs_storaged stop
重启服务:/etc/init.d/fdfs_storaged restart
6,同理,也可以设置开机启动存储器
(一般生产环境需要开机启动一些服务,如keepalived、linux、tomcat等等)命令:vim /etc/rc.d/rc.local加入配置:/etc/init.d/fdfs_storaged start
++++++++++++++++++到此为止我们的FastDFS环境已经搭建完成!(真是有点复杂)++++++++++++++++++++++++++++++
7,测试环境
使用FastDFS自带的客户端进行文件上传(注意:是在tracker(跟踪器)中上传)
1,进入到/etc/fdfs/ 目录, copy一份client.conf文件
命令:cd /etc/fdfs/
命令:cp client.conf.sample client.conf
2,编辑client.conf文件
命令:vim /etc/fdfs/client.conf
修改内容:
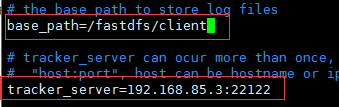
base_path=/fastdfs/client( base_path - 就是客户端命令行执行过程时临时数据存储位置。)
tracker_server=192.168.85.3:22122
3,创建自定义文件夹
命令:mkdir -p /fastdfs/client
4,上传文件测试
命令:/usr/local/bin/fdfs_upload_file /etc/fdfs/client.conf /要上传的文件
例:/usr/bin/fdfs_upload_file /etc/fdfs/client.conf /lhy/software/test.png
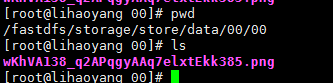
返回:group1/M00/00/00/wKhVA138_q2APqgyAAq7elxtEkk385.png


上传结束后,返回group1/M00/00/00/xxxxxxxxxx.xxx,检查storage服务结点中的$store_path0/data/00/00/目录中是否有上传的文件(一般情况上传的文件按顺序保存在$store_path0/data/00/00/目录中,不能完全保证)。
/usr/bin/fdfs_delete_file /etc/fdfs/client.conf group1/M00/00/00/wKiWDV0xfqWAFe1OAAAib-i5DLU637.log
命令的脚本位置
8 FastDFS与Nginx整合
安装Nginx是为了WEB应用中可以使用HTTP协议直接访问Storage服务中存储的文件(如你的图片)。在storage(存储节点)结点所在服务器安装Nginx组件。
需要安装两部分内容,Nginx应用,在安装nginx应用的时候,同时要在nginx中增加一个FastDFS的组件。
1,安装
2, 解压解压命令:
tar -zxvf /lhy/software/fastdfs-nginx-module_v1.16.tar.gz -C /usr/local/fastdfs/

3, 进入目录:cd fastdfs-nginx-module/src/

4,修改配置
命令:vim /usr/local/fastdfs/fastdfs-nginx-module/src/config
修改CORE_INC这一行,修改后为:CORE_INCS="$CORE_INCS /usr/include/fastdfs /usr/include/fastcommon/" (去掉了/local 层级)

修改后:

5,FastDFS与nginx进行集成
如果你是已有的nginx,不要重新安装nginx,那么进入到nginx的安装包目录:
执行命令:make clean (清除上次的make命令所产生的object文件(后缀为“.o”的文件)及可执行文件)

加入模块命令:./configure --prefix=/usr/local/nginx --add-module=/usr/local/fastdfs/fastdfs-nginx-module/src/ (执行了这个configure,再执行一遍make clean会清除本次config,可以多次执行make clean、./configure,没事)

重新编译命令: make && make install
+++++++++++如果是新的nginx+++++++++++++++++++++++++++++++++
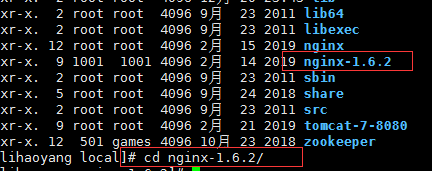
删除命令:rm -rf nginx
进入到nginx目录命令:cd nginx-1.6.2/
加入模块命令:./configure --add-module=/usr/local/fastdfs/fastdfs-nginx-module/src/
重新编译命令: make && make install
+++++++++++++++++++++++++++++++++++++++++++++++++++++++++++++++++
6,
7, 进行修改 /etc/fdfs/ 目录下,刚刚copy过来的mod_fastdfs.conf 文件。
命令:vim /etc/fdfs/mod_fastdfs.conf
修改内容:比如连接超时时间、跟踪器路径配置、url的group配置
store_path0=/fastdfs/storage/store
url_have_group_name = true
tracker_server=192.169.85.3:22122
connect_timeout=30
8,
复制FastDFS安装包中的两个配置文件(http.conf和mime.types)到/etc/fdfs目录中
进入到FastDFS安装目录 :cd /usr/local/fastdfs/FastDFS/conf/
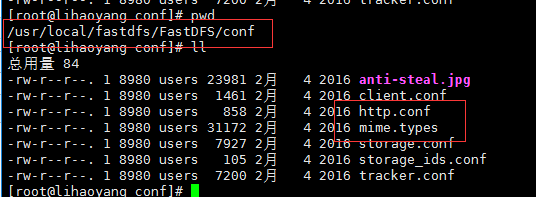
复制命令:cp http.conf mime.types /etc/fdfs/
9,
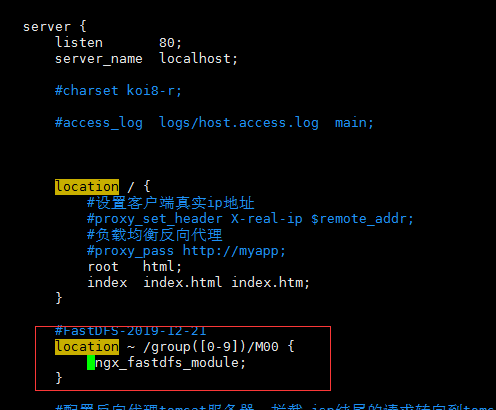
server {
        listen       80;
        server_name  localhost;

        #charset koi8-r;

        #access_log  logs/host.access.log  main;


        location / {
        #设置客户端真实ip地址
        #proxy_set_header X-real-ip $remote_addr;
        #负载均衡反向代理
        #proxy_pass http://myapp;
            root   html;
            index  index.html index.htm;
        }

    #FastDFS-2019-12-21
    location ~ /group([0-9])/M00 {
             ngx_fastdfs_module;
        }

    #配置反向代理tomcat服务器:拦截.jsp结尾的请求转向到tomcat
        #location ~ \.jsp$ {
        #设置客户端真实ip地址
    #    proxy_set_header X-real-ip $remote_addr;
        #    proxy_pass http://192.168.85.3:8080;
        #}

        #error_page  404              /404.html;

        # redirect server error pages to the static page /50x.html
        #
        error_page   500 502 503 504  /50x.html;
        location = /50x.html {
            root   html;
        }

        # proxy the PHP scripts to Apache listening on 127.0.0.1:80
        #
        #location ~ \.php$ {
        #    proxy_pass   http://127.0.0.1;
        #}

        # pass the PHP scripts to FastCGI server listening on 127.0.0.1:9000
        #
        #location ~ \.php$ {
        #    root           html;
        #    fastcgi_pass   127.0.0.1:9000;
        #    fastcgi_index  index.php;
        #    fastcgi_param  SCRIPT_FILENAME  /scripts$fastcgi_script_name;
        #    include        fastcgi_params;
        #}

        # deny access to .htaccess files, if Apache's document root
        # concurs with nginx's one
        #
        #location ~ /\.ht {
        #    deny  all;
        #}
    }
用fastDFS带的客户端重新上传一个图片:
命令:/usr/bin/fdfs_upload_file /etc/fdfs/client.conf /lhy/software/test.png
返回文件ID:group1/M00/00/00/wKhVA139D5yAb_oiAAq7elxtEkk387.png
11,用浏览器访问该图片
我直接http://192.168.85.3/group1/M00/00/00/wKhVA139D5yAb_oiAAq7elxtEkk387.png访问图片,但是nginx返回404,
命令: /usr/local/nginx/sbin/nginx -s reload 重启Nginx,看到有fastdfs相关的进程,但是还是访问不到图片,nginx返回404。

/usr/local/nginx/sbin/nginx -s stop 关了nginx,/usr/local/nginx/sbin/nginx 再启动,还不行,还是返回404,现在半夜2:32了,安装了半天,难道要前功尽弃了??
最终,reboot,重启了服务器,图片终于出来了!~~~
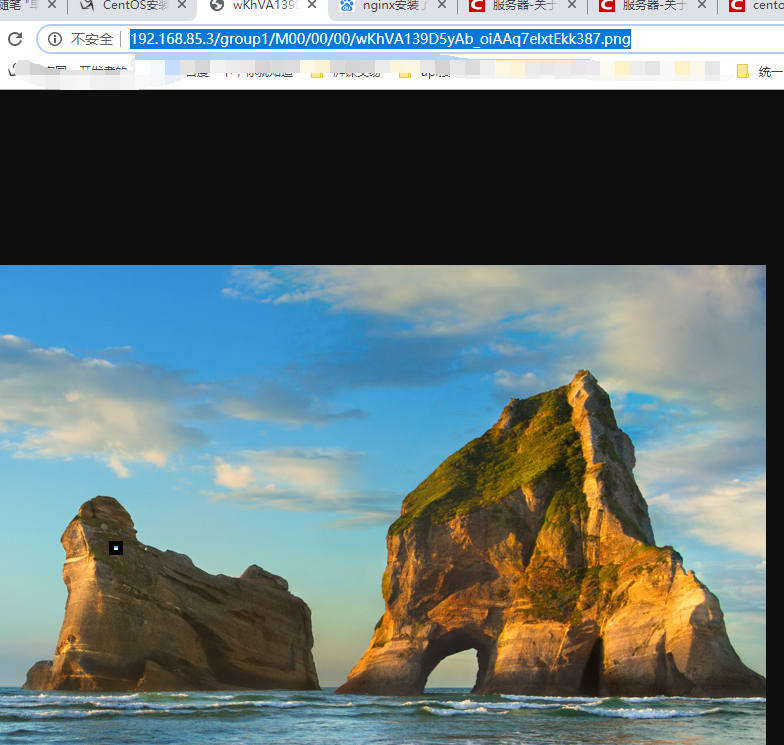
group1/M00/00/00/wKhVA139D5yAb_oiAAq7elxtEkk387.png
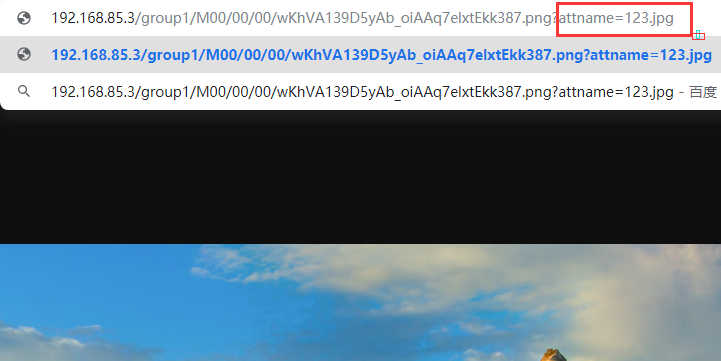
12,如果是下载文件,如何动态指定文件名
在nginx的fastdfs的location配置里,加上这句话:add_header Content-Disposition "attachment;filename=$arg_attname";

访问 :http://192.168.85.3/group1/M00/00/00/wKhVA139D5yAb_oiAAq7elxtEkk387.png?attname=123.jpg 这个后缀名,就可以从数据库读出来了。
常用命令:
查看服务状态:ps -ef | grep fdfs
启动Tracker:/etc/init.d/fdfs_trackerd start
停止Tracker:/etc/init.d/fdfs_trackerd stop
重启Tracker:/etc/init.d/fdfs_trackerd restart
启动Storage:/etc/init.d/fdfs_storaged start
查看Storage服务状态:/etc/init.d/fdfs_storaged status
停止Storage:/etc/init.d/fdfs_storaged stop
重启Storage:/etc/init.d/fdfs_storaged restart
FastDFS自带的客户端上传文件命令:/usr/bin/fdfs_upload_file /etc/fdfs/client.conf