一、服务器准备
目前有两台128G内存服务器,故准备每台启动两个es实例,再加一台虚机,共五个节点,保证down一台服务器两个节点数据不受影响。
二、系统初始化
参见我上一篇kafka系统初始化:https://www.cnblogs.com/mkxfs/p/12030331.html
三、安装elasticsearch7.5.0
1.因zookeeper和kafka需要java启动
首先安装jdk1.8环境
yum install java-1.8.0-openjdk-devel.x86_64 -y
2.官网下载es7.5.0
cd /opt
wget https://artifacts.elastic.co/downloads/elasticsearch/elasticsearch-7.5.0-linux-x86_64.tar.gz
tar -zxf elasticsearch-7.5.0-linux-x86_64.tar.gz
mv elasticsearch-7.5.0 elasticsearch9300
创建es数据目录
mkdir -p /data/es9300
mkdir -p /data/es9301
3.修改es配置文件
vim /opt/elasticsearch9300/config/elasticsearch.yml
最后添加:
cluster.name: en-es
node.name: node-1
path.data: /data/es9300
path.logs: /opt/elasticsearch9300/logs
bootstrap.memory_lock: true
network.host: 0.0.0.0
http.port: 9200
transport.tcp.port: 9300
cluster.routing.allocation.same_shard.host: true
cluster.initial_master_nodes: ["192.168.0.16:9300", "192.168.0.16:9301","192.168.0.17:9300", "192.168.0.17:9301","192.168.0.18:9300"]
discovery.zen.ping.unicast.hosts: ["192.168.0.16:9300", "192.168.0.16:9301","192.168.0.17:9300", "192.168.0.17:9301", "192.168.0.18:9300"]
discovery.zen.minimum_master_nodes: 3
node.max_local_storage_nodes: 2
http.cors.enabled: true
http.cors.allow-origin: "*"
http.cors.allow-credentials: true
http.cors.allow-headers: Authorization,X-Requested-With,Content-Length,Content-Type
4.修改jvm堆内存大小
vim /opt/elasticsearch9300/config/jvm.options
-Xms25g
-Xmx25g
5.部署本机第二个节点
cp -r /opt/elasticsearch9300 /opt/elasticsearch9301
vim /opt/elasticsearch9301/config/elasticsearch.yml
最后添加:
cluster.name: en-es
node.name: node-2
path.data: /data/es9301
path.logs: /opt/elasticsearch9301/logs
bootstrap.memory_lock: true
network.host: 0.0.0.0
http.port: 9201
transport.tcp.port: 9301
cluster.routing.allocation.same_shard.host: true
cluster.initial_master_nodes: ["192.168.0.16:9300", "192.168.0.16:9301","192.168.0.17:9300", "192.168.0.17:9301", "192.168.0.18:9300"]
discovery.zen.ping.unicast.hosts: ["192.168.0.16:9300", "192.168.0.16:9301","192.168.0.17:9300", "192.168.0.17:9301", "192.168.0.18:9300"]
discovery.zen.minimum_master_nodes: 3
node.max_local_storage_nodes: 2
http.cors.enabled: true
http.cors.allow-origin: "*"
http.cors.allow-credentials: true
http.cors.allow-headers: Authorization,X-Requested-With,Content-Length,Content-Type
6.继续安装其他三个节点,注意端口号
7.启动elasticsearch服务
因为elasticsearch不允许root用户启动,故添加es账号
groupadd es
useradd es -g es
授权es目录给es用户
chown -R es:es es9300
chown -R es:es es9301
chown -R es:es /data/es9300
chown -R es:es /data/es9301
启动es服务
su - es -c "/opt/elasticsearch9300/bin/elasticsearch -d"
su - es -c "/opt/elasticsearch9301/bin/elasticsearch -d"
查看es日志和端口,没有报错,启动成功即可。
四、安装kibana-7.5.0
1.官网下载kibana-7.5.0
cd /opt
wget https://artifacts.elastic.co/downloads/kibana/kibana-7.5.0-linux-x86_64.tar.gz
tar -zxf kibana-7.5.0-linux-x86_64.tar.gz
2.修改kibana配置文件
vim /opt/kibana-7.5.0-linux-x86_64/config/kibana.yml
server.host: "192.168.0.16"
3.启动kibana
添加kibana日志目录
mkdir /opt/kibana-7.5.0-linux-x86_64/logs
kibana也需要es用户启动
授权kibana目录给es
chown -R es:es kibana-7.5.0-linux-x86_64
启动:
su - es -c "nohup /opt/kibana-7.5.0-linux-x86_64/bin/kibana &>>/opt/kibana-7.5.0-linux-x86_64/logs/kibana.log &"
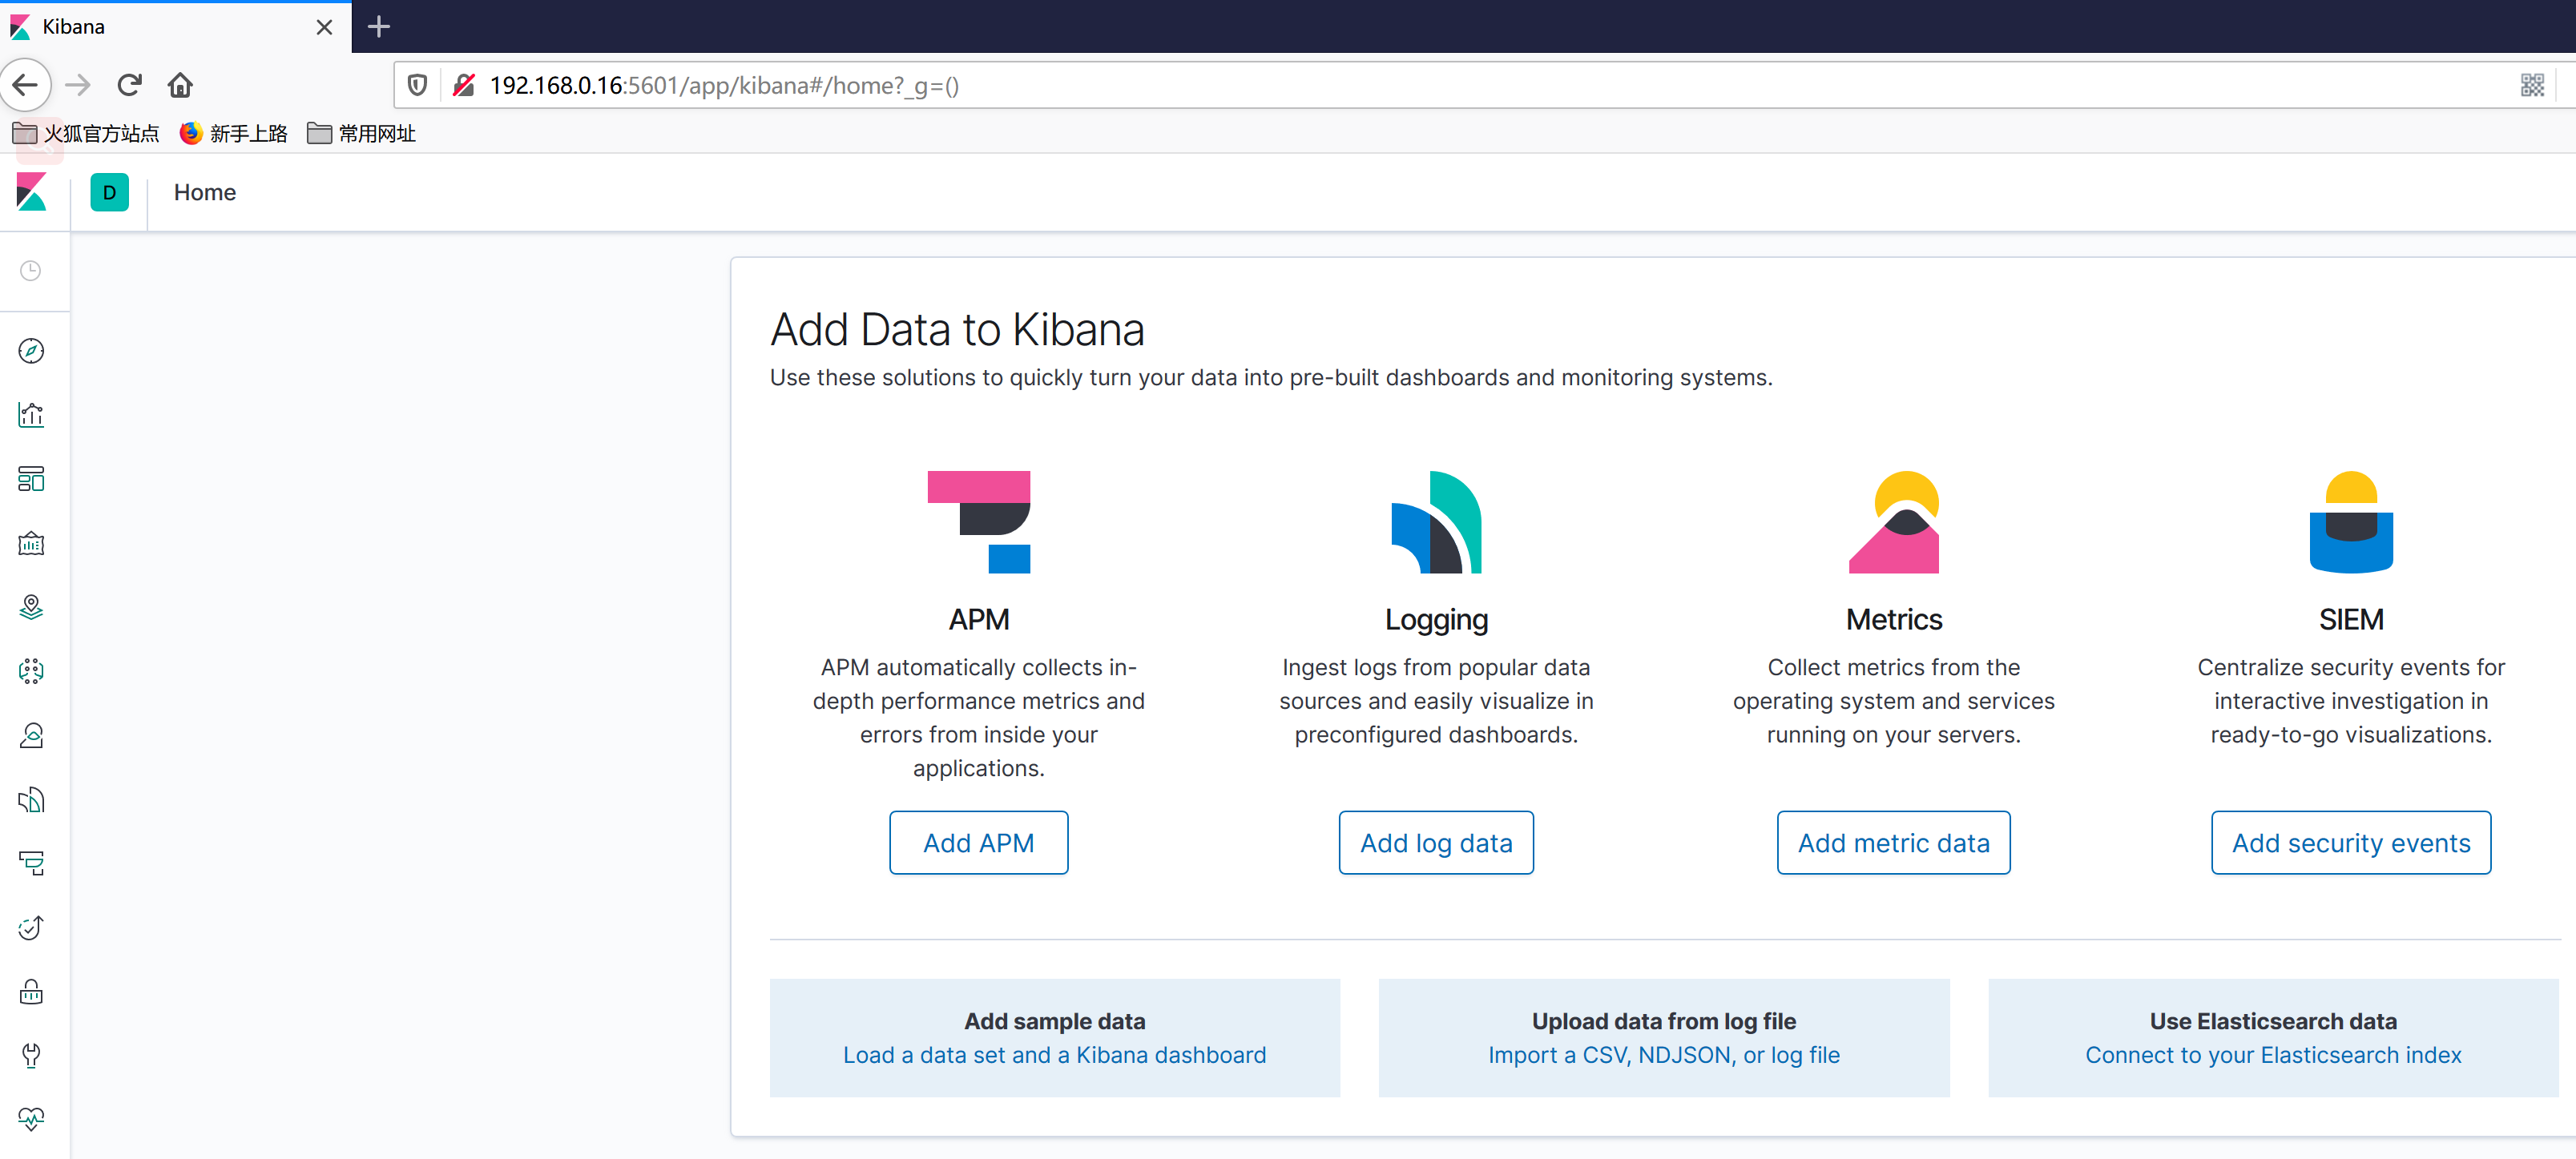
4.通过浏览器访问kibana
http://192.168.0.16:5601
五、安装es监控管理工具cerebro-0.8.5
1.下载cerebro-0.8.5release版
cd /opt
wget https://github.com/lmenezes/cerebro/releases/download/v0.8.5/cerebro-0.8.5.tgz
tar -zxf cerebro-0.8.5.tgz
2.修改cerebro配置
vim /opt/cerebro-0.8.5/conf/application.conf
hosts = [
{
host = "http://192.168.0.16:9200"
name = "en-es"
headers-whitelist = [ "x-proxy-user", "x-proxy-roles", "X-Forwarded-For" ]
}
3.启动cerebro
nohup /opt/cerebro-0.8.5/bin/cerebro -Dhttp.port=9000 -Dhttp.address=192.168.0.16 &>/dev/null &
4.通过浏览器访问

六、通过elasticsearch-migration将老集群数据迁移到新集群上
1.在16上安装elasticsearch-migration
cd /opt
wget https://github.com/medcl/esm-v1/releases/download/v0.4.3/linux64.tar.gz
tar -zxf linux64.tar.gz
mv linux64 elasticsearch-migration
2.停止老集群所有写入操作,开始迁移
/opt/elasticsearch-migration/esm -s http://192.168.0.66:9200 -d http://192.168.0.16:9200 -x indexname -w=5 -b=10 -c 10000 >/dev/null
3.等待迁移完成,一小时大约迁移7000w文档,40G左右,同时最多建议迁移两个索引
