1、首先准备3台机器
ansible机器:192.168.52.34
目标主机:192.168.52.35
目标主机:192.168.52.36
2、关闭防火墙
[root@localhost ~]# systemctl stop firewalld
[root@localhost ~]# setenforce 0
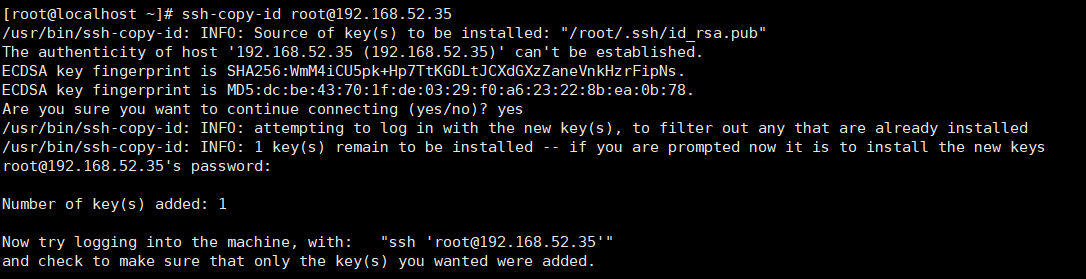
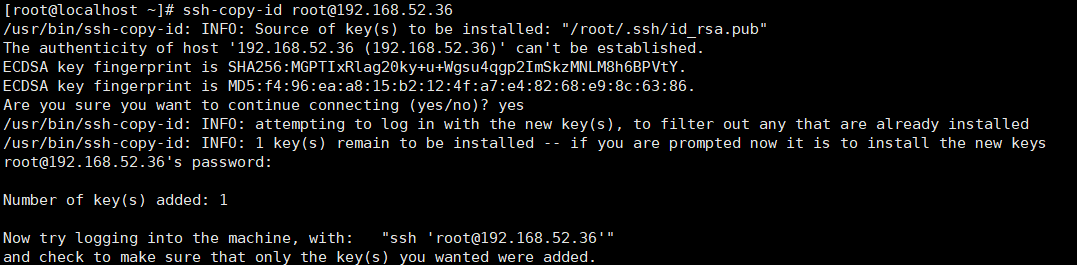
3、配置免密登录

4、安装ansible
yum -y install ansible
5、在ansible的配置文件中添加目标主机
vim /etc/ansible/hosts

## [webservers]
## alpha.example.org
## beta.example.org
## 192.168.1.100
## 192.168.1.110
[lnmp]
192.168.52.35
192.168.52.36
# If you have multiple hosts following a pattern you can specify
# them like this:

## www[001:006].example.com
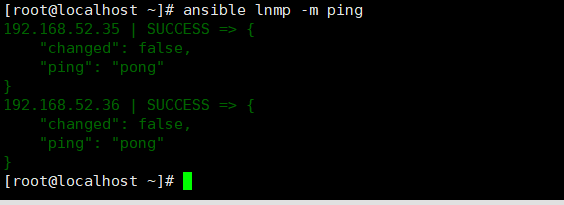
6、检查ansible与目标主机是否连通
7、上传nginx
[root@localhost ~]# rz

[root@localhost ~]# ls
anaconda-ks.cfg  lnmp.yml  nginx-1.16.1.tar.gz  original-ks.cfg
8、解压nginx
tar -zxvf nginx-1.16.1.tar.gz
9、配置nginx文件
[root@localhost nginx-1.16.1]# cd conf/
[root@localhost conf]# vim nginx.conf

 server {
        listen       80;
        server_name  localhost;

        #charset koi8-r;

        #access_log  logs/host.access.log  main;

        location / {
            root   html;
            index  index.php index.html index.htm;
        }

   location ~ \.php$ {
            root           html;
            fastcgi_pass   127.0.0.1:9000;
            fastcgi_index  index.php;
            fastcgi_param  SCRIPT_FILENAME  $document_root$fastcgi_script_name;
            include        fastcgi_params;
        }
9、将nginx配置文件拷贝到/root下
[root@localhost conf]# cp nginx.conf /root
10、删除nginx解压包
[root@localhost ~]# rm -rf nginx-1.16.1
11、上传电商包
[root@localhost ~]# rz

[root@localhost ~]# ls
anaconda-ks.cfg  lnmp.yml  nginx-1.16.1.tar.gz  nginx.conf  original-ks.cfg  tinyshopV2.5_data.zip
12、编写lnmp,yml
[root@localhost ~]# vim lnmp.yml

---
- hosts: lnmp
  tasks:
    - name: 关闭防火墙
      shell: systemctl stop firewalld
    - name: 关闭selinux
      shell: setenforce 0
    - name: 安装相关依赖
      yum: name=zlib-devel,pcre-devel,gcc,gcc-c++,php,php-mysql,php-gd,php-fpm state=latest
    - name: 推送nginx安装包
      unarchive: src=nginx-1.16.1.tar.gz dest=/root
    - name: 安装nginx
      shell: cd /root/nginx-1.16.1 && ./configure && make && make install
    - name: 启动nginx
      shell: netstat -ntlp | grep nginx || /usr/local/nginx/sbin/nginx
    - name: 推送ningx的配置文件
      template: src=nginx.conf dest=/usr/local/nginx/conf/nginx.conf
      tags: config-nginx
      notify: restart-nginx
    - name: 启动php-fpm
      shell: systemctl start php-fpm
    - name: 安装mysql
      yum: name=mariadb,mariadb-server state=latest
    - name: 启动mysql
      shell: systemctl start mariadb
    - name: 删除数据库如果存在
      shell: mysql -e "drop database if exists ds;"
    - name: 创建数据库
      shell: mysql -e "create database ds charset=utf8;"
    - name: 给用户授权
      shell: mysql -e "grant all on *.* to 'tom'@'%' identified by '123';"
    - name: 刷新权限
      shell: mysql -e "flush privileges;"
    - name: 推送电商的安装包并给予权限
      unarchive: src=tinyshopV2.5_data.zip dest=/usr/local/nginx/html/ mode=777

  handlers:
    - name: restart-nginx
      shell: /usr/local/nginx/sbin/nginx -s reload
13、检查lnmp.yml
[root@localhost ~]# ansible-playbook --syntax-check lnmp.yml
14、执行文件
[root@localhost ~]# ansible-playbook lnmp.yml
15、完成