实验环境
squid服务器 ens33:192.168.13.184
                                        ens36:192.168.10.1 (仅主机模式)
web服务器 192.168.13.151
client 192.168.10.10  (仅主机模式)
一,ACL访问控制
1,在squid服务器上修改配置文件
[root@squid ~]# vim /etc/squid.conf ##修改配置文件
# should be allowed
acl hostlocal src 192.168.10.10/32 ##控制hostlocal10.10的主机
# Deny requests to certain unsafe ports
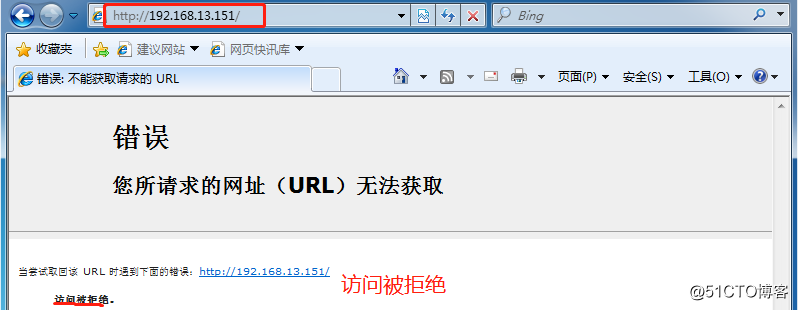
http_access deny hostlocal ##拒绝访问
[root@squid ~]# service squid reload ##重启squid服务
2,在测试机上访问web网页
二,sarg日志
1,在squid服务器上安装sarg
[root@squid ~]# mount.cifs //192.168.100.3/LNMP-C7 /mnt/  ##挂载
Password for root@//192.168.100.3/LNMP-C7:
[root@squid ~]# cd /mnt/
[root@squid mnt]# tar zxvf sarg-2.3.7.tar.gz -C /opt/   ##解压
[root@squid mnt]# cd /opt/sarg-2.3.7/
[root@squid sarg-2.3.7]# yum install gd gd-devel -y  ##安装gd库
[root@squid sarg-2.3.7]# ./configure --prefix=/usr/local/sarg \  ##安装路径
> --sysconfdir=/etc/sarg \   ##配置文件
> --enable-extraprotection  ##开启安全防护
[root@squid sarg-2.3.7]# make && make install  ##编译安装
2,修改sarg配置文件
[root@squid sarg-2.3.7]# vim /etc/sarg/sarg.conf  ##修改sarg配置文件
##将下面的模块修改开启
access_log /usr/local/squid/var/logs/access.log  ##指定访问日志文件
title "Squid User Access Reports"  ##网页标题
output_dir /var/www/html/squid-reports  ##报告输出目录
user_ip no  ##使用用户名显示
exclude_hosts /usr/local/sarg/noreport  ##不计入排序的站点列表文件
topuser_sort_field connect reverse
##top排序中有连接次数,访问字节,降序排列,升序是normal
overwrite_report no  ##同名日志是否覆盖
mail_utility mailq.postfix  ##发送邮件报告命令
charset UTF-8  ##使用字符集
weekdays 0-6  ##top排行的时间周期
hours 0-23  ##top排行的时间周期
www_document_root /var/www/html  ##网页根目录
[root@squid ~]# sarg   ##生成报告
SARG: 纪录在文件: 91, reading: 100.00%
SARG: 成功的生成报告在 /var/www/html/squid-reports/2019Dec11-2019Dec12
[root@squid sarg-2.3.7]# cd /var/www/html/squid-reports/  ##切换到html目录下
[root@squid squid-reports]# ls
2019Dec11-2019Dec12   images  index.html
[root@squid squid-reports]# yum install httpd -y  ##安装httpd服务
[root@squid squid-reports]# systemctl start httpd.service  ##开启服务
[root@squid squid-reports]# systemctl stop firewalld.service   ##关闭防火墙
[root@squid squid-reports]# setenforce 0
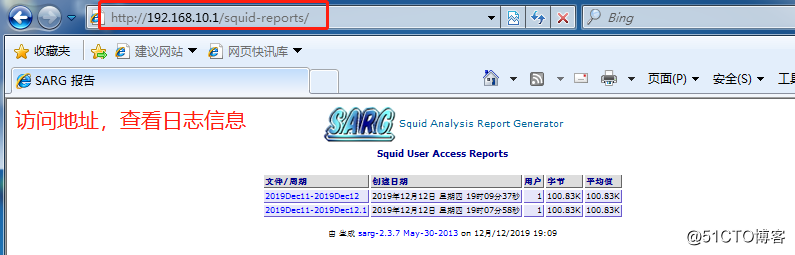
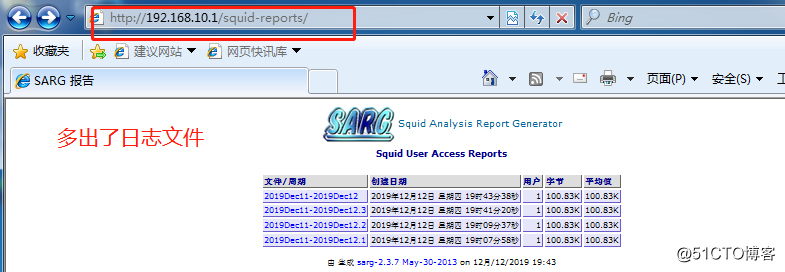
3,用测试机访问网页查看访问记录
##周期性计划任务执行每天生成报告crontab
sarg -l /usr/local/squid/var/logs/access.log -o /var/www/html/squid-reports/ -z -d $(date -d "1 day ago" +%d/%m/%Y)-$(date +%d/%m/%Y)
三,squid反向代理
squid服务器 ens33:192.168.13.184
                                        ens36:192.168.10.1 (仅主机模式)
web1服务器 192.168.13.151
web2服务器 192.168.13.185
client 192.168.10.10  (仅主机模式)
1,在web1服务器上编辑一个网页内容
[root@web ~]# cd /var/www/html/
[root@web html]# vim index.html ##编辑网页内容
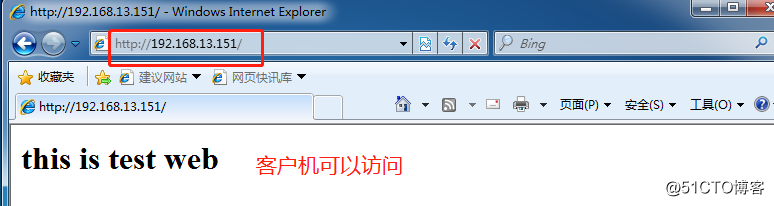
<h1>this is test web!</h1>
2,在测试机上访问网页
3,在web2服务器上编辑一个网页内容
[root@web2 ~]# systemctl stop firewalld.service ##关闭防火墙
[root@web2 ~]# setenforce 0
[root@web2 ~]# yum install httpd -y ##安装httpd服务
[root@web2 ~]# cd /var/www/html/ ##创建网页内容
[root@web2 html]# vim index.html
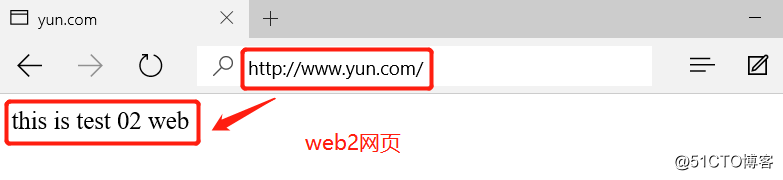
<h1>this is test2 web!</h1>
[root@web2 html]# systemctl start httpd.service
4,在squid服务上配置反向代理
[root@localhost squid]# vim /etc/squid.conf
# Squid normally listens to port 3128
http_port 192.168.13.184:80 accel vhost vport ##监控本机80端口
cache_peer 192.168.13.151 parent 80 0 no-query originserver round-robin max_conn=30 weight=1 name=web1
##节点服务器1最大访问30,权重1,别名web1
cache_peer 192.168.13.185 parent 80 0 no-query originserver round-robin max_conn=30 weight=1 name=web1
cache_peer_domain web1 web2 www.yun.com  ##访问yun.com匹配web1,web2节点
[root@localhost squid]# service squid restart  ##重启squid服务
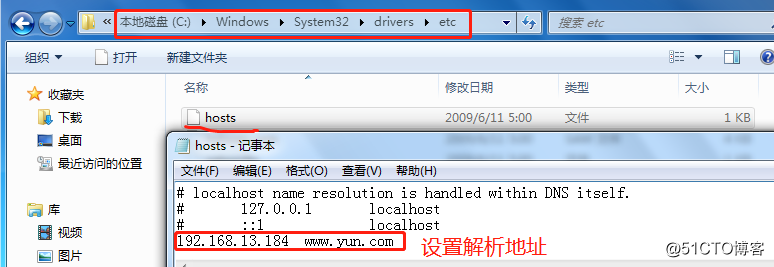
5,在测试机的admin用户下配置解析域名地址,并设置代理


谢谢阅读!