安装jdk
我的博文里面有 https://www.cnblogs.com/vinic-xxm/p/11825691.html安装elasticsearch-rtf
git clone git://github.com/medcl/elasticsearch-rtf.git -b master –depth 1
git太慢了。可以直接从我的网盘下5.5.4版本奥,别看错了
链接:https://pan.baidu.com/s/1t-5_p5hKCAcqBX6DK0K9NQ
提取码:4gql
然后是zip格式,在linux上
yum install unzip
用unzip命令解压
直接运行会报错
在bin目录中执行./elasticsearch 运行
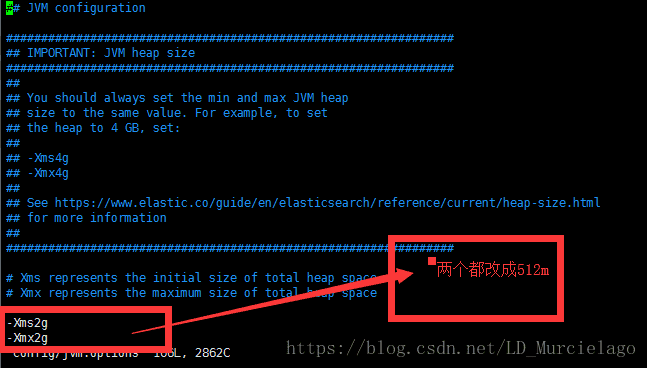
这是因为elasticsearch5 默认分配jvm的空间大小为2g,我们改下jvm的空间分配
vim config/jvm.options
- 创建新的用户
es不能在root运行,会报错
adduser phpq //新建phpq用户
passwd phpq //给phpq用户设置密码
chown -R phpq:phpq /elasticsearch-rtf //最后那个目录是文件路径 配置外网访问
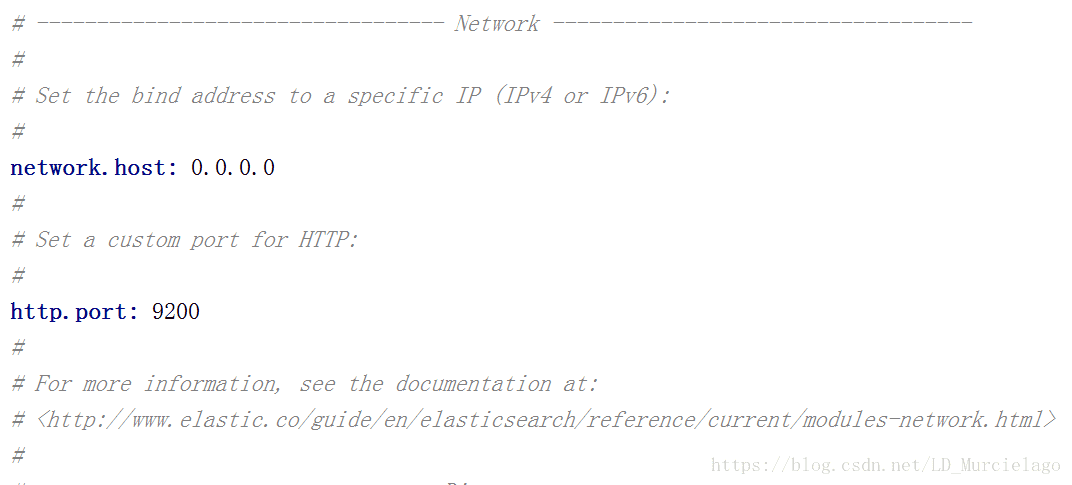
vim config/elasticsearch.yml修改如下
Network里的这两个解注释
在末尾加上这4句代码
http.cors.enabled: true
http.cors.allow-origin: “*”
http.cors.allow-methods: OPTIONS,HEAD,GET,POST,PUT,DELETE
http.cors.allow-headers: “X-Requested-With,Content-Type,Content-Length, X-User”
- 在root账户下 vim /etc/security/limits.conf
翻到最后
修改内容:soft nofile 65536
hard nofile 65536
切换到自己创建的用户中
ulimit -Hn
出现如图所示即为成功

切到root用户
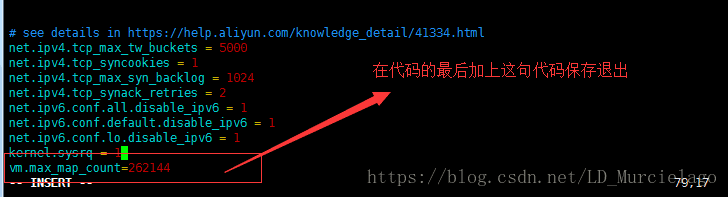
vim /etc/sysctl.conf
进行下图的修改
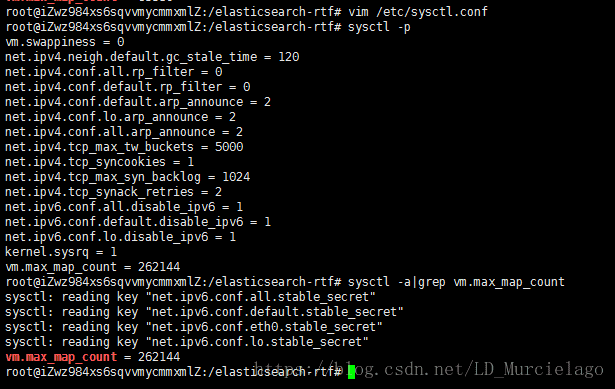
然后执行sysctl -p
再执行sysctl -a|grep vm.max_map_count
注:开启外网的访问已经在完成过了
现在切到普通用户里运行,打开浏览器输入地址后出现数据即大功告成!
如果出不来,请参照我的这个博客
https://www.cnblogs.com/vinic-xxm/p/11871742.html