SpringBoot整合mybatis及注意事项
主要步骤
- 添加依赖 mybatis
- 在配置文件中配置数据源信息
- 编写pojo mapper接口 mapeer映射文件
- 手动配置mybatis的包扫描
在主启动类添加@MapperScan
1:导入依赖
<dependency>
    <groupId>org.mybatis.spring.boot</groupId>
    <artifactId>mybatis-spring-boot-starter</artifactId>
    <version>1.1.1</version>
</dependency>
2:配置数据源信息
在application.yml中进行配置
#DB Configation
spring:
  datasource:
    driverClassName: com.mysql.jdbc.Driver
   //注意如果出现了无法连接数据库问题,在tx后面添加  ?useUnicode=true&characterEncoding=utf-8&useSSL=false&serverTimezone = GMT
    url: jdbc:mysql://127.0.0.1:3306/tx
    username: root
    password: 813100
  jpa:
    database: MySQL
    show-sql: true
    generate-ddl: true
3:书写pojo实体类和对应的mapper接口及映射文件
pojo实体类
package com.offcn.springbootdemo1.pojo;


public class UUser {

    private Integer id;
    private String username;
    private String password;
    private String name;
  //此处添加set,get,构造方法以及重写toString
}
mapper接口
package com.offcn.springbootdemo1.mapper;

import com.offcn.springbootdemo1.pojo.UUser;

import java.util.List;

public interface UUserMapper {
    List<UUser> selectUUser();
}
mapper映射文件
<?xml version="1.0" encoding="UTF-8" ?>
<!DOCTYPE mapper
    PUBLIC "-//mybatis.org//DTD Mapper 3.0//EN"
    "http://mybatis.org/dtd/mybatis-3-mapper.dtd">

<mapper namespace="com.offcn.springbootdemo1.mapper.UUserMapper">
<select id="selectUUser" resultType="com.offcn.springbootdemo1.pojo.UUser">
    select * from user
  </select>
</mapper>
注意:如果mapper接口和mapper映射文件放在同一个地方
那么在运行会出现错误
解决方案:
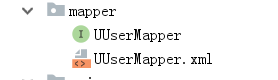
1:在resources目录下建立一个和mapper接口相同的目录结构,把mapper映射文件放进去
2:如果想把mapper接口和mapper映射文件放在一起
那么在pom.xml中添加如下配置
  <build>
        <resources>
            <resource>
                <directory>src/main/java</directory>
                <includes>
                    <include>**/*.properties</include>
                    <include>**/*.xml</include>
                </includes>
                <filtering>false</filtering>
            </resource>
            <resource>
                <directory>src/main/resources</directory>
                <includes>
                    <include>**/*.*</include>
                </includes>
                <filtering>false</filtering>
            </resource>
        </resources>
    </build>
4:手动配置mybatis扫描
在启动类上添加注解@MapperScan
package com.offcn.springbootdemo1;

import org.mybatis.spring.annotation.MapperScan;
import org.springframework.boot.SpringApplication;
import org.springframework.boot.autoconfigure.SpringBootApplication;

@SpringBootApplication
@MapperScan(basePackages = "com.offcn.springbootdemo1.mapper")
public class Springbootdemo1Application {

    public static void main(String[] args) {
        SpringApplication.run(Springbootdemo1Application.class, args);
    }
}
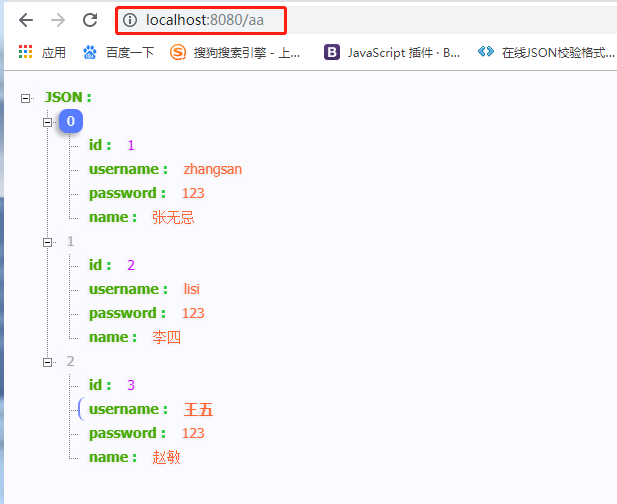
5:在Controller中进行测试
package com.offcn.springbootdemo1.controller;

//导包

@Controller
public class UUserController {
    @Resource
    private UUserMapper userMapper;

    @RequestMapping("aa")
    @ResponseBody
    public List<UUser> selectUUser(){
        List<UUser> uUsers = userMapper.selectUUser();
        return uUsers;
    }
}
6:在浏览器中及结果