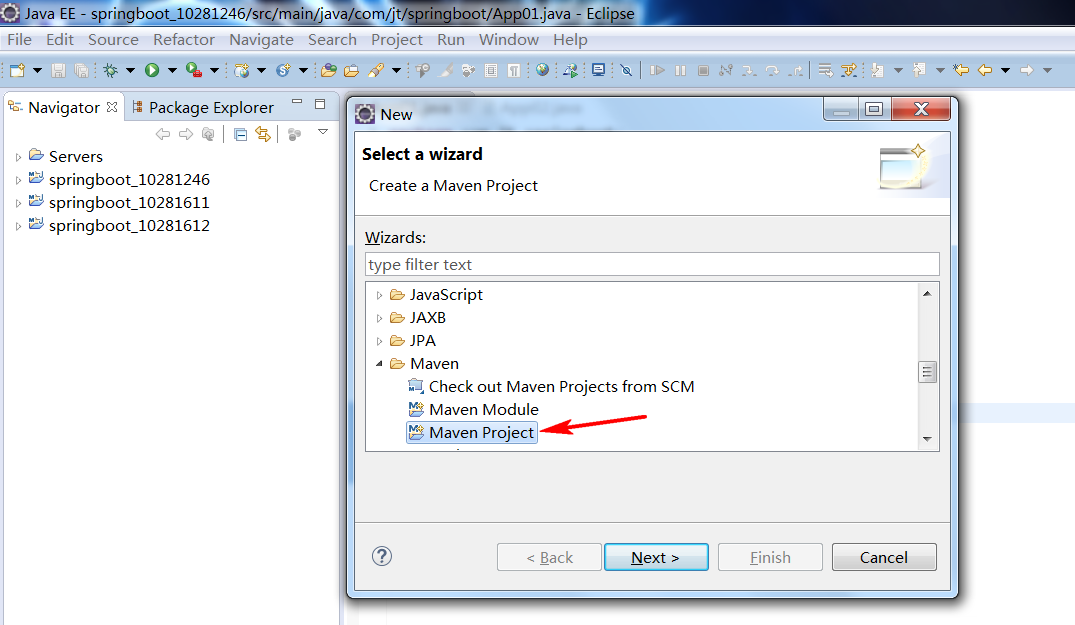
1. 创建简单的maven , 点击next
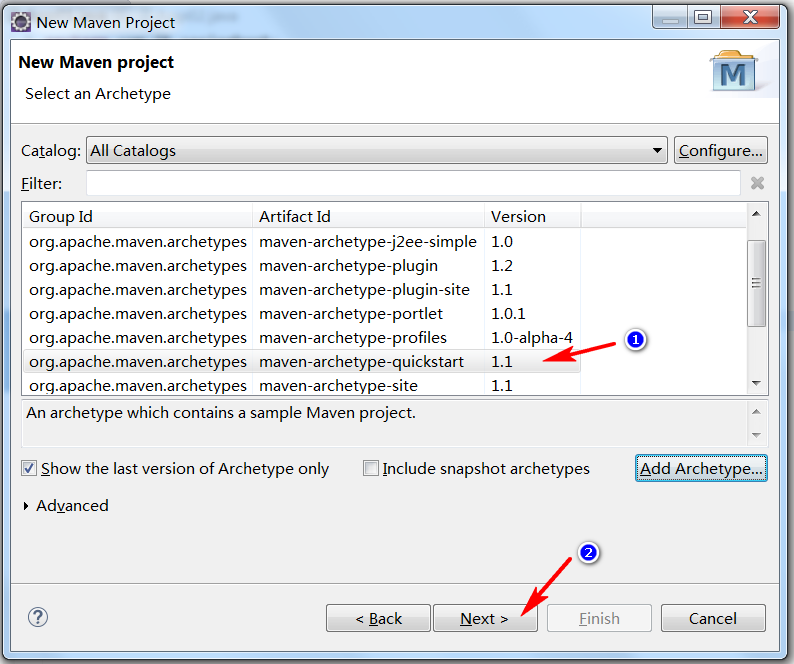
2. 再次点击next

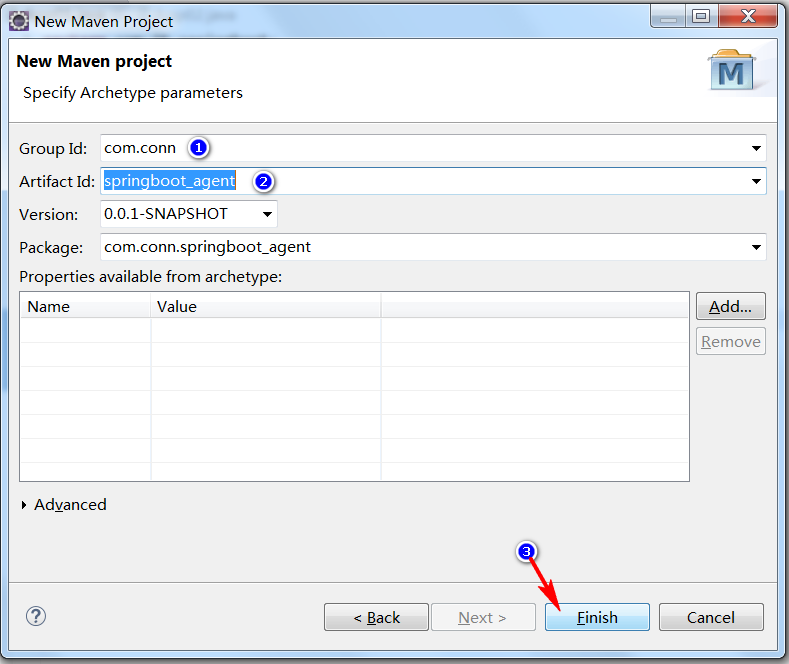
3. 依次点击
扫描二维码关注公众号,回复:
7667171 查看本文章

4. 依次输入点击finish
5. pom.xml中引入依赖
<project xmlns="http://maven.apache.org/POM/4.0.0" xmlns:xsi="http://www.w3.org/2001/XMLSchema-instance"
    xsi:schemaLocation="http://maven.apache.org/POM/4.0.0 http://maven.apache.org/xsd/maven-4.0.0.xsd">
    <modelVersion>4.0.0</modelVersion>

    <groupId>com.conn</groupId>
    <artifactId>springboot_agent</artifactId>
    <version>0.0.1-SNAPSHOT</version>
    <packaging>jar</packaging>

    <name>springboot_agent</name>
    <url>http://maven.apache.org</url>

    <properties>
        <project.build.sourceEncoding>UTF-8</project.build.sourceEncoding>
    </properties>

    <!-- 引入SpringBoot父POM文件 -->
    <parent>
        <groupId>org.springframework.boot</groupId>
        <artifactId>spring-boot-starter-parent</artifactId>
        <version>1.5.9.RELEASE</version>
    </parent>

    <dependencies>
        <!-- 引入SpringBoot的starter-web依赖 -->
        <dependency>
            <groupId>org.springframework.boot</groupId>
            <artifactId>spring-boot-starter-web</artifactId>
        </dependency>

        <dependency>
            <groupId>junit</groupId>
            <artifactId>junit</artifactId>
            <version>3.8.1</version>
            <scope>test</scope>
        </dependency>
    </dependencies>
</project>
6.编写主启动类DemoMain
/**
 * SprintBoot入门案例
 * http://localhost:8080/first/test01.action
 */
@SpringBootApplication     //添加主启动类注解
public class DemoMain {    //主启动类
    public static void main(String[] args) {
        SpringApplication.run(DemoMain.class, args);  //启动主类
    }
}
7.编写控制类

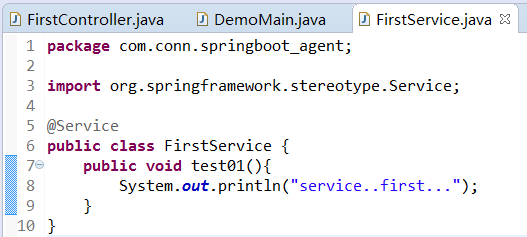
8. 编写server
9. 在主启动类中启动即可. 默认8080端口访问即可

没用的分割线------------------------------------------------------------------------------------------------------------------------------------