版权声明:本文为博主原创文章,遵循 CC 4.0 BY-SA 版权协议,转载请附上原文出处链接和本声明。
导语
使用Mybatis的时候通常会创建很多的映射文件以及创建很多的Model对象,相对来说比较麻烦也有很多的重复的工作。下面就来使用一个Mybatis Dao层代码生成器。
文章目录
开始使用Mybatis Generator 代码生成器
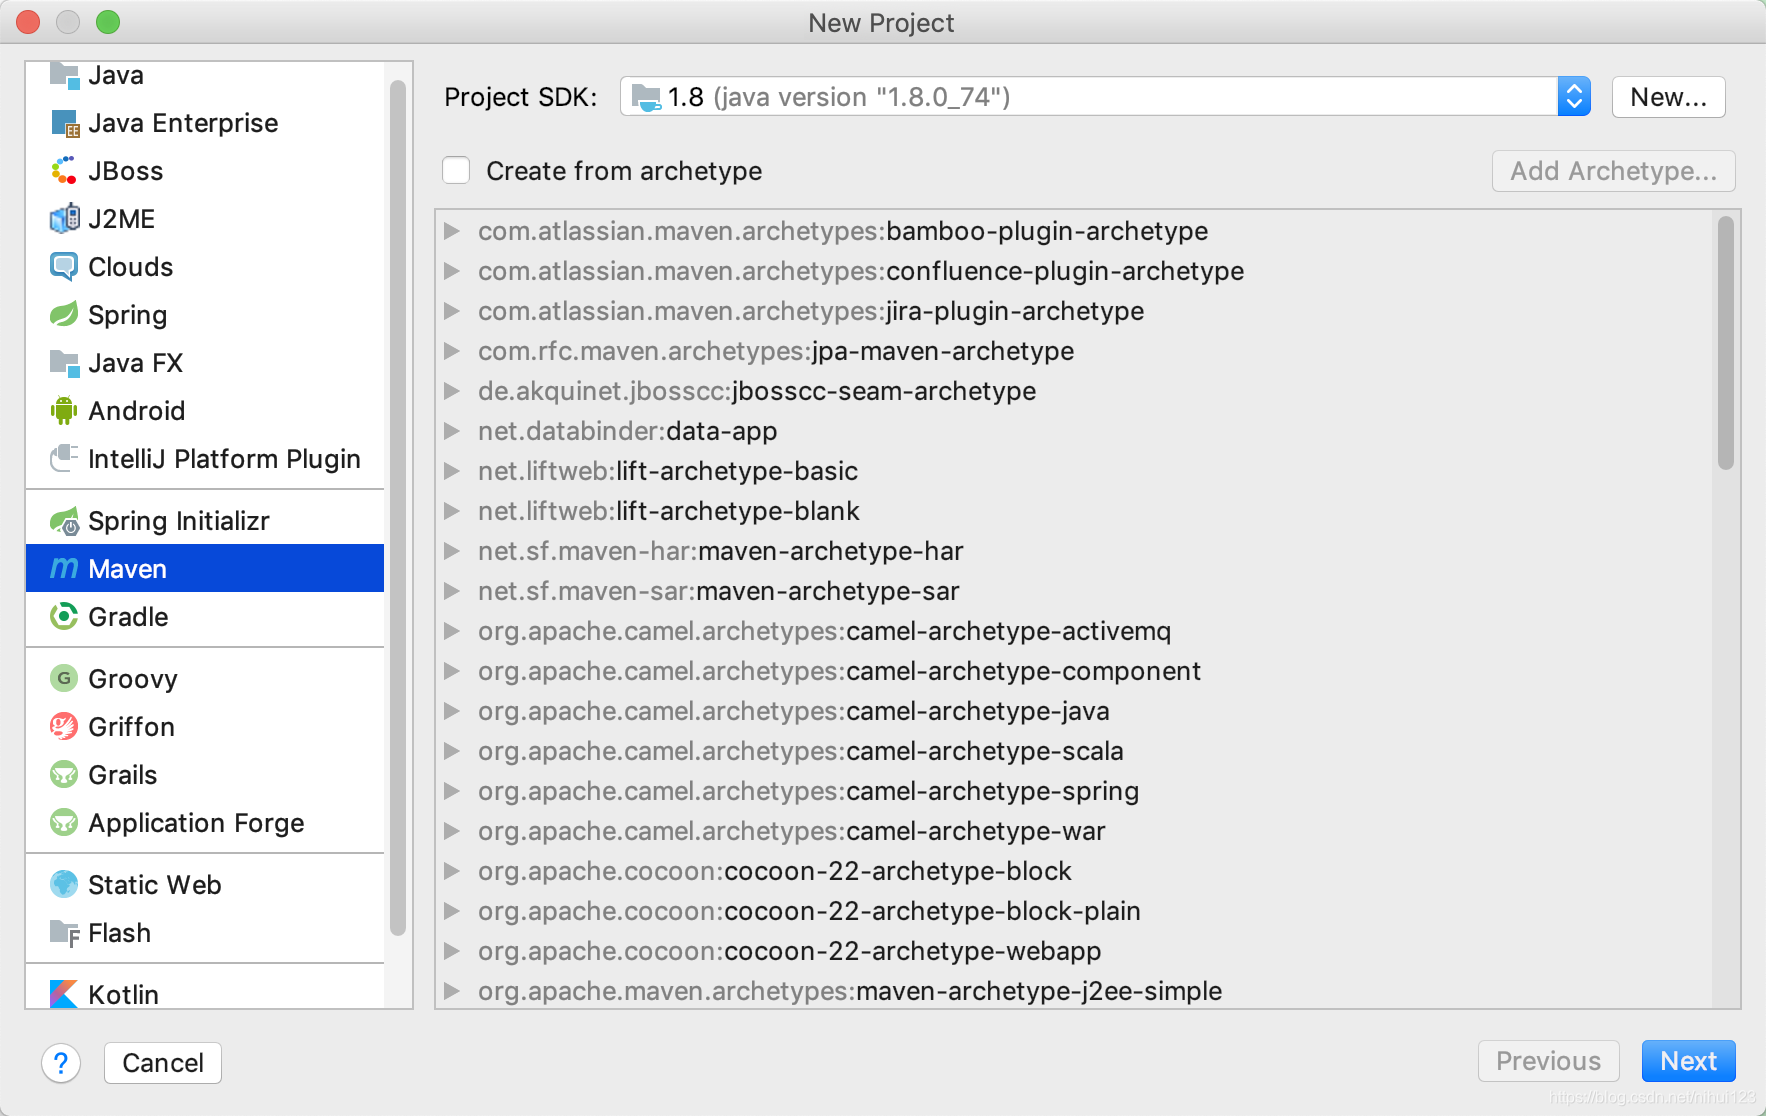
创建一个Maven项目
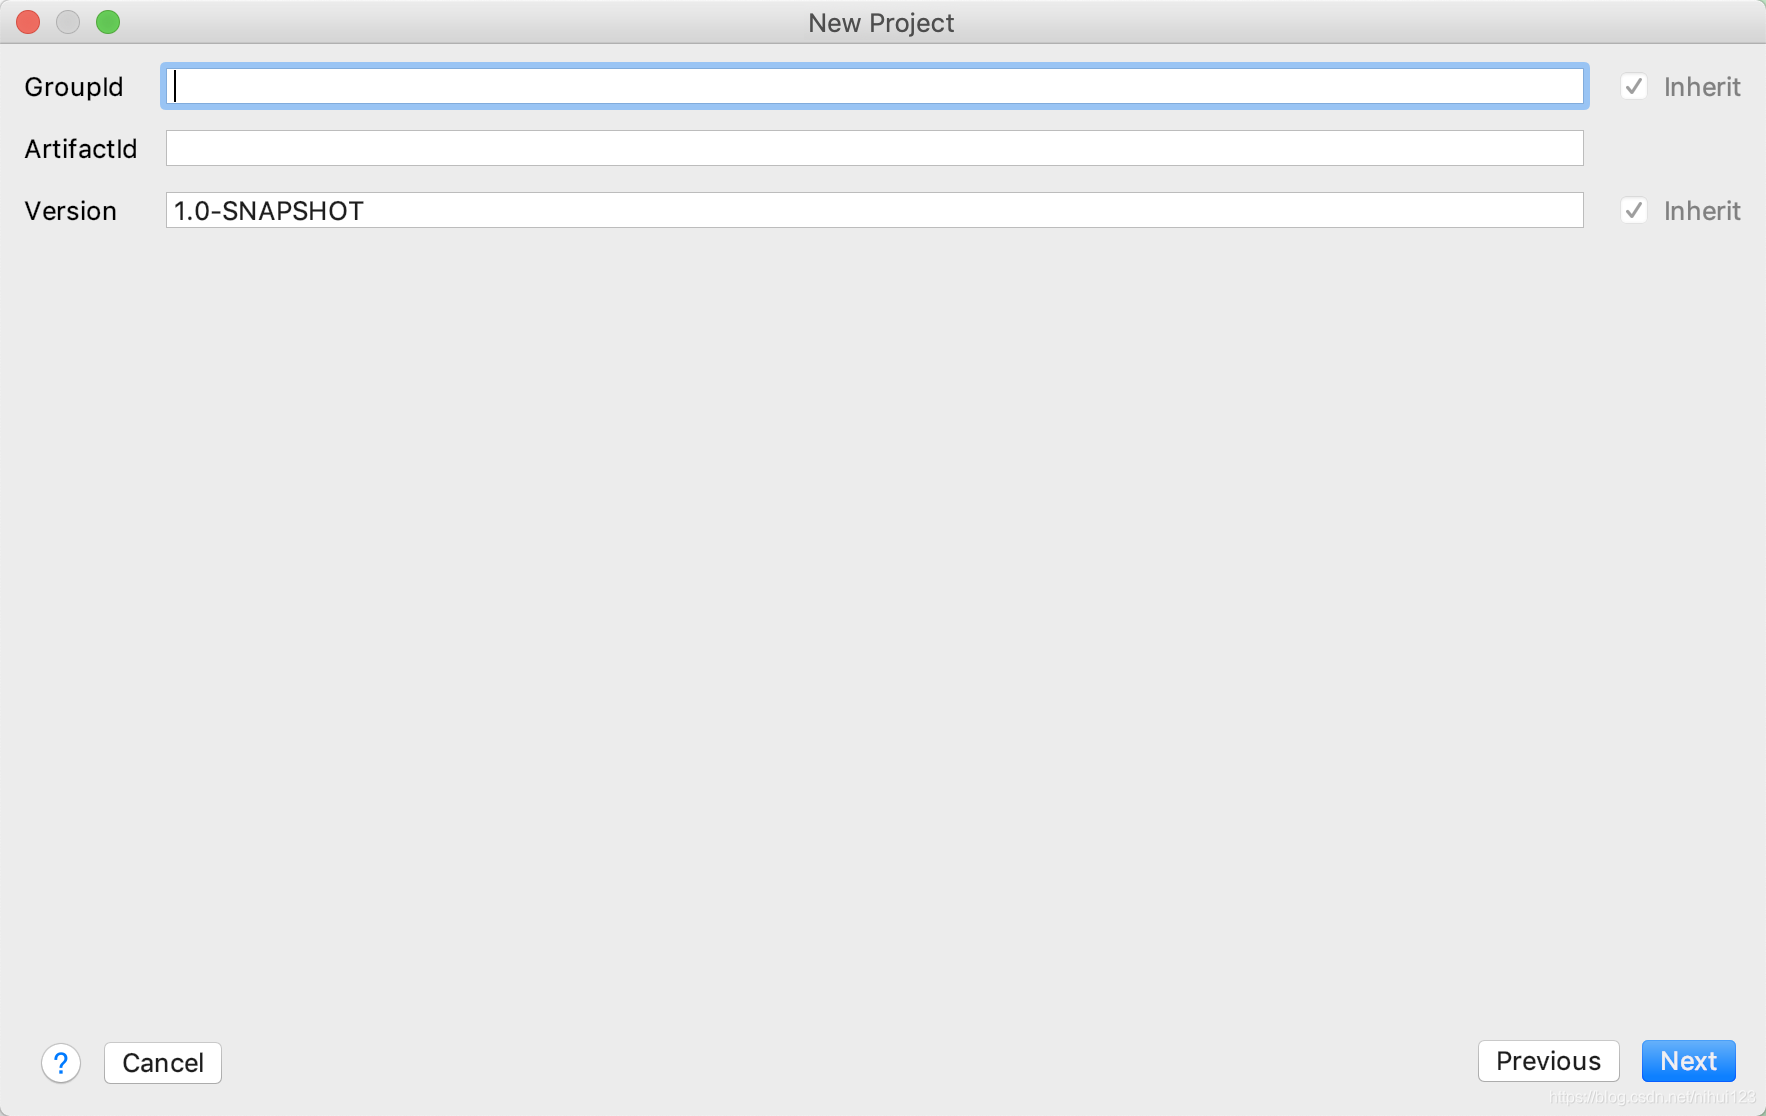
填写GroupID和ArtifactId
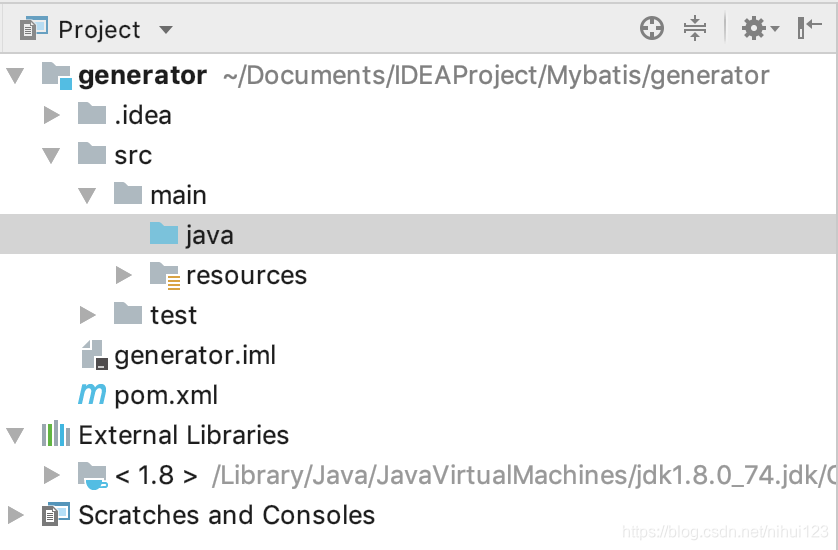
创建完成项目目录
在Resource文件夹下创建generator.properties
内容如下
jdbc.driverLocation=/mysql/mysql-connector-java/5.1.37/mysql-connector-java-5.1.37.jar
jdbc.driverClass=com.mysql.jdbc.Driver
jdbc.connectionURL=jdbc:mysql://localhost:3306/test
jdbc.userId=root
jdbc.password=123456
当然上面的内容需要根据自己的本地目录进行修改。
在Resource文件夹下创建generatorConfig.xml
内容如下
在下面内容中有很多的注释以及内容都是从网上百度而来。希望大家在使用的时候可以根据自己的项目内容来确定。
<?xml version="1.0" encoding="UTF-8"?>
<!DOCTYPE generatorConfiguration
        PUBLIC "-//mybatis.org//DTD MyBatis Generator Configuration 1.0//EN"
        "http://mybatis.org/dtd/mybatis-generator-config_1_0.dtd">
<generatorConfiguration>
    <!--导入属性配置 -->
    <properties resource="generator.properties"></properties>

    <!--指定特定数据库的jdbc驱动jar包的位置 -->
    <classPathEntry location="${jdbc.driverLocation}"/>

    <context id="default" targetRuntime="MyBatis3">


        <!-- optional,旨在创建class时,对注释进行控制 -->
        <commentGenerator>
            <property name="suppressDate" value="true" />
        </commentGenerator>


        <!--jdbc的数据库连接 -->
        <jdbcConnection driverClass="${jdbc.driverClass}" connectionURL="${jdbc.connectionURL}" userId="${jdbc.userId}" password="${jdbc.password}">
        </jdbcConnection>


        <!-- 非必需,类型处理器,在数据库类型和java类型之间的转换控制-->
        <javaTypeResolver >
            <property name="forceBigDecimals" value="false" />
        </javaTypeResolver>

        <!-- Model模型生成器,用来生成含有主键key的类,记录类 以及查询Example类
            targetPackage     指定生成的model生成所在的包名
            targetProject     指定在该项目下所在的路径
        -->
        <javaModelGenerator targetPackage="org.nihui.po" targetProject="src/main/java">
            <!-- 是否对model添加 构造函数 -->
            <property name="constructorBased" value="true"/>

            <!-- 是否允许子包,即targetPackage.schemaName.tableName -->
            <property name="enableSubPackages" value="false"/>

            <!-- 建立的Model对象是否 不可改变  即生成的Model对象不会有 setter方法,只有构造方法 -->
            <property name="immutable" value="true"/>

            <!-- 给Model添加一个父类 -->
            <property name="rootClass" value="com.nihui.UserHello"/>

            <!-- 是否对类CHAR类型的列的数据进行trim操作 -->
            <property name="trimStrings" value="true"/>
        </javaModelGenerator>

        <!--Mapper映射文件生成所在的目录 为每一个数据库的表生成对应的SqlMap文件 -->
        <sqlMapGenerator targetPackage="org.nihui.domain" targetProject="src/main/java">
            <property name="enableSubPackages" value="false"/>
        </sqlMapGenerator>


        <!-- 客户端代码,生成易于使用的针对Model对象和XML配置文件 的代码
                type="ANNOTATEDMAPPER",生成Java Model 和基于注解的Mapper对象
                type="MIXEDMAPPER",生成基于注解的Java Model 和相应的Mapper对象
                type="XMLMAPPER",生成SQLMap XML文件和独立的Mapper接口
        -->
        <javaClientGenerator targetPackage="com.nihui.dao" targetProject="src/main/java" type="MIXEDMAPPER">
            <property name="enableSubPackages" value=""/>
            <!--
                    定义Maper.java 源代码中的ByExample() 方法的可视性,可选的值有:
                    public;
                    private;
                    protected;
                    default
                    注意:如果 targetRuntime="MyBatis3",此参数被忽略
             -->
            <property name="exampleMethodVisibility" value=""/>
            <!--
                                           方法名计数器
              Important note: this property is ignored if the target runtime is MyBatis3.
             -->
            <property name="methodNameCalculator" value=""/>

            <!--
                                                为生成的接口添加父接口
             -->
            <property name="rootInterface" value=""/>

        </javaClientGenerator>


        <table tableName="user">

            <!-- optional   , only for mybatis3 runtime
                 自动生成的键值(identity,或者序列值)
               如果指定此元素,MBG将会生成<selectKey>元素,然后将此元素插入到SQL Map的<insert> 元素之中
               sqlStatement 的语句将会返回新的值
               如果是一个自增主键的话,你可以使用预定义的语句,或者添加自定义的SQL语句. 预定义的值如下:
                  Cloudscape    This will translate to: VALUES IDENTITY_VAL_LOCAL()
                  DB2:      VALUES IDENTITY_VAL_LOCAL()
                  DB2_MF:       SELECT IDENTITY_VAL_LOCAL() FROM SYSIBM.SYSDUMMY1
                  Derby:        VALUES IDENTITY_VAL_LOCAL()
                  HSQLDB:   CALL IDENTITY()
                  Informix:     select dbinfo('sqlca.sqlerrd1') from systables where tabid=1
                  MySql:        SELECT LAST_INSERT_ID()
                  SqlServer:    SELECT SCOPE_IDENTITY()
                  SYBASE:   SELECT @@IDENTITY
                  JDBC:     This will configure MBG to generate code for MyBatis3 suport of JDBC standard generated keys.
This is a database independent method of obtaining the value from identity columns.
                  identity: 自增主键  If true, then the column is flagged as an identity column and the generated <selectKey>
element will be placed after the insert (for an identity column). If false, then the generated <selectKey> will be placed before
 the insert (typically for a sequence).

            -->
            <!--<generatedKey column="" sqlStatement="" identity="" type=""/>-->


            <!-- optional.
                    列的命名规则:
                    MBG使用 <columnRenamingRule> 元素在计算列名的对应 名称之前,先对列名进行重命名,
                    作用:一般需要对BUSI_CLIENT_NO 前的BUSI_进行过滤
                    支持正在表达式
                     searchString 表示要被换掉的字符串
                     replaceString 则是要换成的字符串,默认情况下为空字符串,可选
            -->
            <!--<columnRenamingRule searchString="" replaceString=""/>-->


            <!-- optional.告诉 MBG 忽略某一列
                    column,需要忽略的列
                    delimitedColumnName:true ,匹配column的值和数据库列的名称 大小写完全匹配,false 忽略大小写匹配
                    是否限定表的列名,即固定表列在Model中的名称
            -->
            <!--<ignoreColumn column="PLAN_ID"  delimitedColumnName="true" />-->


            <!--optional.覆盖MBG对Model 的生成规则
                 column: 数据库的列名
                 javaType: 对应的Java数据类型的完全限定名
                 在必要的时候可以覆盖由JavaTypeResolver计算得到的java数据类型. For some databases, this is necessary to handle "odd"
database types (e.g. MySql's unsigned bigint type should be mapped to java.lang.Object).
                 jdbcType:该列的JDBC数据类型(INTEGER, DECIMAL, NUMERIC, VARCHAR, etc.),该列可以覆盖由JavaTypeResolver计算得到的Jdbc类型,
对某些数据库而言,对于处理特定的JDBC 驱动癖好 很有必要(e.g. DB2's LONGVARCHAR type should be mapped to VARCHAR for iBATIS).
                 typeHandler:

            -->
            <!--<columnOverride column="" javaType=""    jdbcType="" typeHandler=""  delimitedColumnName="" />-->

        </table>
    </context>
</generatorConfiguration>
配置Pom文件
内容如下
在POM中添加如下的一些内容。当然也可使用高版本的打包工具
<?xml version="1.0" encoding="UTF-8"?>
<project xmlns="http://maven.apache.org/POM/4.0.0"
         xmlns:xsi="http://www.w3.org/2001/XMLSchema-instance"
         xsi:schemaLocation="http://maven.apache.org/POM/4.0.0 http://maven.apache.org/xsd/maven-4.0.0.xsd">
    <modelVersion>4.0.0</modelVersion>

    <groupId>com.nh.mybatis</groupId>
    <artifactId>generator</artifactId>
    <version>1.0-SNAPSHOT</version>


    <build>
        <finalName>nihui</finalName>
        <plugins>
            <plugin>
                <groupId>org.mybatis.generator</groupId>
                <artifactId>mybatis-generator-maven-plugin</artifactId>
                <version>1.3.2</version>
                <configuration>
                    <!--<configurationFile>src/main/resources/generatorConfig.xml</configurationFile>-->
                    <verbose>true</verbose>
                    <overwrite>true</overwrite>
                </configuration>
            </plugin>
        </plugins>
    </build>
</project>
配置Maven项目启动
1、添加配置项

2、配置启动
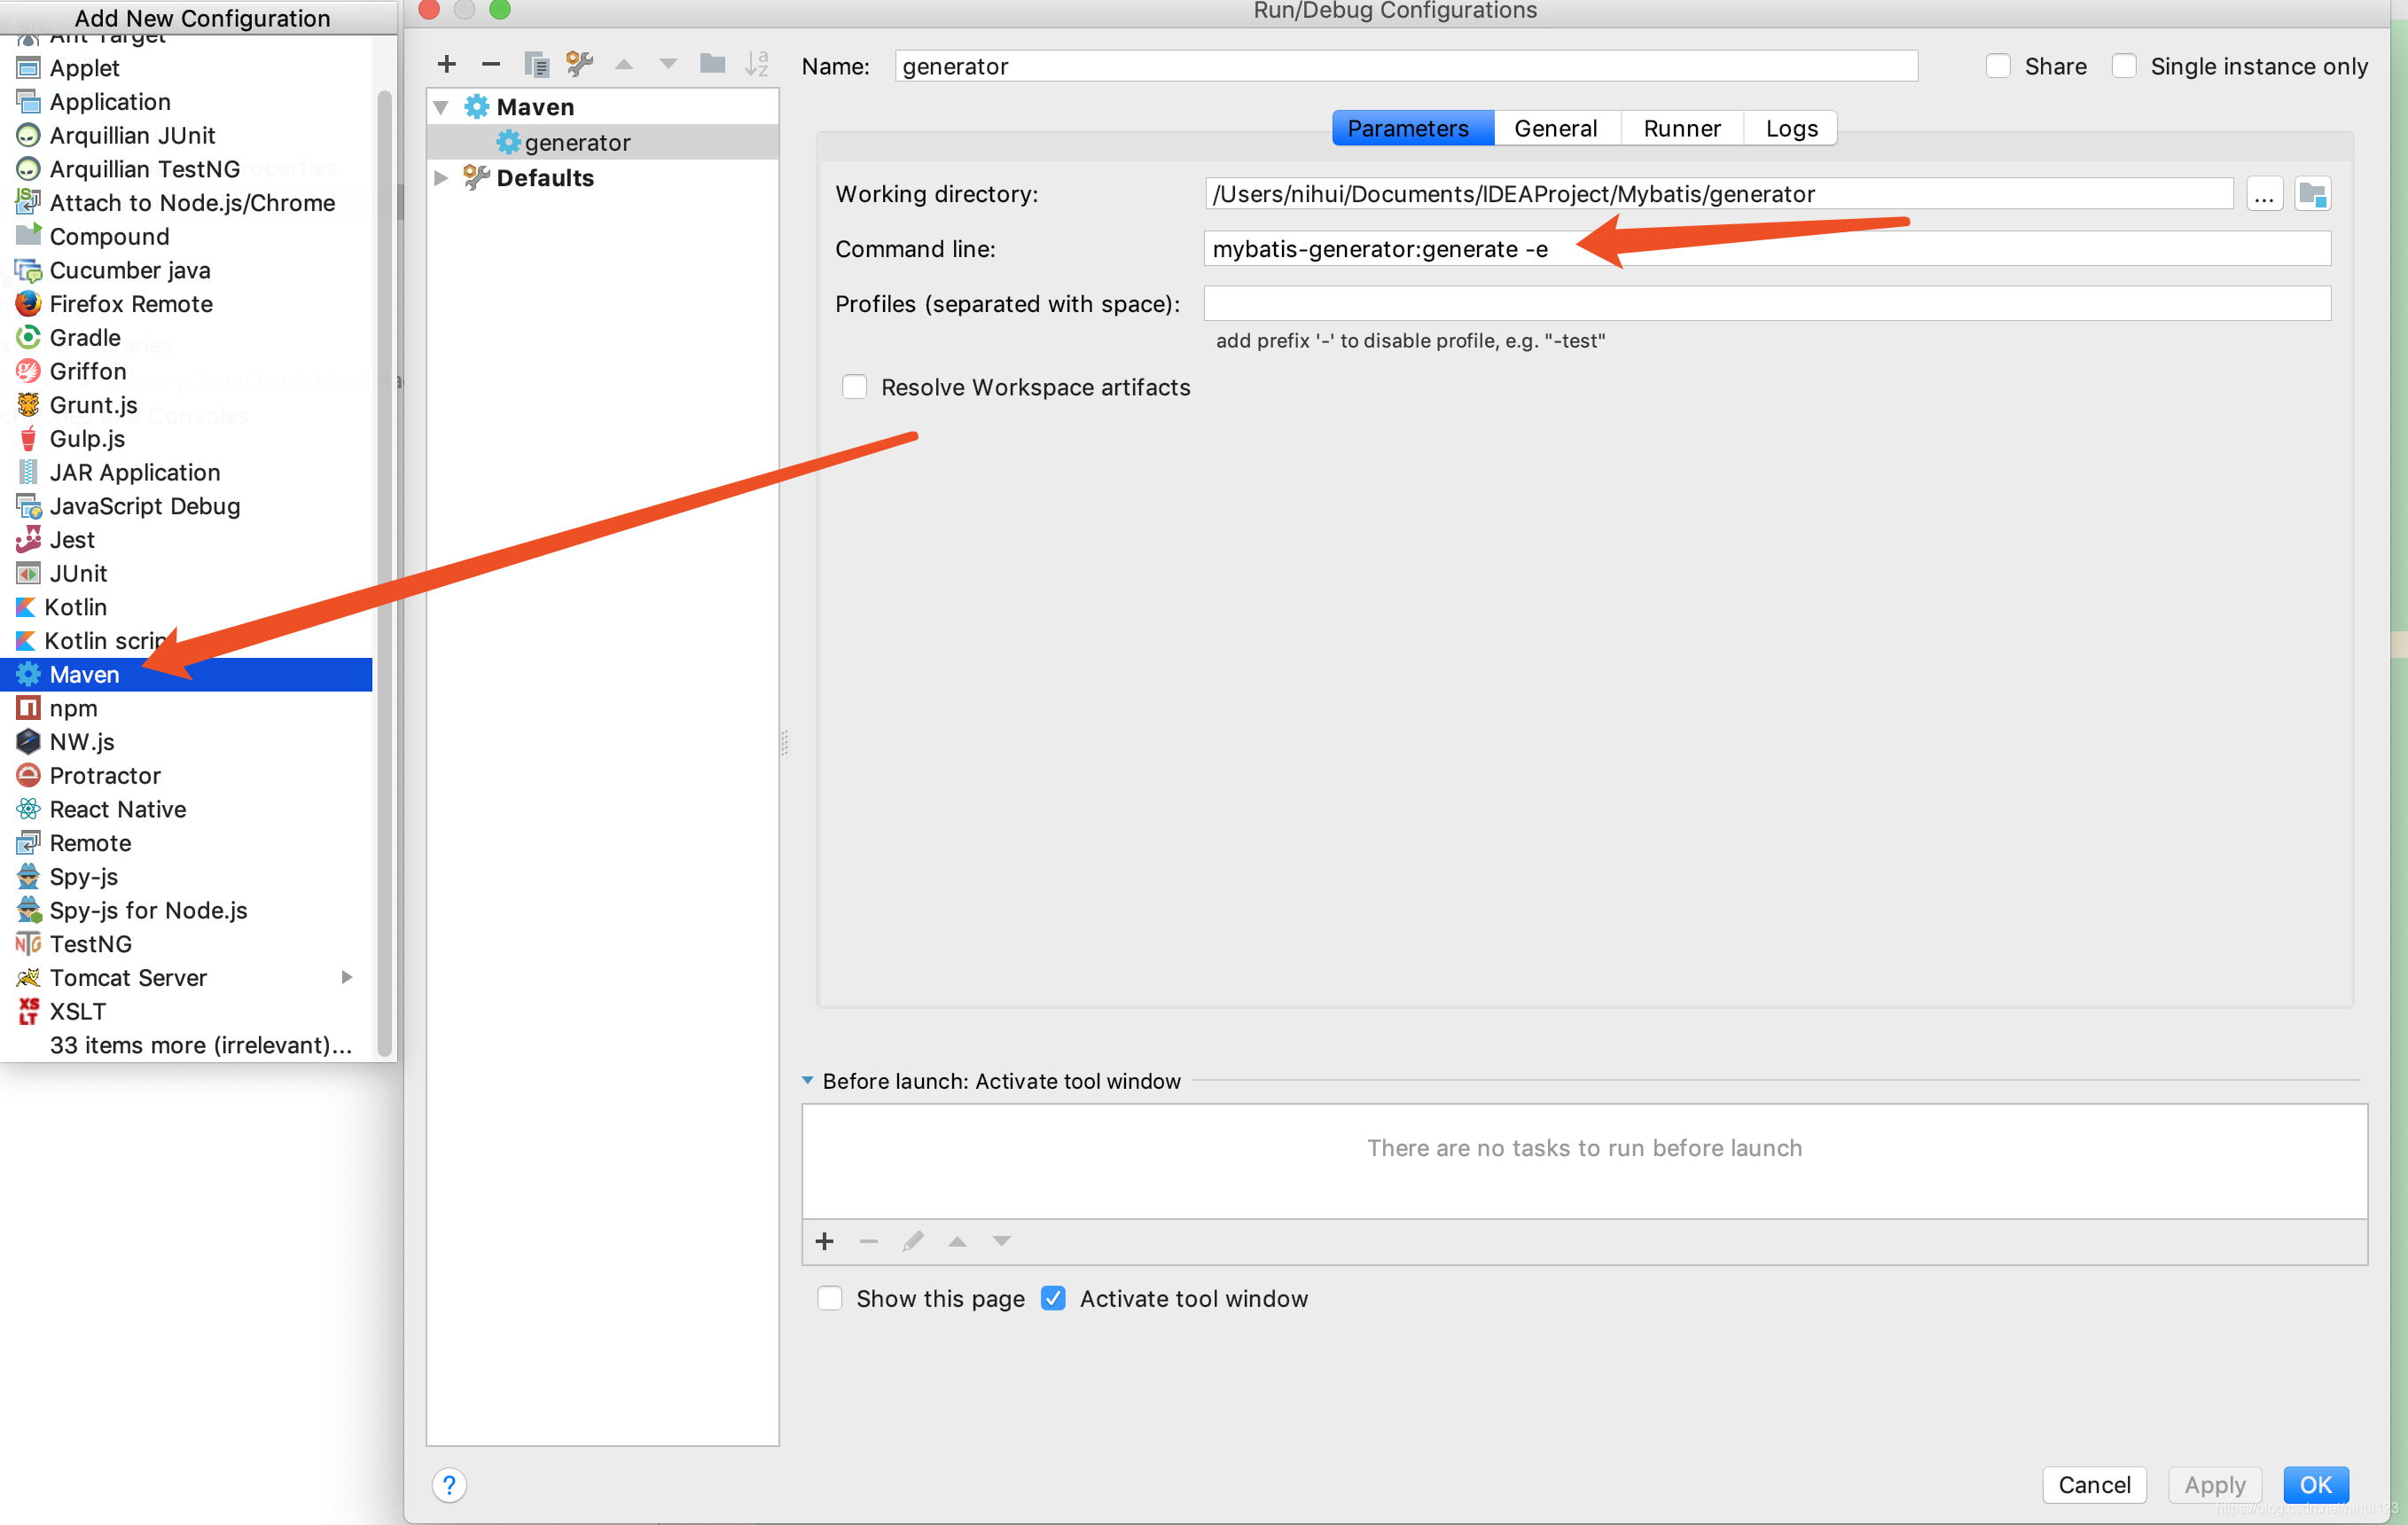
3、在Command Line 中添加 mybatis-generator:generate -e配置。
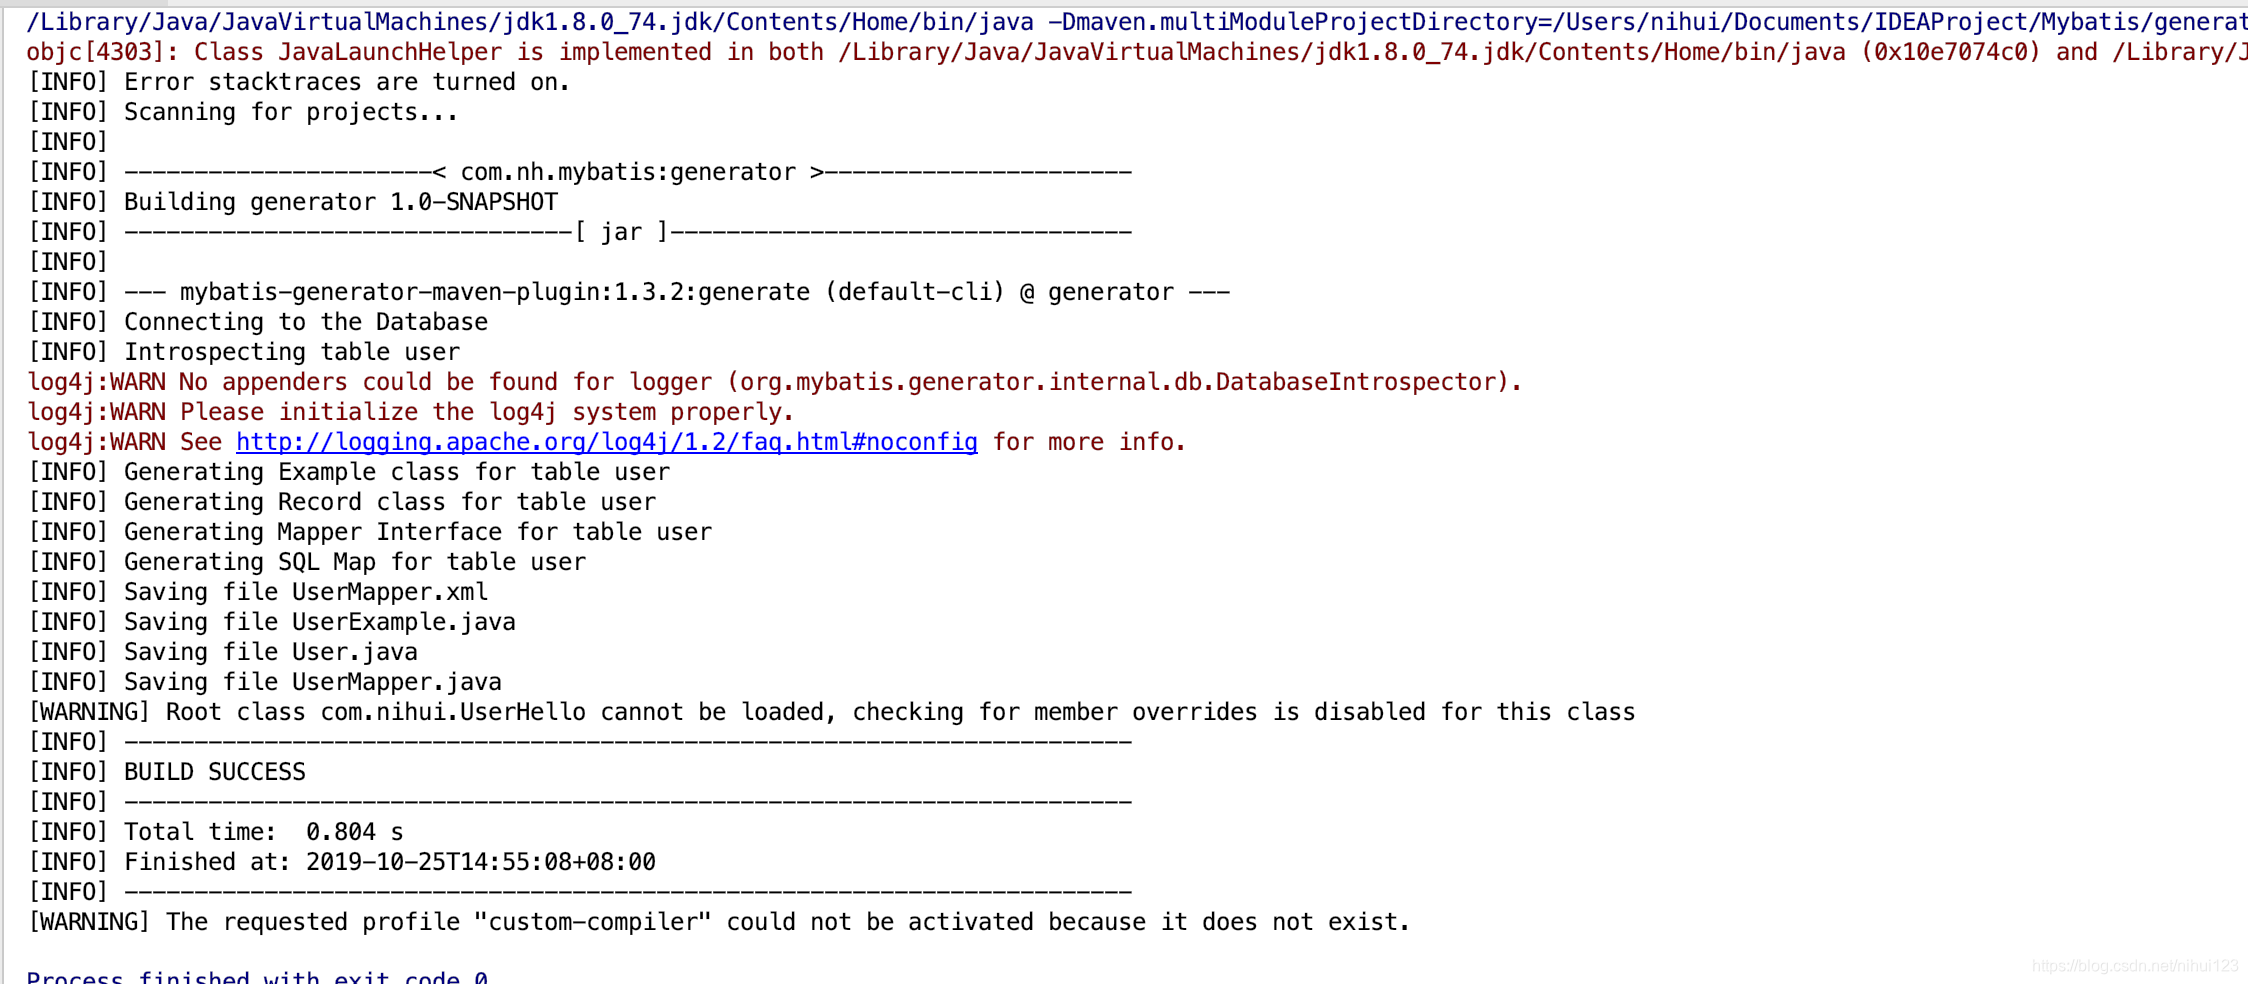
运行效果
点击运行之后出现如下的效果。表示完成
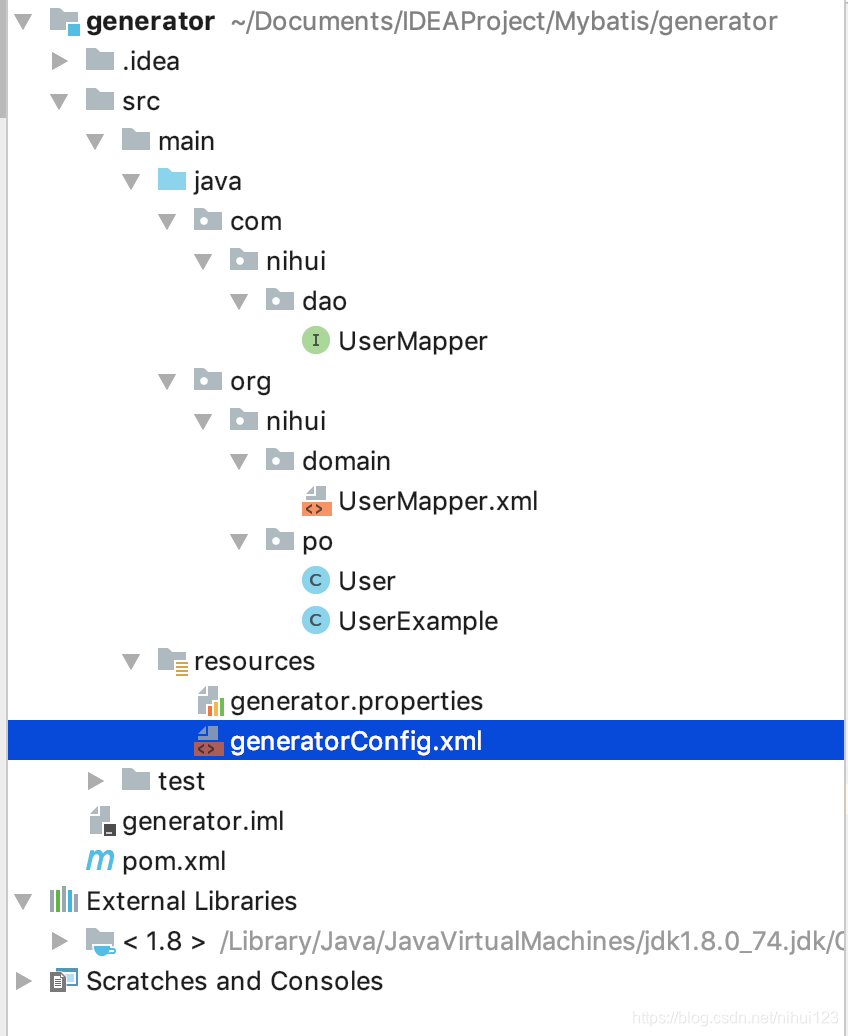
项目路径变化为下图内容
总结
通过上面的方式可以快速高效的生成Mybatis的Dao层所需要的代码,但是为了项目的高效性,在生成之后我们还需要将这些文件移动到自己的项目中,然后在做一些定制化的开发,这样才能完全的适配与我们的项目,当然如果在使用的过程中项目比较简单的话也可以不使用这种方式,直接开发就可以了。这样的做法在一定程度上减少了项目编写代码量。