版权声明:本文为博主原创文章,遵循 CC 4.0 BY-SA 版权协议,转载请附上原文出处链接和本声明。
前言
至于为什么用xxl-job,这里我就不多说啦,官网说的比我好多啦,大家可以根据下面的网址自行观看,我这里就总结下,如何使用
代码下载
①、GitHub:https://github.com/xuxueli/xxl-job
②、码云:https://gitee.com/xuxueli0323/xxl-job
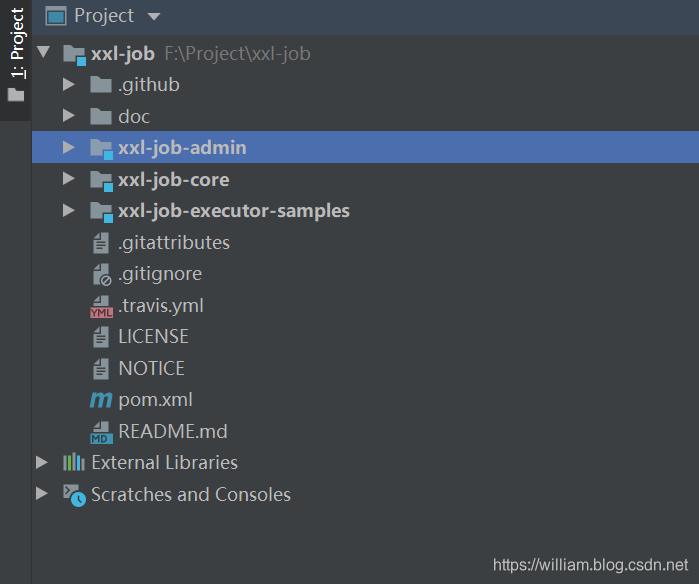
项目结构图
具体使用
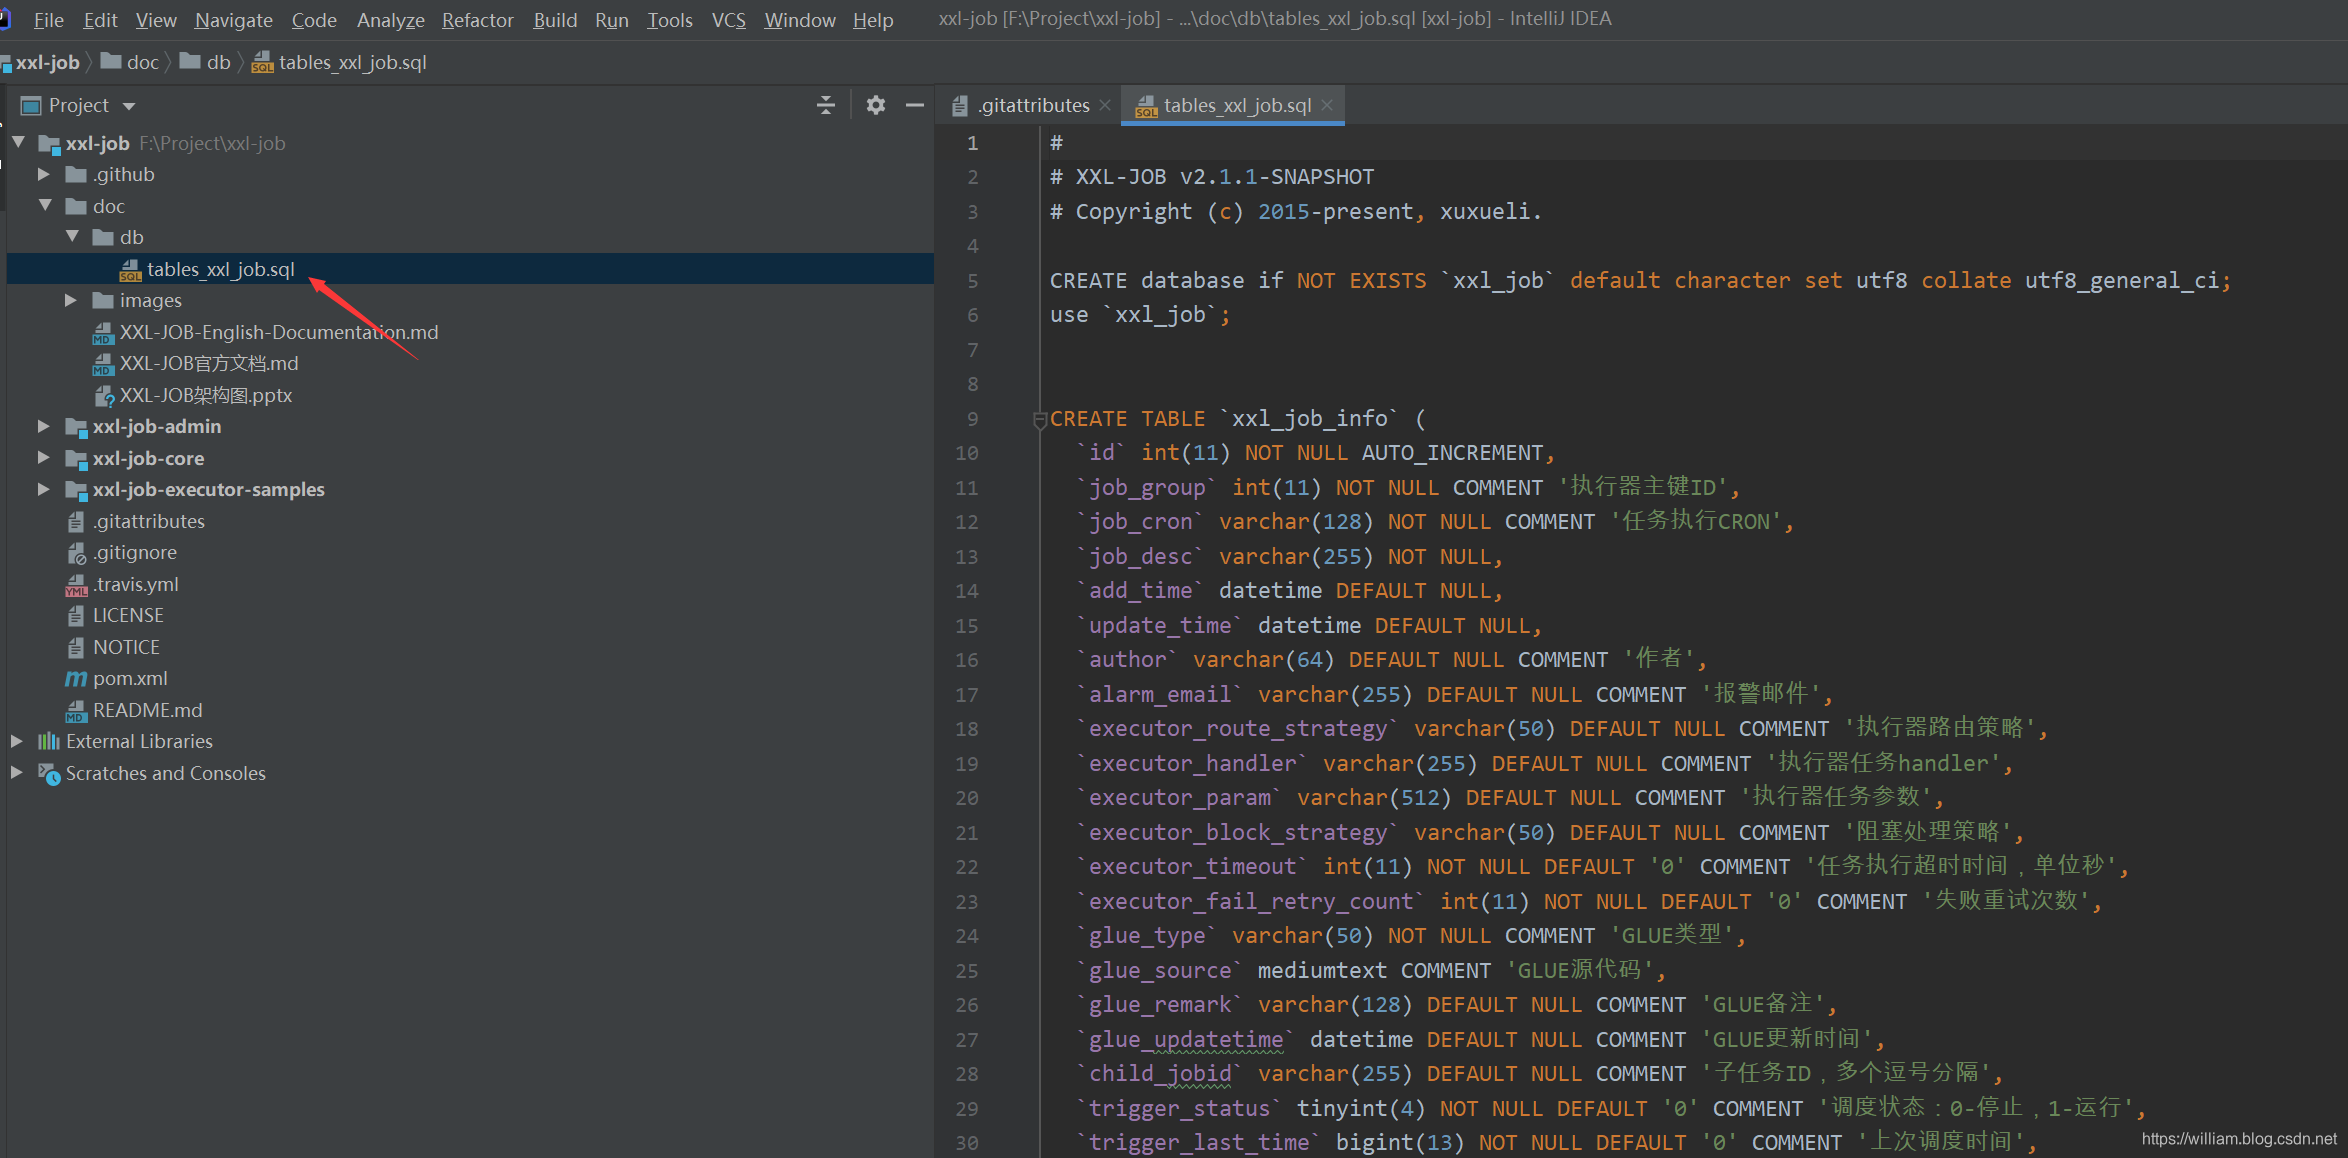
导入SQL文件
/xxl-job/doc/db/tables_xxl_job.sql
编辑xxl-job-admin的配置文件
最主要的就是修改连接数据库的信息
### web
server.port=8080
server.context-path=/xxl-job-admin

### resources
spring.mvc.static-path-pattern=/static/**
spring.resources.static-locations=classpath:/static/

### freemarker
spring.freemarker.templateLoaderPath=classpath:/templates/
spring.freemarker.suffix=.ftl
spring.freemarker.charset=UTF-8
spring.freemarker.request-context-attribute=request
spring.freemarker.settings.number_format=0.##########

### mybatis
mybatis.mapper-locations=classpath:/mybatis-mapper/*Mapper.xml

### xxl-job, datasource
spring.datasource.url=jdbc:mysql://127.0.0.1:3306/ibis?Unicode=true&characterEncoding=UTF-8
spring.datasource.username=root
spring.datasource.password=root
spring.datasource.driver-class-name=com.mysql.jdbc.Driver

spring.datasource.type=org.apache.tomcat.jdbc.pool.DataSource
spring.datasource.tomcat.max-wait=10000
spring.datasource.tomcat.max-active=30
spring.datasource.tomcat.test-on-borrow=true
spring.datasource.tomcat.validation-query=SELECT 1
spring.datasource.tomcat.validation-interval=30000

### xxl-job email
spring.mail.host=smtp.qq.com
spring.mail.port=25
spring.mail.username=xxx@qq.com
spring.mail.password=xxx
spring.mail.properties.mail.smtp.auth=true
spring.mail.properties.mail.smtp.starttls.enable=true
spring.mail.properties.mail.smtp.starttls.required=true
spring.mail.properties.mail.smtp.socketFactory.class=javax.net.ssl.SSLSocketFactory

### xxl-job, access token
xxl.job.accessToken=

### xxl-job, i18n (default empty as chinese, "en" as english)
xxl.job.i18n=
根据这里的信息

访问 http://localhost:8080/xxl-job-admin/toLogin
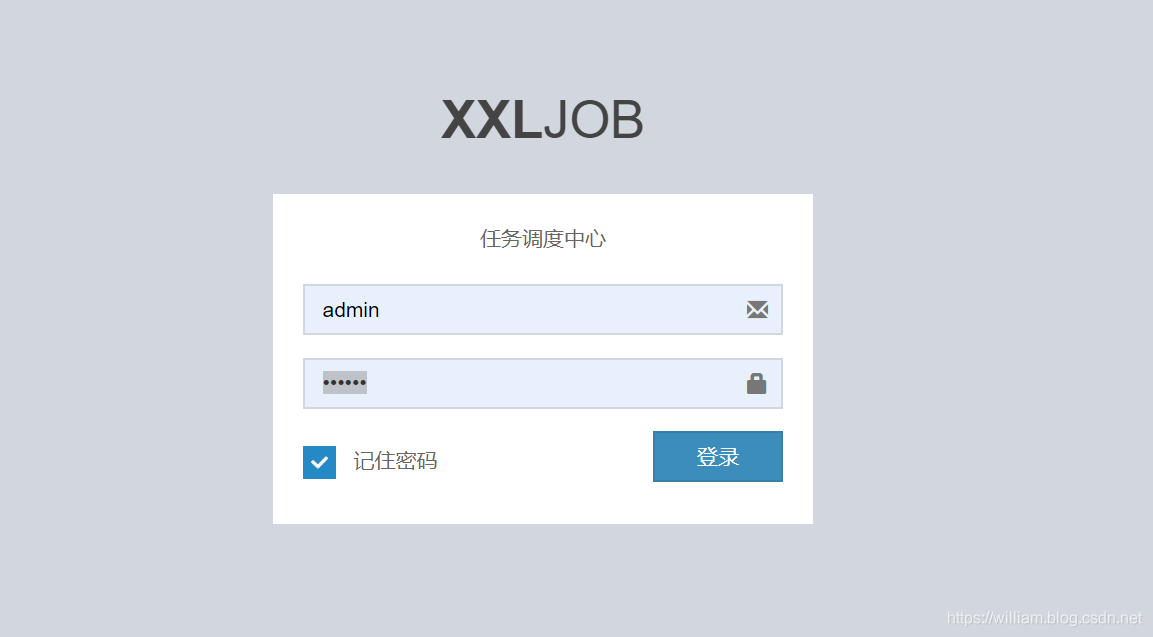
具体的账号密码可以在修改
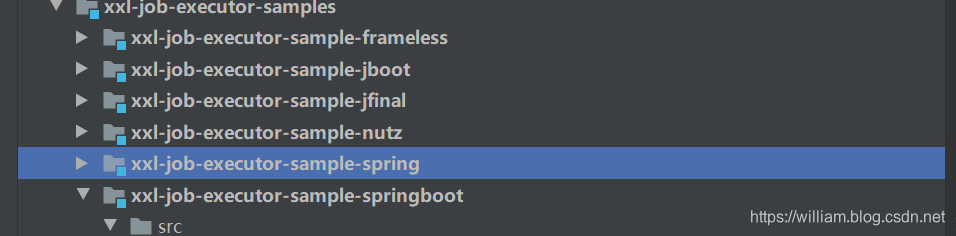
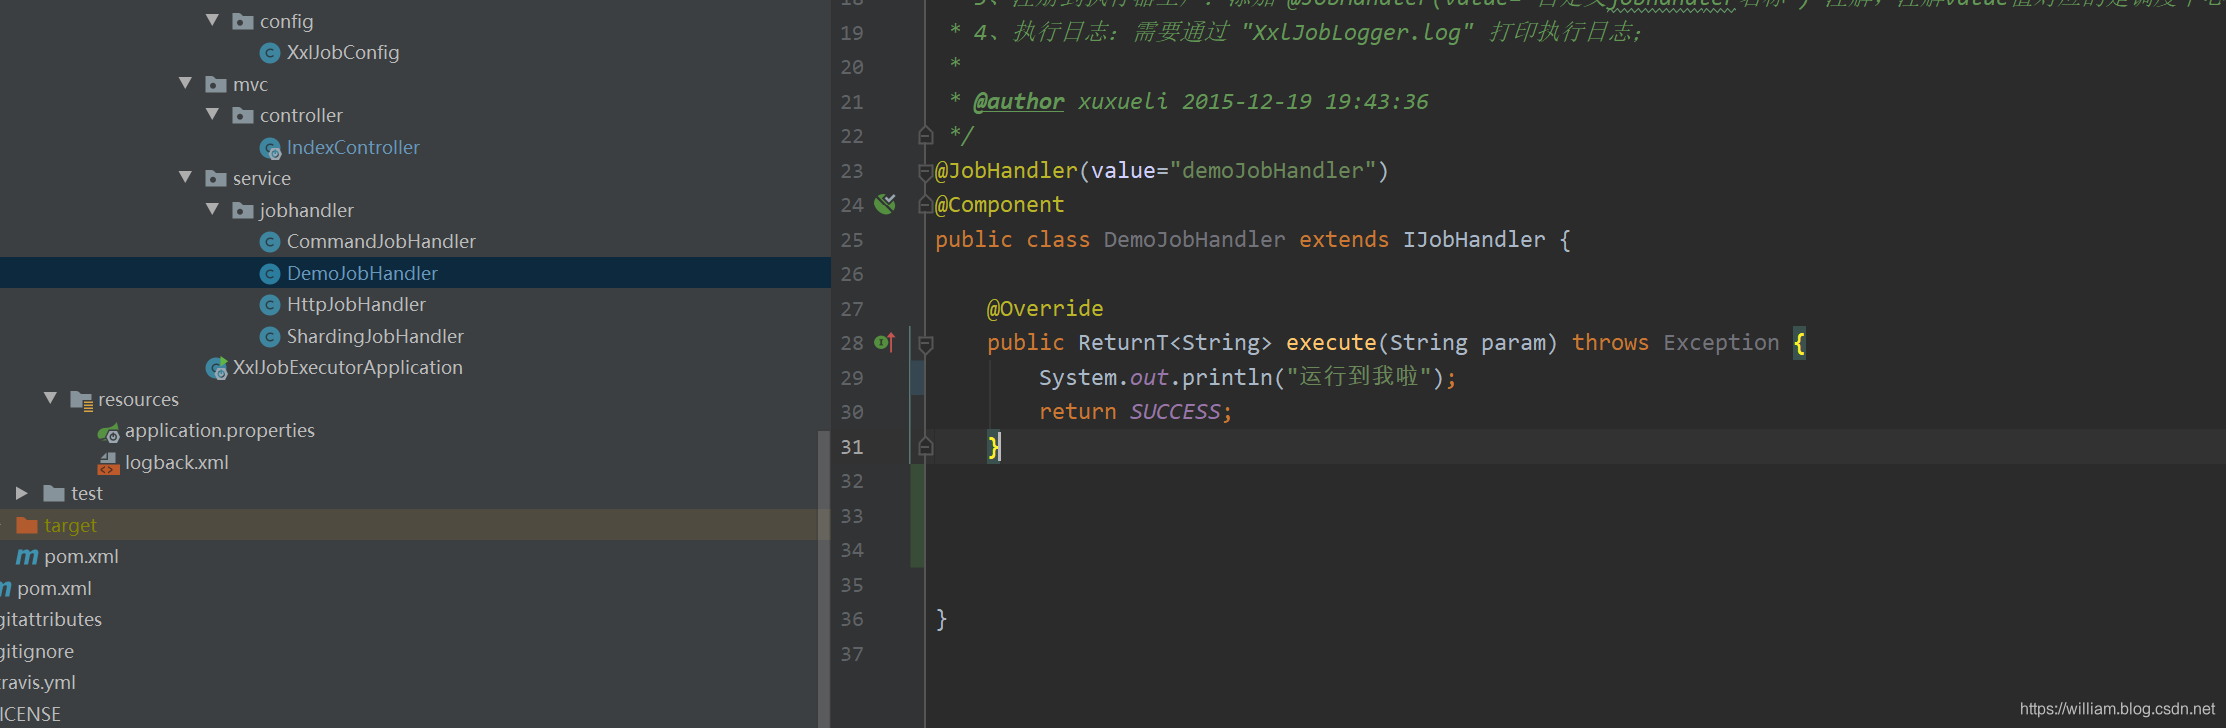
此时我们关注一下xxl-job-executor-sample-springboot
打开实例代码这里删除原来的复杂的代码就是为了验证,直接输出字符串
修改配置文件
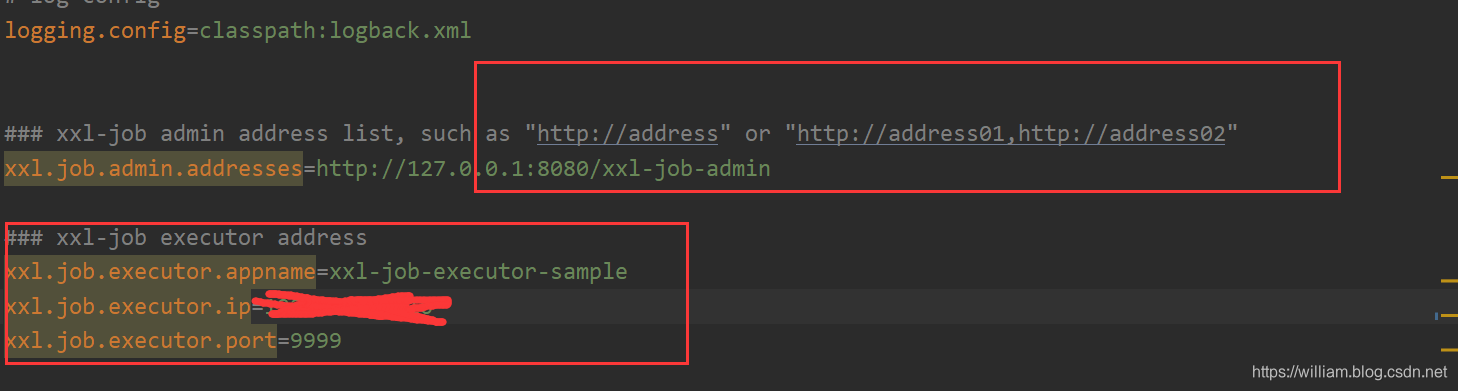
xxl-job-executor-sample-springboot
在具体的网站配置信息


配置完成后,可以看出现如下界面

具体的springboot和spring的整合就不一一介绍,很简单,配合每个案例即可理解,但是要记住一点,admin就类似注册中心,整合就是客户端,联机的,如果想要配置集群,需要在配置文件添加端口号,然后配置中心利用;分割;