版权声明:本文为博主原创文章,遵循 CC 4.0 BY-SA 版权协议,转载请附上原文出处链接和本声明。
一.Ansible常用模块
查看ansible使用的模块
ansible-doc [-l] [-s] [module…]
options说明:
-l 显示所有可用模块
-s 查看某一模块的参数
1.copy模块
用法:
src :本地文件路径,可以是绝对和相对
dest= :不可省,如果src是目录,则dest也是目录。只能是绝对路径
group :指明文件属组
mode :指明权限
owner :指明所有者
content :直接写出内容,并将其复制给远程主机
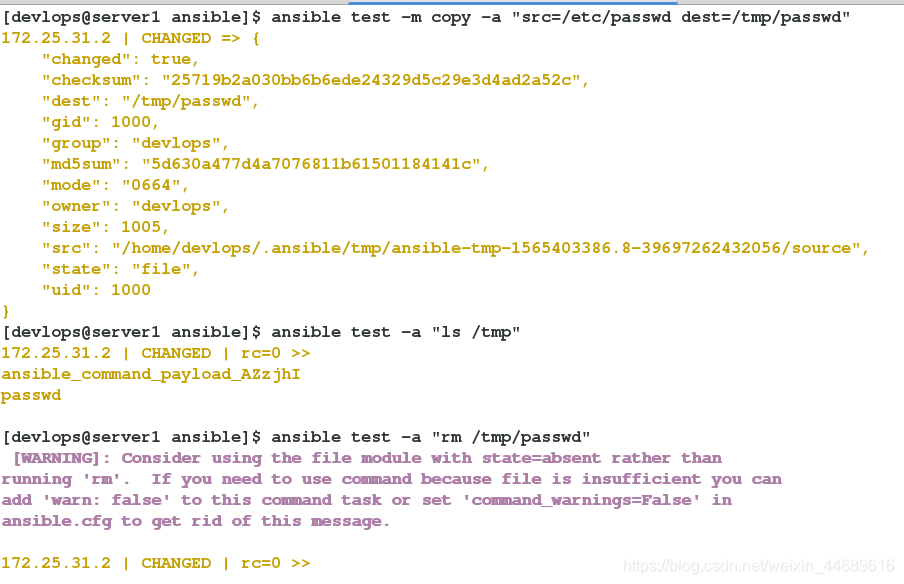
[devlops@server1 ansible]$ ansible test -m copy -a "src=/etc/passwd dest=/tmp/passwd"
[devlops@server1 ansible]$ ansible test -a "ls /tmp"
[devlops@server1 ansible]$ ansible test -a "rm /tmp/passwd"
[devlops@server1 ansible]$ ansible test -m copy -a "src=/etc/passwd dest=/mnt/passwd"

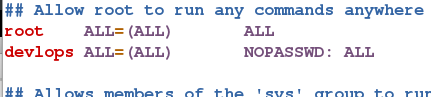
[root@server2 ~]# vim /etc/sudoers
[root@server3 ~]# vim /etc/sudoers

[devlops@server1 ansible]$ ansible test -m copy -a "src=/etc/passwd dest=/mnt/passwd" -b

[devlops@server1 ansible]$ vim ansible.cfg
[devlops@server1 ansible]$ ansible test -m copy -a "src=/etc/passwd dest=/mnt/passwd"


2.file模块
[devlops@server1 ansible]$ ansible test -m file -a "dest=/tmp/hosts mode=600 owner=root group=root" ##修改文件权限和属性

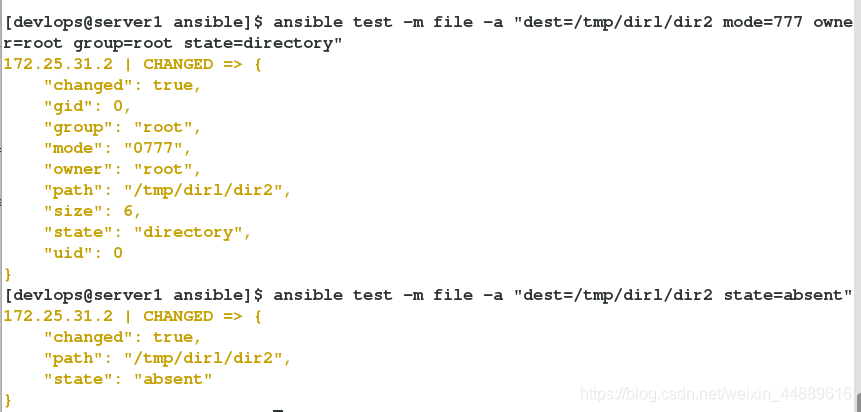
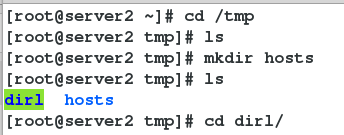
[devlops@server1 ansible]$ ansible test -m file -a "dest=/tmp/dirl/dir2 mode=777 owner=root group=root state=directory"				##递归创建
[devlops@server1 ansible]$ ansible test -m file -a "dest=/tmp/dirl/dir2 state=absent"
3.yum模块
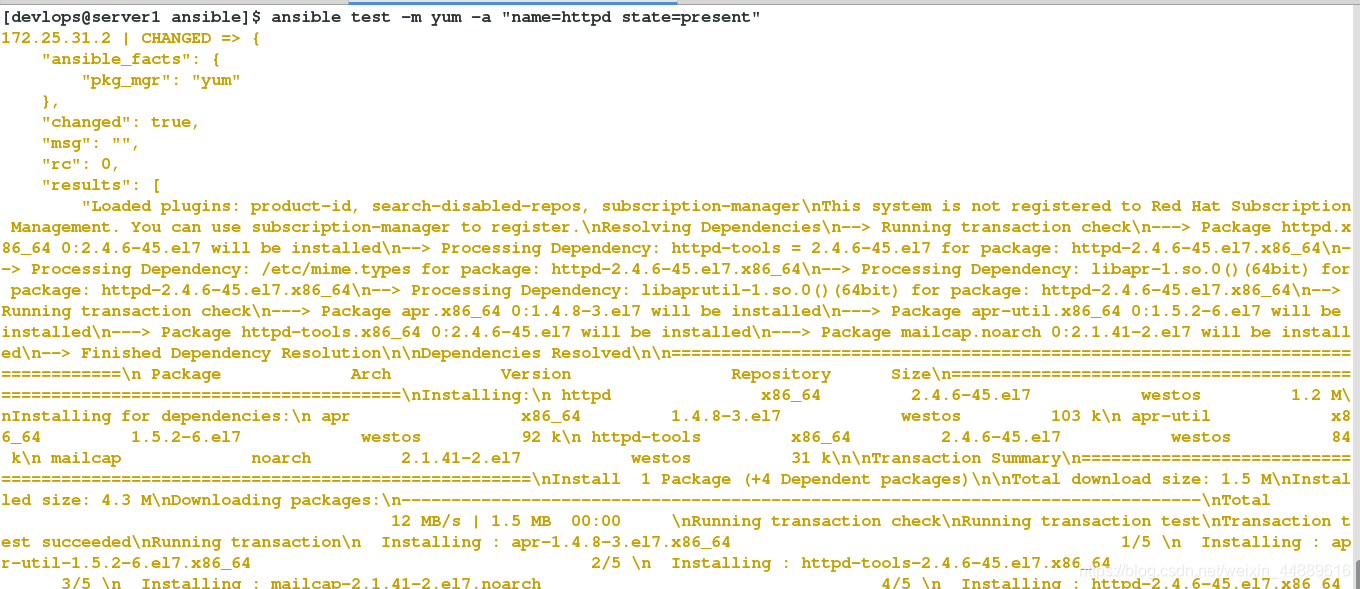
[devlops@server1 ansible]$ ansible test -m yum -a "name=httpd state=present"
[root@server2 ~]# rpm -q httpd
httpd-2.4.6-45.el7.x86_64
[root@server2 ~]# ps -ax

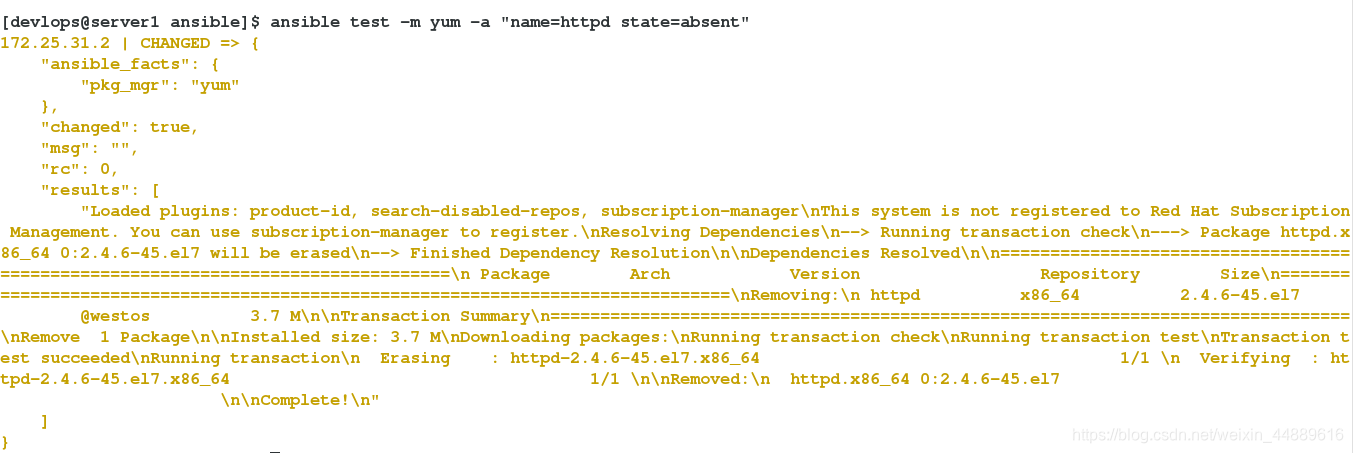
[devlops@server1 ansible]$ ansible test -m yum -a "name=httpd state=absent" ##卸载

4.service模块
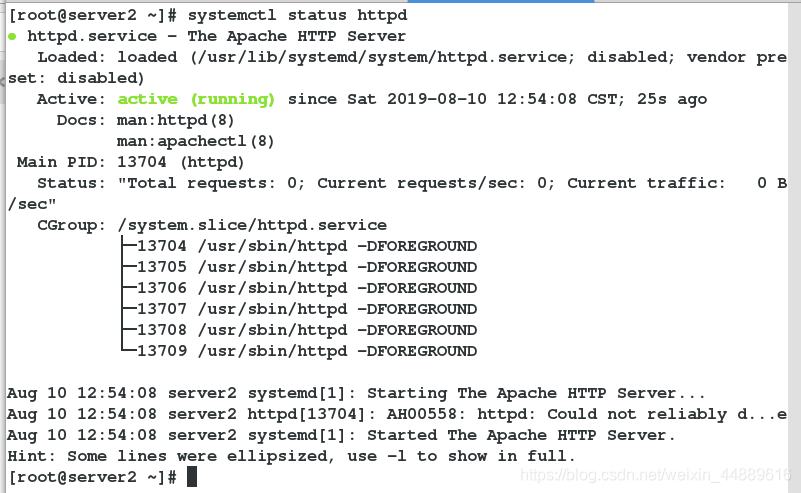
[devlops@server1 ansible]$ ansible test -m service -a "name=httpd state=started"
[devlops@server1 ansible]$ ansible test -m service -a "name=httpd state=restarted"
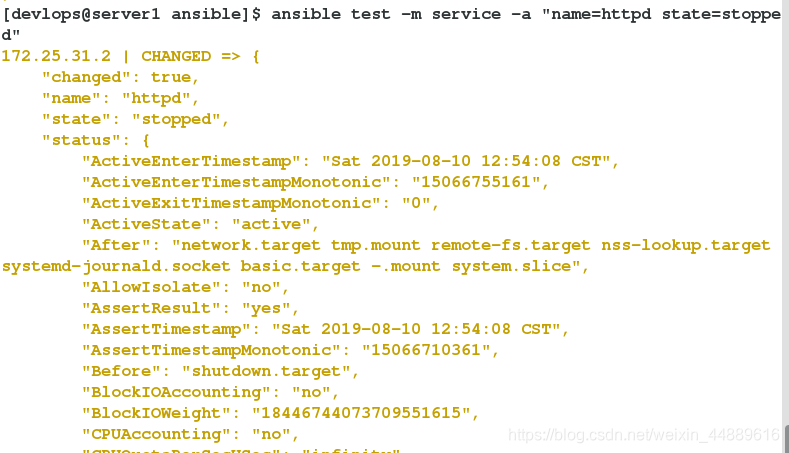
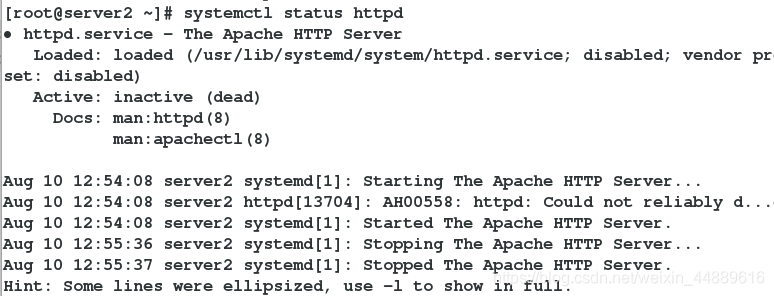
[devlops@server1 ansible]$ ansible test -m service -a "name=httpd state=stopped"

5.user模块
ansible all -m user -a "name=wxh password=<加密密码>"
ansible all -m user -a "name=wxh state=absent remove=yes"
ansibledb -m user -a "name=wxh shell=/bin/bash groups=users,wheel append=yes state=present"
举例:
[devlops@server1 ansible]$ ansible test -m user -a "name=szy password=westos"
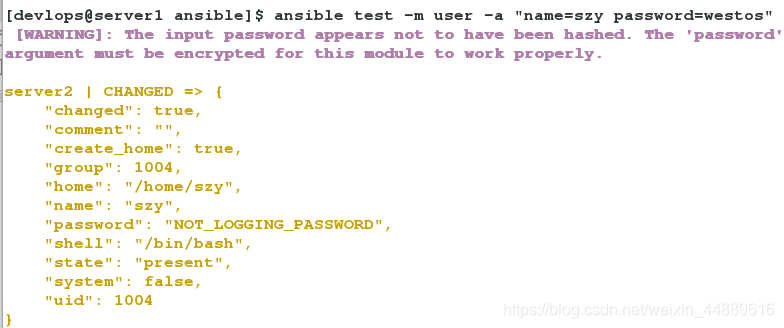
[root@server2 ~]# tail -n 3 /etc/passwd
[root@server2 ~]# tail -n 3 /etc/shadow		##此时密码是明文

6.mysql模块
ansible server2 -m mysql_user -a "name=wxh password=testpass priv=*.*:select host='%' state=present"
远程主机需要安装MySQL-python
例:
1.远程安装软件
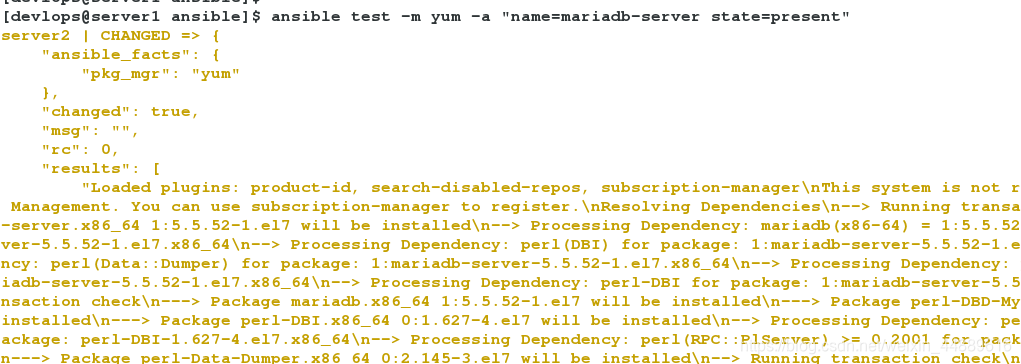
[devlops@server1 ansible]$ ansible test -m yum -a "name=mariadb-server state=present"
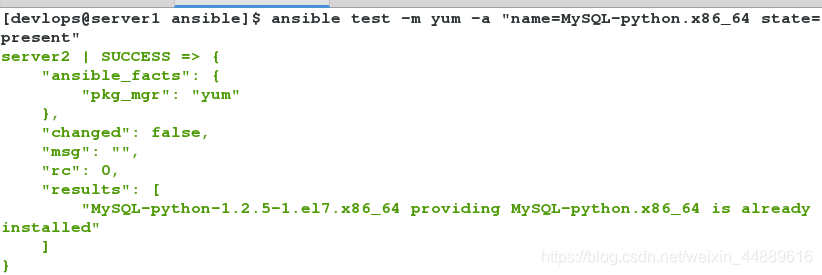
[devlops@server1 ansible]$ ansible test -m yum -a "name=MySQL-python.x86_64 state=present"
 2.启动数据库
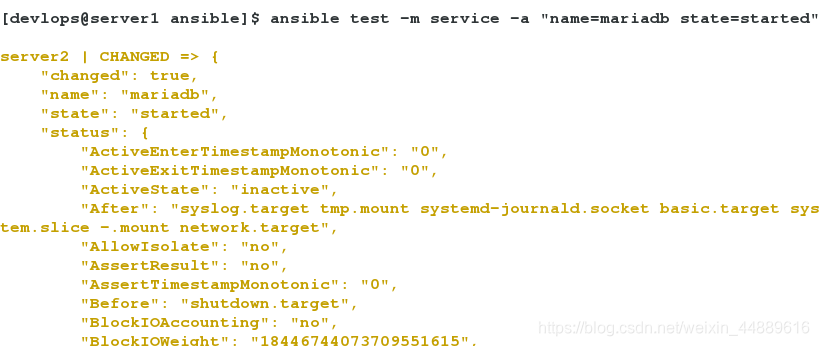
[devlops@server1 ansible]$ ansible test -m service -a "name=mariadb state=started"
3.为数据库添加用户
[devlops@server1 ansible]$ ansible test -m mysql_user -a "name=szy password=westos priv=*.*:select host='%' state=present"

4.远程登陆
[devlops@server1 ansible]$ mysql -h 172.25.31.2 -uszy -pwestos

5.创建加密用户
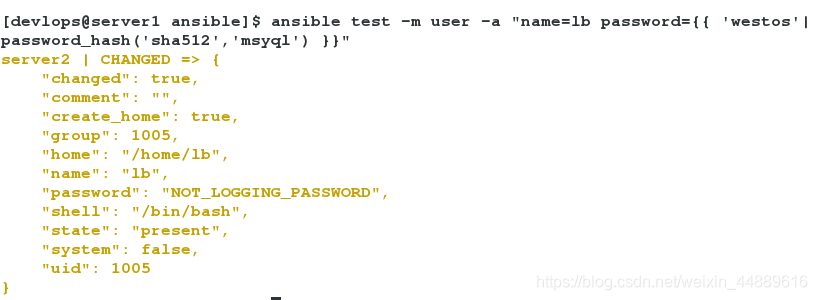
[devlops@server1 ansible]$ ansible test -m user -a "name=lb password={{ 'westos'| password_hash('sha512','msyql') }}"
6.server2端查看
[root@server2 ~]# tail -n 4 /etc/shadow

firewalld模块
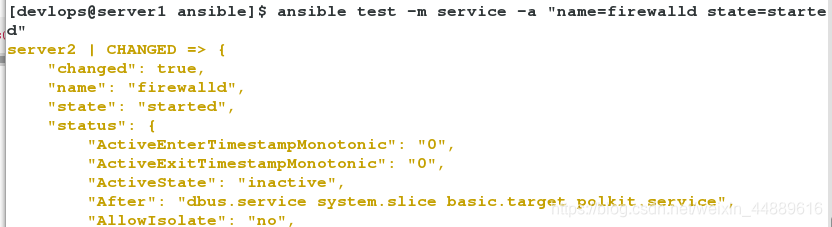
[devlops@server1 ansible]$ ansible test -m service -a "name=firewalld state=started" ##打开ifirewalld
例:
1.打开server2的firewalld
[devlops@server1 ansible]$ ansible test -m service -a "name=firewalld state=started"
2.写入测试文件
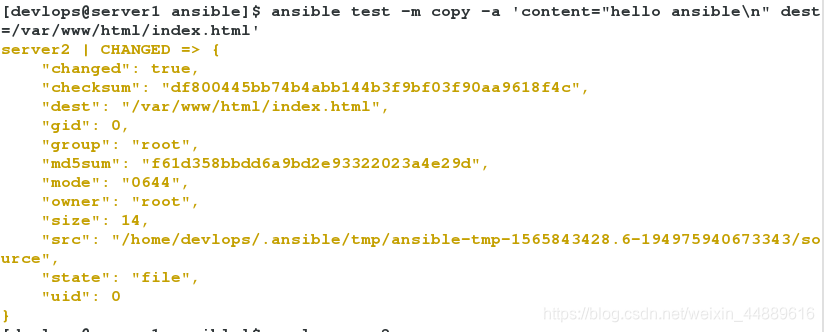
[devlops@server1 ansible]$ ansible test -m copy -a 'content="hello ansible\n" dest=/var/www/html/index.html'
3.测试:
此时curl server2能访问是因为防火墙允许http
[devlops@server1 ansible]$ curl server2
[devlops@server1 ansible]$ ansible test -a "firewall-cmd --remove-service=http"
[devlops@server1 ansible]$ curl server2

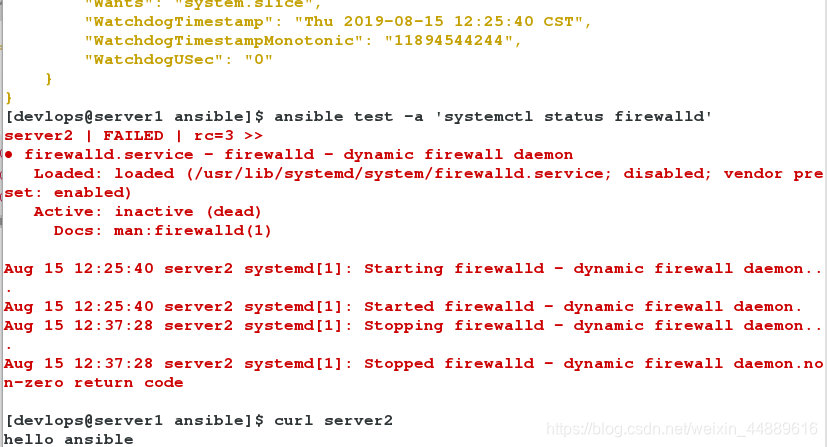
[devlops@server1 ansible]$ ansible test -m service -a "name=firewalld state=stopped enabled=false"
[devlops@server1 ansible]$ ansible test -a 'systemctl status firewalld'
[devlops@server1 ansible]$ curl server2