折腾了几乎一天,记录一下。
最大的坑是官网给出的
1.进入ceres源代码目录下的jni目录
2.EIGEN_PATH="指向eigen库目录,即包含EIGEN文件夹的那个文件夹” ndk-build
这方法的确编译出了一个近700M的静态库,但使用时总是未定义链接错误。现在想想跟以前编译OpenCV时遇到的错误相似,
解决的办法也相似,通过cmake调用ndk的工具链编译。
我编译动态库的命令
/home/hk/Android/Sdk/cmake/3.10.2.4988404/bin/cmake -DCMAKE_TOOLCHAIN_FILE=/home/hk/Android/Sdk/ndk/20.0.5594570/build/cmake/android.toolchain.cmake -DEIGEN_INCLUDE_DIR=/home/hk/ndk/eigen-git-mirror-3.3.6 -DANDROID_ABI=arm64-v8a -DANDROID_STL=c++_shared -DANDROID_NATIVE_API_LEVEL=android-27 -DBUILD_SHARED_LIBS=ON -DBUILD_TESTING=OFF -DBUILD_EXAMPLES=OFF -DMINIGLOG=ON -DCMAKE_BUILD_TYPE=Release -DCMAKE_C_FLAGS="-s" /home/hk/ndk/ceres-solver-master
注意一定要在一行,否则可能配置错误,生成Lunix格式的库。可先在文本文档里写好,然后复制到终端。这里用到的cmake是android studio安装的
,本来装的是3.5版本,这里要求高版本。
详细的解释下
#这部分是指定工具链,工具链在ndk里
-DCMAKE_TOOLCHAIN_FILE=/home/hk/Android/Sdk/ndk/20.0.5594570/build/cmake/android.toolchain.cmake
#这部分指定Eigen库路径,要求3.3.4以上
-DEIGEN_INCLUDE_DIR=/home/hk/ndk/eigen-git-mirror-3.3.6
#这部分指定abi,我是arm64-v8a
-DANDROID_ABI=arm64-v8a
#这部分指定STL,这里可能要跟项目用的一致,就是要跟项目编译c++文件的那个STL一致,若选择c++_static应该也可以,一致就行,项目选择STL在
#gradle里设置,这在下面介绍
-DANDROID_STL=c++_shared
#指定android版本27对应android 8.1.0
-DANDROID_NATIVE_API_LEVEL=android-27
#ON就是动态库,OFF就是静态库
-DBUILD_SHARED_LIBS=ON
#不编译测试,没意义,不可能在LINUX上运行的,库是android的格式
-DBUILD_TESTING=OFF
#不编译列子
-DBUILD_EXAMPLES=OFF
#不依赖glog源码了,这里是重点,这里选择ON会使用ceres目录下/ceres-solver-master/internal/ceres/miniglog里的代码代替glog
#当库放入android项目时需要将这个目录里的头文件也加入项目,比如可直接将这个目录加入项目的头文件路径
-DMINIGLOG=ON
#非调试版本
-DCMAKE_BUILD_TYPE=Release
#不懂
-DCMAKE_C_FLAGS="-s"
#指定ceres目录,即CMakeLists.txt所在的目录路径
/home/hk/ndk/ceres-solver-master
配置成功的特点是
.........
-- Check for working C compiler: /home/hk/Android/Sdk/ndk/20.0.5594570/toolchains/llvm/prebuilt/linux-x86_64/bin/clang
-- Check for working C compiler: /home/hk/Android/Sdk/ndk/20.0.5594570/toolchains/llvm/prebuilt/linux-x86_64/bin/clang -- works
-- Detecting C compiler ABI info
-- Detecting C compiler ABI info - done
-- Detecting C compile features
-- Detecting C compile features - done
-- Check for working CXX compiler: /home/hk/Android/Sdk/ndk/20.0.5594570/toolchains/llvm/prebuilt/linux-x86_64/bin/clang++
-- Check for working CXX compiler: /home/hk/Android/Sdk/ndk/20.0.5594570/toolchains/llvm/prebuilt/linux-x86_64/bin/clang++ -- works
.........
即cmake选择的默认编译器是clang和clang++
配置好后sudo make
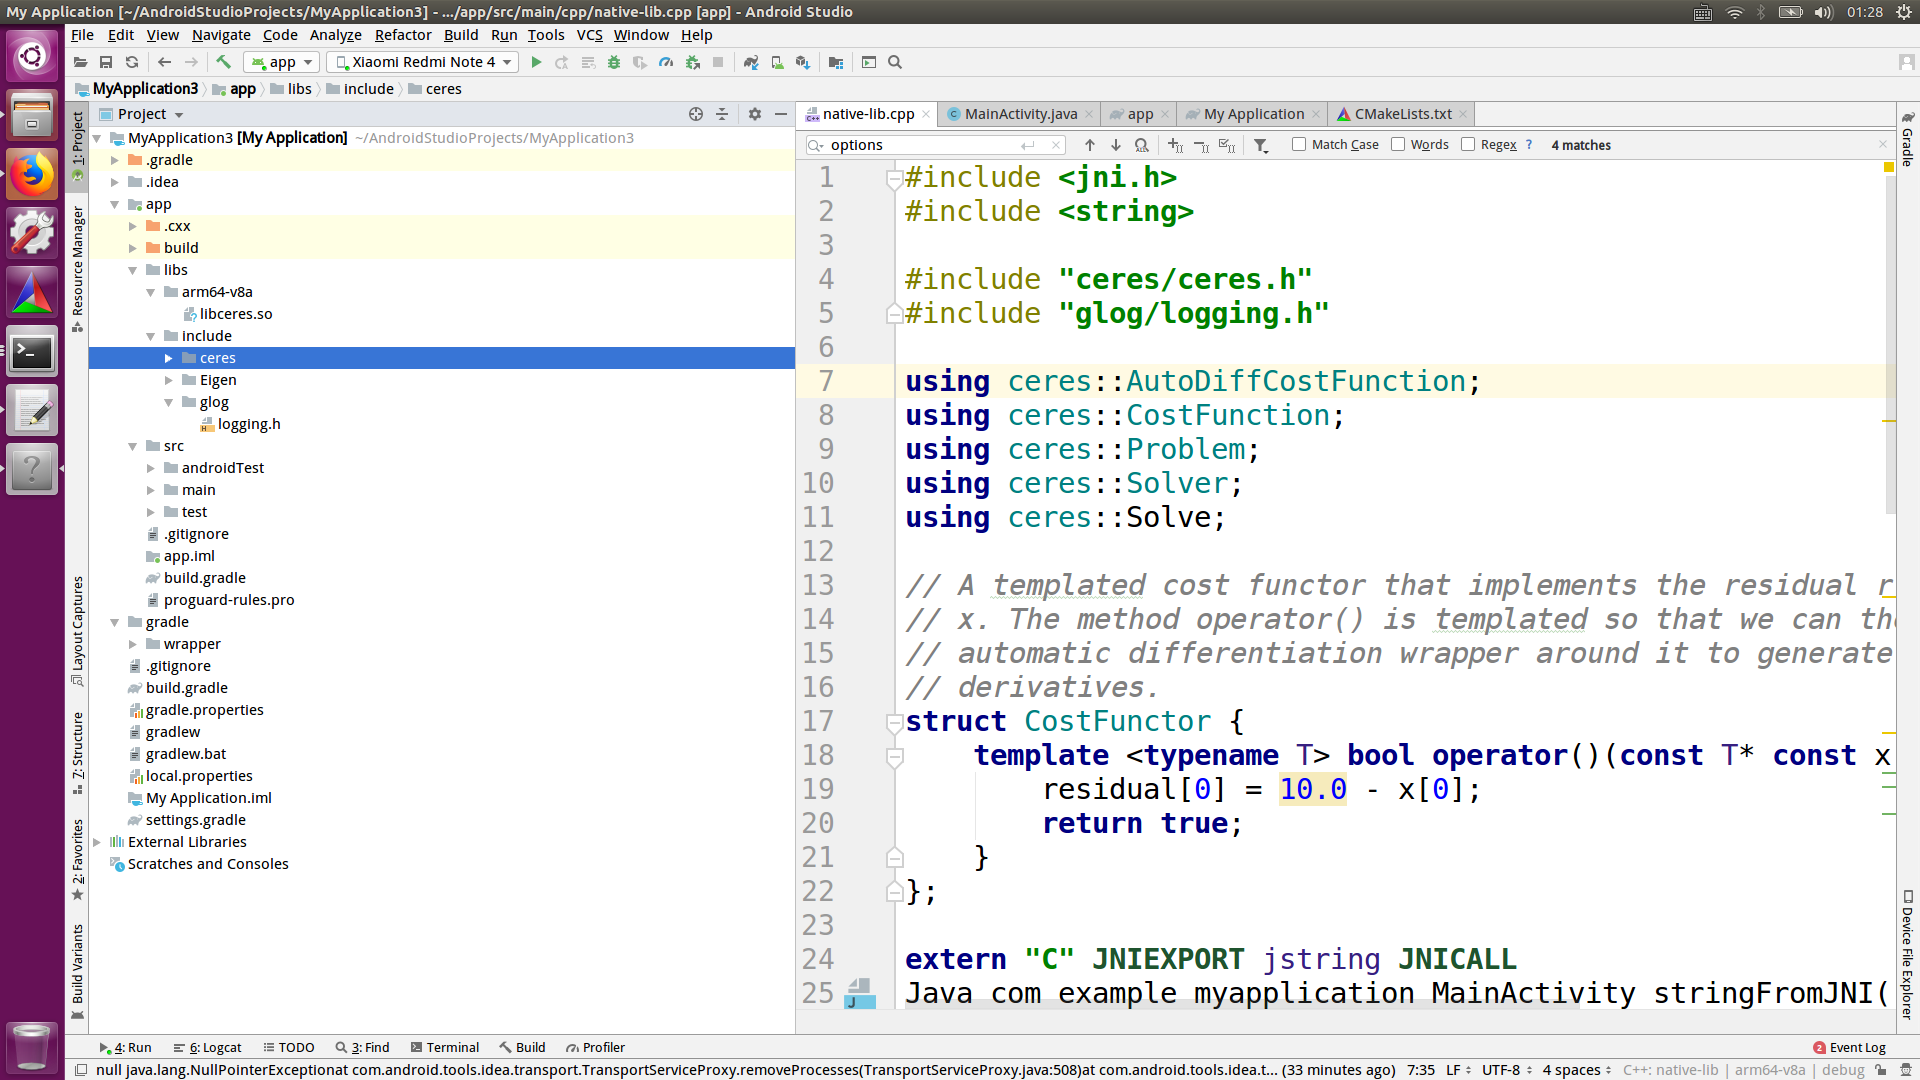
生成好后将.so库放入app下的libs里,我是新建arm64-v8a文件夹,然后放在里面的。
libs里新建include,头文件都放在这里。重点是,差个 config.h,cmake生成库的那个目录里搜索下,有个新生成的config.h,将其放到指定地方即可。指定的地方错误提示会指出。
注意,这个libs文件夹没有跟jniLibs相关联,里面的.so不会放入.apk,关联在gradle里设置,下面会给出完整的配置。
看看libs文件夹的内容
gradle配置
apply plugin: 'com.android.application'

android {
    compileSdkVersion 29
    buildToolsVersion "29.0.2"
    defaultConfig {
        applicationId "com.example.myapplication"
        minSdkVersion 27
        targetSdkVersion 29
        versionCode 1
        versionName "1.0"
        testInstrumentationRunner "androidx.test.runner.AndroidJUnitRunner"
        //项目的ndk配置需和使用的库一致,项目的配置在这里设置
        externalNativeBuild {
            cmake {
                cppFlags "-std=c++11"
                //arguments '-DANDROID_STL=c++_static'
                arguments '-DANDROID_STL=c++_shared'
                abiFilters "arm64-v8a"
            }
        }
        //指定jniLibs目录只有这个目录里的.so动态库会被加载到.apk
        sourceSets {
            main {
                jniLibs.srcDirs = ['libs']
            }
        }
    }
    buildTypes {
        release {
            minifyEnabled false
            proguardFiles getDefaultProguardFile('proguard-android-optimize.txt'), 'proguard-rules.pro'
        }
    }
    externalNativeBuild {
        cmake {
            path "src/main/cpp/CMakeLists.txt"
            version "3.10.2"
        }
    }
}


dependencies {
    implementation fileTree(dir: 'libs', include: ['*.jar'])
    implementation 'androidx.appcompat:appcompat:1.0.2'
    implementation 'androidx.constraintlayout:constraintlayout:1.1.3'
    testImplementation 'junit:junit:4.12'
    androidTestImplementation 'androidx.test:runner:1.1.1'
    androidTestImplementation 'androidx.test.espresso:espresso-core:3.1.1'
}
cmake配置
# Sets the minimum version of CMake required to build the native library.
cmake_minimum_required(VERSION 3.4.1)

#要求支持c++11
set(CMAKE_CXX_STANDARD 11)
set(CMAKE_CXX_STANDARD_REQUIRED ON)

#设置第三方库目录路径参数
set(libs_path ${CMAKE_SOURCE_DIR}/../../../libs)

#引入glog头文件
include_directories( ${libs_path}/include )

##########添加Ceres静态库 begin#########
add_library(
        ceres       #库名字 去掉了 lib 与 .a
        SHARED      #必须的
        IMPORTED    #必须的
)
#指定Ceres静态库位置
set_target_properties(
        ceres
        PROPERTIES IMPORTED_LOCATION
        ${libs_path}/arm64-v8a/libceres.so
)
#引入Ceres的头文件
include_directories( ${libs_path}/include )
##########添加Ceres静态库 end#########

##########添加Eigen库 begin#########
#引入Eigen的头文件
include_directories( ${libs_path}/include )
##########添加Eigen库 begin#########

##########添加添加native-lib动态库 begin#########
add_library(
        native-lib
        SHARED
        native-lib.cpp
)
#查找要链接的android log库
find_library(
        log-lib
        log )
#链接库
target_link_libraries(
        native-lib
        ${log-lib}
        ceres
        #openmap库
        #若编译Ceres时使用了 -DCERES_USE_OPENMP
        #则在使用Ceres时必须链接上OpenMap库
        #omp
)
##########添加添加native-lib动态库 end#########
测试代码就是ceres的hello ceres示列,将其放入jni函数里
#include <jni.h>
#include <string>

#include "ceres/ceres.h"
#include "glog/logging.h"

using ceres::AutoDiffCostFunction;
using ceres::CostFunction;
using ceres::Problem;
using ceres::Solver;
using ceres::Solve;

// A templated cost functor that implements the residual r = 10 -
// x. The method operator() is templated so that we can then use an
// automatic differentiation wrapper around it to generate its
// derivatives.
struct CostFunctor {
    template <typename T> bool operator()(const T* const x, T* residual) const {
        residual[0] = 10.0 - x[0];
        return true;
    }
};

extern "C" JNIEXPORT jstring JNICALL
Java_com_example_myapplication_MainActivity_stringFromJNI(
        JNIEnv* env,
        jobject /* this */) {
    std::string hello = "Hello Ceres";

    // The variable to solve for with its initial value. It will be
    // mutated in place by the solver.
    double x = 0.5;
    const double initial_x = x;

    // Build the problem.
    Problem problem;

    // Set up the only cost function (also known as residual). This uses
    // auto-differentiation to obtain the derivative (jacobian).
    CostFunction* cost_function =
            new AutoDiffCostFunction<CostFunctor, 1, 1>(new CostFunctor);
    problem.AddResidualBlock(cost_function, NULL, &x);

    // Run the solver!
    Solver::Options options;
    options.minimizer_progress_to_stdout = true;
    Solver::Summary summary;
    Solve(options, &problem, &summary);

    std::cout << summary.BriefReport() << "\n";
    std::cout << "x : " << initial_x
              << " -> " << x << "\n";

    return env->NewStringUTF(summary.BriefReport().c_str());
}