Docker中一键安装ELK
对于这种工具类的东西,第一步就直接到docker的hub中查找了,很幸运,不仅有Elasticsearch,kibana,logstash 单独的镜像,而且还直接 有ELK的镜像。

sudo docker run -p 5601:5601 -p 9200:9200 -p 5044:5044 -d --name log-platform --restart always sebp/elk
这当然能少好多配置,毫不犹豫就选择了elk的镜像, 运行起来!如果没有异常的话相信就很容易的跑起来了(最有可能出现的问题就是虚拟内存不足了,可以百度找解决方案这里就不在详细说了)
项目中添加log4net到Elasticseach的Appender
因为在.net core 之前就有搭建过日志中心,所以对于appender还记得有一个Log4net.Elasticsearch的dll,但是在查看资料之后发现很久没有更新 也不支持.net standard。在决定自己实现appender之前,抱着侥幸心理去查找了一翻,既然找到一个支持.net core的开源项目log4stash。很幸运,又可以不要造轮子了,哈哈。log4Stash使用很简单,但是配置的东西还挺多的而且作者也没有很好的文档介绍,先不管其他的用起来在说。
- 项目中添加log4stash
Install-Package log4stash -Version 2.2.1- 修改log4net.config
在log4net.config中添加appender
lt;appender name=quot;ElasticSearchAppenderquot; type=quot;log4stash.ElasticSearchAppender, log4stashquot;gt;
    lt;Servergt;localhostlt;/Servergt;
    lt;Portgt;9200lt;/Portgt;
    lt;IndexNamegt;log_test_%{+yyyy-MM-dd}lt;/IndexNamegt;
    lt;IndexTypegt;LogEventlt;/IndexTypegt;
    lt;Bulksizegt;2000lt;/Bulksizegt;
    lt;BulkIdleTimeoutgt;10000lt;/BulkIdleTimeoutgt;
    lt;IndexAsyncgt;Truelt;/IndexAsyncgt;
lt;/appendergt;
另外附上全部的配置信息
lt;appender name=quot;ElasticSearchAppenderquot; type=quot;log4stash.ElasticSearchAppender, log4stashquot;gt;
    lt;Servergt;localhostlt;/Servergt;
    lt;Portgt;9200lt;/Portgt;
    lt;!-- optional: in case elasticsearch is located behind a reverse proxy the URL is like http://Server:Port/Path, default = empty string --gt;
    lt;Pathgt;/es5lt;/Pathgt;
    lt;IndexNamegt;log_test_%{+yyyy-MM-dd}lt;/IndexNamegt;
    lt;IndexTypegt;LogEventlt;/IndexTypegt;
    lt;Bulksizegt;2000lt;/Bulksizegt;
    lt;BulkIdleTimeoutgt;10000lt;/BulkIdleTimeoutgt;
    lt;IndexAsyncgt;Falselt;/IndexAsyncgt;
    lt;DocumentIdSourcegt;IdSourcelt;/DocumentIdSourcegt; lt;!-- obsolete! use IndexOperationParams --gt;

    lt;!-- Serialize log object as json (default is true).
      -- This in case you log the object this way: `logger.Debug(obj);` and not: `logger.Debug(quot;stringquot;);` --gt;
    lt;SerializeObjectsgt;Truelt;/SerializeObjectsgt;

    lt;!-- optional: elasticsearch timeout for the request, default = 10000 --gt;
    lt;ElasticSearchTimeoutgt;10000lt;/ElasticSearchTimeoutgt;

    lt;!--You can add parameters to the request to control the parameters sent to ElasticSearch.
    for example, as you can see here, you can add a routing specification to the appender.
    The Key is the key to be added to the request, and the value is the parameter#39;s name in the log event properties.--gt;
    lt;IndexOperationParamsgt;
      lt;Parametergt;
        lt;Keygt;_routinglt;/Keygt;
        lt;Valuegt;%{RoutingSource}lt;/Valuegt;
      lt;/Parametergt;
      lt;Parametergt;
        lt;Keygt;_idlt;/Keygt;
        lt;Valuegt;%{IdSource}lt;/Valuegt;
      lt;/Parametergt;
      lt;Parametergt;
        lt;Keygt;keylt;/Keygt;
        lt;Valuegt;valuelt;/Valuegt;
      lt;/Parametergt;
    lt;/IndexOperationParamsgt;

    lt;!-- for more information read about log4net.Core.FixFlags --gt;
    lt;FixedFieldsgt;Partiallt;/FixedFieldsgt;

    lt;Templategt;
      lt;Namegt;templateNamelt;/Namegt;
      lt;FileNamegt;path2template.jsonlt;/FileNamegt;
    lt;/Templategt;

    lt;!--Only one credential type can used at once--gt;
    lt;!--Here we list all possible types--gt;
    lt;AuthenticationMethodgt;
      lt;!--For basic authentication purposes--gt;
      lt;Basicgt;
          lt;Usernamegt;Usernamelt;/Usernamegt;
          lt;Passwordgt;Passwordlt;/Passwordgt;
      lt;/Basicgt;
      lt;!--For AWS ElasticSearch service--gt;
      lt;Awsgt;
          lt;Aws4SignerSecretKeygt;Secretlt;/Aws4SignerSecretKeygt;
          lt;Aws4SignerAccessKeygt;AccessKeylt;/Aws4SignerAccessKeygt;
          lt;Aws4SignerRegiongt;Regionlt;/Aws4SignerRegiongt;
      lt;/Awsgt;
    lt;/AuthenticationMethodgt;

    lt;!-- all filters goes in ElasticFilters tag --gt;
    lt;ElasticFiltersgt;
      lt;Addgt;
        lt;Keygt;@typelt;/Keygt;
        lt;Valuegt;Speciallt;/Valuegt;
      lt;/Addgt;

      lt;!-- using the @type value from the previous filter --gt;
      lt;Addgt;
        lt;Keygt;SmartValuelt;/Keygt;
        lt;Valuegt;the type is %{@type}lt;/Valuegt;
      lt;/Addgt;

      lt;Removegt;
        lt;Keygt;@typelt;/Keygt;
      lt;/Removegt;

      lt;!-- you can load custom filters like I do here --gt;
      lt;Filter type=quot;log4stash.Filters.RenameKeyFilter, log4stashquot;gt;
        lt;Keygt;SmartValuelt;/Keygt;
        lt;RenameTogt;SmartValue2lt;/RenameTogt;
      lt;/Filtergt;

      lt;!-- converts a json object to fields in the document --gt;
      lt;Jsongt;
        lt;SourceKeygt;JsonRawlt;/SourceKeygt;
        lt;FlattenJsongt;falselt;/FlattenJsongt;
        lt;!-- the separator property is only relevant when setting the FlattenJson property to #39;true#39; --gt;
        lt;Separatorgt;_lt;/Separatorgt;
      lt;/Jsongt;

      lt;!-- converts an xml object to fields in the document --gt;
      lt;Xmlgt;
        lt;SourceKeygt;XmlRawlt;/SourceKeygt;
        lt;FlattenXmlgt;falselt;/FlattenXmlgt;
      lt;/Xmlgt;

      lt;!-- kv and grok filters similar to logstash#39;s filters --gt;
      lt;Kvgt;
        lt;SourceKeygt;Messagelt;/SourceKeygt;
        lt;ValueSplitgt;:=lt;/ValueSplitgt;
        lt;FieldSplitgt; ,lt;/FieldSplitgt;
      lt;/kvgt;

      lt;Grokgt;
        lt;SourceKeygt;Messagelt;/SourceKeygt;
        lt;Patterngt;the message is %{WORD:Message} and guid %{UUID:the_guid}lt;/Patterngt;
        lt;Overwritegt;truelt;/Overwritegt;
      lt;/Grokgt;

      lt;!-- Convert string like: quot;1,2, 45 9quot; into array of numbers [1,2,45,9] --gt;
      lt;ConvertToArraygt;
        lt;SourceKeygt;someIdslt;/SourceKeygt;
        lt;!-- The separators (space and comma) --gt;
        lt;Seperatorsgt;, lt;/Seperatorsgt;
      lt;/ConvertToArraygt;

      lt;Convertgt;
        lt;!-- convert given key to string --gt;
        lt;ToStringgt;shouldBeStringlt;/ToStringgt;

        lt;!-- same as ConvertToArray. Just for convenience --gt;
        lt;ToArraygt;
           lt;SourceKeygt;anotherIdslt;/SourceKeygt;
        lt;/ToArraygt;
      lt;/Convertgt;
    lt;/ElasticFiltersgt;
lt;/appendergt;
最后别忘了在root中添加上appender
  lt;rootgt;
    lt;level value=quot;WARNquot; /gt;
    lt;appender-ref ref=quot;ElasticSearchAppenderquot; /gt;
  lt;/rootgt;
OK,项目的配置就到这里结束了,可以运行项目写入一些测试的日志了。
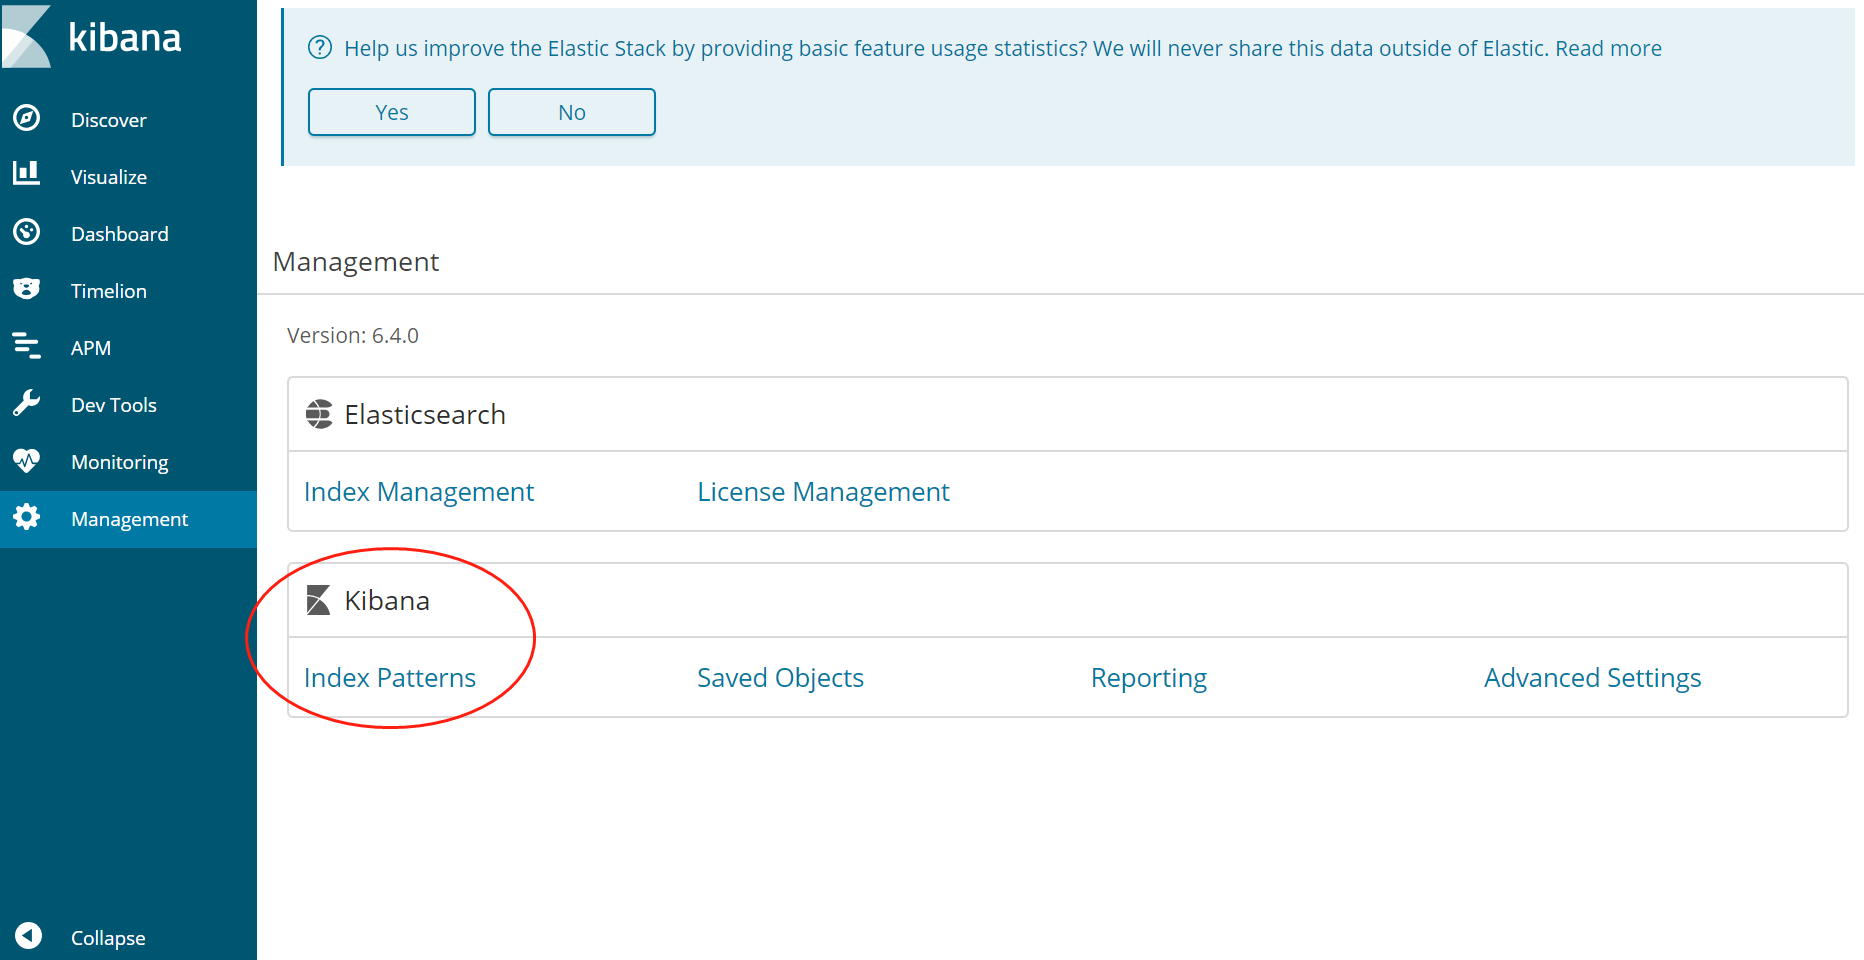
在kibana建立Index Pattern
Elasticsearch的Index跟关系数据库中的Database挺类似的,虽然我们项目在写了测试数据后,Elasticsearch中就已经有Index了,但是如果我们需要在可视化工具中查询数据的话建立Index Pattern
进入Management - Create Index Pattern,输入我们项目日志配置文件中的Index名称log_test-*(如果有数据,这边应该是会自动带出来的),然后创建,之后就可以在Kibana中浏览,查询我们的日志信息了。