一、实验环境
1.anaconda2 2.5.0 + python2.7
2.pyinstaller3.0
二、操作步骤
2.1 启动designer.exe

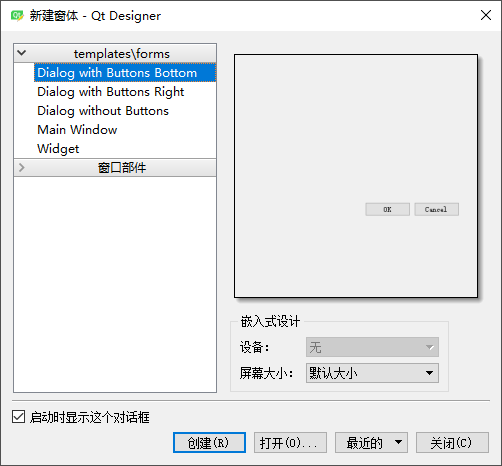
2.2 单击“文件” -> “新建”,弹出“新建窗口对话框”,选择第一个选项
2.3 删除底部的OK Cancel按钮
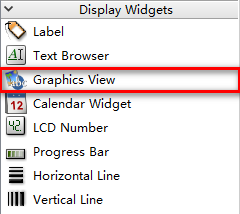
2.4 “Widget Box”工具栏中拖动”Graphics View”控件至如上新建的对话框
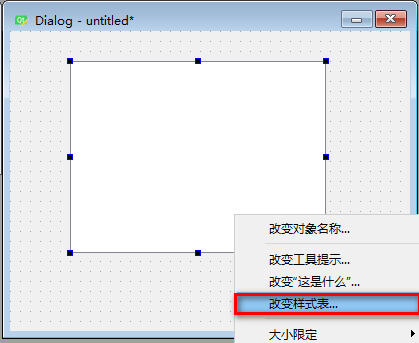
2.5 Graphics View控件上右击,选择“改变样式表”
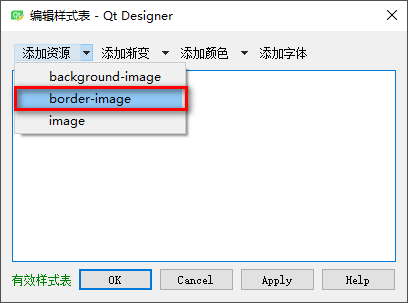
2.6 弹出的“编辑样式表”对话框中,选择“添加资源” -> “border-image”
2.7 弹出的“选择资源”对话框,单击“编辑资源”
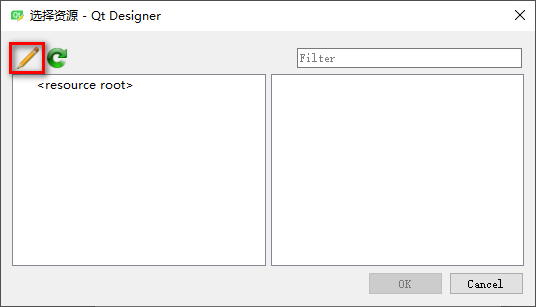
2.8 弹出的“编辑资源”对话框中, 单击“打开资源文件”

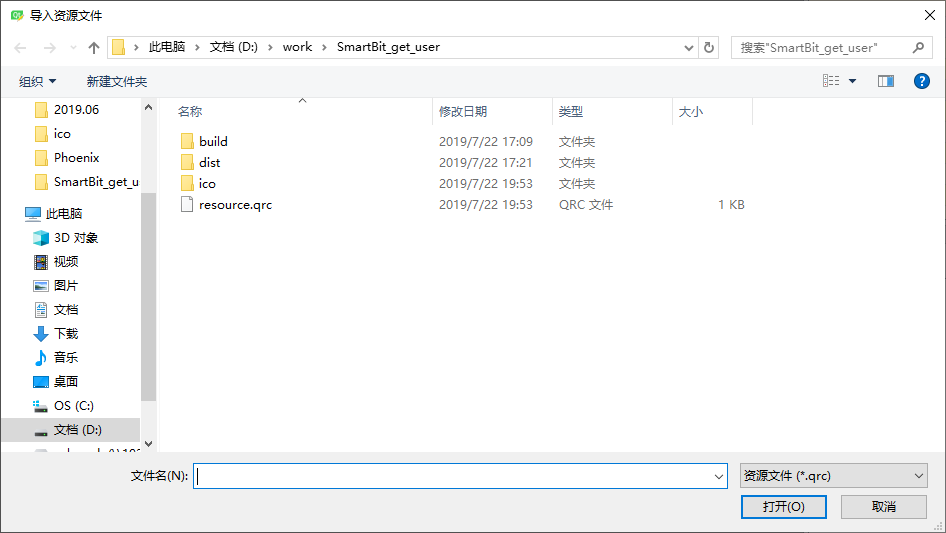
2.9 弹出的“导入资源文件”对话框,选择自己生成的*.qrc文件,单击“打开”。*.qrc文件创建请参考:https://www.cnblogs.com/hester/p/10471902.html
2.10 此时将返回至步骤2.8的界面,单击“OK”按钮
2.11 此时将返回至步骤2.7的界面,选择需要的图片,单击“OK”按钮

2.12 此时将返回至步骤2.6的界面,单击“OK”按钮
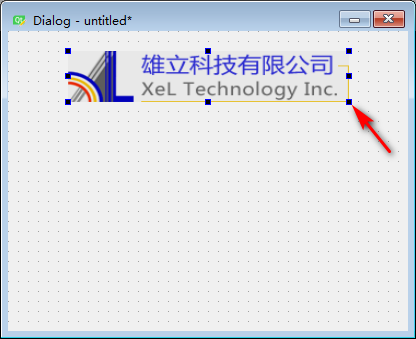
2.13 拖动“Graphics View”控件边框,图片缩放至合适大小,注:如下图片从XEL官网下载,请注意版权问题
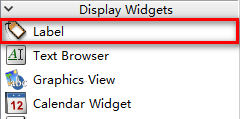
2.14 “Widget Box”工具栏中拖动”Label”控件至如上新建的对话框
2.15 双击控件,添加文字,需要换行时空间右击,选择“插入换行符”(控件文字编辑状态下)
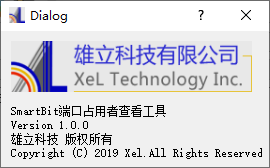
2.16 拖动“Graphics”和“Label”控件至合适位置,最终效果如下
2.17 单击“文件” -> “文件另存为”,文件名为“about.ui”
2.18 生成代码文件
打开cmd窗口,切换至“about.ui”文件所在文件夹,运行如下命令
pyuic5 -o about.py about.ui
2.19 “about.py”代码预览
# -*- coding: utf-8 -*-

# Form implementation generated from reading ui file 'about.ui'
#
# Created by: PyQt5 UI code generator 5.6
#
# WARNING! All changes made in this file will be lost!

from PyQt5 import QtCore, QtGui, QtWidgets

class Ui_Dialog(object):
    def setupUi(self, Dialog):
        Dialog.setObjectName("Dialog")
        Dialog.resize(268, 136)
        Dialog.setModal(False)
        self.graphicsView = QtWidgets.QGraphicsView(Dialog)
        self.graphicsView.setGeometry(QtCore.QRect(10, 10, 241, 51))
        self.graphicsView.setStyleSheet("border-image: url(:/xel.png);")
        self.graphicsView.setObjectName("graphicsView")
        self.label = QtWidgets.QLabel(Dialog)
        self.label.setGeometry(QtCore.QRect(10, 70, 251, 61))
        self.label.setObjectName("label")

        self.retranslateUi(Dialog)
        QtCore.QMetaObject.connectSlotsByName(Dialog)

    def retranslateUi(self, Dialog):
        _translate = QtCore.QCoreApplication.translate
        Dialog.setWindowTitle(_translate("Dialog", "Dialog"))
        self.label.setText(_translate("Dialog", "SmartBit端口占用者查看工具\n"
"Version 1.0.0\n"
"雄立科技 版权所有\n"
"Copyright (C) 2019 Xel.All Rights Reserved."))

import resource                #导入语句由工具自动生成,不建议修改位置
2.20 主窗口代码中调用about对话框,只给出导入语句和槽函数
from about import Ui_Dialog as Ui_About

def about(self):
    dialog = QDialog()
    dialog_help = Ui_About()
    dialog_help.setupUi(dialog)
    dialog.setFixedSize(dialog.width(), dialog.height())                #固定窗口大小,禁止缩放
    dialog.exec_()                                                      #配置为模态对话框
2.21 需要给对话框添加图标的,如上代码改写如下。QPixmap(":/xel_small.png")使用,请参考:https://www.cnblogs.com/hester/p/10471902.html
from about import Ui_Dialog as Ui_About
def about(self):
icon = QtGui.QIcon()
icon.addPixmap(QtGui.QPixmap(":/xel_small.png"), QtGui.QIcon.Normal, QtGui.QIcon.Off)
dialog = QDialog()
dialog_help = Ui_About()
dialog_help.setupUi(dialog)
dialog.setWindowIcon(icon) #添加ico
dialog.setFixedSize(dialog.width(), dialog.height()) #固定窗口大小,禁止缩放
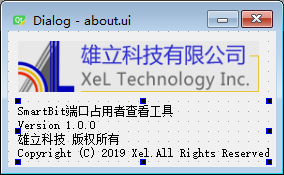
dialog.exec_() #配置为模态对话框
2.22 最终效果如下: