需求
上周,领导给我分配了一个需求:服务器上的图片文件非常大,每天要用掉两个G的大小的空间,要做一个自动压缩图片的工具处理这些大图片。领导的思路是这样的:
1)打开一个图片,看它的属性里面象素是多少,大于1000就按比例缩小到1000。
2)再看它的品质属性,比如我们标准是50,如果大于这个值再修改品质。
压缩后的文件大小不能超过200k。
思路
因为服务器上的图片文件名是加密处理过的,和图片文件一起存在的还有其它附件,没有后缀名,用肉眼根本看不出来是否是图片文件。所以刚开始的时候,我的思路是先批量修改后缀名,再获取图片的像素,最后再进行压缩。后来在做的过程中,发现不用处理后缀名,直接获取图片信息就能识别文件是否是图片。
所以,最后的做法是:
1)遍历文件夹下的图片文件的时候,先根据图片信息,把图片文件提取到列表
2)然后再根据图片的像素大小进行处理。像素在1000以内的直接修改图片品质处理,像素大于1000的按尺寸大小压缩图片,然后再修改图片品质处理。
(像素大于1000这种情况之所以有两步是因为按尺寸大小进行压缩后,图片大小大于1M,不符合预期的要求,所以压缩图片后再修改图片品质。这一步为了避免混淆,我把按尺寸大小压缩图片放到另一个文件夹处理,这个文件夹在处理好图片后,会把压缩图片文件进行删除,所以这个文件夹永远是空的,不会占空间)
//做的时候一听到是自动压缩图片,批量处理文件,以为很难,很深奥,真正动手后其实是办法总比困难多。总有办法实现的,只是时间问题。
代码片段
1)因为文件的位置不固定,文件夹下面有图片,也有文件夹,里面还有图片。所以要遍历子目录。
        /// <summary>
        /// 遍历文件
        /// </summary>
        /// <param name="di"></param>
        public void ListFiles(DirectoryInfo di)
        {
            if (!di.Exists)
            {
                return;
            }

            if (di == null)
            {
                return;
            }

            //返回当前目录的文件列表
            FileInfo[] files = di.GetFiles();

            for (int i = 0; i < files.Length; i++)
            {

                try
                {
                    //判断是否具有照片信息,报错即不是照片文件
                    GetMetaData.GetExifByMe(files[i].FullName);

                    //把图片文件添加到列表视图
                    this.lvSourceFolderList.Items.Add(files[i].FullName);

                    //把图片文件添加到图片列表
                    imageList.Add(files[i].FullName);

                }
                catch (Exception)
                {
                    //Logging.Error(System.IO.Path.GetFileName(files[i].FullName) + ",非图片文件," + ex.Message);
                    continue;
                }

            }
            this.lbInfomation.Text = "共" + this.lvSourceFolderList.Items.Count + "条数据";
            //返回当前目录的子目录
            DirectoryInfo[] dis = di.GetDirectories();

            for (int j = 0; j < dis.Length; j++)
            {
                // Console.WriteLine("目录:" + dis[j].FullName);
                ListFiles(dis[j]);//对于子目录,进行递归调用
            }

        }
2)判断图片是否具有照片信息,我用的是MetadataExtractor,直接在nuget里面添加安装好,再添加一个GetExifByMe即可。这里在调用GetExifByMe的时候,不是图片文件会报错,报错的我直接忽略,继续continue。
  //判断是否具有照片信息,报错即不是照片文件
   GetMetaData.GetExifByMe(files[i].FullName);
#region 通过metadata-extractor获取照片参数
//参考文献
//官网: https://drewnoakes.com/code/exif/
//nuget 官网:https://www.nuget.org/
//nuget 使用: http://www.cnblogs.com/chsword/archive/2011/09/14/NuGet_Install_OperatePackage.html
//nuget MetadataExtractor: https://www.nuget.org/packages/MetadataExtractor/
/// <summary>通过MetadataExtractor获取照片参数
/// </summary>
/// <param name="imgPath">照片绝对路径</param>
/// <returns></returns>
public static Dictionary<string, string> GetExifByMe(string imgPath)
{
var rmd = ImageMetadataReader.ReadMetadata(imgPath);
var rt = new Dictionary<string, string>();
foreach (var rd in rmd)
{
foreach (var tag in rd.Tags)
{
var temp = EngToChs(tag.Name);
if (temp == "其他")
{
continue;
}
if (!rt.ContainsKey(temp))
{
rt.Add(temp, tag.Description);
}
}
}
return rt;
}
/// <summary>筛选参数并将其名称转换为中文
/// </summary>
/// <param name="str">参数名称</param>
/// <returns>参数中文名</returns>
private static string EngToChs(string str)
{
var rt = "其他";
switch (str)
{
case "Exif Version":
rt = "Exif版本";
break;
case "Model":
rt = "相机型号";
break;
case "Lens Model":
rt = "镜头类型";
break;
case "File Name":
rt = "文件名";
break;
case "File Size":
rt = "文件大小";
break;
case "Date/Time":
rt = "拍摄时间";
break;
case "File Modified Date":
rt = "修改时间";
break;
case "Image Height":
rt = "照片高度";
break;
case "Image Width":
rt = "照片宽度";
break;
case "X Resolution":
rt = "水平分辨率";
break;
case "Y Resolution":
rt = "垂直分辨率";
break;
case "Color Space":
rt = "色彩空间";
break;
case "Shutter Speed Value":
rt = "快门速度";
break;
case "F-Number":
rt = "光圈";//Aperture Value也表示光圈
break;
case "ISO Speed Ratings":
rt = "ISO";
break;
case "Exposure Bias Value":
rt = "曝光补偿";
break;
case "Focal Length":
rt = "焦距";
break;
case "Exposure Program":
rt = "曝光程序";
break;
case "Metering Mode":
rt = "测光模式";
break;
case "Flash Mode":
rt = "闪光灯";
break;
case "White Balance Mode":
rt = "白平衡";
break;
case "Exposure Mode":
rt = "曝光模式";
break;
case "Continuous Drive Mode":
rt = "驱动模式";
break;
case "Focus Mode":
rt = "对焦模式";
break;
}
return rt;
}
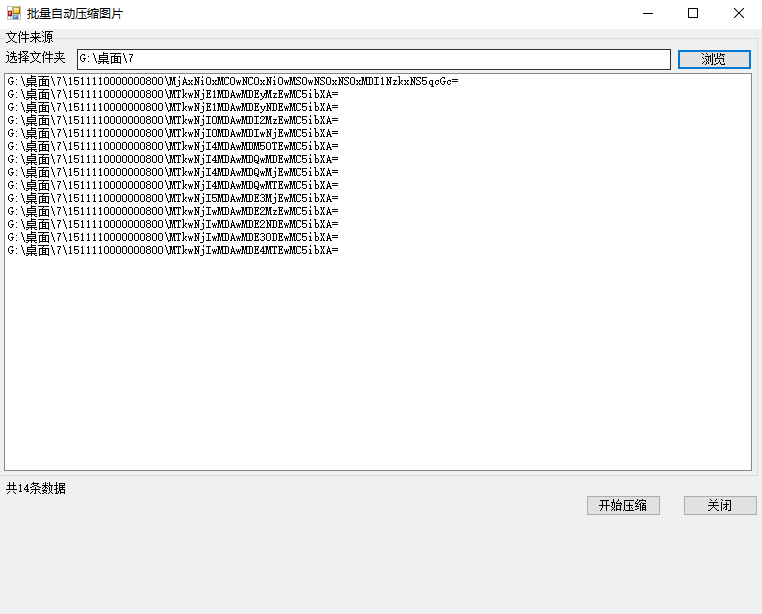
#endregion文件浏览完毕后的截图:
3)文件全部浏览完毕后,就开始进行压缩。
因为文件数量大,原来的简单压缩版本总是容易卡死,这里的新版本用了线程,就没有卡死的问题了。
这里的压缩核心代码直接参考了
用C#开发一个WinForm版的批量图片压缩工具
Thread workThread = new Thread(new ThreadStart(CompressAll));
workThread.IsBackground = true;
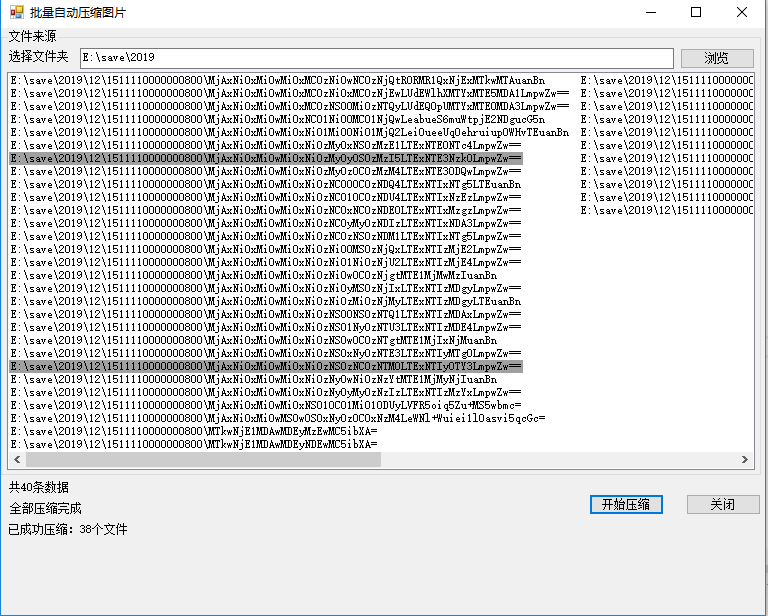
workThread.Start();我添加了i标识处理成功的文件数量,压缩失败的时候i-=1。
if (CompressPicture(item, fileName))
{
    if (this.InvokeRequired)
    {
        this.Invoke(new DelegateWriteResult(WriteResult), new object[] { item, true });
     }
     else
    {
       this.WriteResult(item, true);
    }
}
 else
{
    i -= 1;

    if (this.InvokeRequired)
    {
        this.Invoke(new DelegateWriteResult(WriteResult), new object[] { item, false });
    }
     else
    {
        this.WriteResult(item, false);
    }
}
改变图片质量这里就是第二步思路,分两步走:
像素在1000以内的直接修改图片品质处理;
像素大于1000的按尺寸大小压缩图片,然后再修改图片品质处理。
        /// <summary>
        /// 改变图片质量
        /// </summary>
        /// <param name="imgPath">文件路径</param>
        /// <param name="imgName">文件名</param>
        private static bool VaryQualityLevel(string imgPath, string imgName)
        {

            bool result = false;

            Bitmap bmp1 = new Bitmap(imgPath);

            //获取照片信息
            // GetExifByMe(imgPath);
            //先获取图片的像素
            var imgPixl = RGB2Gray(bmp1);

            //像素超出,先压缩图片
            if (imgPixl.Width > 1000 && imgPixl.Height > 1000)
            {
                double width = 0;
                double height = 0;
                if (imgPixl.Width > 2000 && imgPixl.Height > 2000)
                {
                    width = System.Math.Ceiling(Convert.ToDouble(imgPixl.Width / 4));
                    height = System.Math.Ceiling(Convert.ToDouble(imgPixl.Height / 4));
                }
                else if (imgPixl.Width > 1000 && imgPixl.Height > 1000)
                {
                    width = System.Math.Ceiling(Convert.ToDouble(imgPixl.Width / 2));
                    height = System.Math.Ceiling(Convert.ToDouble(imgPixl.Height / 2));
                }
                //cutimg先创建好
                //检查是否存在文件夹
                string subPath = @"d:/cutimg/";
                if (false == System.IO.Directory.Exists(subPath))
                {
                    //创建pic文件夹
                    System.IO.Directory.CreateDirectory(subPath);
                }
                result = FixSize(imgPath, Convert.ToInt32(width), Convert.ToInt32(height), subPath + imgName, imgName);
            }
            else
            {

                result = SetImgQuality(imgPath, imgPath, imgName);

            }

            return result;

        }
调用按图片尺寸压缩方法,先存储压缩后的图片,图片大小往往还超过1M。再设置图片的质量,二次处理,压缩后的图片大小小于200K。
        /// <summary> 按图片尺寸大小压缩图片</summary>
        /// <param name="sourceFile">原始图片文件</param>
        /// <param name="xWidth">图片width</param>
        ///  <param name="yWidth">图片height</param>
        /// <param name="outputFile">输出文件名</param>
        ///  <param name="imgName">文件名</param>
        /// <returns>成功返回true,失败则返回false</returns>
        public static bool FixSize(string sourceFile, int xWidth, int yWidth, string outputFile, string imgName)
        {
            try
            {
                Bitmap sourceImage = new Bitmap(sourceFile);

                ImageCodecInfo myImageCodecInfo = GetEncoderInfo("image/jpeg");

                Bitmap newImage = new Bitmap((int)(xWidth), (int)(yWidth));

                Graphics g = Graphics.FromImage(newImage);

                g.DrawImage(sourceImage, 0, 0, xWidth, yWidth);

                sourceImage.Dispose();

                g.Dispose();

                newImage.Save(outputFile);

                //设置图片质量
                SetImgQuality(sourceFile, outputFile, imgName);

                newImage.Dispose();

                //删除该图片文件
                File.Delete(outputFile);

                return true;
            }
            catch (Exception ex)
            {
                Logging.Error("FixSize:" + imgName + "  压缩出错:" + ex.Message);
                return false;
            }
        }
调用按图片尺寸压缩的时候,这里发生“GDI+发生一般性错误”这个提示,原因是因为调用了SetImgQuality这个方法,文件还没有释放出来,在最后加上bmp1.Dispose();就解决了。
 //设置图片质量
 SetImgQuality(sourceFile, outputFile, imgName);
在文件压缩出错的时候,我把出错的文件写入文本:
                for (int j = 0; j < this.lvSourceFolderList.Items.Count; j++)
                {
                    if (fileName == this.lvSourceFolderList.Items[j].Text)
                    {
                        //压缩失败的文件写入文本
                        using (StreamWriter my_writer = new StreamWriter(@"d:\CompressFailFile.txt", true, System.Text.Encoding.Default))
                        {
                            string txtstr = "压缩失败:" + fileName + "\r\n";
                            my_writer.Write(txtstr);
                            my_writer.Flush();
                        }

                        this.lvSourceFolderList.Items[j].BackColor = SystemColors.ControlDark;
                    }
                }
在这里出现“文件正由另一进程使用,该进程无法访问该文件”的错误提示,当时在本地上跑没有任何问题,放在服务器上跑就报错。后来把服务器上面的文件拿到本地测试,发现是这里出错了。换了using后完美解决。
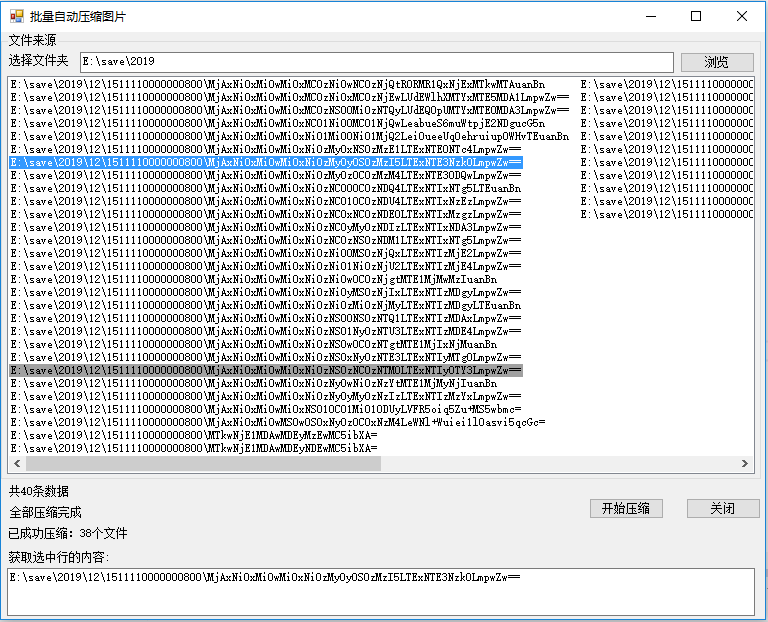
压缩出错的文件除了在文本记录外,我还做了高亮显示。选中高亮数据的时候,因为无法复制,添加了SelectedIndexChanged事件以及文本框显示。
        /// <summary>
        /// 选择行
        /// </summary>
        /// <param name="sender"></param>
        /// <param name="e"></param>
        private void lvSourceFolderList_SelectedIndexChanged(object sender, EventArgs e)
        {

            ListView.SelectedIndexCollection indexes = lvSourceFolderList.SelectedIndices;//

            string pr = "";

            foreach (int index in indexes)
            {
                pr = lvSourceFolderList.Items[index].Text;
            }

            this.lblChoose.Visible = true;
            this.txtContent.Visible = true;
            this.txtContent.Text = pr;// 显示选择的行的内容

        }
最后,贴上我的源码。因为自己在做的过程中参考、借鉴了很多前辈的分享,我也把自己完整的代码分享出来。
参考资源
在做的过程中,我走了很多弯路,幸好在这个互联网发达的时代,在知识共享的时代,我有幸参考了各路前辈分享的资料,才得以完成这个任务。非常感谢以下前辈的分享,还有一个分享当时没有保存到链接,找不着了。无论如何,我心永存感激。