现在很多网站都要是https,包括我之前做的微信小程序都是需要使用https传输的,特将之前学习的记录下,以防忘记
一、
1.HTTPS简介
HTTPS其实是有两部分组成:HTTP + SSL / TLS,也就是在HTTP上又加了一层处理加密信息的模块。服务端和客户端的信息传输都会通过TLS进行加密,所以传输的数据都是加密后的数据
2.https协议原理
首先,客户端与服务器建立连接,各自生成私钥和公钥,是不同的。服务器返给客户端一个公钥,然后客户端拿着这个公钥把要搜索的东西加密,称之为密文,并连并自己的公钥一起返回给服务器,服务器拿着自己的私钥解密密文,然后把响应到的数据用客户端的公钥加密,返回给客户端,客户端拿着自己的私钥解密密文,把数据呈现出来
二、证书和私钥的生成
#注意:一般生成的目录,应该放在nginx/conf/ssl目录,创建并进入
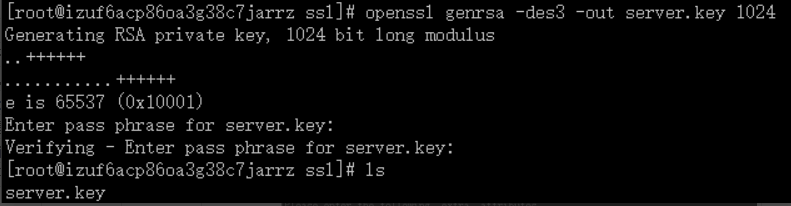
#1.创建服务器证书密钥文件 server.key:
openssl genrsa -des3 -out server.key 1024
#输入密码,确认密码,自己随便定义,但是要记住,后面会用到。需输入4-1024位字符做为密码
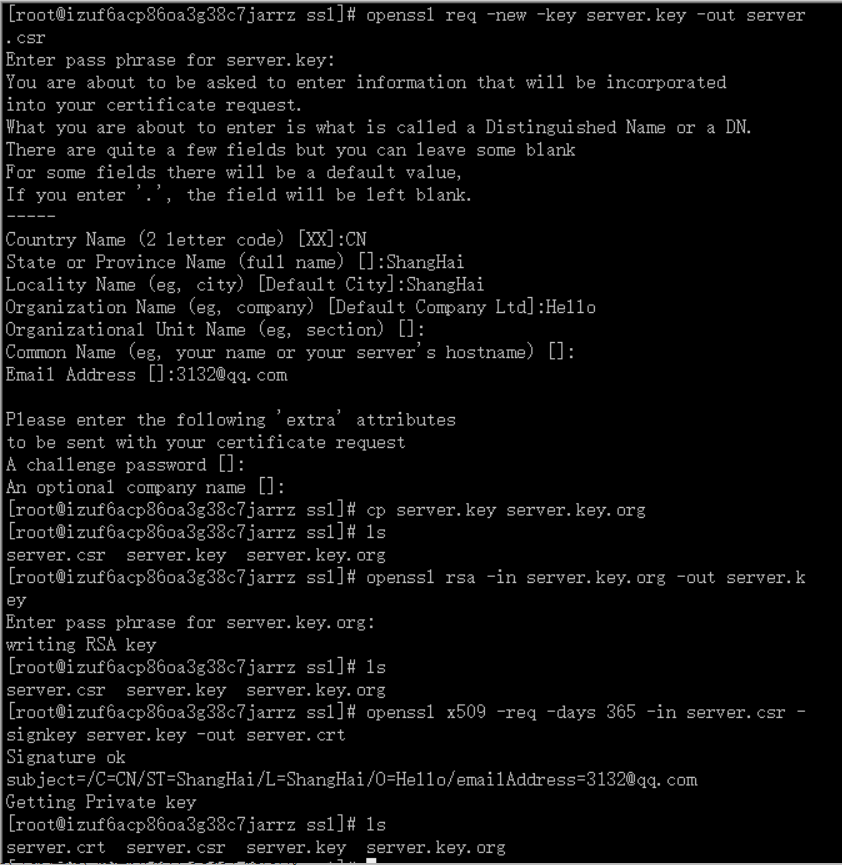
#2.创建服务器证书的申请文件 server.csr
openssl req -new -key server.key -out server.csr
#输出内容为:
Enter pass phrase for root.key: ← 输入前面创建的密码
Country Name (2 letter code) [AU]:CN ← 国家代号,中国输入CN
State or Province Name (full name) [Some-State]:ShangHai ← 省的全名,拼音
Locality Name (eg, city) []:ShangHai ← 市的全名,拼音
Organization Name (eg, company) [Internet Widgits Pty Ltd]:MyCompany Corp. ← 公司英文名
Organizational Unit Name (eg, section) []: ← 可以不输入
Common Name (eg, YOUR name) []: 你的域名
Email Address []:[email protected] ← 电子邮箱,可随意填
Please enter the following ‘extra’ attributes to be sent with your certificate request
A challenge password []: ← 可以不输入
An optional company name []: ← 可以不输入
#4.备份一份服务器密钥文件
cp server.key server.key.org
#5.去除文件口令
openssl rsa -in server.key.org -out server.key
#6.生成证书文件server.crt
openssl x509 -req -days 365 -in server.csr -signkey server.key -out server.crt
三、配置文件(nginx服务器)
在/usr/local/nginx/conf/vhost.conf中,
server {
        listen       443 ssl;
 server_name       www.jinzhaohui.cn;
 ssl_certificate       ssl/1571883_www.jinzhaohui.cn.pem;
        ssl_certificate_key       ssl/1571883_www.jinzhaohui.cn.key;
        #ssl_certificate       ssl/server.crt;
        #ssl_certificate_key       ssl/server.key;
 ssl_session_cache    shared:SSL:1m;
        ssl_session_timeout  5m;

        ssl_ciphers  HIGH:!aNULL:!MD5;
        ssl_prefer_server_ciphers  on;
        location / {
            index  index.php index.html index.htm;
            root   /opt/hello;
            if (!-e $request_filename) {   rewrite  ^(.*)$  /index.php?s=$1  last;   break;    }
        }
 location ~ \.php$ {
            root           html;
            fastcgi_pass   127.0.0.1:9000;
            fastcgi_index  index.php;
     fastcgi_param  SCRIPT_FILENAME  /opt/hello$fastcgi_script_name;
     fastcgi_param  SCRIPT_NAME  $fastcgi_script_name;
            include        fastcgi_params;
        }
}
测试 sbin目录下,执行.nginx -t
报错:nginx: [emerg] the "ssl" parameter requires ngx_http_ssl_module in /usr/local/nginx/conf/vhost.conf:3
nginx: configuration file /usr/local/nginx/conf/nginx.conf test failed
原因是:ssl模块未开启
四、开启nginx的ssl模块
#1.the "ssl" parameter requires ngx_http_ssl_module  in /usr/local/nginx/conf/nginx.conf:37
    #原因是nginx缺少http_ssl_module模块,编译安装时带上--with-http_ssl_module配置就可以了
#2.如果已经安装过nginx,想要添加模块看下面
    #1)切换到nginx源码包
        cd /usr/local/src/nginx-1.11.3
    #2)查看ngixn原有的模块
        /usr/local/nginx/sbin/nginx -V
    #3)重新配置
        ./configure --prefix=/usr/local/nginx --with-http_stub_status_module --with-http_ssl_module
    #4)重新编译,不需要make  install安装。否则会覆盖
        make
    #5)备份原有已经安装好的nginx
        cp /usr/local/nginx/sbin/nginx /usr/local/nginx/sbin/nginx.bak
    #6)将刚刚编译好的nginx覆盖掉原来的nginx(ngixn必须停止)
        ps -ef|grep nginx
        kill -QUIT 2072
        cp ./objs/nginx /usr/local/nginx/sbin/
    #这时,会提示是否覆盖,请输入yes,直接回车默认不覆盖
    #7)启动nginx,查看nginx模块,发现已经添加
        /usr/local/nginx/sbin/nginx -V

转载于:https://www.cnblogs.com/two-bees/p/10510610.html