写个案例,直接上手。
1:安装Dubbo的注册中心。这里我使用zookeeper作为Dubbo的服务注册和发现中心。下载、安装、配置zookeeper这里不再赘述。注意:Windows的智能作为本机测试或者学习使用,不可用到生产上,Windows版本的下载、安装、配置在这篇博客中:https://blog.csdn.net/CDW2328/article/details/94589811
2:如果我们以后需要通过可视化的界面看到服务的提供者和消费者等信息那么就需要下载Dubbo的源码。具体看下面的步骤:
2.1:下载Dubbo的源码。地址为:https://codeload.github.com/alibaba/dubbo/legacy.zip/master 源码包的名称为:apache-dubbo-dubbo-2.7.1-185-ga42fb15.zip 下载好以后进行解压这个包。解压后的目录如图所示:

这里面没有我需要的dubbo-admin,所以还得去下载一个dubbo-admin,下载的地址是:https://github.com/apache/dubbo-admin/tree/master 下载好后的目录所示:

然后将dubbo-admin用maven命令打包。打开cmd 进入解压后的此目录输入 mvn package -Dmaven.skip.test=true
压缩以后如果是war包按一下的方式去继续操作:
将此war放入本地tomcat>webapps目录下,启动tomcat(/bin/startup.bat)为了防止端口占用,可以再/conf/server.xml 修改tomcat端口,我的是8088 。tomcat自解压。
压缩以后如果是jar包那说明这个dubbo-admin已经被springBoot重新架构过了,所以只需要用java -jar直接运行就可以了。E:\Dubbo\dubbo-admin-master\dubbo-admin\target>java -jar dubbo-admin-0.0.1-SNAPSHOT.jar。运行之前记得要将zookeeper启动起来。在运行起来以后,我们注意要观察链接的端口号,如下的端口号为:7001

此时就可用http://localhost:7001直接访问了。访问成功以后就可以看到Dubbo的可视化的管理界面了。当然这个端口号可以修改,在打包之前在dubbo-admin\src\main\resources里面的application.properties中修改,当然也可以修改zookeeper的地址。
2.2:在浏览器中直接访问后,我们可以看到如下图所示:
在上面我们可以看到没有任何的服务提供者。其实在分布式系统中没有绝对的服务调用者、也没有绝对的服务提供者。这是因为分布式系统中每个子系统是单独一个个体,本身相互之间没有任何的依赖。但是一个服务提供者在提供服务的同时甚至以后都有可能变成服务的调用者,同理一个服务的调用者在以后也有可能变成一个服务的提供者。好了下面我就写一个服务的提供者和调用者。
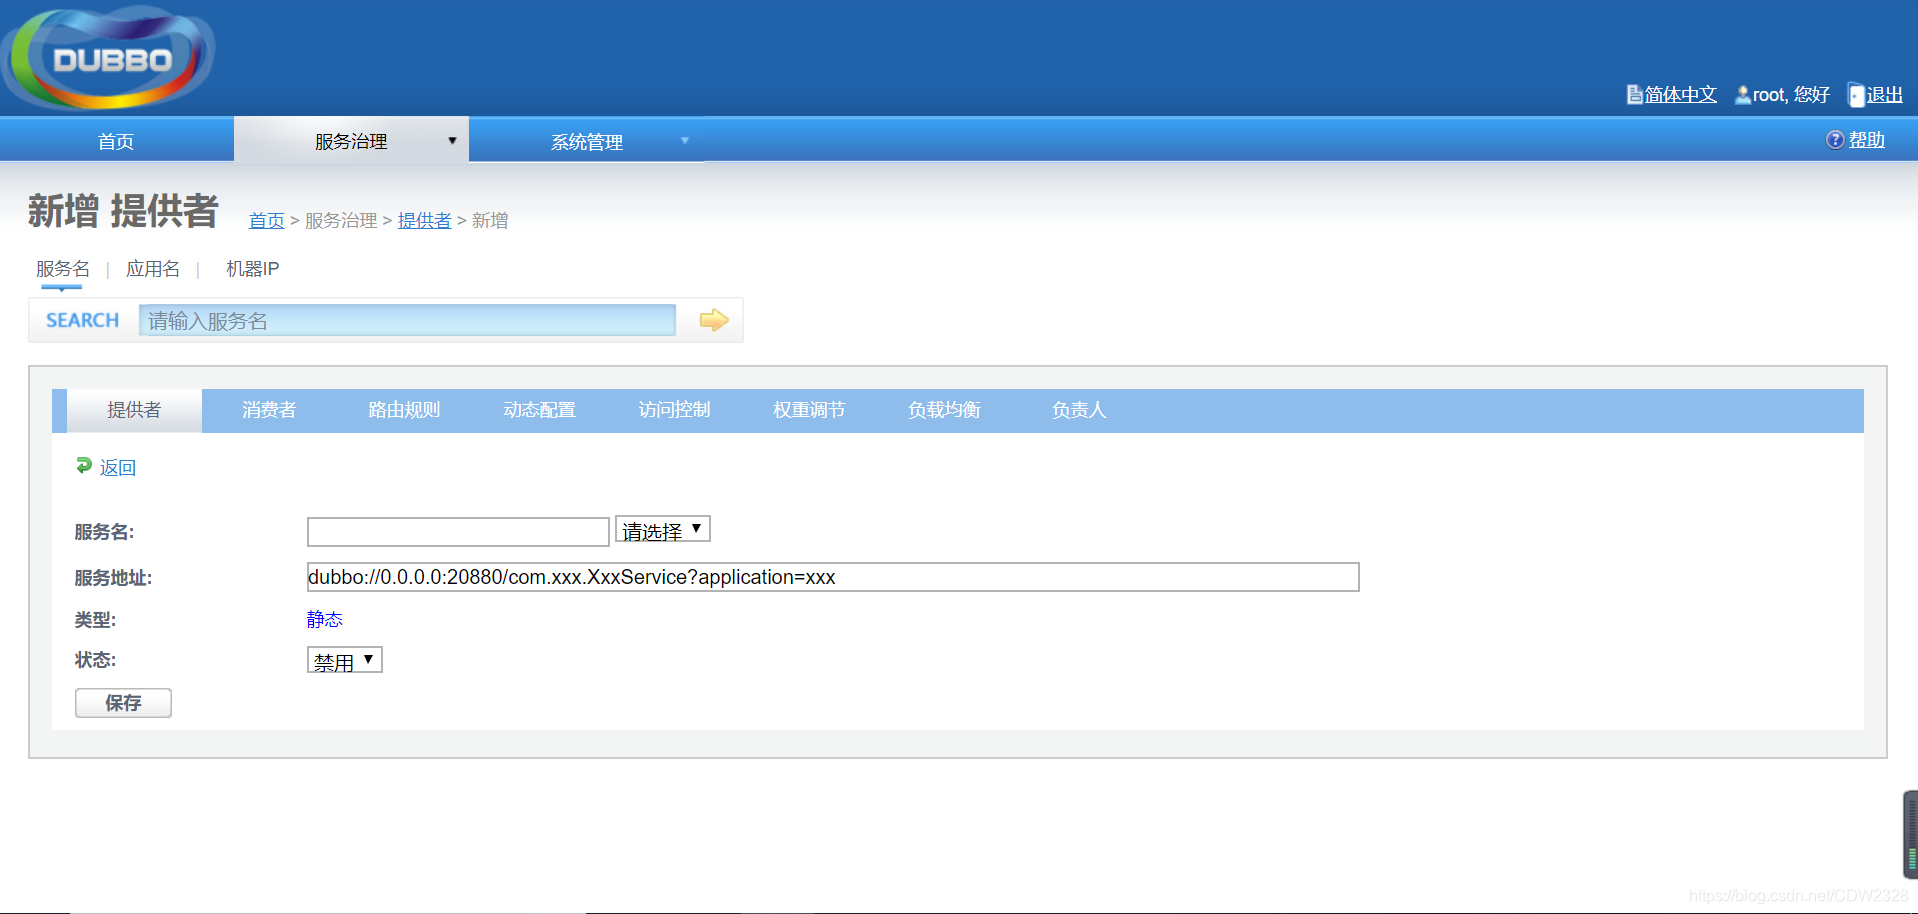
3、服务的提供者
第一步:创建一个maven项目,如下图所示:

一定要勾选前面的两项。
第二步:填写maven项目的一些信息,如下图所示:

填写完信息后直接点击Finish就可以了。
第三步:在pom.xml中添加项目所需的依赖。
<project xmlns="http://maven.apache.org/POM/4.0.0" xmlns:xsi="http://www.w3.org/2001/XMLSchema-instance" xsi:schemaLocation="http://maven.apache.org/POM/4.0.0 http://maven.apache.org/xsd/maven-4.0.0.xsd">
<modelVersion>4.0.0</modelVersion>
<groupId>com.alibaba</groupId>
<artifactId>DubboServerProvider</artifactId>
<version>0.0.1-SNAPSHOT</version>
<dependencies>
<!-- Dubbo相关的 -->
<dependency>
<groupId>com.alibaba</groupId>
<artifactId>dubbo</artifactId>
<version>2.5.5</version>
</dependency>
<!-- zookeepar相关的 -->
<dependency>
<groupId>com.101tec</groupId>
<artifactId>zkclient</artifactId>
<version>0.10</version>
</dependency>
<dependency>
<groupId>org.javassist</groupId>
<artifactId>javassist</artifactId>
<version>3.20.0-GA</version>
</dependency>
<!-- netty通信相关的 -->
<dependency>
<groupId>org.jboss.netty</groupId>
<artifactId>netty</artifactId>
<version>3.2.5.Final</version>
</dependency>
<dependency>
<groupId>org.apache.curator</groupId>
<artifactId>curator-framework</artifactId>
<version>2.12.0</version>
</dependency>
<!-- 日志相关的 -->
<dependency>
<groupId>log4j</groupId>
<artifactId>log4j</artifactId>
<version>1.2.16</version>
</dependency>
<dependency>
<groupId>org.slf4j</groupId>
<artifactId>slf4j-api</artifactId>
<version>1.7.25</version>
</dependency>
<!-- spring相关的 -->
<dependency>
<groupId>org.springframework</groupId>
<artifactId>spring-context</artifactId>
<version>4.3.5.RELEASE</version>
</dependency>
<dependency>
<groupId>org.springframework</groupId>
<artifactId>spring-orm</artifactId>
<version>4.3.5.RELEASE</version>
</dependency>
<!-- springWeb相关的 -->
<dependency>
<groupId>org.springframework</groupId>
<artifactId>spring-web</artifactId>
<version>4.3.5.RELEASE</version>
</dependency>
<dependency>
<groupId>org.springframework</groupId>
<artifactId>spring-webmvc</artifactId>
<version>4.3.5.RELEASE</version>
</dependency>
<dependency>
<groupId>org.springframework.security</groupId>
<artifactId>spring-security-core</artifactId>
<version>4.2.1.RELEASE</version>
</dependency>
<dependency>
<groupId>org.springframework.security</groupId>
<artifactId>spring-security-web</artifactId>
<version>4.2.1.RELEASE</version>
</dependency>
<dependency>
<groupId>org.springframework.security</groupId>
<artifactId>spring-security-config</artifactId>
<version>4.2.1.RELEASE</version>
</dependency>
<dependency>
<groupId>org.springframework.security</groupId>
<artifactId>spring-security-ldap</artifactId>
<version>4.2.1.RELEASE</version>
</dependency>
<dependency>
<groupId>org.springframework.security</groupId>
<artifactId>spring-security-acl</artifactId>
<version>4.2.1.RELEASE</version>
</dependency>
<dependency>
<groupId>org.springframework.security</groupId>
<artifactId>spring-security-cas</artifactId>
<version>4.2.1.RELEASE</version>
</dependency>
<dependency>
<groupId>org.springframework.security</groupId>
<artifactId>spring-security-taglibs</artifactId>
<version>4.2.1.RELEASE</version>
</dependency>
<dependency>
<groupId>org.springframework</groupId>
<artifactId>spring-test</artifactId>
<version>4.3.5.RELEASE</version>
</dependency>
<dependency>
<groupId>org.springframework</groupId>
<artifactId>spring-aop</artifactId>
<version>4.2.1.RELEASE</version>
</dependency>
</dependencies>
</project>
第四步:创建对外提供服务的接口和这个接口的实现对象
4.1:对外提供服务的接口
package com.alibaba.moudel;
/**
*
*@description:用户管理模块
*@author chendawei
*/
public interface UserManagerModel {
public String getUserMassage();
}
4.2:实现这个接口的对象
package com.alibaba.moudel.Impl;
import com.alibaba.moudel.UserManagerModel;
/**
*
*@description:用户管理模块的实现对象
*@author chendawei
*/
public class UserManagerModelImpl implements UserManagerModel {
public String getUserMassage() {
String username = "马爸爸";
Integer password = 123456;
return username + password;
}
}
第五步:创建applicationContext.xml文件用于向注册中心注册和暴露服务
<?xml version="1.0" encoding="UTF-8"?>
<beans xmlns:xsi="http://www.w3.org/2001/XMLSchema-instance"
xmlns:dubbo="http://code.alibabatech.com/schema/dubbo"
xmlns="http://www.springframework.org/schema/beans"
xsi:schemaLocation="http://www.springframework.org/schema/beans
http://www.springframework.org/schema/beans/spring-beans-4.3.xsd
http://code.alibabatech.com/schema/dubbo
http://code.alibabatech.com/schema/dubbo/dubbo.xsd">
<!-- 服务提供方某一个功能的具体实现,这个功能供消费者调用 -->
<bean id="UserManagerModel" class="com.alibaba.moudel.Impl.UserManagerModelImpl"></bean>
<!-- 服务提供者的信息,以便计算依赖关系 -->
<dubbo:application name="DubboServerProvider"></dubbo:application>
<!-- 将服务提供者的地址暴露出去。这个过程通过zookeeper实现服务注册中心,进行注册暴露 -->
<dubbo:registry address="zookeeper://127.0.0.1:2181"></dubbo:registry>
<!-- 将服务提供者的端口号暴露出去 -->
<dubbo:protocol name="dubbo" port="20001"></dubbo:protocol>
<!-- 将服务提供者需要对外提供的功能暴露出去 -->
<dubbo:service interface="com.alibaba.moudel.UserManagerModel" ref="UserManagerModel"></dubbo:service>
</beans>
第六步:添加log4日志文件,创建和启动main方法。如果是SpringBoot写的那就启动SpringBoot的主类就可以了
package com.alibaba.run;
import org.springframework.context.support.ClassPathXmlApplicationContext;
/**
*
*@description:运行服务的提供者
*@author chendawei
*/
public class RunServerProvider {
public static void main(String[] args) {
try {
//加载主配置文件
ClassPathXmlApplicationContext ac = new ClassPathXmlApplicationContext("applicationContext.xml");
//一直让启动的第一种方式
/*
* while(true) { ac.start(); System.out.println("注册成功"); }
*/
//一直让启动的第二种方式,推荐
ac.start();
System.in.read();
} catch (Exception e) {
System.out.println(e);
}
}
}
第七步:查看Dubbo的治理主页面。现在就可以看到有一个服务的提供者上来了。

点击绑定的这个IP地址进去以后可以看到更详细的内容。
4、服务的消费者
第一步:创建一个maven项目,创建的方式和所要填写的内容如服务提供者的那样不变。
第二步:在创建好的maven项目中的pom.xml中添加依赖,大体上添加的依赖是不变的,只需将服务提供者的依赖也添加进去就可以了。记住如果是服务的提供者只是单一的提供服务,那么它就不需要添加任何其他服务提供者的依赖。如果服务的提供者也是某一个服务的调用者,那么它调用谁就需要添加谁的依赖。
第三步:添加log4j的日志文件,创建applicationContext.xml文件,这个文件用于向注册中心注册和暴露调用者二队信息。
<?xml version="1.0" encoding="UTF-8"?>
<beans xmlns:xsi="http://www.w3.org/2001/XMLSchema-instance"
xmlns:dubbo="http://code.alibabatech.com/schema/dubbo"
xmlns="http://www.springframework.org/schema/beans"
xsi:schemaLocation="http://www.springframework.org/schema/beans
http://www.springframework.org/schema/beans/spring-beans-4.3.xsd
http://code.alibabatech.com/schema/dubbo
http://code.alibabatech.com/schema/dubbo/dubbo.xsd
http://www.springframework.org/schema/tx
http://www.springframework.org/schema/tx/spring-tx.xsd">
<!-- 服务消费者的应用程序的名称,用于计算依赖关系 -->
<dubbo:application name="DubboServerConsumer"/>
<!-- 服务消费者同时也向注册中心进行注册 -->
<dubbo:registry address="zookeeper://127.0.0.1:2181"/>
<!-- 生成服务代理 -->
<dubbo:reference id="UserManagerModel" interface="com.alibaba.moudel.UserManagerModel"/>
</beans>
注意:在添加好以后可能xml会报错,只需要将dubbo的xsd文件添加到Elipase进去就可以了。
第四步:创建和启动服务的调用者。
package com.alibaba.run;
import org.springframework.context.support.ClassPathXmlApplicationContext;
import com.alibaba.moudel.UserManagerModel;
/**
* 运行服务的消费者
*@description:
*@author chendawei
*/
public class RunServerConsumer {
public static void main(String[] args) {
try {
ClassPathXmlApplicationContext cs = new ClassPathXmlApplicationContext("applicationContext.xml");
cs.start();
System.out.println("开始调用服务的消费者");
UserManagerModel um = (UserManagerModel)cs.getBean("UserManagerModel");
String userMassage = um.getUserMassage();
System.out.println(userMassage);
System.in.read();
} catch (Exception e) {
// TODO: handle exception
}
}
}
第五步:服务的调用者启动以后,在正常的情况下会在控制台打印出服务提供者接口返回的信息。并且在Dubbo的管理界面消费者栏也会显示出当前的消费者。如下图:

好了至此一个简单的基于Dubbo的分布式架构就完成创建了。接下来我在深入一下,将服务的提供者变成服务的消费者,同样的将服务的消费者变成服务的提供者,下篇吧。